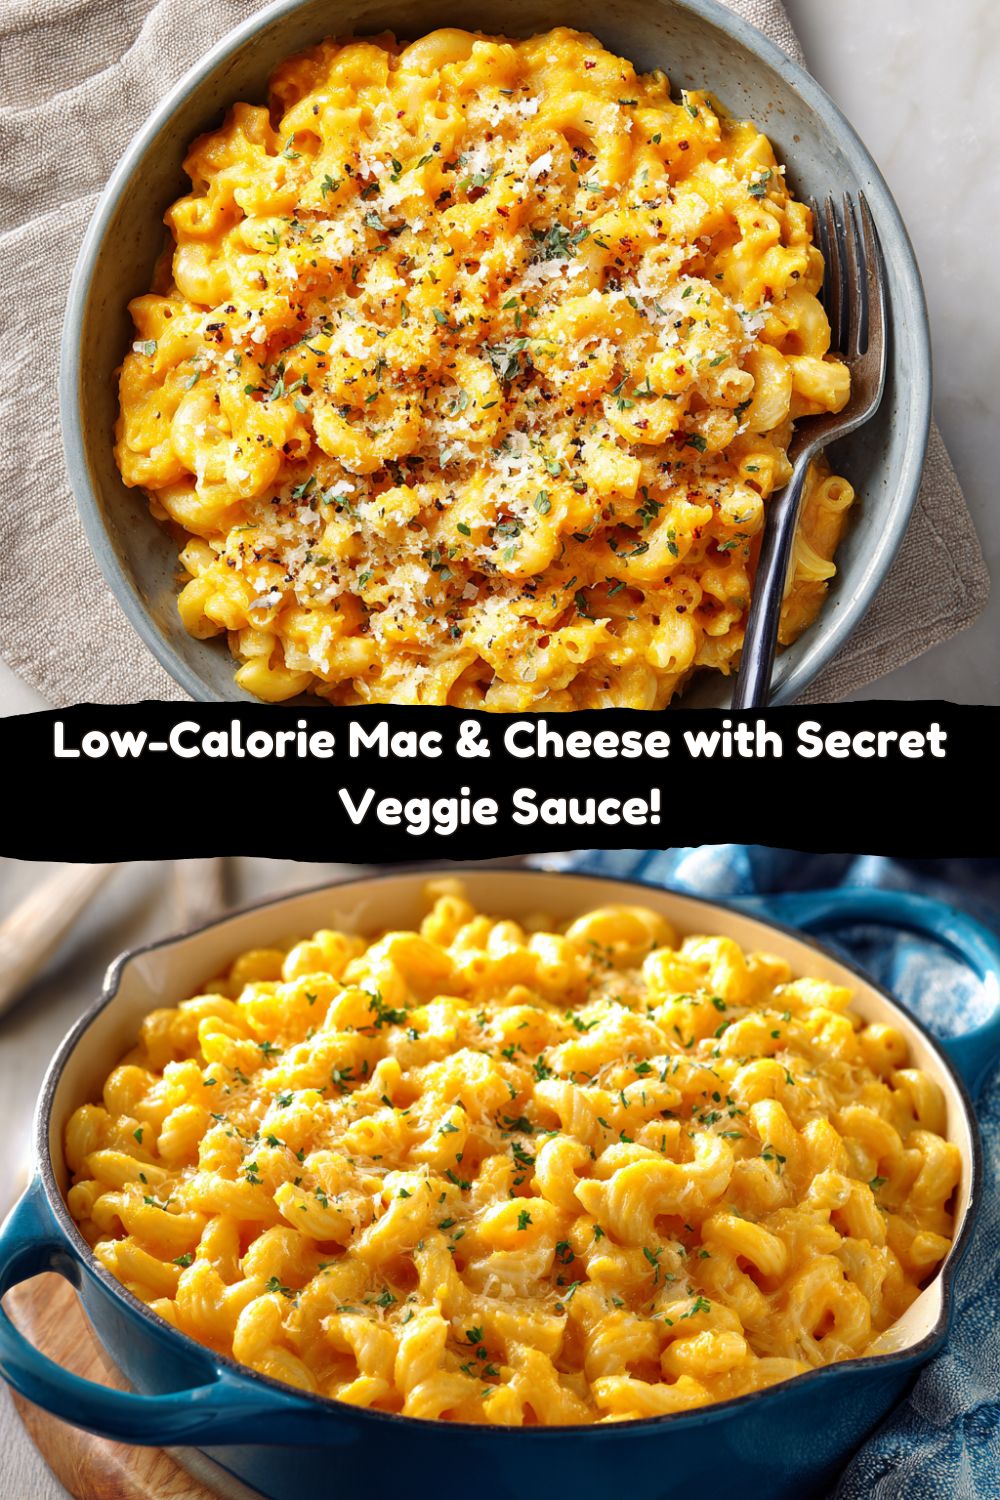
Ditch the Guilt, Keep the Gooey Goodness: Your New Favorite Mac & Cheese is Here!
Hey friends, Jackson from Food Meld here! Let’s get real for a second. Is there anything more purely, soul-deeply comforting than a big, steaming bowl of mac and cheese? That creamy, cheesy, carb-loaded hug in a bowl? I don’t think so. It’s the food equivalent of your favorite worn-in hoodie. But sometimes, that hoodie feeling comes with a side of… well, let’s call it the “food coma and regret” special. Sound familiar?
For the longest time, I thought a lighter mac and cheese was a sad compromise. A watery, flavorless imposter that just made you miss the real thing even more. I’d tried every “healthy” hack, and they all left me staring longingly at the blue box. But then, I had a “what if we tried this?” moment in the kitchen—my favorite kind of moment.
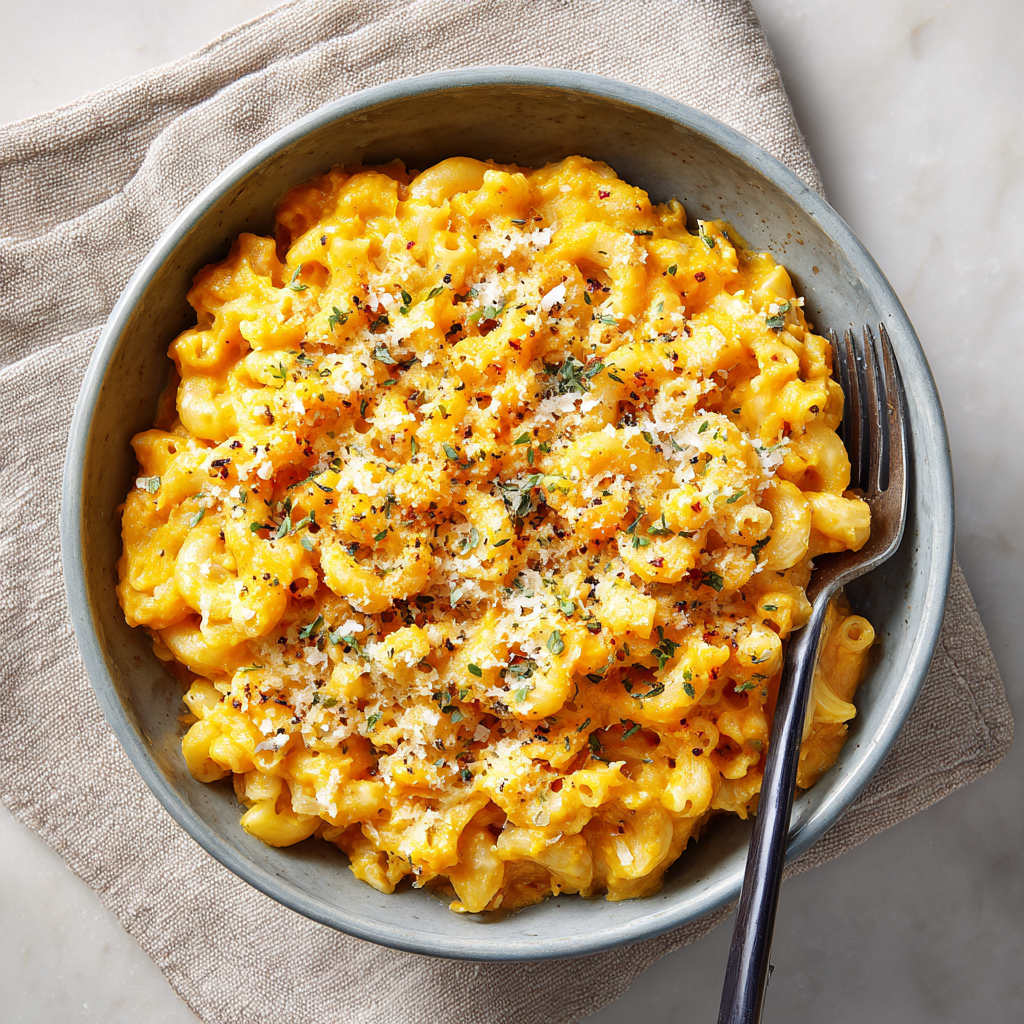
What if we could build that incredible creaminess not from heavy cream and butter, but from something naturally velvety, sweet, and nutritious? Enter our heroes: the humble butternut squash and the mighty cauliflower. Blended into a silky-smooth sauce, they create a luscious base that clings to every nook and cranny of the pasta, delivering that unforgettable comfort food experience without weighing you down. This isn’t a “diet” food. This is a smart, flavor-packed, I-can’t-believe-this-is-so-good reimagining of a classic. It’s bold, comforting, and has that creative twist I live for. So, grab your favorite pot, and let’s cook something awesome together that your body will thank you for later.
The Mac & Cheese That Started It All
My love affair with mac and cheese started not in a fancy restaurant, but at my Nana’s linoleum kitchen table. She wasn’t a gourmet chef; she was a “pinch of this, dash of that” kind of cook. Her mac and cheese was a legendary affair—a colossal, bubbling Pyrex dish with a golden-brown, crackly top that gave way to a river of the most outrageously cheesy, creamy interior. It was the star of every family potluck, and we kids would literally race to the table to secure a corner piece with extra crust.
One summer, after a particularly epic backyard football game that left us all grass-stained and starving, we descended upon her kitchen. The scent of toasted cheese and pasta was our siren song. I remember watching her pull that glorious dish from the oven, the cheese still sizzling. She’d always give me the first taste test, blowing on a cheesy spoonful before handing it over. It was pure, unadulterated joy. That memory is the heart and soul of this recipe. I wanted to capture that same feeling of warmth and celebration, but in a way I could enjoy any night of the week without needing a three-hour nap afterward. This lighter version is my tribute to Nana’s masterpiece—a little less heavy on the waistline, but every bit as heavy on the love.
Gathering Your Flavor All-Stars
Here’s the beautiful part: this recipe is deceptively simple. We’re using smart, whole ingredients to create maximum flavor. Let’s break it down.
- 8 oz Elbow Macaroni: The classic vessel for cheesy goodness. I love using a whole wheat or chickpea pasta here for an extra fiber and protein boost—it holds up beautifully to the sauce and you won’t even notice the swap!
- 2 cups Steamed Butternut Squash or Cauliflower Florets: This is our secret weapon! Butternut squash gives a slightly sweet, vibrant, and ultra-creamy result, while cauliflower is more neutral, letting the cheese flavor shine. Both are fantastic! Chef Insight: You can use frozen and steamed veggies here to save time—just make sure to thaw and drain them well to avoid a watery sauce.
- 1/2 cup Low-Sodium Vegetable or Chicken Broth: This helps the blending process and adds a savory depth. Using low-sodium lets you control the salt level perfectly.
- 1/2 cup Unsweetened Almond Milk (or milk of choice): I use unsweetened almond milk to keep it light, but any milk you have on hand will work! Oat milk adds a nice creaminess, and skim milk is a great option too.
- 3/4 cup Shredded Light Cheddar Cheese: Don’t be scared of “light” cheese! When melted into our creamy veggie base, it provides that classic, tangy cheddar flavor we all crave. For the best melt, always shred your own cheese from a block—the pre-shredded stuff has anti-caking agents that can make sauce grainy.
- 2 tbsp Grated Parmesan Cheese: The flavor powerhouse! Parmesan adds a salty, nutty, umami kick that elevates the entire dish.
- 1 tsp Dijon Mustard: “Mustard in mac and cheese?!” Trust me on this. It’s not for heat, but for depth. It brightens the flavor and helps emulsify the sauce, making it silky smooth.
- 1/2 tsp Garlic Powder: We’re using powder instead of fresh garlic here because it blends seamlessly into the sauce without any sharp, raw bite. It’s the perfect background note.
- Salt and Black Pepper to taste: Your best friends in the kitchen. Season in layers!
- Optional: Pinch of Smoked Paprika or Cayenne: Want a little smoky vibe or a subtle kick? A pinch of either of these on top at the end is a game-changer.
Let’s Build That Creamy Dream Sauce! (Step-by-Step)
This is where the magic happens. It’s so simple, you’re going to be amazed. Put on some music, and let’s get into the flow.
- Pasta Perfection: First things first, get your pasta going. Cook that elbow macaroni according to the package directions, but here’s my pro-tip: salt your pasta water like the sea! This is your one big chance to season the pasta itself from the inside out. Once it’s al dente (has a little bite to it), drain it and set it aside. Chef Hack: Do NOT rinse the pasta! That starchy surface is what helps the sauce cling on for dear life.
- Blend ‘Til Beautiful: While the pasta is bubbling away, let’s make the sauce. To your blender, add the steamed butternut squash (or cauliflower), broth, almond milk, Dijon mustard, garlic powder, and a good pinch of salt and pepper. Now, put the lid on and let that blender work its magic! Blend on high for a good 45-60 seconds, until it’s completely, utterly smooth and has the consistency of a thick cream. This step is non-negotiable for that luxurious texture. Taste it at this point and do a little happy dance—it’s already so good!
- The Big Melt: Pour that gorgeous, velvety puree into a medium-sized saucepan and place it over medium heat. Let it warm up for a minute, just until you see a few gentle bubbles. Now, turn the heat down to low and start sprinkling in your shredded light cheddar and Parmesan. Stir constantly with a wooden spoon or spatula in a figure-eight motion. This gentle heat and constant stirring will melt the cheese evenly into the sauce, creating a cohesive, creamy dream. You’ll see it thicken up slightly and become incredibly glossy. Chef Insight: Patience is key here! Don’t crank the heat to melt the cheese faster, or it might seize up and get greasy.
- The Grand Meld: Time for the main event! Add your drained, cooked pasta right into the sauce pan. Gently fold and stir until every single piece of macaroni is lovingly coated in that orange (or white, if using cauliflower) hug of a sauce. Let it all heat through together for another minute. This is your final chance to season—give it a taste and add more salt, pepper, or even a little more Dijon if you feel it needs it.
- Finish with Flair: You’re done! Take it off the heat and get ready to serve. This is where that optional pinch of smoked paprika or cayenne comes in. A light dusting over the top not only looks gorgeous but adds a whole new dimension of flavor.
How to Serve It Up in Style
This mac and cheese is a star all on its own, but a little presentation goes a long way! I like to serve it in shallow bowls to show off that beautiful color. For a simple, elegant touch, sprinkle on some fresh chopped chives or parsley for a pop of green. If you’re feeling a bit fancy, a light drizzle of truffle oil right at the end is absolutely divine.
Want to turn this into a full meal? It pairs incredibly well with a simple, crisp side salad with a sharp vinaigrette to cut through the richness. It’s also the perfect partner for some juicy grilled chicken breast or a piece of simple pan-seared fish like salmon. For a real “comfort food feast,” serve it alongside some juicy, no-fuss roasted chicken thighs and some garlicky green beans. However you plate it, the goal is to make it feel special, because you deserve it!
Make It Your Own! Creative Twists & Swaps
The fun doesn’t stop here! This recipe is a fantastic canvas for your own creativity. Here are a few of my favorite ways to mix it up:
- The “Everything Bagel” Upgrade: Stir in 2 tablespoons of Everything Bagel seasoning into the sauce with the cheese. Top with everything-spiced toasted panko breadcrumbs for an insane crunch factor.
- Buffalo Chicken Mac: For all my spicy food lovers, fold in 1/2 cup of shredded rotisserie chicken tossed in 1/4 cup of Buffalo sauce. Use the cauliflower base for this one, and crumble a little blue cheese on top. You’re welcome.
- Sun-Dried Tomato & Spinach: Add 1/4 cup of chopped sun-dried tomatoes (the kind packed in oil, drained) and a big handful of fresh spinach into the sauce when you add the pasta. The heat will wilt the spinach perfectly. It’s a flavor explosion!
- Protein Powerhouse: Stir in a cup of canned, drained white beans or lentils along with the pasta for a major protein and fiber boost. You won’t even notice they’re there, but your muscles will!
- Dairy-Free Delight: This is easily made vegan! Use a vegan cheddar shred and nutritional yeast instead of Parmesan. The nutritional yeast gives it that essential “cheesy” flavor. It works like a charm.
Jackson’s Kitchen Notes & Stories
This recipe has been through a few evolutions in my kitchen. The first time I made it, I was so excited I dumped all the cheese in at once while the blender was still running, thinking I could make a one-pot sauce. Big mistake. It turned into a sticky, stringy mess that my blender did NOT appreciate. Lesson learned: gentle heat and patient stirring is the only way to go for a smooth cheese sauce.
I’ve also found that letting the sauce sit for a few minutes after you’ve mixed in the pasta actually helps it thicken up and cling even better. So if it seems a little loose right off the stove, don’t panic! Give it a five-minute rest. It’s a living, breathing thing that just needs a moment to settle in. This is the kind of messy, fun, “learn-as-you-go” cooking I live for.
Your Questions, Answered!
Q: My sauce turned out a bit watery. What did I do wrong?
A: No worries, this is a common one! The culprit is usually excess water in your steamed veggies. Make sure they are well-drained after steaming. If your sauce is already made, you can simmer it for a few extra minutes on the stove to reduce and thicken it up. You can also stir in an extra tablespoon of Parmesan, which will help absorb some moisture.
Q: Can I make this ahead of time?
A: Absolutely! You can make the entire dish, let it cool, and store it in an airtight container in the fridge for up to 3 days. When you’re ready, reheat it gently in a saucepan over low heat, adding a tiny splash of milk or broth to loosen it up. It doesn’t freeze super well because the sauce can separate upon thawing.
Q: Can I use a different kind of pasta?
A> Of course! This sauce works with any short pasta that has great “sauce-grabbing” capabilities. Cavatappi, shells, penne, and rotini are all excellent choices. The nooks and crannies are your best friend here.
Q: It tastes a little bland. How can I boost the flavor?
A> Great question! Seasoning is personal. First, make sure you salted your pasta water generously. If it still needs a kick, try adding a bit more Dijon mustard, a splash of hot sauce, or a pinch of onion powder. A dash of Worcestershire sauce (or soy sauce for a umami boost) can also work wonders!
The Skinny (Literally!)
Let’s talk numbers, because knowledge is power! This isn’t about deprivation; it’s about making smart, satisfying choices. A generous serving of this Low-Calorie Mac & Cheese comes in at around 290 calories. Compare that to a typical restaurant or boxed version that can easily soar past 500-600 calories per serving, and you can see why this is a game-changer.
But it’s not just about calories. This dish packs a nutritional punch with 14 grams of protein to keep you full and satisfied, and 4 grams of fiber to support digestion, thanks to our whole-food base and optional whole-grain pasta. You’re also getting a healthy dose of Vitamin A (especially with the butternut squash), Vitamin C, and other essential nutrients from the vegetables. It’s comfort food that truly comforts your whole body.
Prep Time: 10 minutes | Cook Time: 15 minutes | Total Time: 25 minutes | Servings: 4
You’ve Got This!
And there you have it! A mac and cheese that’s bold, comforting, and proof that you don’t have to give up the foods you love to feel your best. It’s simple, real, and packed with the flavor and fun that Food Meld is all about.
This recipe is a starting point, a foundation for you to build upon. Make it once, then the next time, add your own twist. Throw in some crispy bacon, some roasted broccoli, or your favorite herbs. Cooking should be an adventure, not a chore. I hope this dish becomes a new staple in your kitchen, creating its own set of delicious memories around your table.
If you make it (and I really hope you do!), tag me on social @FoodMeld—I love seeing your creations! Now go forth, melt some flavors, and enjoy every single, guilt-free bite.
Stay hungry,
Jackson


