Ice Cream Cone Cupcakes: A Sweet Twist on a Classic Treat
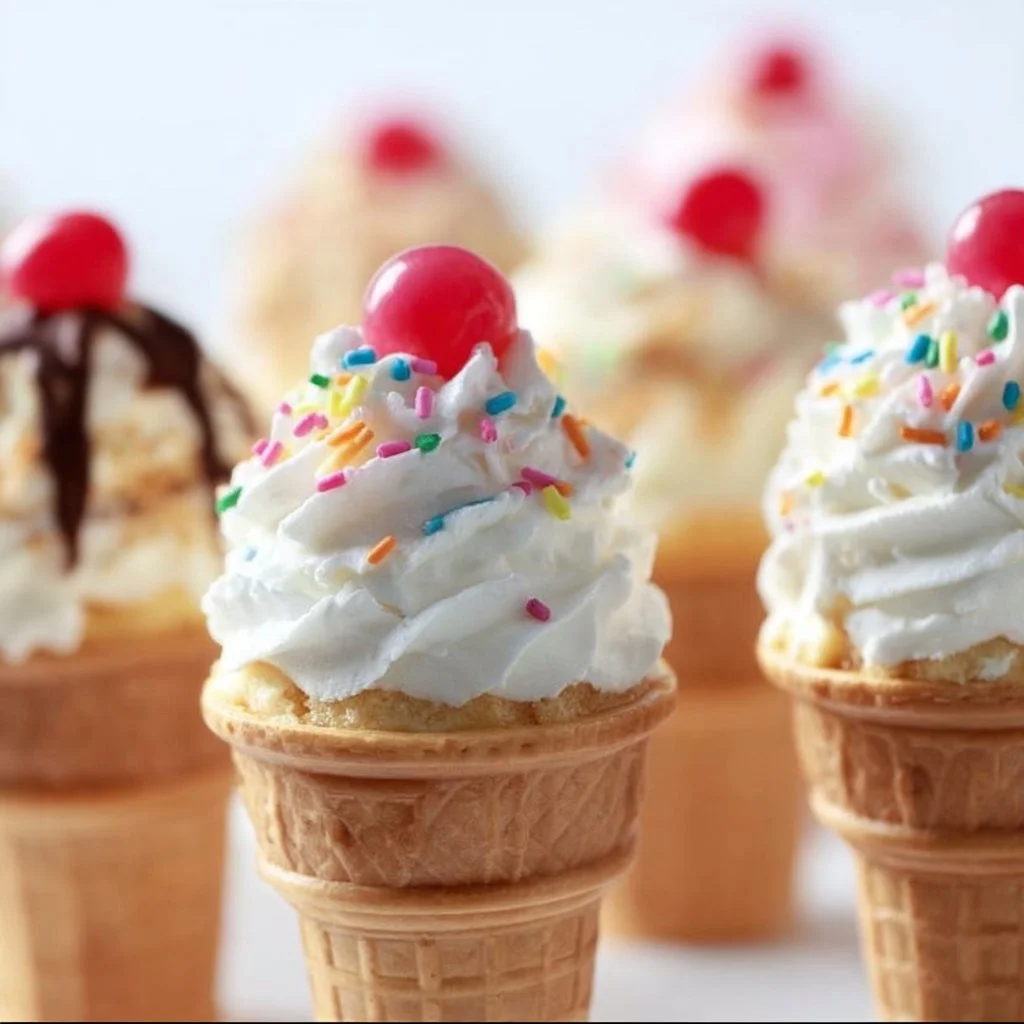
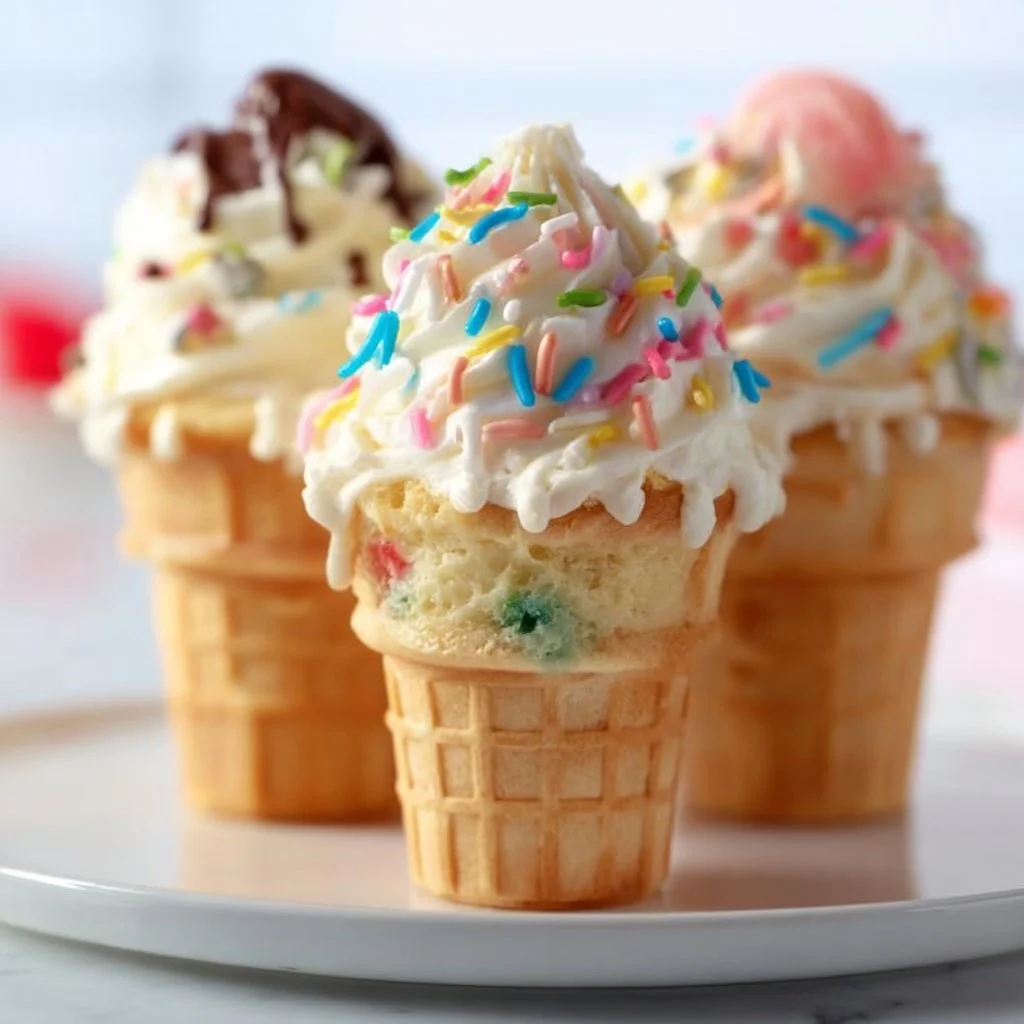
Hey there, fellow foodies! It’s Jackson Walker from Food Meld, and today we’re diving into one of those whimsical, nostalgic treats that can turn an ordinary day into a mini celebration—Ice Cream Cone Cupcakes! Picture this: a delightful cupcake nestled in a crispy ice cream cone, topped with a fluffy dollop of vanilla frosting, sprinkles that catch the light, and perhaps a cherry on top for that added flair. Not only do these sweet creations look amazing, but they taste even better!
When I first stumbled upon the idea of combining cupcakes with ice cream cones, it took me right back to my childhood. I remember going to the local ice cream shop with my family, because what could be better than a cone piled high with your favorite scoop? But imagine if, instead of ice cream, you had a cupcake surprise waiting inside. That’s when I knew I had to experiment and create this fusion in my own kitchen! With minimal fuss and a playful vibe, Ice Cream Cone Cupcakes are perfect for every occasion—birthdays, family gatherings, or just a sunny afternoon when you need a bit of sweetness in your life.
This recipe is designed to help you whip up these delightful treats with ease, allowing for creativity and fun. You’ll soon discover that cooking and baking should feel like a joyous adventure, much like a day at the playground. So grab your apron, preheat that oven, and let’s whip up some of these stunning Ice Cream Cone Cupcakes that will make everyone grin from ear to ear!
Personal Story
I still remember the summer afternoons at my Aunt Clara’s house, where the smell of baking cookies mixed with the scent of the blooming magnolia trees in her backyard. One day, she decided to surprise us with an ice cream party. And when she pulled out this magical creation of cupcakes in ice cream cones, it felt like the best gift ever! Each cone was frosted to perfection, and the sprinkles sparkled like confetti.
As kids, we took turns picking our favorite toppings and pretending we were professional bakers on a cooking show. Aunt Clara’s laughter filled the air, and we would inevitably end up with frosting on our faces and sprinkles scattered everywhere. It was a messy, glorious celebration of joy, creativity, and love. That’s the spirit I want to evoke with these Ice Cream Cone Cupcakes—bringing people together to create sweet memories while having an absolute blast.
Ingredients
Here’s what you’ll need to make these delectable Ice Cream Cone Cupcakes. The ingredients are straightforward, and I’ll share pro tips along the way:
-
1 box of cupcake mix (plus ingredients as per box instructions, usually eggs, oil, and water)
- Chef Insight: Don’t hesitate to try different flavors of boxed mixes! Red velvet, vanilla, or even chocolate can all be delightful twists to your cones.
-
Ice cream cones (either standard or waffle cones)
- Substitution Tip: If you want a gluten-free version, there are gluten-free cones available that can work just as well!
-
1 cup of vanilla frosting
- Tip: Feel free to use store-bought or whip up your own! Homemade frosting adds a personal touch, and it’s surprisingly easy to make.
-
Sprinkles (your choice of colors and shapes)
- Chef Hack: Mix a few types of sprinkles for a colorful, multi-dimensional look. Everyone loves sprinkles!
-
Cherries (optional, but highly recommended for that classic touch)
- Substitution Tip: You can use chocolate chips, gummy bears, or even mini marshmallows if cherries aren’t your thing.
Step-by-Step Instructions
Let’s get into the fun part—the baking! Follow these detailed steps for making your Ice Cream Cone Cupcakes.
-
Preheat your oven: Set your oven to 350°F (or whatever temperature your cupcake mix requires). Preheating is crucial to get that perfect rise—don’t skip this step!
-
Mix your cupcake batter: In a large mixing bowl, combine your cupcake mix with the ingredients as per the box instructions. Usually, that’s water, oil, and eggs. Stir until the mixture is smooth and free of lumps.
Tip: Use an electric mixer if you have one—this can save you time and create a fluffier batter!
-
Prepare your cones: Grab your ice cream cones and stand them up in a muffin or cupcake pan. This helps them stay upright while they bake. If you’re using waffle cones, make sure they fit snugly in the pan.
-
Fill the cones: Use a spoon or piping bag to fill each cone about two-thirds of the way full with your batter. Leave some room at the top for the cupcakes to rise.
Chef Hack: You can use a small ice cream scoop for this task, ensuring even portions that will bake evenly.
-
Bake: Place the pans in the preheated oven and bake according to the cupcake box instructions, usually about 15-20 minutes. Keep an eye on them! When a toothpick inserted into the center comes out clean, you’re ready to go.
-
Cool down: Once baked, remove the cones from the oven and let them cool in the pan for about 10 minutes. Then, transfer them to a wire rack to cool completely.
-
Frosting time: When the cones are cool, it’s frosting time! Take your vanilla frosting and spread it generously on top of each cupcake cone. You can use a knife, spatula, or even a piping bag for a fancier look.
Tip: If you want to go the extra mile, try dyeing your frosting with food coloring to create a rainbow of flavors!
-
Sprinkle and top: Finish off your cones with sprinkles on top, and don’t forget that cherry if you’re using one!
Serving Suggestions
Presenting your Ice Cream Cone Cupcakes is half the fun! Arrange them in a colorful dessert platter or stand them in a tall vase for a whimsical display. If you’re heading to a gathering, consider packing them up in a cupcake carrier if you’re bringing them along. To serve, hand them out individually, letting your guests enjoy these delightful treats as they wander around—there’s something about holding a cupcake cone that just adds to the experience! Pair with a scoop of your favorite ice cream for an extra special touch, or serve them with fresh fruit on the side to add a burst of color to your dessert table.
Recipe Variations
Let’s talk about ways to mix it up! Here are some fun twists that you can experiment with:
-
Chocolate Cupcakes: Use a chocolate cupcake mix instead of vanilla for a rich chocolate experience topped with chocolate frosting and chocolate sprinkles.
-
Flavor Infusion: Add a teaspoon of vanilla or almond extract to your cupcake batter for an extra flavor kick.
-
Fruit Fillings: Make your cupcakes even more exciting by adding a dollop of fruit preserves or pie filling in the center of your batter before baking!
-
Red Velvet Twist: For a festive appearance, try a red velvet cupcake mix, topped with cream cheese frosting for that classic look.
-
Gluten-Free or Vegan: Use gluten-free cupcake mixes available on the market or substitute eggs with applesauce or a flax egg for a vegan version.
Chef’s Notes
As I experimented with this recipe, I learned the importance of finding the right balance. Too much batter might make your cones overflow, and too little will leave them looking sad and empty—just like keeping ice cream cones away from sprinkles! Over the years, I’ve played with different flavor combinations and toppings, and I must say, the memories made are just as sweet as the treats themselves. I once had a mini kitchen disaster when I forgot to check if I had enough cones—ended up using mini muffins for the leftover batter! They were a huge hit, too, so don’t be afraid to get creative!
FAQs and Troubleshooting

-
1. Can I use homemade cupcake batter?
Absolutely! Just ensure it’s thick enough to hold its shape in the cone. Adjust baking times if necessary. -
2. What if my cupcakes overflow?
If you find yourself with overflowed cupcakes, fear not! Just use a spoon to scoop off the extra bits once they’ve cooled—embrace the messy! -
3. How long can I store these cupcakes?
These treats are best enjoyed fresh, but you can store them in an airtight container for 2-3 days at room temperature. -
4. Can I make these ahead of time?
Sure! You can bake the cupcakes a day in advance, keep them frosted, and add your toppings just before serving!
Nutritional Info
While it’s important not to dwell on numbers when indulging in a treat like this, here’s an approximate breakdown per Ice Cream Cone Cupcake (based on standard ingredients used):
- Calories: 220
- Fat: 10g
- Carbohydrates: 32g
- Protein: 2g
- Sugar: 15g
Keep in mind that these numbers can shift depending on your choice of embellishments, size of servings, and whether you’re opting for homemade ingredients instead of store-bought.
Final Thoughts
I hope you’re now as excited as I am to get in the kitchen and whip up these Ice Cream Cone Cupcakes! They not only serve as a dessert but also as a fantastic way to bond with family, friends, and anyone you share them with. Cooking and baking should always feel like an adventure—one where flavor meets fun! So gather your loved ones, make a mess, and celebrate the joys of creativity in the kitchen.
Remember, whether your cones are filled to the brim or you end up with a few unconventional “muffin cones,” every version is worth sharing and savoring. Now, let’s get to baking and create some unforgettable memories along the way! Cheers to sweet indulgences and joyous kitchen adventures! 🍦🧁✨
Print
Ice Cream Cone Cupcakes
- Total Time: 35 minutes
- Yield: 12 servings 1x
- Diet: Vegetarian
Description
A delightful cupcake nested in a crispy ice cream cone, topped with fluffy vanilla frosting and sprinkles.
Ingredients
- 1 box of cupcake mix (plus ingredients as per box instructions, usually eggs, oil, and water)
- Ice cream cones (either standard or waffle cones)
- 1 cup of vanilla frosting
- Sprinkles (your choice of colors and shapes)
- Cherries (optional, but highly recommended)
Instructions
- Preheat your oven: Set your oven to 350°F (or whatever temperature your cupcake mix requires).
- Mix your cupcake batter: In a large mixing bowl, combine your cupcake mix with the ingredients as per the box instructions. Stir until smooth.
- Prepare your cones: Stand the ice cream cones upright in a muffin pan.
- Fill the cones: Use a spoon or piping bag to fill each cone about two-thirds full with batter.
- Bake: Place the pans in the preheated oven and bake according to the instructions, about 15-20 minutes.
- Cool down: Let the cones cool in the pan for about 10 minutes before transferring to a wire rack.
- Frosting time: Spread the vanilla frosting on top of each cupcake cone.
- Sprinkle and top: Finish with sprinkles and a cherry if desired.
Notes
These cupcakes are best enjoyed fresh but can be stored in an airtight container for 2-3 days.
- Prep Time: 15 minutes
- Cook Time: 20 minutes
- Category: Dessert
- Method: Baking
- Cuisine: American
Nutrition
- Serving Size: 1 cupcake
- Calories: 220
- Sugar: 15g
- Sodium: 200mg
- Fat: 10g
- Saturated Fat: 3g
- Unsaturated Fat: 4g
- Trans Fat: 0g
- Carbohydrates: 32g
- Fiber: 1g
- Protein: 2g
- Cholesterol: 20mg
Keywords: cupcakes, ice cream cone, dessert, sweet treats, party food


