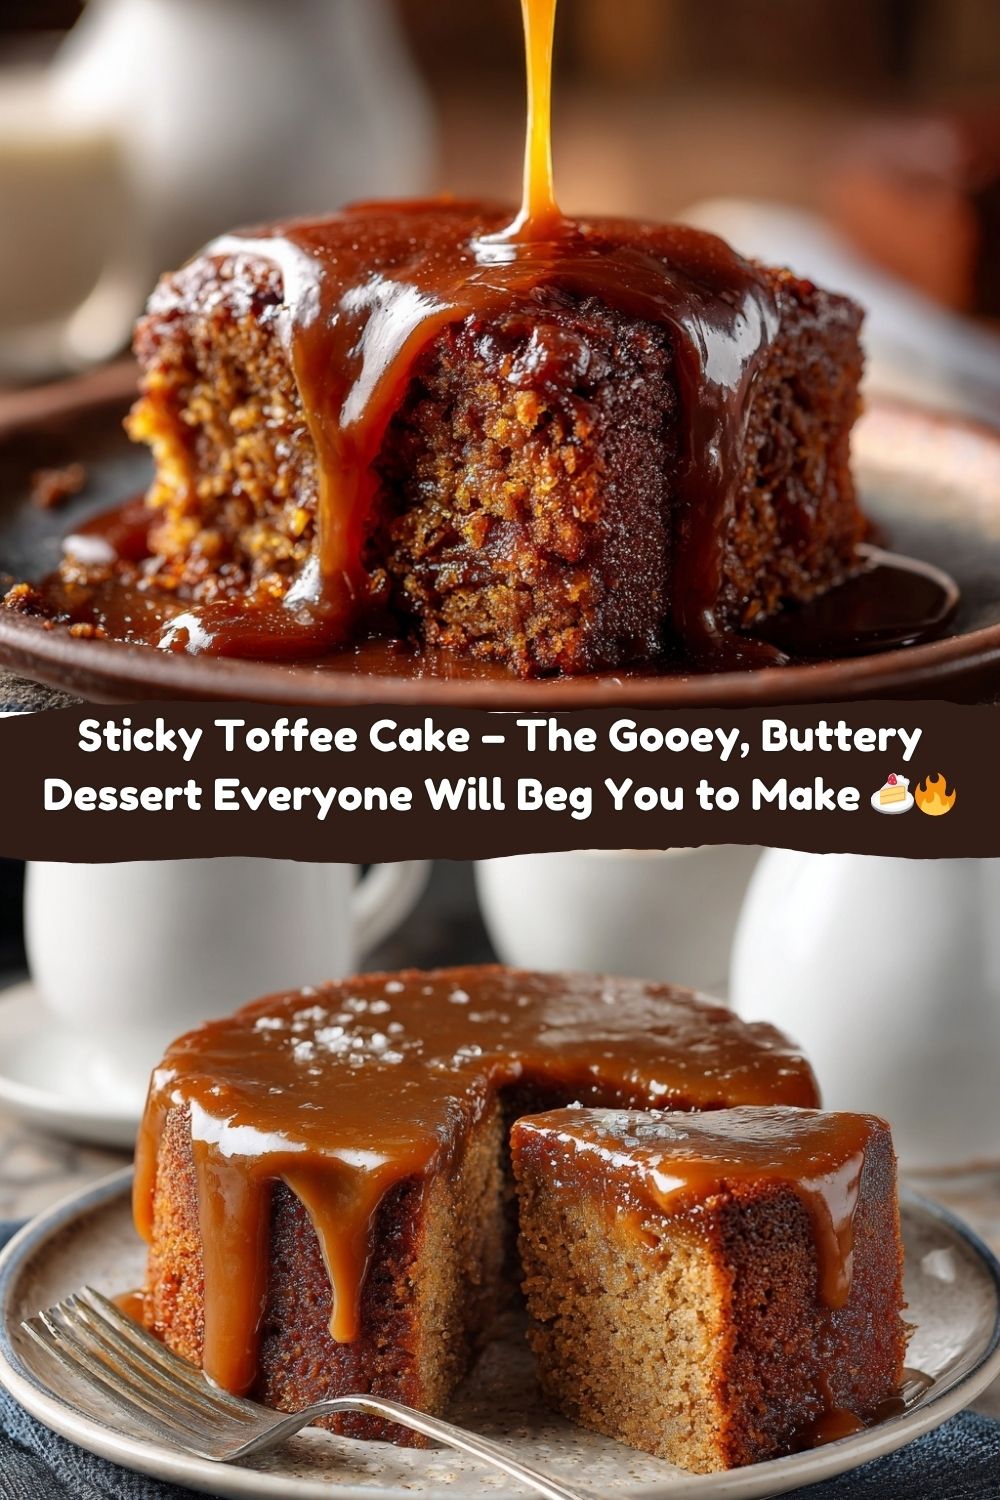
Sticky Toffee Cake: The Gooey, Glorious Dessert That’ll Steal the Show
Welcome to Flavor Town, Population: You & This Cake
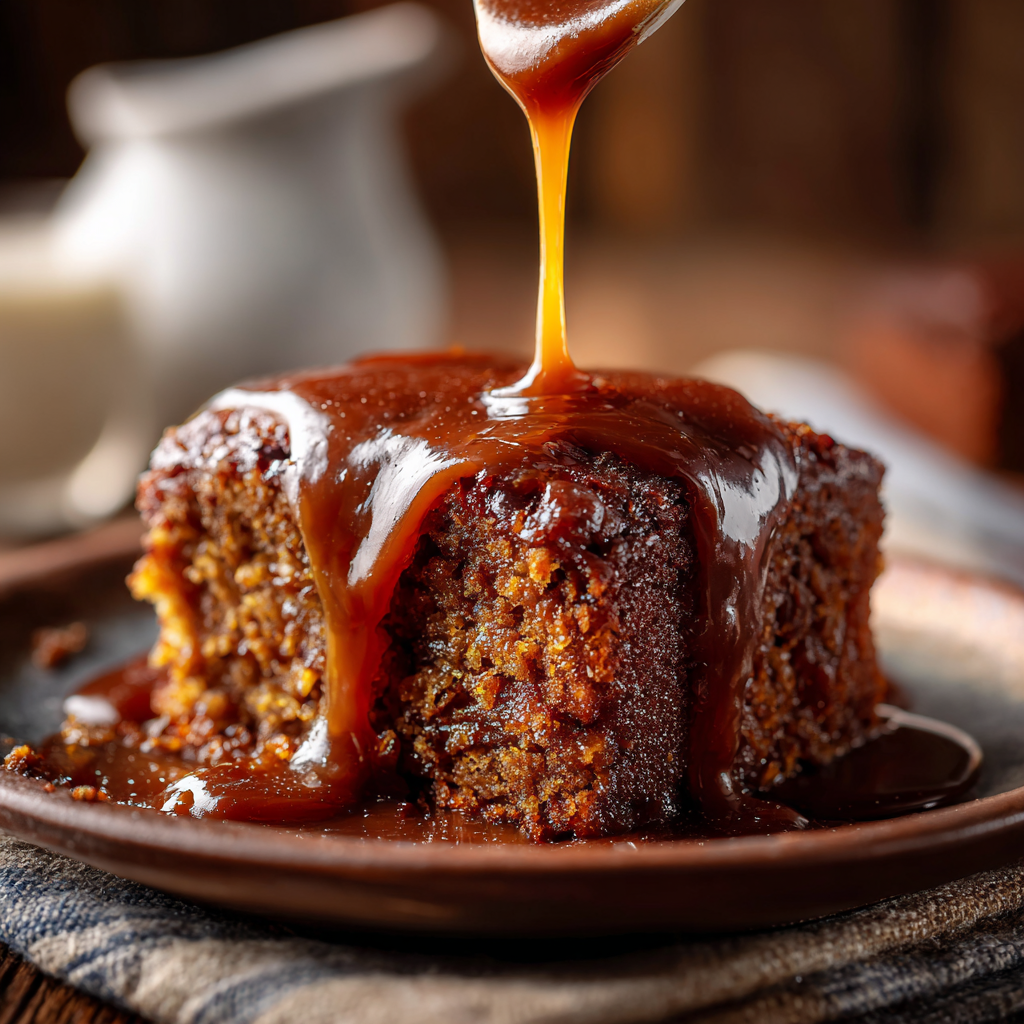
Hey friends, Jackson here. Let’s cut right to the chase: if you’ve never experienced the pure, unadulterated joy of a warm slice of Sticky Toffee Cake, you are in for a serious treat. We’re talking about a dessert so deeply comforting, so soul-warmingly good, it feels like a hug from the inside. This isn’t just a cake; it’s an experience. Imagine the most tender, date-speckled sponge you can think of, so moist it practically glistens, and then—just when you think it can’t get any better—it gets absolutely drenched in a rich, buttery, velvety toffee sauce that soaks right in.
Now, I know some of you might hear “British classic” and get a little nervous, thinking it’s fussy or complicated. Throw those thoughts right out the kitchen window. One of my core beliefs here at Food Meld is that unforgettable food doesn’t have to be intimidating. This sticky toffee cake is proof. We’re using simple ingredients, one main bowl, and a “let’s make a beautiful mess” attitude. It’s the kind of dessert that makes people’s eyes go wide after the first bite, followed by the inevitable question, “Can I get this recipe?” Spoiler alert: you’re about to have it. So, preheat your oven, grab your favorite mixing bowl, and let’s cook something awesome together.
A Sticky Situation & A Sweet Memory
This cake takes me right back to my grandma’s kitchen, though not in the way you might think. The first time I ever tried sticky toffee pudding, it wasn’t from her oven—it was from a packet mix I convinced her to buy at the grocery store. I was maybe ten, and I was obsessed with the idea of a “pudding” that was actually a cake. We made it together, and while that boxed version was fine, I remember us looking at each other after one bite and her saying, in that no-nonsense Southern way of hers, “Jackson, we can do better than this.”
And so we did. We spent the next few years tweaking and testing, adding a pinch more of this, a splash more of that. She taught me the magic of dates—how they transform from chewy little nuggets into a sweet, jammy paste that gives this cake its incredible moisture and deep flavor. That “what if we tried this?” energy started right there, in her flour-dusted kitchen. This recipe is the grown-up, from-scratch, “we-can-do-better” version of that memory. Every time I make it, I think of her, and I’m reminded that the best recipes are the ones we make our own.
Gathering Your Flavor Arsenal
Alright, let’s get our mise en place! (That’s just a fancy chef term for “get your stuff together,” but it makes you sound cool, right?) Here’s everything you’ll need. Don’t just think of these as ingredients; think of them as the building blocks of your soon-to-be-famous dessert.
For the Cake:
- 200g Pitted Dates, Chopped: These are the secret weapon! They create an unbelievable, natural sweetness and moisture. Chef’s Insight: If your dates are a little dry, a quick soak in hot water before you start will plump them right up.
- 1 tsp Baking Soda: This is our leavening agent, but it also works a little magic on the dates, helping to break them down and create that signature tender crumb.
- 250ml Boiling Water: This is what we pour over the dates and baking soda to get the party started. It rehydrates the dates and activates the soda.
- 100g Unsalted Butter, softened: For richness and that classic cake texture. Substitution Tip: A neutral oil like vegetable or canola oil works in a pinch and can make the cake even more moist!
- 150g Brown Sugar: I love brown sugar here for its molasses notes—it pairs perfectly with the toffee sauce. It also keeps the cake super soft.
- 2 Large Eggs: Our binding agents. Make sure they’re at room temperature to help them incorporate smoothly into the butter and sugar.
- 180g Self-Raising Flour: This already has a raising agent built-in, which gives our cake a lovely, light lift. Substitution Tip: No self-raising flour? No problem! For every 180g of all-purpose flour, add 2 teaspoons of baking powder and a 1/4 teaspoon of salt.
- 1 tsp Vanilla Extract: The flavor enhancer. It rounds out all the other sweet notes. Use the real stuff if you can—it makes a difference.
- Pinch of Salt: Never, ever skip the salt in a dessert! It balances the sweetness and makes all the flavors pop.
For the Toffee Sauce (The Real Star):
- 150g Brown Sugar: The base of our sauce, giving it that deep caramel color and flavor.
- 100g Unsalted Butter: For richness and a gorgeous silky texture.
- 200ml Heavy Cream (Double Cream in the UK): This is what transforms melted sugar and butter into a luxurious, pourable sauce. Substitution Tip: For a slightly lighter version, you can use half-and-half, but the sauce won’t be quite as thick and indulgent.
- 1 tsp Vanilla Extract: A splash to finish the sauce with a warm, aromatic note.
- Pinch of Sea Salt (optional twist): My personal favorite add-in. A little flaky sea salt at the end creates an incredible sweet-and-salty situation that is downright addictive.
Let’s Build Some Magic: Step-by-Step
Ready to see this beauty come together? Follow these steps, and you’ll be a sticky toffee pro in no time. I’ve packed this section with all my favorite little hacks to guarantee your success.
- Preheat and Prep. Fire up your oven to 180°C (350°F). While it’s warming up, grease and line a loaf tin or an 8×8 inch square baking tin with parchment paper. Chef’s Hack: Let a little parchment paper hang over the sides of the tin. This creates “handles” that make it a breeze to lift the whole cake out after baking!
- Wake Up the Dates. In a medium bowl, combine your chopped dates and baking soda. Pour the 250ml of boiling water directly over them and give it a quick stir. Set this aside for 10-15 minutes. You’ll see the dates soften and the mixture get a little frothy—that’s the baking soda doing its thing! This step is non-negotiable for that perfect texture.
- Cream the Good Stuff. In a large mixing bowl, beat the softened butter and brown sugar together until the mixture is light, pale, and fluffy. This should take about 2-3 minutes with an electric mixer. Why do this? Creaming incorporates air, which helps the cake rise. Now, beat in the eggs, one at a time, making sure each is fully incorporated before adding the next. Then, mix in the vanilla extract.
- Bring It All Together. Add the self-raising flour and that pinch of salt to the butter mixture. Now, here’s the fun part: pour in the entire date mixture—the softened dates AND all that flavorful liquid. Gently fold everything together with a spatula until you have a smooth, thin batter. Don’t overmix! Just fold until no pockets of flour remain.
- Bake to Perfection. Carefully pour the batter into your prepared tin and smooth the top. Slide it into the preheated oven and bake for 30-35 minutes. You’ll know it’s done when the top is springy to the touch and a toothpick inserted into the center comes out clean. Pro Tip: Avoid the temptation to open the oven door too early! This can cause the cake to sink.
- Create the Liquid Gold (Toffee Sauce). While the cake is baking, let’s make the star of the show. In a saucepan over medium heat, melt the butter and brown sugar together, stirring until the sugar has dissolved and the mixture is bubbling. Let it bubble for one minute, then slowly whisk in the heavy cream. Be careful, as it might splutter a bit! Keep whisking until it’s smooth. Let it simmer gently for 3-5 minutes, until it thickens slightly enough to coat the back of a spoon. Remove from the heat and stir in the vanilla and that optional pinch of sea salt.
- The Grand Finale: The Soak. As soon as the cake comes out of the oven, use a skewer or a fork to poke holes all over the top. Don’t be shy—poke plenty! Now, pour about half to two-thirds of your warm toffee sauce directly over the hot cake, letting it seep down into all those holes. This is what makes the cake incredibly moist and infuses every single bite with toffee flavor.
How to Serve This Masterpiece
Presentation is part of the fun! You’ve put in the work, now let’s make it look as good as it tastes. I like to serve this cake warm—it’s an entirely different, more comforting experience.
Cut a generous square (or slice, if you used a loaf tin) and place it in a shallow bowl. Why a bowl? Because you’re going to want to pour more of that reserved toffee sauce over the top, and a bowl contains all that deliciousness. Now, the mandatory accompaniment: a big scoop of high-quality vanilla ice cream. The contrast of the warm cake and cold, melting ice cream is pure heaven. Alternatively, a generous pour of warm custard or a dollop of freshly whipped cream is also a winning move. Garnish with a few extra date pieces or another tiny sprinkle of sea salt for a gourmet touch. Watch it disappear!
Make It Your Own: Food Meld Twists
This recipe is a fantastic canvas for your creativity. Here are a few of my favorite ways to mix it up and truly “meld” some flavors.
- Bourbon-Spiked: Add two tablespoons of bourbon to the toffee sauce along with the vanilla. It adds a wonderful warmth and depth that is just next-level.
- Ginger Kick: Stir one tablespoon of finely grated fresh ginger or two teaspoons of ground ginger into the cake batter with the flour. The spicy zing cuts through the richness beautifully.
- Chocolate Swirl: For the chocoholics, fold 100g of dark chocolate chips into the batter right before baking. You can also add a tablespoon of cocoa powder to the flour for a chocolate-date base.
- Nutty Crunch: Fold in 100g of chopped toasted pecans or walnuts into the batter for a wonderful textural contrast.
- Dairy-Free Delight: Use vegan butter and a plant-based cream (coconut cream works amazingly well) in both the cake and sauce. The result is just as decadent!
Jackson’s Kitchen Notes & Stories
This recipe has evolved so much since that first boxed version with my grandma. One of my favorite “happy accidents” happened when I was filming a recipe video and realized I was completely out of self-raising flour. I had to whip up the all-purpose flour substitute live on camera, and you know what? The cake was maybe even a tad lighter! It was a great reminder that cooking is about adapting, not panicking.
Another note: this cake is incredibly forgiving. I’ve had friends text me in a panic because their batter looked too thin, or they forgot the salt. I always tell them the same thing: “Trust the process.” The thin batter bakes up into the most tender cake, and a forgotten ingredient is rarely a deal-breaker. The real key is that warm sauce soak at the end—it fixes almost everything and makes the whole house smell incredible.
Your Questions, Answered!
Over the years, I’ve gotten a lot of questions about this recipe. Here are the most common ones to help you out.
Q: My cake is very dense. What happened?
A: This usually means the batter was overmixed once the flour was added. Overmixing develops the gluten in the flour, leading to a tougher texture. Next time, just fold gently until the ingredients are *just* combined. Also, double-check that your baking powder (if using instead of self-raising) is still active!
Q: Can I make this ahead of time?
A: Absolutely! You can bake the cake 1-2 days in advance. Let it cool completely, wrap it tightly in plastic wrap, and store it at room temperature. Make the toffee sauce fresh when you’re ready to serve. Warm the cake slightly in the microwave or oven, poke new holes, and douse it in the warm sauce.
Q: My toffee sauce is too thin/too thick. Help!
A: Sauces can be fickle! If it’s too thin, just let it simmer for a few more minutes; it will continue to thicken as it cools. If it’s too thick, simply whisk in a tablespoon or two of warm cream or water until it reaches your desired consistency.
Q: What’s the difference between “pudding” and “cake”?
A: In the UK, “pudding” is a general term for dessert. So, a “Sticky Toffee Pudding” is simply the dessert called Sticky Toffee. It’s the same thing! We’re calling it a cake here because that’s what most folks in the US would recognize it as.
Let’s Talk Nutrition (The Real Talk)
Look, we’re all friends here. This is a decadent, celebratory dessert. It’s not a salad. It’s meant to be enjoyed as an occasional, soul-satisfying treat. A single serving of this beauty packs a caloric punch (around 420 calories) with a good amount of sugar and fat. And you know what? That’s perfectly okay. Food is about joy and connection, not just fuel.
My philosophy is to enjoy these kinds of treats mindfully and in moderation. Savor every single bite of that warm, gooey cake with melting ice cream. Share it with people you love. The happiness and memories you create around the table are worth every single calorie. For a slightly lighter option, you can refer to the dairy-free and oil substitutions in the ingredients list, but I highly recommend trying the full-fat, full-sugar version first. You deserve it.
You Did It! Now, Go Enjoy the Fruits of Your Labor
And there you have it! Your very own, from-scratch, jaw-droppingly delicious Sticky Toffee Cake. I am so proud of you for taking the time to create something truly special. This isn’t just a recipe; it’s a tool for creating those “you’ve gotta try this” moments I’m always talking about.
So, gather your friends or family, plate up those warm slices, and get ready for the compliments to roll in. Remember, the messier the kitchen and the bigger the smiles, the more successful the recipe. This is what Food Meld is all about. Now, dig in, and let me know how it turned out for you! Tag me on social with #FoodMeld so I can see your beautiful creations. Until next time, keep cooking boldly and enjoying every single bite.


