Let’s Make Some Magic: Your New Go-To Party Trick
Hey friends, Jackson here from Food Meld. Let’s talk about one of the most fun, creative, and downright adorable things you can make in your kitchen: cake pops. I see you—maybe you’ve scrolled past those perfect, sprinkle-covered spheres on social media and thought, “Wow, those look incredible… and way too complicated for me.” I’m here to tell you right now, you are absolutely wrong. And I say that with love!
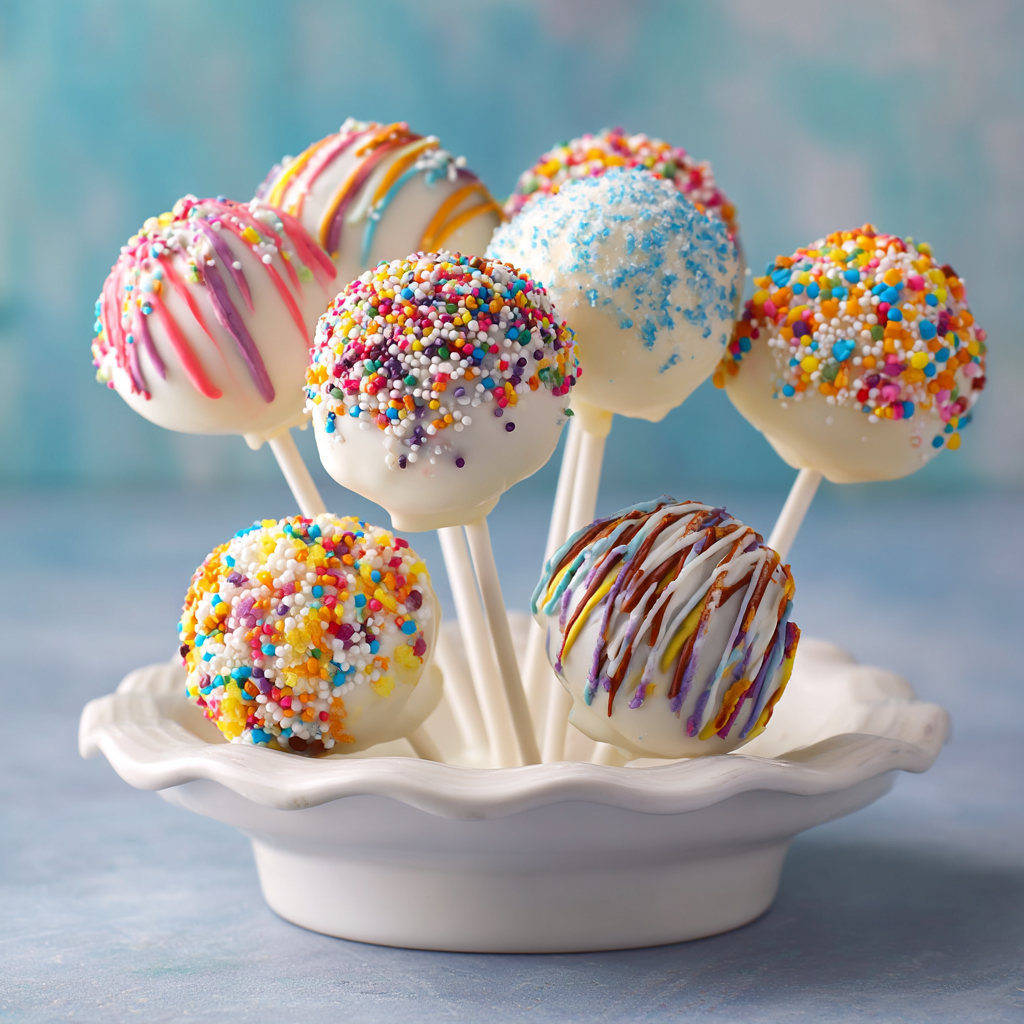
These little bites of joy are my secret weapon for birthdays, holidays, or just a Tuesday that needs a splash of fun. They’re the ultimate “wow” factor that’s secretly built on a foundation of simplicity. We’re talking moist cake, mixed with just enough frosting to create a magical, moldable dough, dipped in a smooth candy shell, and decked out with all the sprinkles your heart desires. It’s a project, for sure, but it’s the kind of project that feels more like play than work.
In true Food Meld fashion, we’re keeping things real. This isn’t about achieving impossible, bakery-level perfection. It’s about getting your hands a little messy, laughing when a few sprinkles miss the mark, and experiencing that pure joy when you pull your very first perfectly coated cake pop out of the dipping bowl. This guide is your friendly, step-by-step map to cake pop success. I’ve tested all the little tricks and navigated the common pitfalls so you don’t have to. So, grab your favorite mixing bowl, put on some good music, and let’s turn simple ingredients into something unforgettable. Ready to cook something awesome together? Let’s dive in.

A Fairground Discovery and a Kitchen Revolution
I’ll never forget the first time I saw a cake pop. It wasn’t in a fancy bakery; it was at our local county fair, tucked between the funnel cake stand and a woman selling giant turkey legs. A little booth was manned by a woman who must have been somebody’s grandma, her hands moving with a quiet, confident speed as she dipped and decorated these beautiful little orbs on sticks. I was mesmerized. I bought one—a simple vanilla one coated in bright pink chocolate and covered in rainbow jimmies. I took one bite and my brain just… stopped. It was cake! On a stick! But it was somehow more than cake. It was dense, fudgy, and perfectly portable. It was genius.
I went home that night, my mind racing. I had to figure this out. My first attempt was, to put it kindly, a hilarious disaster. I used way too much frosting, creating a sticky, un-dippable mudslide. My coating was too thick, my cake balls fell off the sticks, and my kitchen looked like a sprinkle bomb had gone off. But in the middle of that delicious mess, I was having an absolute blast. That’s the spirit I want to bring to you today. It’s not about getting it perfect on the first try; it’s about the fun of the experiment, the joy of creation, and that proud feeling when you finally nail it. That fairground magic is totally achievable in your own kitchen, I promise.
Gathering Your A-Team: Simple Ingredients, Big Flavor
Here’s the beautiful part: you don’t need a pantry full of obscure ingredients to make incredible cake pops. We’re starting with a few smart store-bought shortcuts to build a rock-solid foundation for your creativity. Here’s what you’ll need:
- 2 boxes Pillsbury Classic White Cake Mix (plus ingredients listed on the box, typically oil, water, and eggs). Chef’s Insight: Using a box mix guarantees a consistent, moist, and fluffy crumb every single time. It’s our secret weapon for efficiency and fool-proof results. Feel free to swap in a devil’s food or funfetti mix for a different vibe!
- 4 tbsp Pillsbury Creamy Supreme Vanilla Frosting. Chef’s Insight: This is the “glue” that holds our pops together. Start with 3 tablespoons and add the fourth only if your mixture feels dry. The goal is a play-dough-like consistency, not a soggy one. This little can of frosting is the key to that irresistible, fudgy texture.
- 24 oz Wilton Candy Melts (white, colored, or your choice). Chef’s Insight: Candy melts (or candy wafers) are specifically designed for coating. They set firm and don’t require tempering like real chocolate. You can find them in every color of the rainbow at craft stores or online. They’re the key to that smooth, professional-looking shell.
- 3 tsp Crisco Shortening or Dipping Aid Chips. Chef’s Hack: This is arguably the MOST important tip in the entire recipe! A tiny bit of shortening thins the candy melts to the perfect dipping consistency, making them smooth and easy to work with. Without it, the coating can be too thick and clumpy.
- 48 Cake Pop Sticks. You can find these right next to the candy melts. They’re the trusty handles for our delicious creations.
- White Nonpareils or Sprinkles (optional). This is where your personality shines! Raid your sprinkle collection and go wild. This is the fun part.
The Fun Part: Let’s Build These Cake Pops!
Alright, team, this is where the magic happens. Put on an apron, clear some counter space, and let’s get to it. Follow these steps, and you’ll be a cake pop pro in no time.
- Bake and Cool: Bake your cakes according to the package directions in two 9×13 pans. Pro-Tip: I like to bake them in these thinner layers because they cool down much, much faster. Once they’re out of the oven, you absolutely must let them cool completely. I’m talking room-temperature, no-warmth-whatsoever cool. Trying to crumble a warm cake is a fast track to a gummy, mushy mess. Patience is your first secret ingredient here!
- The Great Crumble: Crumble the fully cooled cakes into a large bowl. Get your hands in there! You want the crumbs to be fine and even, with no big chunks. Chef’s Hack: If you want to save a little time and keep your hands clean, you can actually pulse the cake chunks in a food processor until they’re fine crumbs. Both methods work great!
- Mix in the Magic Glue: Now, add your vanilla frosting. Start with 3 tablespoons and use a spatula or your hands to mix it in. Squish and fold until the mixture starts to come together. It should feel like a soft, moldable dough that holds its shape when you squeeze it. If it’s still too dry and crumbly, add that fourth tablespoon. Remember, we can add more, but we can’t take it out!
- Shape and Chill: Using a small cookie scoop or a tablespoon, portion out the mixture and roll it into smooth, tight balls. I aim for about 1 to 1.5 inches in diameter. Place them on a parchment-lined baking sheet. This is non-negotiable: Pop the entire tray into the refrigerator for at least 1 hour, or the freezer for 20-30 minutes. This firming-up step is what prevents your cake pops from falling apart when you dip them. Don’t skip the chill!
- Melt Your Coating: When you’re about ready to dip, melt your candy melts with the shortening in a deep, microwave-safe bowl. Heat in 30-second bursts, stirring vigorously between each one, until it’s completely smooth and fluid. Chef’s Hack: Never, ever overheat the candy melts! They can scorch and seize up. If they seem a little thick, add a tiny bit more shortening, a ¼ teaspoon at a time, until it drips nicely off your spoon.
- Stick ‘Em Up: Now, take a cake pop stick and dip the very tip (about ½ inch) into the melted candy. Then, gently push the stick into a chilled cake ball, going about halfway through. This little bit of “glue” creates a secure seal that keeps your pop from sliding off the stick later. Let them set for a few minutes so the candy hardens.
- The Big Dip: Here we go! Holding the stick, fully submerge a cake ball into the melted candy. Gently tap off the excess by lightly tapping your wrist while slowly rotating the pop. Pro-Tip: Don’t stir it around! Just a smooth dip, lift, and tap. The key is a thin, even coat.
- Decorate and Set: While the coating is still wet, this is your moment to shower it with sprinkles, nonpareils, or whatever decorations you love. Then, stick the other end of the stick into a Styrofoam block, a box, or even an upside-down colander to let them set completely without getting a flat side. Stand back and admire your handiwork!
Showing Off Your Masterpieces
You’ve made it! You have a beautiful army of cake pops. Now, how do you present them? This is the final flourish that really makes people’s jaws drop.
That Styrofoam block you used for drying doubles as a fantastic serving stand. You can cover it with wrapping paper or fabric to make it party-ready. For a real showstopper, arrange them in a tall vase or a weighted pitcher filled with decorative candy or coffee beans to hold them upright. They become an instant edible centerpiece!
For gift-giving, slide a clear treat bag over each finished pop and tie it with a colorful ribbon. It keeps them clean and looks incredibly thoughtful. However you choose to serve them, do it with pride. You just created something delicious and beautiful from scratch.
Make It Yours: Endless Flavor Twists
The basic formula is your playground. Once you’ve mastered the classic vanilla, the world is your cake pop. Here are a few of my favorite ways to mix it up:
- Chocolate Lover’s Dream: Use a devil’s food cake mix and chocolate frosting. Dip in dark candy melts and roll in crushed Oreos or chocolate sprinkles. It’s a deep, rich chocolate bomb.
- Lemon Zest Delight: Use a lemon cake mix and add a teaspoon of lemon zest to the vanilla frosting before mixing. Dip in yellow candy melts and decorate with yellow sanding sugar for a bright, sunny pop.
- Funfetti Party: This one’s a no-brainer! Use a funfetti cake mix and vanilla frosting. The sprinkles are already baked right in! Dip in pastel candy melts for an extra festive look.
- Cookies & Cream: Use a white or chocolate cake mix and mix in ½ cup of crushed Oreo crumbs with the frosting. Dip in white candy melts and sprinkle with more Oreo crumbs. It’s a classic combo that never fails.
- “Healthier” Swap: You can absolutely use a gluten-free cake mix and frosting to accommodate dietary needs. The process is exactly the same!
Jackson’s Kitchen Confidential
This recipe has been a living, evolving thing in my kitchen. I’ve learned that the single most common mistake is adding too much frosting. It seems counterintuitive, but a little less is better than a little more. A soggy cake ball is a sad cake ball that might not survive the dip!
I also have a funny memory of trying to make cake pops for my niece’s birthday one year. I was in a rush and didn’t chill them long enough. The first one I dipped immediately slid off the stick, did a perfect little somersault, and landed coating-side down on the floor. My niece, who was “helping” me, thought it was the funniest thing she’d ever seen. We now call any kitchen mishap a “floor pop” in her honor. The moral? Laugh it off. They’re just cake pops. The mess and the memories are part of the fun.
Your Questions, Answered
Q: My candy coating is cracking! What did I do wrong?
A: Ah, the dreaded crack! This almost always happens because the cake balls were too cold when you dipped them, causing the coating to contract and crack as it set. The sweet spot is a chilled-but-not-frozen ball. Let them sit out for 5-10 minutes after coming out of the fridge before dipping.
Q: My cake balls keep falling off the sticks during dipping. Help!
A> This is usually one of two things: 1) You didn’t create that initial “glue” seal by dipping the stick tip in candy first, or 2) The cake balls are too heavy/soft because there’s too much frosting in the mix. Next time, use a bit less frosting and make sure you’re not making the balls too big.
Q: Can I make these ahead of time?
A> You absolutely can! Once fully set, store them in a single layer in an airtight container at room temperature for up to 3 days, or in the fridge for up to a week. They also freeze beautifully for up to 2 months. Just thaw in the refrigerator overnight.
Q: Can I use real chocolate instead of candy melts?
A> You can, but it’s trickier. Real chocolate needs to be tempered to get that smooth, snappy finish. If you don’t temper it, it can stay soft and melt in your hands. If you want to try, use high-quality chocolate bars (not chocolate chips, which have stabilizers) and add a little paramount oil or cocoa butter to thin it, not shortening.
The Sweet Details (Nutritional Info)
Alright, let’s keep it real—these are a treat, through and through. But knowledge is power, right? Here’s a general breakdown per cake pop (estimated). Remember, these values can change based on the specific brands you use and your decorations.
Per Cake Pop (estimated):
Calories: 90 | Total Carbohydrates: 12g | Total Fat: 4g | Sugar: 9g | Protein: 1g
The main contributors here are the cake mix and the candy coating. While they’re not an everyday health food, their small, portion-controlled size is part of their charm. It’s a perfect little bite of sweetness to satisfy a craving without going overboard. My philosophy? Enjoy your food, savor the treats you love, and focus on the joy of making something with your own two hands. That’s a win in my book.
You Did It! Welcome to the Cake Pop Club
Look at you! You’ve navigated the crumble, mastered the dip, and created something truly special. I hope this process showed you just how accessible and fun “fancy” treats can be. Cooking is all about breaking down barriers and discovering that you are more capable than you think.
These cake pops are more than just a dessert; they’re a conversation starter, a creative outlet, and a tangible piece of love you can share with friends and family. So the next time a birthday, holiday, or just a serious sugar craving rolls around, you know exactly what to do. You’ve got this.
I’d love to see your creations! Tag me on social @FoodMeld and show me your unique flavor twists and sprinkle combinations. Until next time, keep mixing it up, making it yours, and enjoying every single bite. Happy cooking!
— Jackson


