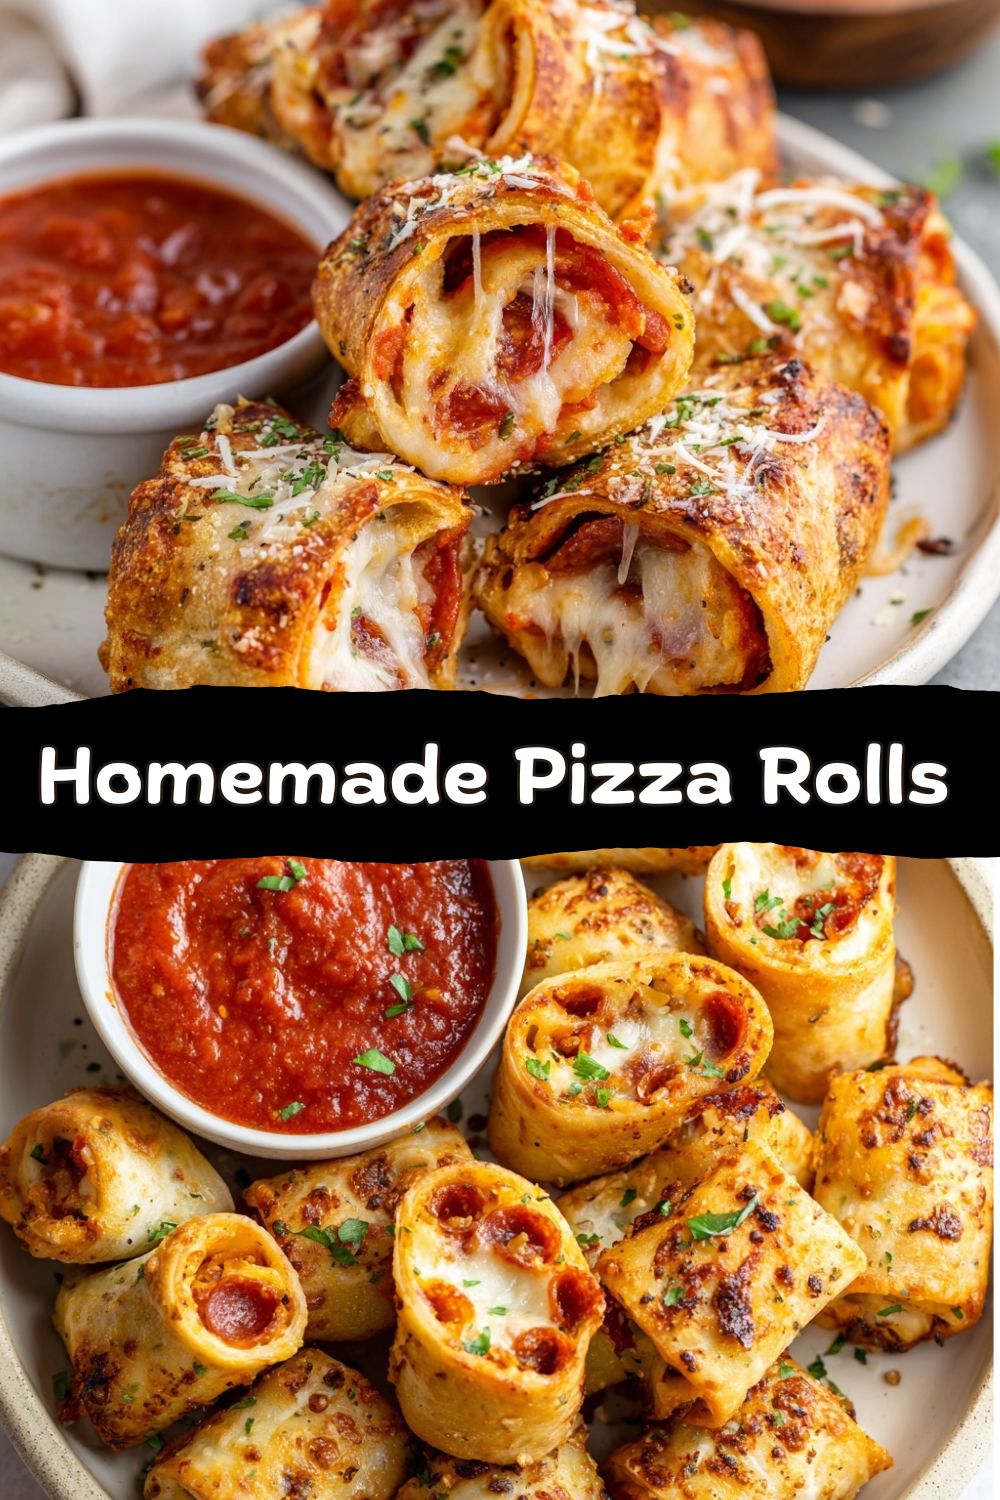
Homemade Pizza Rolls: The Ultimate Fun, Baked & Cheesy Snack Attack
Raise your hand if you’ve ever torn open a box of frozen pizza rolls in a moment of pure, unadulterated snack desperation. ✋ Yeah, me too. We’ve all been there. That crispy, cheesy, vaguely pizza-flavored bite that hits the spot… but always leaves you wondering, “What if these were… more?” What if they were packed with real cheese that stretches for miles, your favorite actual pizza sauce, and toppings you chose yourself? What if they were golden and crisp from your own oven, not a microwave?
Friends, that “what if” ends today. These Homemade Pizza Rolls are our delicious answer. This is about capturing that iconic, fun-for-everyone flavor but elevating it into something you’ll be genuinely proud to serve. Imagine all the joy of pizza night, rolled up (literally!) into a bite-sized package perfect for game days, after-school snacks, lunchboxes, or even a “why not?” Wednesday appetizer.
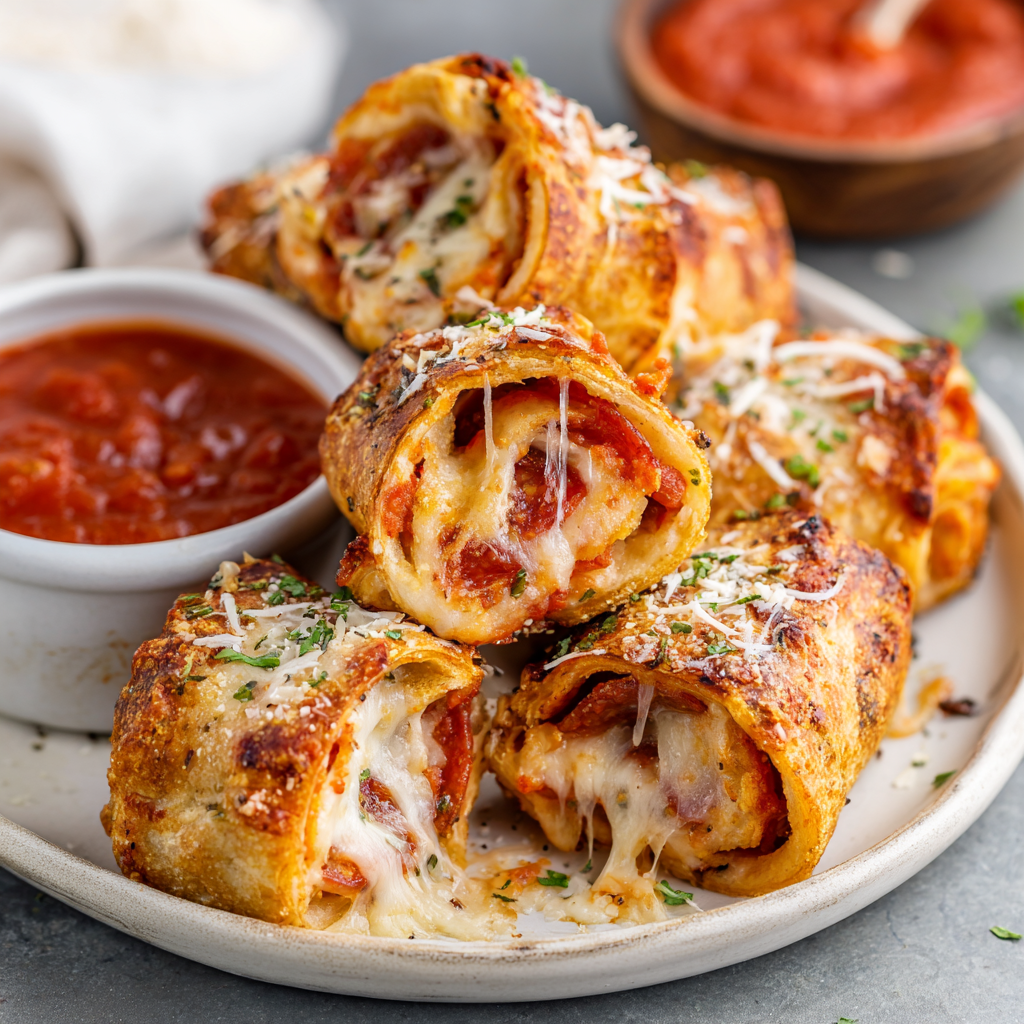
We’re keeping it brilliantly simple. No fancy skills required. Just good ingredients, a little rolling action, and your oven doing the magic. The result? A platter of warm, bubbly, golden bites that are crispy on the outside, molten and gooey on the inside, and begging to be dunked into a side of marinara. It’s a recipe that feels like a party, tastes like comfort, and is guaranteed to create those “you’ve gotta try this!” moments we live for here at Food Meld. So, preheat that oven, and let’s turn snack time into the main event.
My Pizza Roll Origin Story: A Sleepover Staple Gets a Grown-Up Glow-Up
My love affair with the pizza roll concept goes way back to the sacred ritual of the Friday night sleepover. My best friend Mike would host, and the menu was non-negotiable: a giant, pixelated pizza delivered in a cardboard box, a 2-liter bottle of soda so fizzy it burned your nose, and a baking sheet of frozen pizza rolls emerging from the oven like tiny, greasy treasures. We’d burn the roofs of our mouths without fail, arguing over who got the ones with extra pepperoni chunks (you could sometimes see them through the dough!). It was pure, messy, nostalgic joy.
But when I started cooking for real, that frozen version just didn’t cut it anymore. The memory, however, was gold. I wanted to recreate that feeling—the fun, the shareability, the pure snackable delight—but with the bold, real flavors I cook with now. It took a few tries (let’s just say my first attempt resembled more of a “pizza calzone explosion” than neat little rolls), but nailing this recipe felt like bridging two worlds. It’s my inner twelve-year-old high-fiving my chef-self. Now, I make these for my own friends during game day, and the reaction is always the same: “Wait, you MADE these? They taste like… actual pizza!” Mission accomplished. The sleepover spirit lives on, just with better cheese.
Gathering Your Flavor Arsenal: Simple Ingredients, Big Impact
Here’s where the magic starts. These ingredients are about building layers of flavor in every bite. Don’t just grab and go—think like a chef for a second! Here’s what you need and why:
- 1 lb refrigerated pizza dough – The foundation! I love the convenience of the store-bought tubs found in the dairy aisle. They roll out like a dream. Chef’s Insight: Let it sit on the counter for 20-30 minutes before rolling. A warmer dough is much more cooperative and won’t snap back.
- ½ cup pizza sauce – This is your flavor engine. Use a good-quality jarred sauce you love, or your own homemade batch. Pro Tip: If your sauce is very watery, simmer it for 5-10 minutes to thicken slightly. A thicker sauce prevents a soggy roll.
- 1 ½ cups shredded mozzarella cheese – For that iconic, stretchy pull. I highly recommend shredding a block of low-moisture mozzarella yourself. Pre-shredded cheese has anti-caking agents that can make the melt less silky.
- ¼ cup grated Parmesan cheese – The flavor booster! This salty, nutty cheese adds a depth that mozzarella alone doesn’t have. It’s non-negotiable for me.
- ⅓ cup mini pepperoni – Classic and perfect! The minis distribute evenly. Substitution Heaven: This is your playground! Use cooked Italian sausage, diced ham, sautéed mushrooms, bell peppers, olives, or even pineapple if you’re feeling brave!
- 1 teaspoon Italian seasoning – The aroma in a jar. This little sprinkle over the filling wakes everything up.
- 1 tablespoon olive oil + 1 tablespoon grated Parmesan (for topping) – This is the secret to that gorgeous, golden-brown, slightly crispy exterior. The oil helps it brown, and the extra Parmesan adds a final savory crunch.
- Marinara sauce, for serving – Double-dipping is not only allowed, it’s encouraged. Ranch or garlic butter are also elite-level dipping choices.
Let’s Get Rolling: Your Step-by-Step Roadmap to Snack Victory
Ready? Apron on, favorite playlist on, let’s do this. It’s easier than you think.
Step 1: Prep Your Arena. Preheat your oven to 400°F (200°C). Line a large baking sheet with parchment paper. This isn’t just for easy cleanup—it prevents the bottoms from getting too dark. Take your pizza dough out of the fridge and let it lose its chill on the counter while you get everything else ready.
Step 2: Roll Out the Canvas. On a lightly floured surface, roll, stretch, or press your dough into a rough rectangle, about 12×15 inches. Don’t stress about perfect corners! A rustic rectangle is totally fine. If the dough keeps shrinking back, let it rest for 5 more minutes—it’s just being stubborn.
Step 3: Layer on the Goodness. Spread your pizza sauce evenly over the dough, leaving a clean ½-inch border along all edges. This border is your glue—it will seal the log shut! Now, sprinkle on the mozzarella, then the Parmesan, then your toppings (pepperoni!), and finally, dust it all with the Italian seasoning. Go almost to the edges, but respect that saucy border!
Step 4: The Big Roll. Starting from one of the shorter ends (so you get more, smaller rolls), begin rolling the dough up tightly, like a jelly roll or a yoga mat. Use your fingers to tuck the filling in as you go. When you get to the end, press the seam down firmly to seal it. Gently roll the log seam-side down.
Step 5: Slice & Arrange. Using a sharp serrated knife, slice the log into 1-inch pieces. A gentle sawing motion works best to avoid squishing. You should get about 12-15 rolls. Place them cut-side up on your prepared baking sheet, giving them a little room to breathe and puff up.
Step 6: The Golden Touch. Brush the tops and sides of each roll lightly with olive oil. This is what gives them that beautiful sheen and crispness. Then, sprinkle the remaining tablespoon of Parmesan over the top for extra flavor.
Step 7: Bake to Perfection. Bake for 15-18 minutes, until the tops are deeply golden brown and you can see cheese bubbling happily out the sides. Your kitchen will smell incredible.
Step 8: The Crucial Rest. I know it’s hard, but let them cool on the sheet for 5 minutes before diving in. This allows the molten cheese to set just enough so it doesn’t become a lava-like third-degree burn on the roof of your mouth. (Learn from my many, many sleepover mistakes.).
How to Serve ‘Em Up: From Casual to Creative
Presentation is part of the fun! Dump them in a bowl for ultimate casual vibes, or get fancy with it.
For a crowd, pile them high on a big wooden board or platter. Place a bowl of warm marinara in the center, and maybe a smaller bowl of cool, creamy ranch for contrast. Scatter some fresh basil leaves or a little red pepper flake over the top for a pop of color.
For a fun lunch or dinner, serve a stack of these rolls (say, 5-6 per person) alongside a big, bright Italian salad full of crisp romaine, red onion, olives, and a sharp vinaigrette. It cuts through the richness perfectly.
Thinking drinks? For the kids, sparkling lemonade. For the adults, a cold, crisp lager or a Sangiovese wine works beautifully. It’s all about that easy, shareable, feel-good energy.
Mix It Up! 5 Tasty Twists on the Classic
The basic recipe is your launchpad. Here’s where your “what if we tried this?” energy kicks in.
- The Supreme: Swap the pepperoni for a mix of cooked Italian sausage, diced green pepper, red onion, and sliced black olives.
- White “Pizza” Rolls: Skip the red sauce. Spread a layer of ricotta cheese mixed with a minced garlic clove over the dough. Top with mozzarella, chopped cooked spinach, and shredded rotisserie chicken.
- Breakfast Pizza Rolls: Use scrambled eggs, cooked crumbled bacon or breakfast sausage, and shredded cheddar cheese. Serve with a side of maple syrup for dipping. Trust me.
- Vegan Delight: Use vegan pizza dough, vegan mozzarella shreds, and plant-based pepperoni or sautéed veggies. A great dairy-free option that doesn’t skimp on flavor.
- Spicy BBQ Chicken: Use barbecue sauce instead of pizza sauce, shredded cooked chicken, red onion, mozzarella, and a blend of cheddar. A total crowd-pleaser with a sweet & smoky vibe.
Chef’s Notes: Tales from the Test Kitchen
This recipe has seen some… experimental phases. There was the “Overstuffed Era,” where I learned the hard way that more filling is not always better. It leads to burst seams and cheese catastrophes on the baking sheet (tasty, but messy). Then there was the “Everything Bagel” phase, where I topped them with the seasoning. Surprisingly delicious, but maybe not for purists.
The biggest evolution was switching from an egg wash to simple olive oil for brushing. The egg wash made them a bit too “bread-y” and shiny, like little dinner rolls. The olive oil lets the dough get crisp and lets the Parmesan topping really stick and get crunchy. It’s a small change with a big payoff. Remember, cooking is about playing and learning. If your first roll isn’t perfect, you’re still going to eat something delicious. That’s a win in my book.
FAQs & Snack Rescue Tactics
Q: My rolls came out soggy on the bottom. What happened?
A: The usual suspects are too-thin sauce or overcrowding the pan. Ensure your sauce is nice and thick, and give the rolls at least an inch of space on the baking sheet so steam can escape. Also, make sure your oven is fully preheated!
Q: The dough is tearing when I roll it. Help!
A: Your dough is too cold or overworked. Let it warm up on the counter longer. If a small tear happens, just pinch it closed. If it’s a big one, patch it with a tiny piece of dough from the edge—it’ll bake up fine.
Q: Can I make these ahead of time?
A: Absolutely! Assemble the rolls, place them on the parchment-lined sheet, and freeze them solid. Then transfer to a freezer bag. Bake straight from frozen, adding 3-5 extra minutes to the bake time. Perfect for instant snacks!
Q: Can I use homemade dough?
A: Of course! Use your favorite pizza dough recipe. Just make sure it’s a dough that rolls out well—some very high-hydration artisan doughs can be too sticky for this. A medium-weight dough is perfect.
Nutritional Info (Because We’re Curious!)
Prep Time: 15 mins | Cook Time: 18 mins | Total Time: 33 mins | Servings: 12 rolls
Please note: The following is an estimate provided by an online nutrition calculator. Values will vary based on specific ingredients and portion sizes used.
Per Roll (approx): Calories: 180 | Total Fat: 8g | Saturated Fat: 3g | Cholesterol: 15mg | Sodium: 380mg | Total Carbohydrates: 20g | Dietary Fiber: 1g | Sugars: 2g | Protein: 7g
These are a treat, but making them at home means you control the quality of ingredients. Using part-skim cheeses, loading up on veggie toppings, or serving with a big salad are great ways to enjoy them as part of a balanced approach.
Final Thoughts: Your Kitchen, Your Rules
And that’s it! You’ve just unlocked a whole new level of snack-time greatness. These Homemade Pizza Rolls are more than just a recipe; they’re a reminder that the best food is often the most fun food. It’s about taking something familiar and injecting it with love, better ingredients, and your own personal twist.
I hope you bake up a batch, make a mess, and share them with people who will appreciate that glorious, cheesy pull. Tag me on social if you do—I love seeing your Food Meld creations! Remember, in this kitchen, there are no mistakes, just delicious discoveries. Now, go roll up some fun.
Until next time, keep cooking boldly and snacking happily,
Jackson


