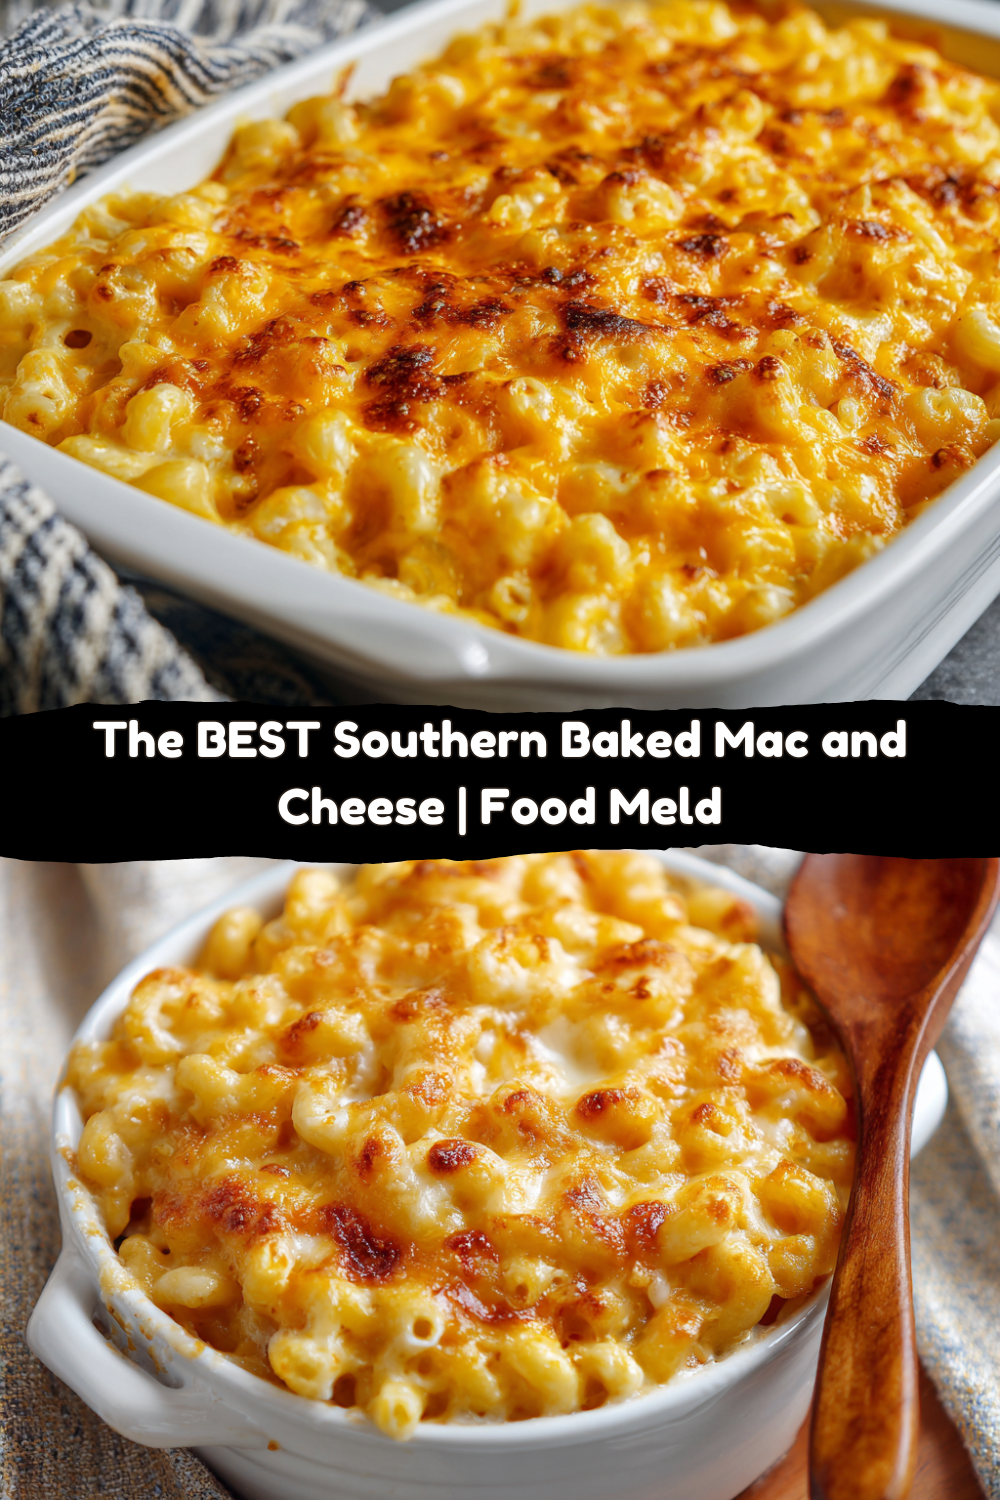
Let’s Make the Mac and Cheese of Your Dreams
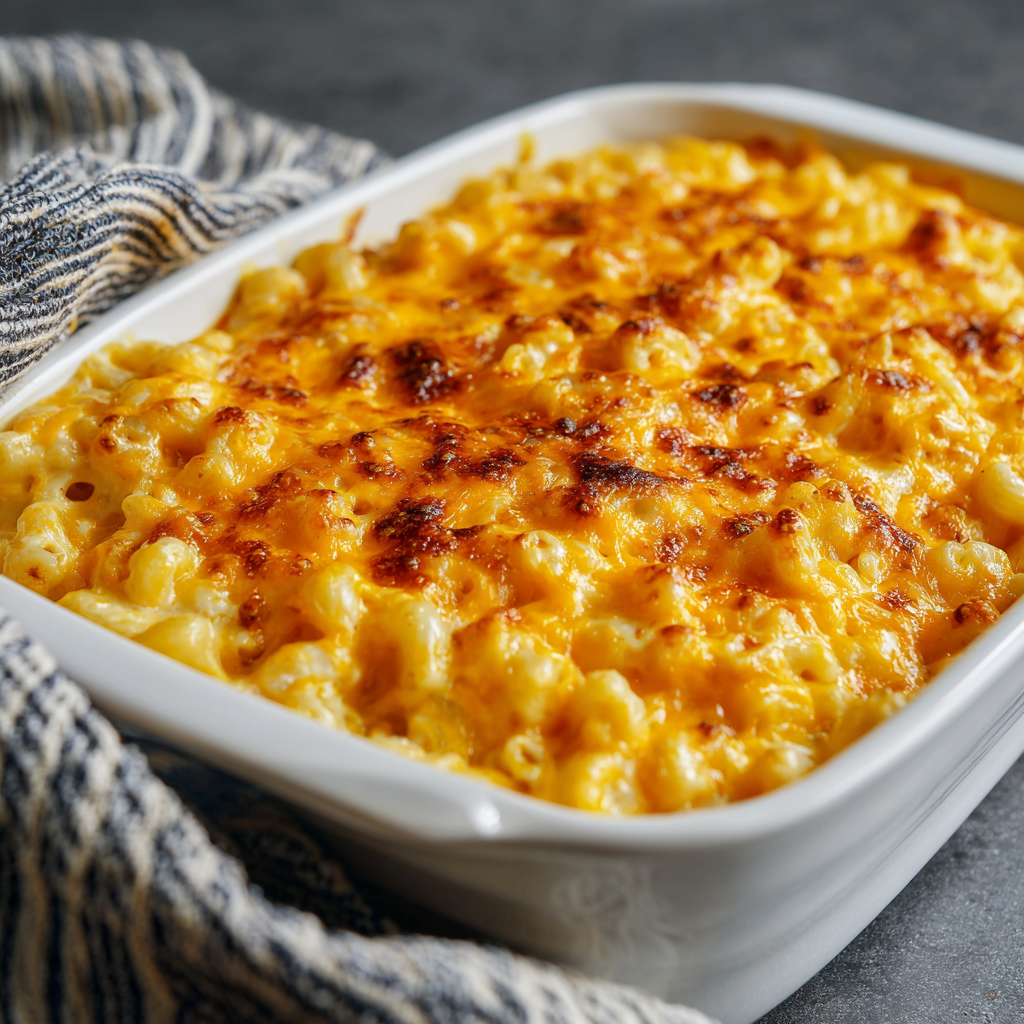
Hey friends, Jackson here from Food Meld. Let’s talk about one of life’s greatest simple pleasures: a big, bubbling dish of good ole fashion mac and cheese. I’m not talking about the stuff from a blue box (though we’ve all been there, and no judgment here!). I’m talking about the real deal. The kind that shows up at family reunions, Sunday suppers, and potlucks, and is always the first thing to disappear. The kind with a creamy, soul-hugging interior and a top that’s baked to a glorious, golden-brown perfection.
This recipe is my love letter to that classic. It’s the one I turn to when I need a guaranteed smile, when I’m feeding a crowd, or when I just want to treat myself after a long week. It’s bold, comforting, and packed with so much cheesy flavor, you’ll be scooping straight from the pan. And the best part? It’s deceptively simple. We’re using a clever little shortcut (hello, evaporated milk!) to create a luxuriously smooth sauce without any fussy roux-making. No lumps, no breaking, just pure, unadulterated cheesy goodness. So, preheat that oven, grab your favorite baking dish, and let’s cook up some seriously awesome comfort food together.
The Potluck That Started It All
You know, every great recipe has a story, and this mac and cheese takes me right back to my Grandma Lou’s house. Every summer, her church would host a massive potluck picnic under these giant oak trees. Tables would groan under the weight of fried chicken, collard greens, and every casserole you could imagine. But my mission, even as a kid, was always the same: find Sister Martha’s mac and cheese.
It was legendary. She’d bring it in this big, chipped ceramic dish that had seen better days, but what was inside was pure gold. It had this crispy, almost crackly top that gave way to the creamiest, cheesiest center I’d ever tasted. I’d always manage to snag a heaping spoonful, and I’d eat it slowly, savoring every single bite. That dish wasn’t just food; it was a feeling of community, of sunshine, of pure joy. This recipe is my attempt to capture that magic in my own kitchen. It’s my “Sister Martha” moment, and now, I’m sharing it with you.
Gather Your A-Team: The Ingredients
This is where the magic starts. Simple, high-quality ingredients are the key to making this mac and cheese unforgettable. Here’s your shopping list:
- 3 cups dry elbow macaroni: The classic choice! Its small, tubular shape is perfect for cradling all that cheesy sauce. Feel free to swap in cavatappi or shells if that’s what you have—they’re great at holding onto sauce, too.
- 4 tbsp salted butter: We’re melting this right into the hot, drained pasta. It adds a rich, savory base and helps keep the noodles from sticking together while we prepare the sauce. It’s our first layer of flavor.
- 2 (12 oz) cans evaporated milk: This is our secret weapon! Evaporated milk is milk with about 60% of the water removed, which gives it a super-creamy texture and a slight sweetness. It prevents the sauce from curdling and creates that incredibly smooth, velvety base that makes this recipe so foolproof.
- 1/3 cup milk of choice: This just loosens up the mixture a bit. I usually use whole milk for extra richness, but 2%, or even your favorite unsweetened plant-based milk, will work perfectly here.
- 2 large eggs: Don’t worry, you won’t taste them! The eggs act as a binder, helping to set the mac and cheese into a firm, sliceable texture as it bakes, rather than being soupy.
- 1/4 tsp garlic salt: A little chef’s hack! This adds a subtle, savory depth that plain salt just can’t achieve. If you only have regular salt, that’s fine—just add a tiny pinch of garlic powder with it.
- 4 cups cheddar cheese, shredded: Chef’s Insight: This is non-negotiable—shred your own cheese! Pre-shredded bags are coated with anti-caking agents like potato starch or cellulose, which can make your sauce grainy and prevent it from melting smoothly. Buy a block of sharp or extra-sharp cheddar and grate it yourself. Trust me, it makes ALL the difference. We’re using 3 cups in the sauce and saving 1 cup for that epic, golden top.
Let’s Build Some Flavor: Step-by-Step
Alright, team, let’s get cooking. Put on some tunes, and let’s make this kitchen the happiest place in the house.
- Preheat and Prep: First things first, crank that oven to 350°F (175°C). This gives it plenty of time to get perfectly heated while we work. Then, grab a 9×13 inch baking dish and give it a quick grease with butter or a spritz of cooking spray. We’re setting the stage for a beautiful, non-stick release later.
- Cook the Pasta: Get a large pot of salted water boiling. Add your elbow macaroni and cook it until it’s just tender—what we call al dente. Chef’s Tip: It’s crucial to undercook it slightly because it’s going to continue cooking in the oven. If you cook it to mush now, it’ll be way too soft in the final bake. Drain it well, then immediately return it to the hot pot.
- Butter Me Up: Add those 4 tablespoons of salted butter to the hot, drained pasta and stir it until it’s all melted and coating every single noodle. This not only adds flavor but also creates a light barrier that helps the noodles absorb the sauce without getting soggy.
- Create the Creamy Base: In a large bowl, let’s whisk together our liquid gold. Combine the evaporated milk, your regular milk, the two eggs, and that 1/4 tsp of garlic salt. Whisk it until it’s completely smooth and homogenous. No streaks of egg yolk left behind!
- The Big Cheese Mix-In: Now, take 3 cups of your freshly shredded cheddar cheese and stir it right into the milk and egg mixture. It might seem a little odd, but this is the trick! The cheese won’t melt now; it’ll melt slowly and evenly in the oven, creating that perfectly smooth sauce we’re after.
- Combine Everything: Pour your cheesy milk mixture over the buttered pasta in the pot. Gently stir it all together until every piece of macaroni is coated in that creamy, cheesy goodness. This is where you’ll start to smell the magic happening.
- Into the Dish & Top It Off: Carefully pour the entire mixture into your prepared baking dish. Spread it out into an even layer. Now, take that last reserved cup of shredded cheese and sprinkle it evenly over the top. This is what’s going to create that iconic, beautifully browned, cheesy crust we all fight over.
- Bake to Perfection: Slide the dish into your preheated oven, uncovered, and let it bake for 35-40 minutes. You’re looking for a top that’s golden brown and bubbly around the edges. If you give the dish a gentle shake, the center should be set with just a slight jiggle. Pro-Tip: For an extra-crispy top, you can pop it under the broiler for the last minute or two—just don’t walk away! It can burn in a flash.
How to Serve This Beauty
Once you pull that gorgeous, bubbling dish from the oven, the temptation to dive right in will be real. But hold on! Let it rest for about 5-10 minutes. This allows the sauce to set up slightly, making it easier to scoop out perfect, clean portions.
I love serving this mac and cheese family-style, right in the baking dish in the middle of the table. It creates that warm, communal feeling I love. For a classic Southern supper, pair it with some crispy fried chicken or baked barbecue chicken, a big pile of collard greens, and a side of pickles to cut through the richness. It’s also the ultimate potluck champion—just cover it with foil, wrap it in a towel to keep it warm, and prepare to be the most popular person at the party.
Mix It Up! Creative Twists
Once you’ve mastered the classic, have fun and make it yours! Here are a few of my favorite ways to mix it up:
- The Three-Cheese Wonder: Swap out 1 cup of the cheddar for equal parts Gruyère (for a nutty flavor) and Monterey Jack (for superb meltability).
- Bacon & Jalapeño Fiesta: Stir in 1 cup of cooked, crumbled bacon and 1/4 cup of finely diced pickled jalapeños into the pasta mixture before baking. The smoky, spicy, cheesy combo is a game-changer.
- Buffalo Chicken Mac: Fold in 2 cups of shredded rotisserie chicken tossed in 1/2 cup of buffalo sauce. Top with the cheddar and a drizzle of ranch or blue cheese dressing after baking.
- Lobster Mac for a Special Occasion: Stir in 1-2 cups of cooked, chopped lobster meat along with a teaspoon of Old Bay seasoning. Pure indulgence!
- Gluten-Free/Dairy-Swap: Use your favorite gluten-free pasta. For the dairy, use vegan butter, your preferred plant-based milk, and 4 cups of a good melting vegan cheddar cheese. The method stays exactly the same!
Jackson’s Kitchen Notes
This recipe has evolved so much in my kitchen over the years. I started out making a complicated, roux-based sauce that, let’s be honest, sometimes broke or got lumpy on a busy weeknight. The discovery of the evaporated milk method was a total “Aha!” moment for me. It was a happy accident born from being out of regular milk but determined to make mac and cheese anyway. Now, it’s my go-to. It’s incredibly forgiving and consistently delivers that creamy, custardy texture that reminds me of my favorite church potluck memories. Don’t be afraid to make this recipe your own—that’s what cooking is all about!
Your Questions, Answered
Q: Can I make this mac and cheese ahead of time?
A: Absolutely! You can assemble the entire dish, cover it tightly, and refrigerate it for up to 24 hours before baking. When you’re ready, you may need to add 5-10 minutes to the baking time since it’s going into the oven cold.
Q: My sauce turned out a bit grainy. What happened?
A: This is almost always because of the cheese. Pre-shredded cheese is the most common culprit. Next time, try shredding your own block of cheese. Also, make sure you’re not baking at too high a temperature, as overheating can cause the cheese’s fats to separate.
Q: Can I freeze baked mac and cheese?
A: You can, but a heads-up: the texture of the dairy-based sauce can change a bit upon thawing and reheating, sometimes becoming a little grainy. It will still taste great, but for the best texture, I recommend enjoying it fresh or made ahead and refrigerated.
Q: Why eggs? I’ve never seen them in mac and cheese before.
A: Great question! The eggs are what give this Southern-style mac its signature firm, almost sliceable texture, as opposed to a loose, saucy one. They bind the sauce together beautifully. I promise, you won’t taste them—they just make the texture incredible.
Nutritional Information*
Okay, let’s be real—this is a celebratory comfort food dish, and it’s not a salad! But here’s a rough breakdown per serving (based on 8 servings) so you can enjoy it mindfully:
Calories: ~450 | Protein: 18g | Carbohydrates: 30g | Fat: 28g
*This is an estimate and can vary based on the specific brands of ingredients you use, especially the cheese and milk. This dish is a good source of protein and calcium from all that glorious dairy. To balance it out, I love serving it with a big, bright green salad or some roasted vegetables!
You’ve Got This!
And there you have it, my friends—the ultimate guide to a truly unforgettable Good Ole Fashion Mac and Cheese. This dish is more than just pasta and cheese; it’s a warm hug, a celebration, and a testament to how simple ingredients can create pure joy. I hope this recipe becomes a staple in your home, just like it is in mine.
I’d love to hear how it turns out for you! Did you add bacon? Try the three-cheese blend? Tag me on social @FoodMeld and show me your creations. Remember, cooking should be fun, a little messy, and always, always full of flavor. Now go forth and bake something awesome.
With love and a full belly,
Jackson


