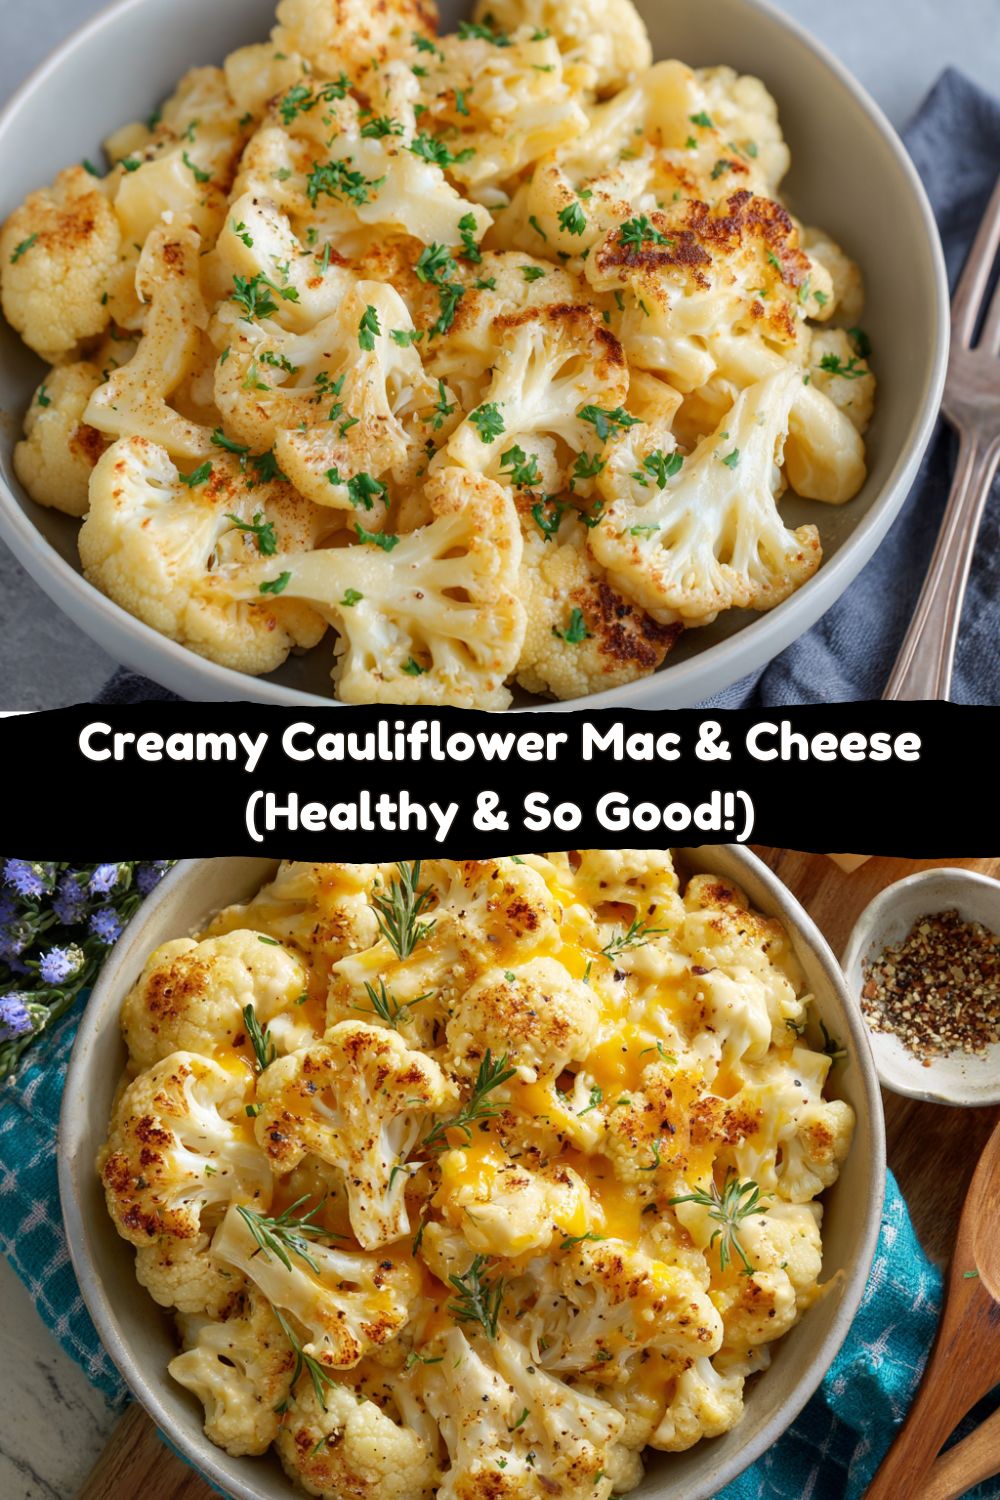
Ditch the Box, Not the Comfort: Your New Favorite Cauliflower Mac & Cheese
Hey friends, Jackson from Food Meld here. Let’s talk about a universal truth: we all love mac and cheese. That creamy, cheesy, soul-warming goodness is like a hug from the inside. But sometimes, that hug feels a little… heavy. You know the feeling—the one that comes after a big bowl of carb-loaded pasta and rich sauce, leaving you ready for a nap on the couch instead of enjoying the rest of your day.
For the longest time, I thought I had to choose between that incredible comfort and feeling good afterward. Then, I started playing with one of my favorite kitchen chameleons: the humble cauliflower. I’m telling you, when you roast it until it’s got those gorgeous golden-brown edges and toss it in a velvety, sharp cheese sauce, something magical happens. You get every bit of that “you’ve gotta try this” moment, all the finger-licking goodness, but you finish your bowl feeling energized and satisfied, not sluggish.
This Cauliflower Mac & Cheese is my go-to for a smart, easy, and downright delicious weeknight win. It’s bold, comforting, and packed with the kind of flavor that makes you forget it’s a lighter option. Whether you go full cauliflower or blend it with a little pasta for the best of both worlds, this recipe is all about making it yours. So, grab your favorite skillet, and let’s cook something awesome together that your taste buds (and your body) will thank you for.
The Mac & Cheese That Started It All
My love for mac and cheese runs deep, straight back to my Grandma Walker’s kitchen. She didn’t mess around with boxes. Hers was a glorious, bubbling Pyrex dish that came out of the oven with a crust so golden and craggy, we’d practically fight over the corner pieces. The inside was a river of neon-orange, ultra-cheesy glory, and it was the star of every family potluck.
One summer, I decided I was a “big kid” and tried to make it myself. Let’s just say my first solo attempt was… a learning experience. I used a single slice of American cheese, way too much milk, and undercooked pasta. It was a watery, sad imitation of her masterpiece. But you know what? Grandma didn’t laugh. She pulled up a stool, showed me how to make a proper roux, and explained why sharp cheddar gives you the best flavor. That messy, fun, and slightly disastrous kitchen moment taught me more than just a recipe—it taught me that cooking is about the joy of trying, even when you flop. This cauliflower version is my grown-up, “what if we tried this?” nod to her. It’s my way of keeping that comforting spirit alive, just with a little Food Meld twist.
Gather Your Flavor All-Stars
This isn’t a complicated list, I promise! The magic is in how we bring these simple ingredients together. Here’s what you’ll need:
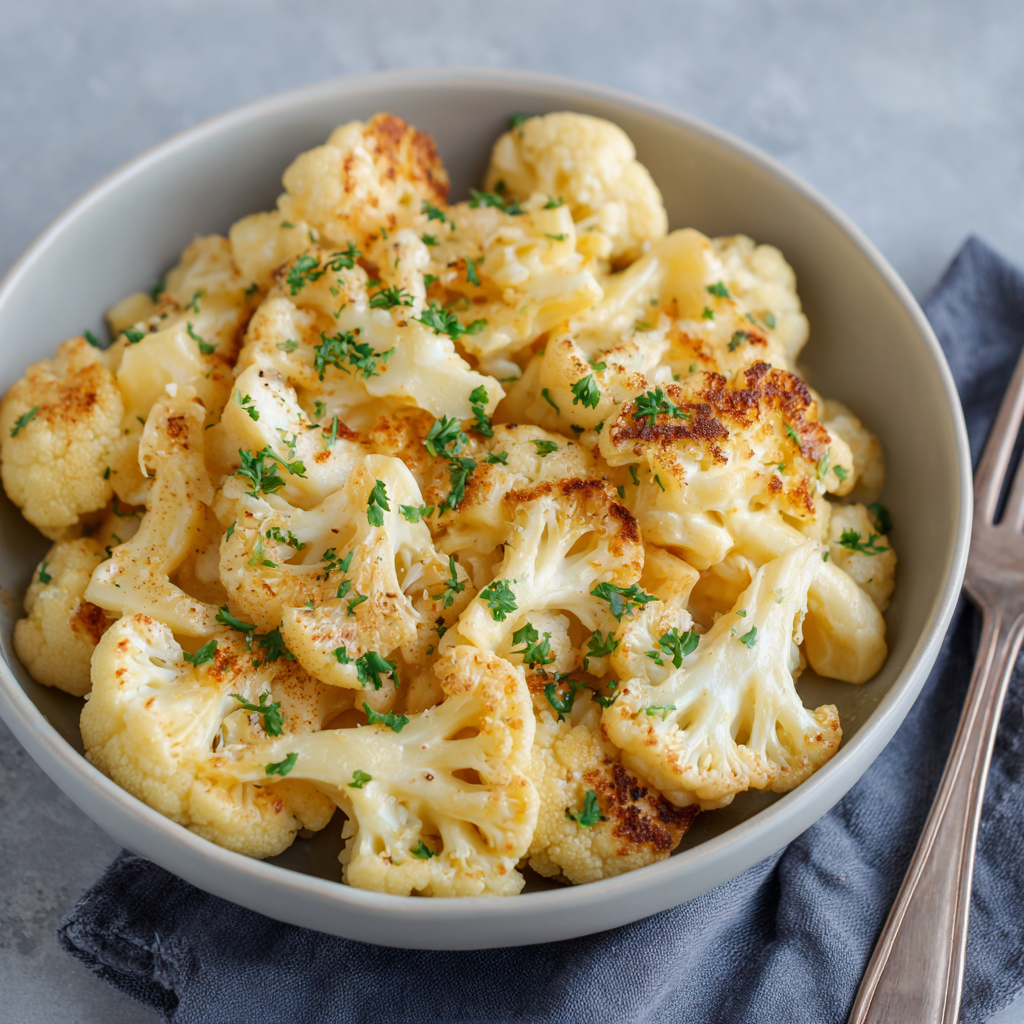
- 1 large head of cauliflower, cut into florets: This is our star player! Look for a head that feels heavy for its size with tight, bright green leaves. When we roast it, those natural sugars caramelize, giving us a nutty, sweet base that’s a million miles from bland, steamed cauliflower.
- 1 tsp olive oil: Just enough to help the seasoning stick and get those florets beautifully crispy.
- Salt and pepper to taste: Don’t be shy here. Seasoning the cauliflower before roasting is our first layer of flavor.
- (Optional) 4 oz elbow pasta: This is your call! Want to dip a toe in? Using just a half-cup of dry pasta (about 4 oz) gives you the classic mac & cheese feel while keeping the carbs in check. It’s a perfect bridge recipe.
For That Velvety Cheese Sauce:
- 3/4 cup unsweetened almond milk (or milk of choice): I use unsweetened almond milk to keep it light, but 2%, whole milk, or even oat milk work beautifully. The key is to make sure it’s unflavored and unsweetened!
- 1 tbsp light cream cheese: This is my secret weapon! It adds a touch of tang and incredible creaminess without needing a heavy, flour-based roux. It makes the sauce silky smooth.
- 3/4 cup shredded light cheddar cheese: I prefer pre-shredded light cheddar for ease, but you can absolutely shred your own from a block of reduced-fat cheddar. The flavor is still sharp and fantastic.
- 2 tbsp grated Parmesan: This little bit adds a huge punch of savory, umami depth. It’s the flavor booster the sauce needs.
- 1/2 tsp Dijon mustard: “Mustard in mac and cheese?!” Trust me. It’s not for heat, it’s for brightness. It cuts through the richness and makes the cheese flavor pop. You won’t taste it, you’ll just taste better cheese.
- 1/2 tsp garlic powder: For that all-over, cozy garlic flavor without the fuss of mincing fresh garlic.
- Pinch of paprika or cayenne (optional): A tiny pinch of paprika adds a warm color, while a dash of cayenne gives a subtle, sneaky heat. Your choice!
Let’s Build Some Magic: Step-by-Step
Ready to see how this all comes together? It’s easier than you think. Follow these steps, and you’ll have a restaurant-worthy dish in no time.
- Fire Up the Oven & Transform the Cauliflower: First, preheat your oven to 400°F (200°C). While it’s heating, cut your cauliflower into bite-sized florets. The goal is pieces that are all roughly the same size so they cook evenly. Toss them in a large bowl with the olive oil, a good pinch of salt, and a few cracks of black pepper. Chef’s Hack: Don’t crowd the baking sheet! Give those florets some space. If they’re piled on top of each other, they’ll steam instead of roast. We want caramelization, people! Roast for 20-25 minutes, until they’re tender and have those beautiful golden-brown edges.
- (Optional) The Pasta Bridge: If you’re going the hybrid route, now’s the time to cook your 4 oz of elbow pasta. Just boil it according to the package directions until it’s al dente, then drain it and let it hang out with the roasted cauliflower. Easy.
- Craft the Silky Cheese Sauce: This is where the magic happens. In a medium saucepan over medium heat, warm up your almond milk. Once it’s warm (not boiling!), whisk in the tablespoon of cream cheese. It might look a little separated at first, but just keep whisking—it will melt into a smooth, creamy base. Now, turn the heat down to low. Add your shredded cheddar, Parmesan, Dijon mustard, garlic powder, and that optional pinch of paprika or cayenne. Stir constantly with a wooden spoon or spatula until the cheese is completely melted and the sauce is velvety and uniform. Chef’s Tip: Low and slow is the key here! If the heat is too high, the sauce can get grainy. We’re going for smooth, luxurious perfection.
- The Grand Meld: Now for the best part! In a large mixing bowl (or right in the saucepan if it’s big enough), combine your gorgeous roasted cauliflower (and the cooked pasta, if using) with the cheese sauce. Gently fold everything together until every single nook and cranny is coated in that cheesy goodness.
- The Golden Finish (Optional, but Highly Recommended): For that classic baked mac & cheese feel, transfer the whole mixture to a baking dish. Sprinkle a little extra shredded cheddar on top and pop it under the broiler for just 2-3 minutes. WATCH IT CLOSELY! You’re looking for a bubbly, golden-brown top that adds amazing texture. It’s a game-changer.
How to Serve It Up Like a Pro
This dish is a superstar all on its own, but let’s talk about how to make it a meal.
I love serving this right out of my trusty cast-iron skillet—it keeps everything warm and looks so rustic and inviting. For a complete, balanced dinner, pair it with a simple, crisp green salad tossed in a bright lemon vinaigrette. The acidity from the salad dressing cuts through the richness of the cheese sauce beautifully.
If you’re feeding a crowd or want some extra protein, this is incredible alongside some grilled chicken, juicy shrimp, or even some pan-seared sausages. Crumble a few extra roasted cauliflower crumbs over the top for a bit of textural flair, and maybe a fresh sprinkle of chopped chives or parsley. See? Easy, beautiful, and totally unforgettable.
Make It Your Own: Flavor Twists & Swaps
This recipe is your playground! Don’t be afraid to mix it up. Here are a few of my favorite ways to riff on this classic:
- The “Everything But the Kitchen Sink” Bake: Stir in some cooked, crumbled bacon or pancetta, a handful of frozen peas (they’ll thaw in the heat), and some diced cooked chicken for a full, hearty casserole.
- Spicy Buffalo Style: For all my heat-seekers! Swap the Dijon for 2 tablespoons of your favorite Buffalo sauce. Use a pepper jack cheese instead of cheddar, and after baking, drizzle with a little more Buffalo sauce and some crumbled blue cheese. You’re welcome.
- Green Goddess Upgrade: Fold in a couple of handfuls of fresh baby spinach right after you mix the sauce and cauliflower. The residual heat will wilt it perfectly. You could also add some chopped broccoli florets to the roasting pan for the last 10 minutes of cook time.
- Fully Vegan Delight: Yes, it works! Use your favorite plant-based milk and cream cheese. For the cheese, grab a bag of high-quality vegan cheddar shreds (they melt much better now than they used to!) and use nutritional yeast instead of Parmesan for that cheesy flavor.
- Truffle Indulgence: Feeling fancy? Right before serving, stir in a teaspoon of white truffle oil. It adds an incredible, earthy depth that will make this feel like a five-star restaurant dish.
Jackson’s Kitchen Notes
This recipe has been through a few evolutions in my kitchen. The first time I made it, I just steamed the cauliflower. Big mistake! It was watery and made the sauce thin. Roasting is non-negotiable—it’s the step that gives the dish its soul.
I also learned the hard way that not all plant-based cheeses are created equal. Some can be a little stubborn when melting. If you’re going the vegan route, do a quick online search for brands that are known for their meltability. It makes all the difference! And remember, the best part of cooking is making it yours. Taste as you go, adjust the seasonings, and don’t stress. It’s just dinner, and it’s supposed to be fun.
Your Questions, Answered
Q: My cheese sauce turned out a bit grainy. What happened?
A: This usually happens if the heat is too high when melting the cheese. Cheese is delicate! Always melt it over low heat and stir constantly. If it does get grainy, you can sometimes save it by taking it off the heat and whisking in a teaspoon of lemon juice or a splash of hot water.
Q: Can I make this cauliflower mac and cheese ahead of time?
A: Absolutely! You can roast the cauliflower and even make the sauce a day ahead. Store them separately in the fridge. When you’re ready, gently reheat the sauce in a saucepan over low heat (you might need to add a splash of milk to loosen it up), then combine with the cauliflower and heat through. If you’ve already combined them, reheat in a 350°F oven until warm.
Q: My dish is a little watery. How can I avoid that?
A: Wateriness almost always comes from the cauliflower. Make sure you roast it until it’s truly golden and tender—this drives off excess moisture. Also, avoid steaming or boiling it. If you’re adding mix-ins like frozen spinach, be sure to thaw and squeeze it dry in a clean kitchen towel first.
Q: I’m not a fan of sharp cheddar. Can I use a different cheese?
A> Of course! Gouda is amazing for its smokiness, Monterey Jack is wonderfully melty and mild, and Fontina is a dream for its creaminess. Feel free to use a blend! Just keep the total volume about the same.
The Smart Comfort Breakdown
Now, let’s talk numbers. I’m a big believer that food should make you feel good, and knowing what you’re putting into your body is a part of that. This nutritional information is for one serving of the cauliflower-only version (without the optional pasta or broiling topping). Remember, these are estimates and can vary based on your specific ingredients.
Per Serving (Cauliflower Only):
Calories: 220 | Protein: 12g | Carbohydrates: 10g | Dietary Fiber: 4g | Sugars: 4g | Fat: 15g | Sodium: 380mg
Compared to a traditional homemade mac and cheese, you’re looking at significantly fewer carbohydrates and calories, while still getting a good hit of protein and fiber from the cauliflower. It’s a satisfying meal that fuels you without weighing you down. It’s comfort food that loves you back!
Your New Go-To Comfort Food
And there you have it! My not-so-secret, totally craveable recipe for Cauliflower Mac & Cheese. This is more than just a “healthy” swap—it’s a genuinely delicious dish that stands on its own two feet. It’s proof that you don’t have to give up flavor to feel great.
I hope this recipe becomes a regular in your kitchen rotation, a dish you customise and make your own. Maybe it’ll even start a new food tradition for you. Did you try it? Did you add your own twist? I’d love to hear about it! Tag me on social @FoodMeld or leave a comment below. Nothing makes me happier than seeing the recipes you create.
Until next time, keep your knives sharp, your skillets hot, and never be afraid to get a little messy. Let’s cook up more unforgettable flavors together soon.


