
Forget Everything You Know About Cake Mix: Let’s Make Ooey Gooey Butter Bars
Hey friends, Jackson from Food Meld here. Let’s have a real talk for a second. You know those days when you need a dessert that feels like a warm hug, looks like you spent hours in the kitchen, but secretly comes together with almost zero effort? The kind of treat that makes people’s eyes go wide after the first bite, followed by that inevitable, mumbled-with-a-full-mouth, “Oh my gosh, what IS this?”
Yeah. I live for those moments. And that, my friends, is exactly why we need to talk about St. Louis’s greatest gift to the world: Ooey Gooey Butter Bars.
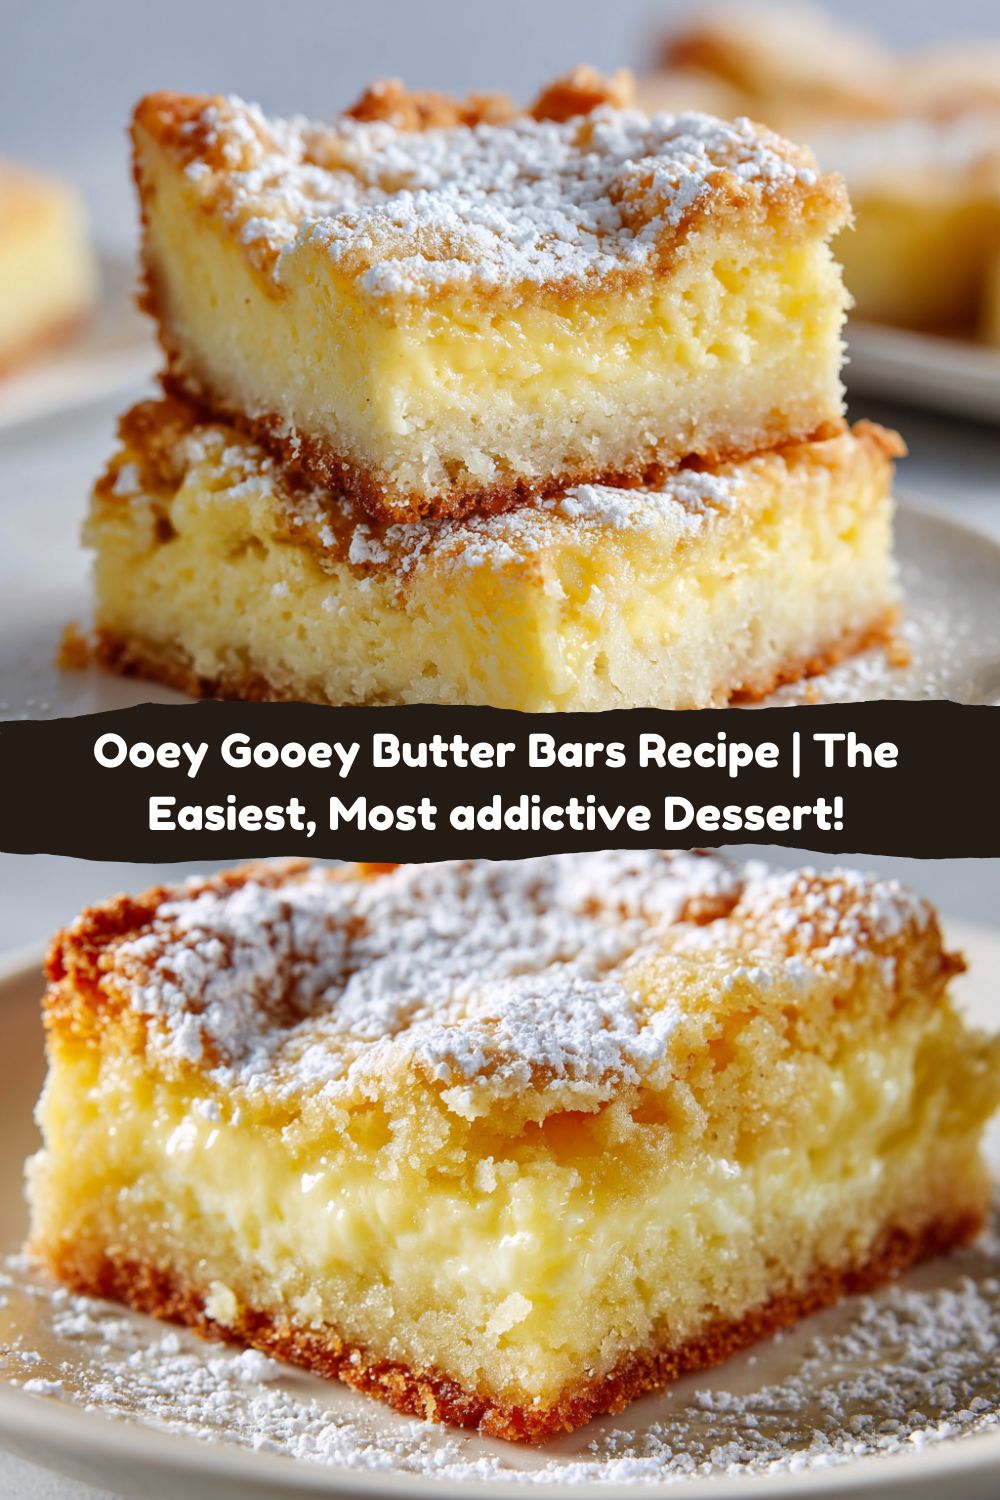
Imagine this: a rich, buttery, slightly chewy cake-like crust. Topped with a layer of creamy, dreamy, sweet-tart cheesecake filling that bakes up into something magical—firm around the edges but luxuriously, unapologetically GOOEY in the center. It’s part cheesecake, part sugar cookie, and all indulgence. The best part? We’re starting with a box of yellow cake mix. Before you raise an eyebrow, hear me out. This isn’t a shortcut; it’s a genius flavor hack. It gives us that perfect, consistent base so we can focus on the good stuff—the glorious, gooey top layer.
So, whether you’re a baking newbie looking for a guaranteed win or a seasoned pro who appreciates a legendary recipe, you’re in the right place. Grab your favorite mixing bowl, and let’s cook something awesome together. This is one of those “you’ve gotta try this” moments I’m always talking about.
The Happy Accident That Started It All
I love a recipe with a good story, and this one’s a classic. Legend has it that these bars were born from a beautiful baking blunder back in the 1930s. A St. Louis baker (shoutout to Johnny Hoffman) was apparently trying to make a regular coffee cake but got his proportions all turned around—way too much butter, not enough flour. Instead of tossing the “mistake,” he baked it up, and voilà! A sticky, gooey, incredible accident was served to customers, and it became an instant sensation.
That story always makes me smile because it’s a perfect reminder that some of the best things in life (and in the kitchen!) come from happy little accidents. It’s that “what if we tried this?” energy I love so much. The first time I had one of these bars was at a potluck in college, and I’m not exaggerating when I say I stood by the dessert table and “guarded” the pan so I could snag the last piece. I badgered the poor host for the recipe, and when she revealed it started with a cake mix? My mind was blown. It’s been a staple in my recipe arsenal ever since, and it’s never, ever let me down.
Gathering Your Gooey Squad: The Ingredients
One of the best things about this recipe is the short and sweet ingredient list. This is pantry magic at its finest. Here’s what you’ll need, with a few of my chef-y insights to make it your own.
For the Bottom Layer:
- 1 box yellow cake mix – This is our foundation. I usually grab a classic “butter recipe” yellow cake mix for extra richness, but any standard yellow mix works perfectly. Chef’s Tip: For a fun twist, try this with a lemon, spice, or even chocolate cake mix! (More on that later).
- 1 large egg – This binds our crust together, giving it that perfect dense-yet-soft texture.
- ½ cup (1 stick) unsalted butter, melted – The star of the show. Using unsalted lets you control the salt level, but salted butter works in a pinch and will just give a slightly more salted caramel vibe. No complaints here!
For the Top Layer:
- 1 (8 oz) package cream cheese, softened – NON-NEGOTIABLE: let it sit on the counter for a good hour before you start. Room temp cream cheese is the absolute key to a smooth, lump-free, luxurious filling. I can’t stress this enough!
- 2 large eggs – These give structure to our gooey layer, helping it set up just enough while staying deliciously soft.
- 1 teaspoon pure vanilla extract – The flavor enhancer. It adds a warm, aromatic depth that cuts through the sweetness. If you’re feeling fancy, a dash of almond extract is a game-changer too.
- 2 cups powdered sugar – Also called confectioner’s sugar. This sweetens the filling and contributes to its signature smooth, melt-in-your-mouth texture. Sift it if it’s lumpy!
Let’s Build These Legendary Bars: Step-by-Step
Alright, team. Preheat that oven to 350°F (175°C) and grab a 9×13-inch baking dish. Grease it well with butter or non-stick spray. Let’s do this.
- Make the Crust: In a medium bowl, combine the dry cake mix, 1 egg, and the melted butter. I like to use a fork first to combine, then I just get in there with my hands. It’ll seem dry at first, but keep mixing! You’re looking for a soft, slightly sticky dough that comes together. Chef’s Hack: If you have a stand mixer with a paddle attachment, you can let it do the work for you on low speed for about 1-2 minutes. Easy.
- Press it In: Transfer your dough to the greased pan. Now, here’s a pro tip for you: lightly wet your fingertips or use a small piece of parchment paper to press the dough into a perfectly even layer on the bottom of the pan. This prevents the dough from sticking to your hands and gives you a uniform base for our gooey topping. Press it down nice and firm!
- Whip Up the Goo: Now, in another bowl (or your cleaned stand mixer bowl), beat the softened cream cheese on medium speed until it’s completely smooth and creamy. No lumps allowed! This should take about 1-2 minutes. Scrape down the sides of the bowl. Add the 2 eggs and the vanilla extract, and beat again until everything is silky smooth and combined.
- Sweeten the Deal: Now, with the mixer on low speed, gradually add the powdered sugar. I add it about ½ a cup at a time. Why on low? Unless you want a sweet, sugary cloud erupting all over your kitchen, trust me on this. Once all the sugar is incorporated, scrape the bowl again and mix for another 30 seconds on medium until you have a gloriously smooth, pourable batter.
- The Big Pour: Pour this beautiful cream cheese filling right over your pressed crust. Use a spatula to spread it into every corner, making sure it’s nice and even.
- Bake to Perfection: Slide that pan into your preheated oven and bake for 35-40 minutes. Now, listen up! The goal here is NOT to bake until the center is rock solid. You want the edges to be a light golden brown and the center to still be a little jiggly—like a cheesecake. It will look slightly puffed up when you take it out, and that’s perfect. It will deflate and set up as it cools. Overbaking is the enemy of gooeyness!
- The Hardest Part: Wait. I know, I know. The aroma is insane. But you must let these cool completely at room temperature. I usually let mine sit for at least 2 hours. For the cleanest cuts, I’ll even pop the pan in the refrigerator for another hour after that. This sets the gooey layer perfectly, making it sliceable but still decadently soft inside.
How to Serve These Bad Boys
Once they’re completely cool, slice them into squares. I usually get about 16 generous bars from a 9×13 pan. You can dust the top with a little extra powdered sugar right before serving for a pretty, classic look. For a truly over-the-top experience, serve them slightly warm (a quick 10-second zap in the microwave) with a little scoop of vanilla ice cream melting on top. The contrast of cold ice cream and warm, gooey bar is basically a religious experience. Enjoy them with a cold glass of milk, a hot coffee, or just straight up, standing over the kitchen sink like a true champion.
Mix It Up: Your Gooey, Your Way
The basic recipe is a flawless classic, but you know I love a creative twist. Here are a few ways to make these bars your own:
- Chocolate Lover’s: Use a chocolate fudge cake mix for the base. You can even add a cup of chocolate chips to the cream cheese layer.
- Pumpkin Spice: Perfect for fall! Replace the vanilla extract with 1 tsp of pumpkin pie spice and fold in ½ cup of pure pumpkin puree into the cream cheese filling.
- Peanut Butter Cup: Swirl ½ cup of creamy peanut butter into the cream cheese filling before baking. Top with chopped Reese’s cups after baking.
- Lemon Bliss: Use a lemon cake mix for the base and add 2 tablespoons of fresh lemon juice and 1 tbsp of lemon zest to the cream cheese layer. So bright and tangy!
- Berry Swirl: Before baking, drop spoonfuls of your favorite berry jam or pie filling over the top and use a knife to gently swirl it into the cream cheese layer.
Jackson’s Chef Notes & Kitchen Stories
This recipe is a testament to the fact that the best food doesn’t have to be complicated. It’s my go-to for last-minute parties, bake sales, or when I just need a surefire win. Over the years, I’ve learned a few things. That tip about room-temperature cream cheese? I learned that the hard way. I once tried to make a batch in a hurry with cold cheese, and let me tell you, no amount of mixing could get those little lumps out. We still ate it, of course—it was delicious—but the texture wasn’t the silky perfection we’re after.
I’ve also found that the quality of your vanilla extract really shines here. Since the ingredient list is short, each one plays a starring role. Splurge on the good vanilla! And finally, don’t be afraid of the jiggle. I have to talk myself down every time I pull them out of the oven, but trusting the process is key. That jiggle is where the magic lives.
Your Questions, Answered (FAQs)
Q: My center is still super liquidy after 40 minutes. What gives?
A: All ovens vary! If the edges aren’t golden and the center is still soup, give it another 5 minutes and check again. The center should jiggle like Jell-O, not splash like soup. If the edges are browning too fast, tent the pan loosely with aluminum foil.
Q: Can I make these gluten-free?
A: Absolutely! I’ve had great success using a gluten-free yellow cake mix (I like the King Arthur or Bob’s Red Mill brands). Just make sure all your other ingredients are certified GF, and you’re good to go.
Q: Why did my top crack?
A: A few small cracks are normal, but big cracks usually mean the oven was too hot or the bars were over-mixed or over-baked. Remember, we’re going for low and slow mixing once the sugar is added, and we’re pulling them out while the center is still jiggly.
Q: How should I store these, and how long do they last?
A: Because of the dairy, you’ll want to store these covered in the refrigerator. They’ll keep beautifully for up to 5 days. I think they taste even better on day two after the flavors have really melded! You can also freeze them for up to 3 months. Just thaw in the fridge overnight.
Ooey Gooey Butter Bars
- Total Time: 50 minutes
- Yield: 16 bars 1x
Description
Rich, creamy, and outrageously delicious—these buttery bars are part cake, part cheesecake, and all indulgence. With just a handful of ingredients and a box of cake mix, they come together fast and disappear even faster.
Ingredients
Bottom Layer:
1 box yellow cake mix
1 egg
½ cup (1 stick) butter, melted
Top Layer:
1 (8 oz) package cream cheese, softened
2 eggs
1 teaspoon vanilla extract
2 cups powdered sugar
Instructions
Preheat oven to 350°F (175°C). Grease a 9×13-inch baking dish.
In a medium bowl, mix cake mix, 1 egg, and melted butter until a soft dough forms. Press evenly into the bottom of the prepared dish.
In another bowl, beat softened cream cheese until smooth. Add remaining 2 eggs and vanilla, then slowly mix in powdered sugar until creamy and well combined.
Pour cream cheese mixture over the base layer and spread evenly.
Bake for 35–40 minutes until the edges are golden and the center is just set (it will still be a little gooey).
Cool completely before cutting into squares.
- Prep Time: 10 minutes
- Cook Time: 35–40 minutes
Nutrition
- Calories: 310 / Bar
- Fat: 18g / Bar
- Carbohydrates: 35g / Bar
- Protein: 5g / Bar
Nutritional Information
Prep Time: 10 minutes | Bake Time: 35-40 minutes | Total Time: 50 minutes (+ cooling) | Servings: 16 bars
*This is an estimate provided for informational purposes only. I am not a nutritionist.
Per Bar: ~310 calories | 5g protein | 35g carbs | 18g fat
Final Thoughts
Ooey Gooey Butter Bars are proof that sometimes the simplest recipes create the biggest impact. With just a handful of pantry staples and one humble box of cake mix, you get a dessert that’s rich, nostalgic, and impossible to resist. They’re sweet enough to feel indulgent, gooey enough to spark joy, and easy enough that you’ll find yourself making them again and again.
The best part? They’re endlessly customizable. Keep them classic, swirl in peanut butter, brighten them with lemon, or go all out with chocolate and berries. However you spin it, the magic lies in that luscious, buttery gooey center that has everyone reaching for seconds.
So the next time you need a dessert that wows without the fuss, let these bars be your go-to. They’re not just a recipe—they’re a guaranteed crowd-pleaser, a conversation starter, and a little reminder that happy accidents in the kitchen can turn into timeless traditions.


