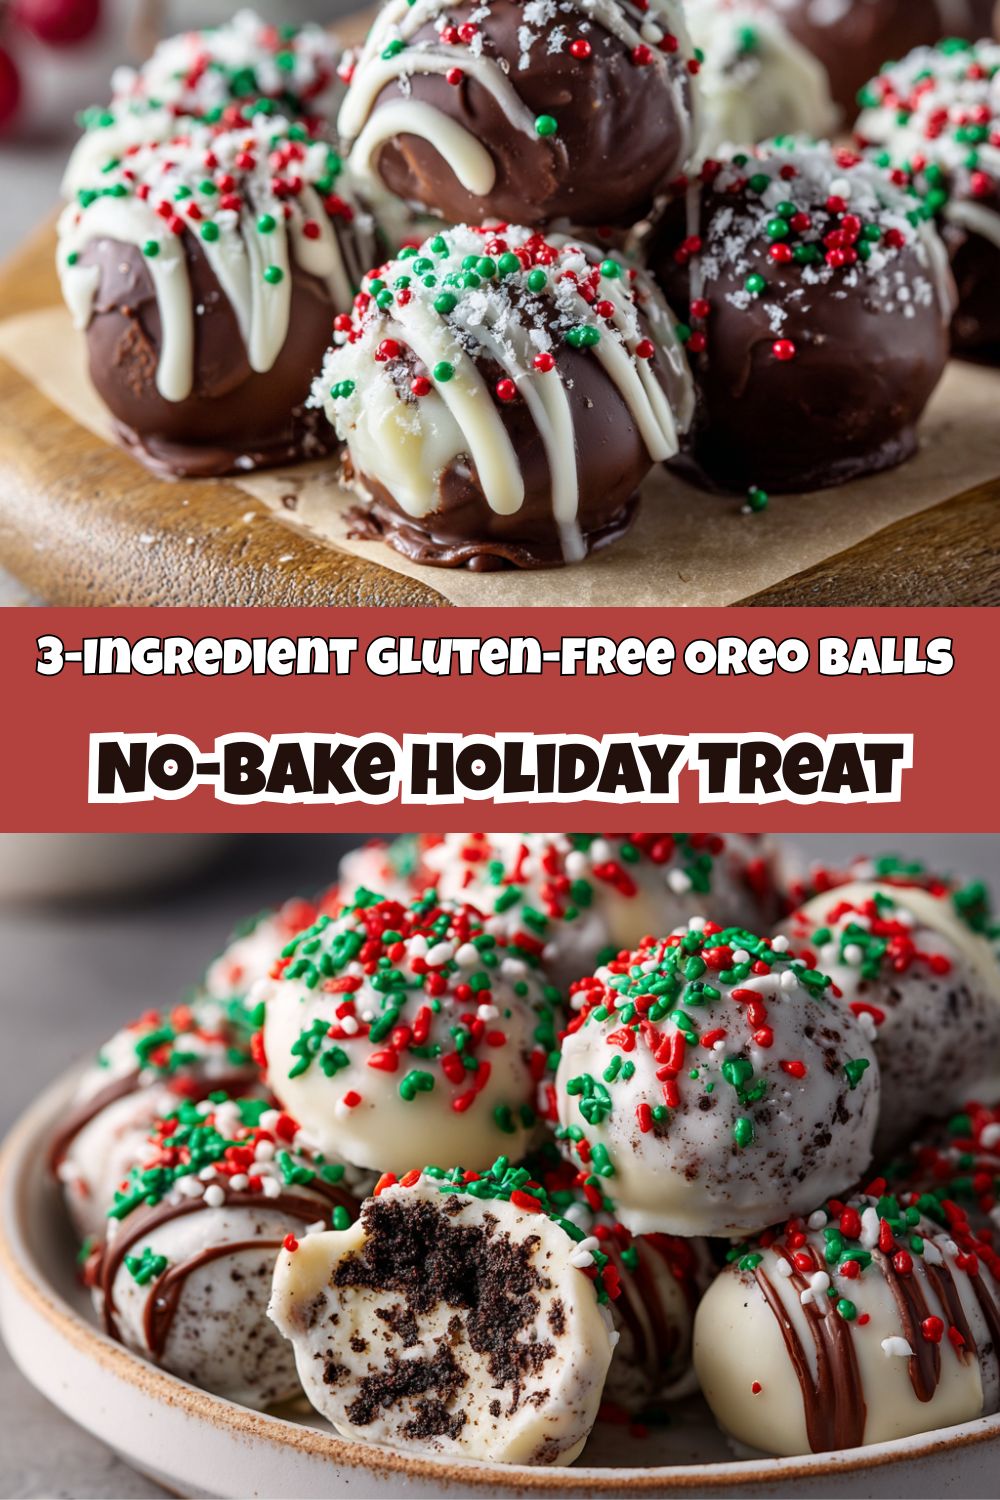
Your New No-Bake Secret Weapon: 3-Ingredient Gluten-Free Oreo Balls
Hey friends, Jackson from Food Meld here! Let’s get real for a second. The holiday season is magical, but it can also be pure chaos. Between the gift shopping, the family visits, and trying to remember where you stored the “good” wrapping paper, the last thing you need is a complicated dessert recipe staring you down.
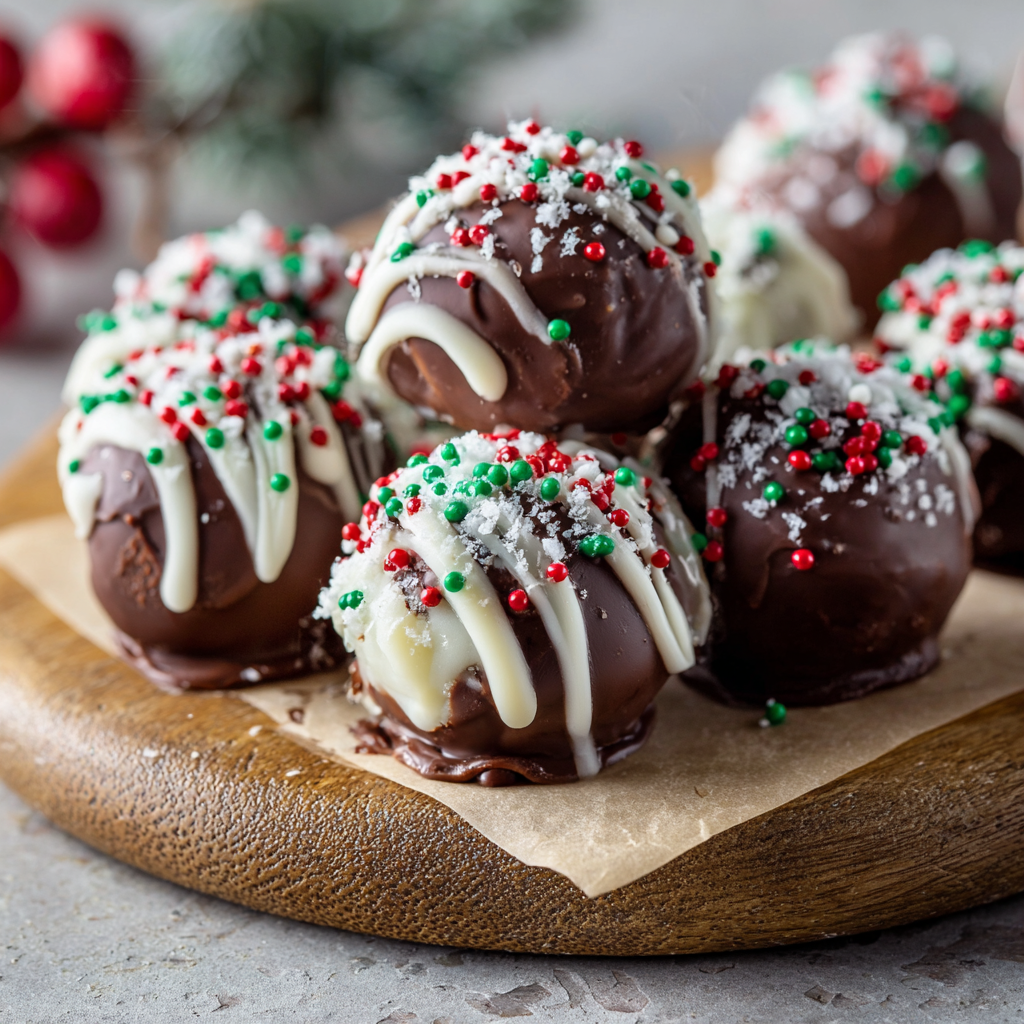
What if I told you that you could whip up a dessert that looks like it came from a fancy chocolatier, tastes like a decadent dream, and requires exactly zero baking time? Enter my 3-Ingredient Gluten-Free Oreo Balls. These little spheres of joy are my go-to for last-minute parties, potlucks, or when you just need a sweet win in your life.
We’re talking a rich, creamy center with that classic Oreo flavor, all wrapped up in a crisp white chocolate shell. They’re fast, festive, and so simple that you’ll have the whole batch done before your favorite holiday movie hits the halfway mark. I live for recipes that deliver maximum flavor with minimal fuss, and this one? This one is a total rockstar. So, let’s ditch the stress and cook something awesome together.
A Sweet Slice of Nostalgia
This recipe always takes me right back to my Grandma Lou’s kitchen. She wasn’t a fancy chef, but she was a wizard with simple ingredients. One snowy December, I was buzzing around her kitchen, a kid hopped up on holiday excitement, desperate to “help” make dessert. She looked at me, smiled her knowing smile, and pulled out a sleeve of cookies, a brick of cream cheese, and some chocolate.
“No oven required, kiddo,” she said. “We’re making magic with our hands.” We crushed those cookies by hand (no fancy food processors back then!), squished everything together, and I got covered in more chocolate than the balls themselves. The moment we tried that first one, my eyes went wide. It was the best thing I’d ever tasted. This recipe is that same magic, just with a little Food Meld twist to keep things inclusive and gluten-free. It’s proof that the most unforgettable food moments often come from the simplest recipes, made with a whole lot of love.
Gathering Your Trio of Triumph
See? I told you it was simple. Just three powerhouse ingredients are standing between you and dessert perfection. Let’s break them down a bit, because even in simplicity, there’s room for a little chef’s insight.
- 1 package (about 18-20 cookies) Gluten-Free Oreos: This is our flavor foundation. I use the gluten-free version to make sure everyone at the table can enjoy them, but the classic ones work exactly the same way if you don’t have a dietary need. The key here is the “creme” filling—it’s part of the magic that binds our balls together!
- 6 oz (170g) Cream Cheese, softened: This is our secret weapon for that luscious, creamy texture. Pro-Tip: Let it sit on the counter for 30-60 minutes before you start. A softened block blends seamlessly into the cookie crumbs, while a cold one will leave you with a lumpy, frustrating mess. If you’re in a pinch, you can pop it in the microwave for 10-15 seconds, but do it in 5-second bursts to avoid melting it!
- 1 cup White Candy Melts (or White Chocolate Chips): This is our gorgeous, crackly shell. I often lean toward candy melts because they set beautifully and are designed for dipping. If you’re using white chocolate chips, add a teaspoon of coconut oil when you melt them to help thin them out for a smoother coating.
Let’s Make Some Magic: The Step-by-Step
Alright, team, it’s go-time. Put on some festive tunes, and let’s get our hands dirty. This process is as fun as it is easy.
- Crush Those Cookies!
Dump your entire package of gluten-free Oreos into a food processor. Pulse it until you have a fine, even crumb. No big cookie chunks allowed! Chef’s Hack: No food processor? No problem. Toss the cookies into a large, sturdy zip-top bag, seal it tight (seriously, double-check that seal!), and go to town with a rolling pin, a heavy pan, or even a wine bottle. It’s a fantastic way to work out any pre-holiday stress. - Bring in the Creamy Dream
Transfer your beautiful black crumbs to a mixing bowl. Plop in that softened cream cheese. Now, using a spatula or your impeccably clean hands, mix and mash until no white streaks remain and a thick, cohesive, slightly sticky “dough” forms. I’m team hands-on for this—it’s the best way to feel when the mixture is perfectly combined. - Roll, Roll, Roll Your Balls
Line a baking sheet with parchment paper. Scoop up about a tablespoon of the mixture and roll it between your palms into a smooth, 1-inch ball. Place each one on the prepared tray. If the mixture is too sticky, pop the whole bowl in the fridge for 10 minutes to firm up. Once all your balls are rolled, slide the tray into the freezer for a solid 15-20 minutes. This chill session is non-negotiable—it’s what makes them firm enough to handle the chocolate bath without falling apart. - Melt Your Coating
While the balls are chilling, melt your candy coating. Place the candy melts or white chocolate chips in a microwave-safe bowl. Heat in 30-second intervals, stirring vigorously between each one, until it’s completely smooth and fluid. Rushing this with high heat is the #1 cause of seized, clumpy chocolate. Patience is your friend here! - The Big Dip
Now for the fun part! Remove your tray from the freezer. Using a fork, a dipping tool, or even a toothpick, dip each chilled ball into the melted coating, swirling it to cover completely. Lift it out, gently tap off the excess, and place it back on the parchment paper. Little Chef Hack: If you use a toothpick, you can gently twirl the ball to get a super smooth finish before placing it down. The little hole left behind will be your “bottom.” - Dress to Impress (Optional, but Fun!)
If you’re using sprinkles, crushed candy canes, or a little drizzle of dark chocolate, add it immediately after dipping, before the coating sets. The chocolate shell hardens quickly, so you’ve only got a small window to make them extra festive. - The Final Chill
Once they’re all beautifully coated, pop the tray back into the fridge for about 10 minutes, or until the chocolate shell is firm to the touch. And just like that, you’re done!
How to Serve These Showstoppers
Presentation is the final flourish! You can keep it casual and pile them high on a rustic wooden board for a homey feel. For something a bit more elegant, place each ball in a mini paper candy cup and arrange them on a beautiful platter. They look incredible mixed in with other holiday treats, or all on their own as the star of the dessert table.
I love serving these with a pot of strong coffee or a cold glass of milk. They’re rich, so that little bit of bitterness from the coffee or the creaminess of the milk is the perfect partner. Trust me, your guests will be begging for the recipe.
Mix It Up: 5 Fun Flavor Twists
The beauty of this recipe is its adaptability. Once you’ve mastered the classic, let your creativity run wild! Here are a few of my favorite ways to mix it up:
- Peppermint Perfection: Add ¼ teaspoon of peppermint extract to the cookie-cream cheese mixture. Dip in the white chocolate and top with crushed candy canes for the ultimate holiday treat.
- Dark Chocolate Decadence: Swap the white candy melts for dark or semi-sweet chocolate. The deeper chocolate flavor is incredible with the sweet cream filling.
- Peanut Butter Paradise: Use Peanut Butter Oreos (if you can find a GF version) or mix 2 tablespoons of smooth peanut butter into the filling with the classic Oreos. Dip in milk chocolate and prepare to be amazed.
- Birthday Cake Fun: Use Golden Oreos instead of chocolate. Mix in a tablespoon of rainbow sprinkles into the filling, and dip in white or yellow candy coating. Instant party!
- Dairy-Free Delight: Use your favorite vegan cream cheese and dairy-free chocolate chips. The method is exactly the same, and they turn out just as delicious.
Jackson’s Chef’s Notes
I’ve made these Oreo balls more times than I can count, and they’ve definitely evolved. The first time I made them for the blog, I was so eager I skipped the freezing step. Let’s just say I ended up with more of an “Oreo puddle” than an Oreo ball! It was a delicious, messy lesson. Now, I never skimp on the chill time.
Over the years, I’ve found that a small cookie scoop (about 1 tablespoon) is the best tool for getting evenly sized balls. It keeps things neat and ensures they all set at the same rate. Remember, cooking is supposed to be fun, so don’t stress if your first few aren’t perfect. They’ll still taste incredible!
FAQs & Troubleshooting
Q: My mixture is too soft/sticky to roll. What did I do wrong?
A: This usually means your cream cheese was a bit too warm, or you didn’t crush the cookies finely enough. No worries! Just pop the whole bowl of mixture into the fridge for 15-20 minutes to firm up. You can also lightly dampen your hands with water while rolling to prevent sticking.
Q: My chocolate coating is thick and clumpy! Help!
A: Ah, you’ve likely overheated the chocolate. Candy melts are more forgiving, but chocolate chips can be temperamental. If it’s just a little thick, try stirring in a teaspoon of coconut oil or shortening to thin it out. If it’s fully seized (grainy and hard), it’s best to start over with a new batch.
Q: Can I make these ahead of time?
A: Absolutely! They are the perfect make-ahead dessert. Store them in a single layer in an airtight container in the fridge for up to 5 days, or in the freezer for up to 2 months. They thaw surprisingly quickly!
Q: Are they really gluten-free?
A> As long as you use certified gluten-free Oreos (or another GF sandwich cookie), yes! Always double-check the packaging to be safe, especially if you’re serving them to someone with celiac disease or a severe gluten intolerance.
Nutritional Info (For Your Info!)
Hey, we’re all about balance here at Food Meld! While these are definitely a treat, it’s always good to know what you’re enjoying. This is a general estimate per ball (assuming a batch of 20), but it can vary based on the specific brands you use.
Per Ball (Approx.):
Calories: 120 | Fat: 6g | Carbs: 14g | Sugar: 10g | Protein: 1g
The primary sources are the cookies and the chocolate coating. Using a sugar-free candy coating alternative can lower the sugar content if that’s a priority for you. Remember, it’s all about enjoying the food you love!
Final Thoughts
And there you have it! Your guide to the easiest, most impressive no-bake dessert in your arsenal. I hope this recipe brings as much joy and ease to your kitchen as it has to mine. It’s a reminder that you don’t need a pantry full of obscure ingredients or a whole day to create something truly special.
So, the next time you’re in a pinch, or just craving a little homemade sweetness, remember these 3-ingredient wonders. You’ve got this. Now, go forth and create those “you’ve gotta try this” moments. And be sure to tag @FoodMeld if you share your creations—I love seeing your kitchen wins!
Happy cooking,
Jackson


