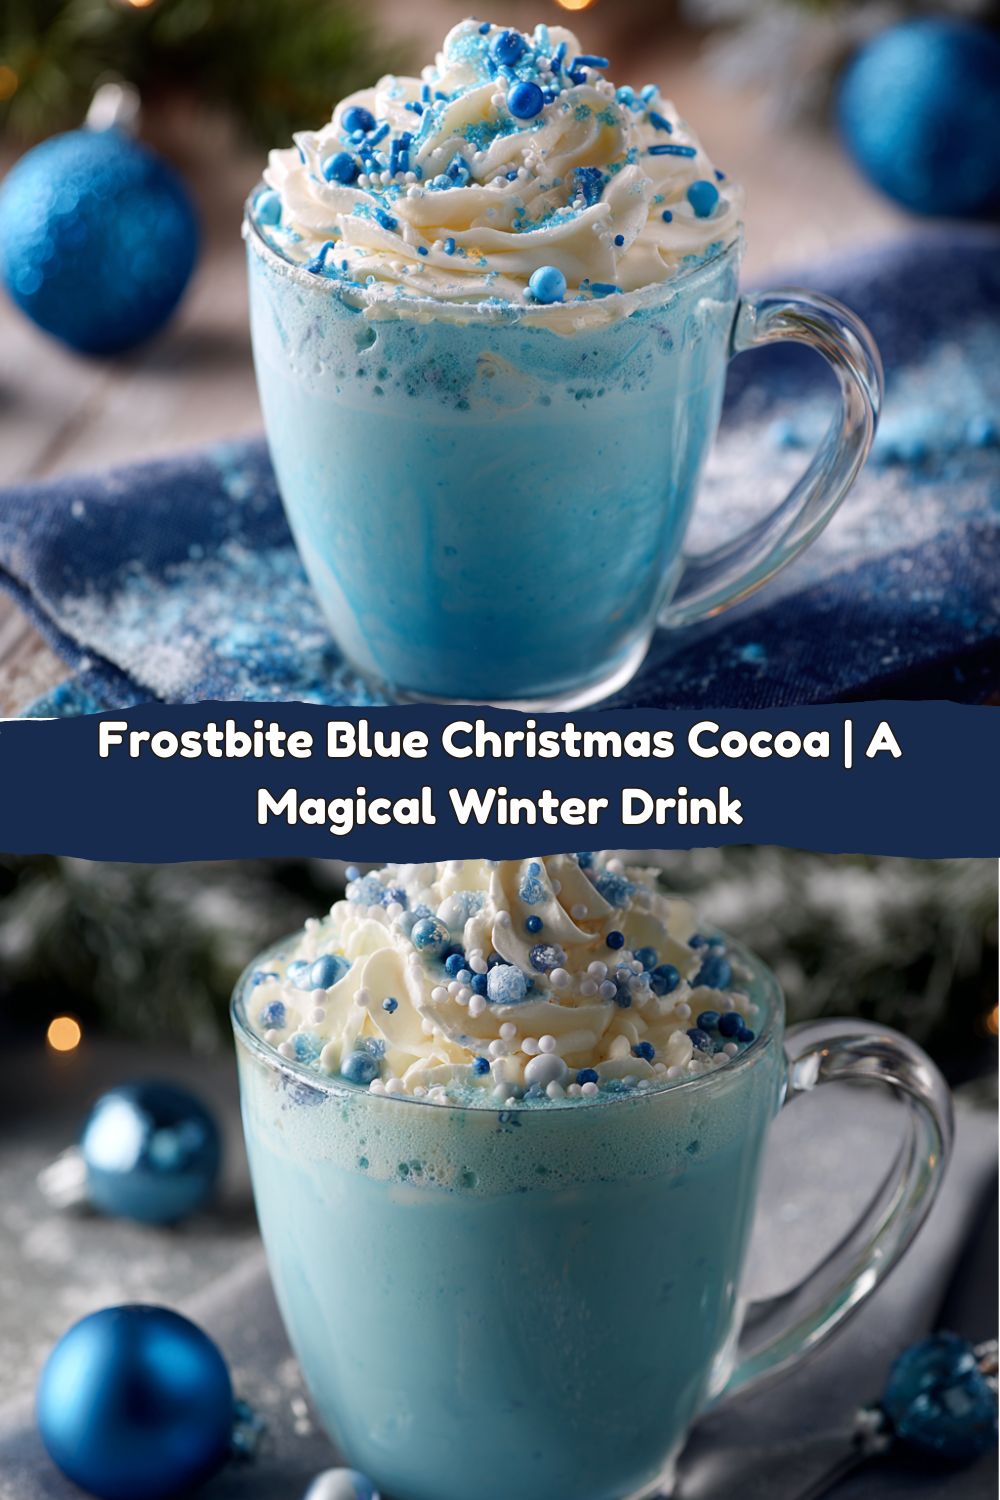
Frostbite Blue Christmas Cocoa: Your New Winter Showstopper!
Hey friends, Jackson from Food Meld here! Let’s be real, is there anything better than wrapping your hands around a warm mug of hot cocoa on a chilly winter night? The steam rising, the smell of chocolate filling the air… it’s pure comfort in a cup. But what if we took that cozy classic and gave it a serious dose of holiday magic? What if we turned it into a drink that looks like it was stolen straight from Elsa’s ice castle in Arendelle?
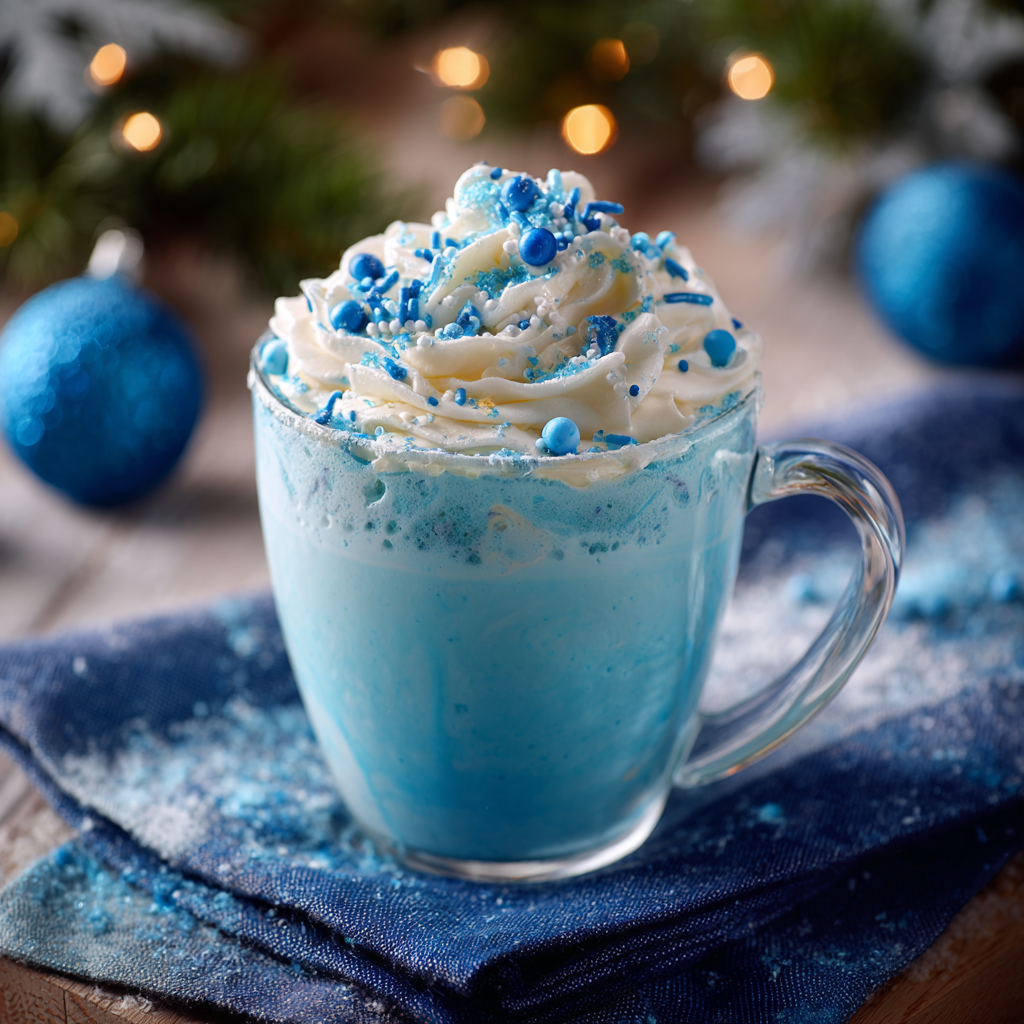
That’s exactly what we’re doing today with my Frostbite Blue Christmas Cocoa. This isn’t just any hot chocolate. This is a creamy, dreamy, velvety-smooth sip that’s as fun to make as it is to drink. We’re starting with a rich white chocolate base that melts into the creamiest liquid you can imagine. Then, with just a few drops of food coloring, we transform it into a stunning, frosty blue that’s guaranteed to be the star of any holiday party, cozy movie night, or snowy afternoon.
I know some of you might be thinking, “Blue hot chocolate? Jackson, is that even good?” Trust me on this one. The color is purely for fun and wow-factor; the flavor is all decadent, sweet white chocolate and warm vanilla. It’s the kind of recipe that makes kids’ eyes go wide and gets a “wow, how did you make this?!” from every adult in the room. Best of all, it’s incredibly easy. We’re talking 15 minutes, one saucepan, and zero fancy skills required. So, let’s ditch the basic brown cocoa and cook something awesome—and unforgettable—together.
The Night I Learned Magic is Made in the Kitchen
This recipe takes me back to one particularly freezing Christmas Eve at my grandma’s house. I was about eight, and a huge snowstorm had knocked the power out. Instead of panic, my grandma just lit a dozen candles, built a roaring fire in the fireplace, and declared it a “magic night.” We were all huddled under blankets, and she disappeared into the dim kitchen. She came back not with our usual dark hot chocolate, but with mugs of something that glowed like a winter ghost in the candlelight. It was white hot chocolate, and to my eight-year-old brain, it was the most magical thing I’d ever seen. She’d made something special out of a seemingly ordinary—and slightly stressful—situation.
That’s the feeling I wanted to capture with this Frostbite Blue Cocoa. It’s that same sense of wonder, that same ability to create a little bit of magic right in your own kitchen. My grandma’s version was a simple, beautiful white. My “what if we tried this?” energy kicked in years later, and I thought, “What if we made it look as frosty and magical as that night felt?” And just like that, with a little blue food coloring, this recipe was born. It’s a tribute to her kitchen magic and a reminder that the best holiday memories often start with a warm mug and a little creativity.
Gathering Your Magical Ingredients
Part of what makes this recipe so great is the short, sweet ingredient list. You probably have most of this in your pantry already! Here’s what you’ll need to serve up this winter wonderland to four lucky people.
- 4 cups whole milk: This is my go-to for the creamiest, richest result. The fat content in whole milk helps carry the flavor of the white chocolate beautifully. Chef’s Insight: Don’t sweat it if you only have 2% or skim! It’ll still be delicious. For a dairy-free version, canned coconut milk is a FANTASTIC substitute—it adds an incredible richness that pairs wonderfully with the white chocolate.
- 1 cup high-quality white chocolate chips: This is the star of the show, so use the good stuff! I look for brands that list cocoa butter as a primary ingredient. Chef’s Insight: Avoid “white baking morsels” that are mostly oil; they don’t melt as smoothly. If you have a bar of good white chocolate, chop it up! It’ll work even better.
- 1 teaspoon pure vanilla extract: A little vanilla enhances all the sweet, creamy notes in the chocolate. It’s the secret weapon that makes it taste homemade and complex.
- Blue gel or liquid food coloring: Pro-tip alert! I highly, highly recommend using gel food coloring. You only need a tiny bit to achieve a vibrant, beautiful blue without watering down your cocoa or making it taste weird. Liquid works in a pinch, but you’ll need more drops.
- Whipped cream for topping: The fluffy, white cloud on top is non-negotiable! Use the canned stuff for ease, or make your own fresh whipped cream for an extra-special touch.
- Blue sprinkles, sanding sugar, and/or blue chocolate pearls: This is where the fun really happens! The toppings add crunch, extra sweetness, and that final “wow” factor. Raid the baking aisle and have fun with it.
Brewing Your Blue Magic: Step-by-Step
Ready to make some magic? Grab a medium-sized saucepan and let’s get melting. I’ll walk you through every step with my favorite chef hacks to ensure perfection.
- Warm the Milk Gently. Pour your 4 cups of milk into the saucepan and place it over medium heat. Now, here’s the key: do not let it boil. We want it hot and steaming, with little bubbles forming around the edges, but a full, rolling boil can make the milk taste a bit “cooked” and can sometimes cause it to scald. Stir it occasionally with a whisk as it heats. This should take about 5-7 minutes. You’re building the foundation for our creamy dreamland.
- Melt in the White Chocolate. Once the milk is hot, reduce the heat to low. Now, pour in your cup of white chocolate chips. Start whisking! Whisk continuously until the chocolate is completely melted and the mixture is smooth and uniform. This is the most important step for getting that silky texture. Chef’s Hack: If you see any stubborn little bits of chocolate not melting, don’t panic. Just take the pan off the heat for a minute and keep whisking. The residual heat will melt them without the risk of burning the chocolate on the bottom of the pan.
- Infuse with Flavor and Color. Take the saucepan off the heat. Stir in your teaspoon of vanilla extract. Now for the transformation! Start with just 2-3 drops of your blue gel food coloring. Whisk it in completely. The color will be light at first. You can always add more, but you can’t take it away! Keep adding a drop at a time, whisking after each addition, until you reach your perfect shade of frosty winter blue. I like a medium, sky-blue color.
- The Final Simmer (Optional but Recommended). If your cocoa has cooled down a bit during the coloring process, place it back over low heat for just a minute to warm it through perfectly. Give it one final whisk before serving. You’ve just created liquid magic!
- Assemble Your Masterpiece. Carefully pour the vibrant blue cocoa into your favorite mugs. Now, top each one with a generous dollop (or a towering mountain!) of whipped cream. This creates a beautiful contrast against the blue.
- Go Topping Crazy! This is the best part. Sprinkle on your blue sanding sugar, your sprinkles, and a few of those blue chocolate pearls. The goal is to make it look like a festive, edible snow globe. Don’t be shy!
How to Serve This Frosty Delight
Presentation is half the fun with this drink! To really make it a showstopper, think about your mug choice. Clear glass mugs or vintage-style holiday mugs make the blue color pop incredibly. For a party, set up a “Frostbite Cocoa Bar.” Have the warm cocoa in a slow cooker on the “warm” setting, and then lay out bowls of different toppings: whipped cream, multiple shades of blue sprinkles, mini marshmallows, and even some crushed candy canes for a peppermint twist. Let your guests build their own winter wonderland mug!
This cocoa is rich, so it’s perfect on its own, but it also pairs wonderfully with a light, crisp cookie like a shortbread or a ginger snap. The buttery flavor of the cookie is a fantastic contrast to the sweet, creamy cocoa. Curl up by the Christmas tree, put on your favorite holiday movie, and enjoy the moment. You’ve earned it!
Mix It Up! Creative Twists on Frostbite Cocoa
Once you’ve mastered the base recipe, the “what if” fun really begins. Here are a few of my favorite ways to mix it up.
- Peppermint Frostbite: Add ¼ teaspoon of peppermint extract along with the vanilla. Top with crushed candy canes instead of blue sprinkles for a classic, refreshing holiday combo.
- Coconut Snowdrift: Use canned coconut milk instead of dairy milk for a tropical twist. The coconut and white chocolate are a match made in heaven. Top with toasted coconut flakes.
- Grown-Up Arctic Spike: For a fun cocktail version, add a shot (1.5 oz) of peppermint schnapps, vanilla vodka, or even blue curaçao to each mug before pouring in the hot cocoa. (Obviously, for the 21+ crowd!)
- Icy Blue Hot Chocolate Bombs: Make your own hot chocolate bombs! Pour the cooled cocoa into sphere molds and freeze. To serve, place a blue cocoa bomb in a mug, pour hot milk over it, and watch it melt into a delicious blue pool.
- Dairy-Free & Vegan Wonder: Use canned coconut milk or your favorite unsweetened almond/oat milk. Just be sure to use dairy-free white chocolate chips (check the label!). It works like a charm.
Jackson’s Chef’s Notes
This recipe has been a staple at my holiday parties for years, and it’s evolved in the funniest ways. One year, I got a little too excited with the gel coloring and made a batch that was practically electric neon blue. Let’s just say our smiles glowed in the dark for a few hours afterwards! Lesson learned: start small. The beauty of this recipe is its flexibility. It’s been scaled up for a crowd in a big slow cooker and scaled down to a single, comforting mug for me on a quiet night. It’s a reminder that cooking should be playful. Don’t stress about the exact shade of blue or the perfect swirl of whipped cream. The goal is to have fun and create something that brings a little joy. That’s what Food Meld is all about.
Frostbite Cocoa FAQs: Your Questions, Answered!
Q: My chocolate seized up or got clumpy when I added it. What happened?
A: This usually happens if the milk is too hot or if the chocolate is added too quickly. If you encounter lumps, don’t worry! The fix is easy. Simply take the pot off the heat and keep whisking vigorously. If that doesn’t work, you can use an immersion blender for a few seconds to make it perfectly smooth again.
Q: Can I make this ahead of time for a party?
A: Absolutely! You can make the base cocoa (without toppings) up to a day in advance. Let it cool, then store it covered in the refrigerator. When you’re ready to serve, gently reheat it on the stove over low heat, whisking frequently. You may need to add a tiny splash of fresh milk to get it back to the perfect consistency.
Q: The color isn’t as vibrant as I’d like. What can I do?
A: Gel food coloring is your best friend for vibrant color. If you’re using liquid and it’s not getting bright enough, you might need to add quite a few more drops. The gel is just more concentrated. Also, remember that the white base will lighten the color, so you need a color that’s strong enough to stand up to it.
Q: Is there a way to make this less sweet?
A: White chocolate is naturally very sweet. To cut the sweetness, you can use a semi-sweet or dark chocolate chip instead of white for a “Blue Midnight Cocoa.” It will be a darker blue/brown color, but the flavor will be deeper and less sweet. You could also use half milk and half half-and-half or heavy cream to balance the sweetness with more richness.
Nutritional Information (Approximate)
Please note: This is an approximate estimate based on the ingredients used and can vary significantly with specific brands and substitutions.
Per Serving (1 mug, without whipped cream or toppings):
- Calories: 260
- Fat: 12g
- Carbohydrates: 32g
- Sugar: 28g
- Protein: 6g
This is definitely a treat-worthy beverage! To lighten it up, you can use low-fat milk and a reduced-sugar white chocolate alternative. The toppings will add additional calories, sugar, and fat, so keep that in mind if you’re watching your intake. Remember, it’s all about balance and enjoying the festive moments!
Final Thoughts: Let’s Keep the Magic Going!
Well, there you have it, my friends—my secret recipe for the most talked-about drink of the season. This Frostbite Blue Christmas Cocoa is more than just a recipe; it’s an experience. It’s about adding a splash of color and a whole lot of fun to your holiday traditions. I hope you feel inspired to whip up a batch, get a little messy with the sprinkles, and create your own magical kitchen moment.
I’d love to see your creations! If you make this, tag me on social @FoodMeld and use the hashtag #FoodMeldMagic. Seeing your frosty blue mugs totally makes my day. From my kitchen to yours, happy holidays, and let’s cook something awesome together again soon!
– Jackson