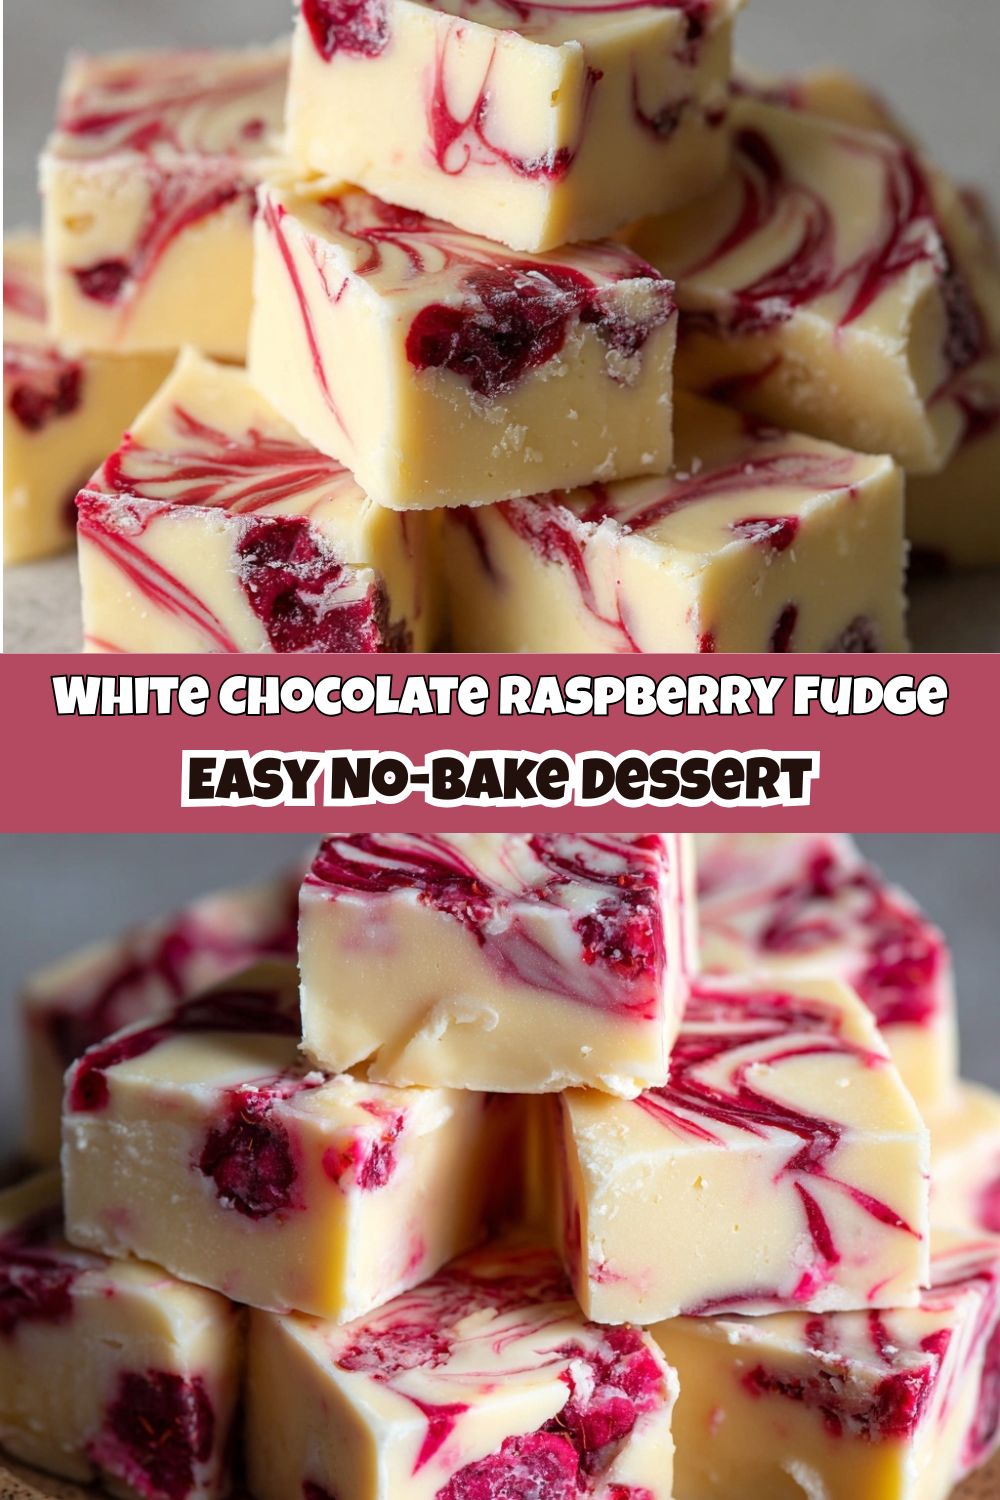
White Chocolate Raspberry Fudge: Your New Go-To No-Bake Wonder
Hey friends, Jackson from Food Meld here! Let’s be real for a second. Sometimes, you need a dessert that does it all. It needs to look like you fussed over it for hours, taste like a little piece of heaven, be ridiculously easy to make, and ideally, not involve turning on the oven. Sound like a fantasy? Well, pull up a chair, because I’m about to let you in on a secret weapon that’s been my holiday lifesaver for years: this insanely good White Chocolate Raspberry Fudge.
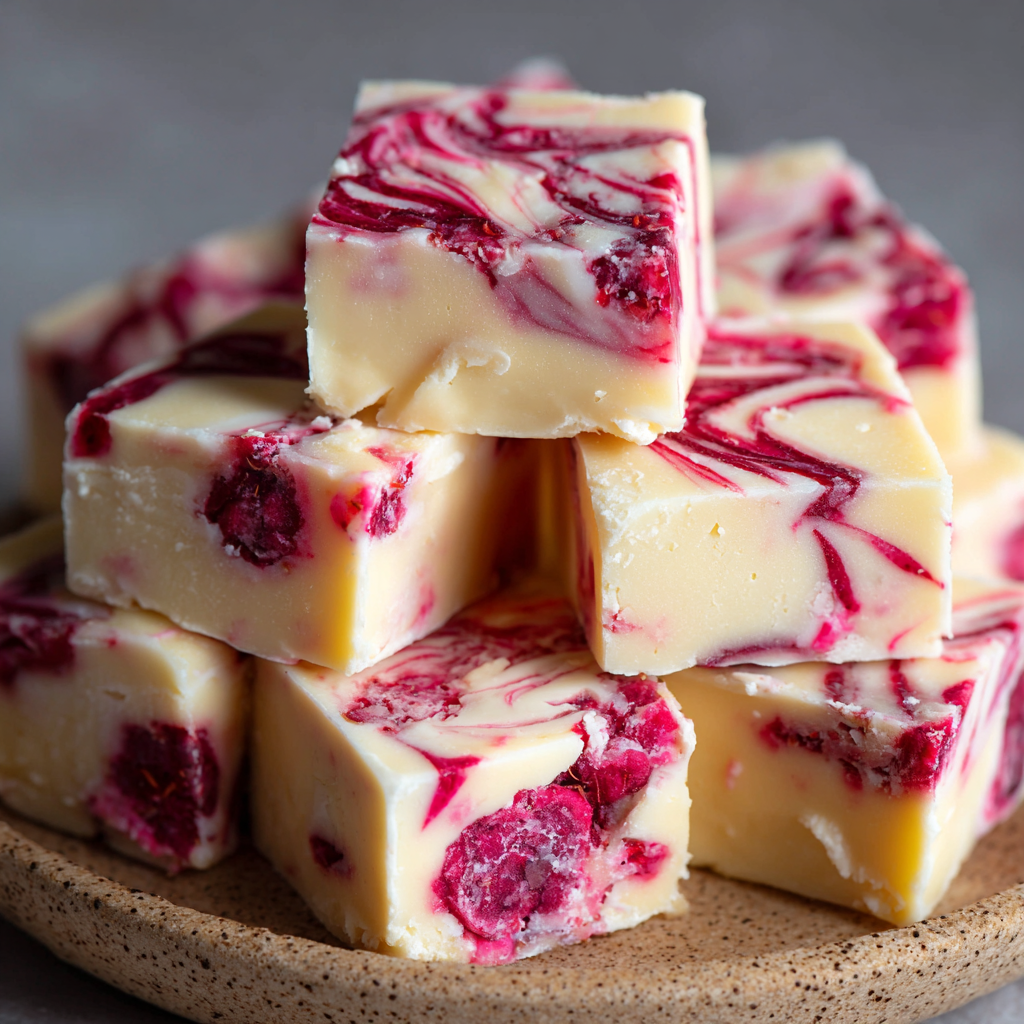
We’re talking about the creamiest, dreamiest white chocolate base, swirled with a vibrant, tangy raspberry ribbon that cuts through the sweetness perfectly. Every single square is a little work of art, and the flavor combo? It’s a total showstopper. It’s the kind of treat that makes people’s eyes light up, followed by the inevitable, “You made this?!”
I’m a firm believer that cooking—and especially dessert-making—should be fun, not intimidating. This fudge is the ultimate proof. It’s a no-bake, one-pan (seriously!) wonder that comes together in about 10 minutes of active time. Whether you’re a total beginner in the kitchen or a seasoned pro looking for a stress-free stunner, this recipe is your new best friend. We’re about to create some serious magic together, so let’s grab our pans and get ready to make something unforgettable.
A Fudgey Flashback and a Happy Accident
This recipe always takes me right back to my first holiday season living on my own. I was determined to host a little Friendsmas potluck, but my tiny apartment kitchen was… well, let’s call it “cozy.” The oven was unreliable, counter space was a myth, and my cooking confidence was still finding its feet. I knew I wanted to bring a dessert that felt special, but I was terrified of a baking disaster.
I remember staring into my pantry, seeing a bag of white chocolate chips and a lonely jar of raspberry preserves I usually just smeared on toast. A lightbulb went off. What if I just… melted them together? My first attempt was, let’s say, rustic. I think I stirred the preserves in too vigorously, and it turned the whole batch a faint pink instead of having those beautiful swirls. But when my friends tried it? They went absolutely nuts for it. That “happy little accident” taught me a huge lesson: flavor and heart always, always win over perfection. This fudge, with its now-perfected gentle swirls, is a tribute to that messy, joyful beginning and the power of a simple, bold flavor combination.
Gathering Your Flavor All-Stars
One of the best things about this recipe is the short and sweet ingredient list. But as with any simple recipe, the quality of your players really matters. Here’s what you’ll need and my quick chef insights for each one.
- 3 cups (about 18 oz) High-Quality White Chocolate Chips: This is the star of the show, so don’t skimp! I look for brands with real cocoa butter. Cheaper chips can sometimes be finicky to melt and can lead to a grainy texture. Chef’s Insight: If you can’t find chips, you can chop up a good-quality white chocolate baking bar instead.
- 1 (14 oz) can Sweetened Condensed Milk: This is our magic ingredient that creates that unbelievably smooth, creamy fudge base and eliminates the need for a candy thermometer. It’s the glue that holds our dream team together.
- 1 tsp Pure Vanilla Extract: A splash of vanilla enhances all the other flavors and adds a warm, aromatic depth to the white chocolate. Trust me, it makes a difference!
- ½ cup Raspberry Preserves or Seedless Raspberry Sauce: This is where our “creative twist” comes in! I prefer seedless raspberry preserves or a smooth sauce for a flawless swirl. The tartness is the perfect counterpoint to the sweet white chocolate. Substitution Tip: If you love a bit of texture, feel free to use preserves with seeds! You can also easily swap this for strawberry, blackberry, or even cherry preserves.
Let’s Make Some Magic: Your Foolproof Fudge Steps
Okay, team. This is where the fun happens. I’ll walk you through every step, and I’ve packed in all my favorite little hacks to ensure your fudge is absolutely perfect.
- Line Your Pan. First things first, grab your 8×8-inch baking pan. Take a sheet of parchment paper and line the pan, leaving some overhang on two opposite sides. This is my number one tip for easy fudge removal! You’ll create a little sling that lets you lift the entire block of fudge out in one clean motion for super easy slicing. A little spritz of cooking spray on the pan before the parchment helps it stick in place.
- The Low-and-Slow Melt. In a medium saucepan, combine your white chocolate chips and the entire can of sweetened condensed milk. Now, here’s the crucial part: we’re using LOW heat. I can’t stress this enough. White chocolate is delicate and can scorch or “seize” (turn into a grainy mess) if you rush it. Stir constantly and gently with a spatula or wooden spoon until the chips are completely melted and the mixture is smooth, glossy, and unified. This should only take about 5-7 minutes. Chef’s Hack: If you’re nervous about direct heat, you can do this step in a heatproof bowl set over a pot of gently simmering water (a double boiler). It takes a few minutes longer, but it’s virtually foolproof!
- Vanilla, Please! Once your mixture is silky smooth, pull the saucepan off the heat. Immediately stir in that teaspoon of vanilla extract. It will sizzle and smell amazing—that’s how you know you’re on the right track.
- Pan and Spread. Quickly pour your gorgeous white chocolate fudge base into your prepared pan. Use your spatula to spread it into a nice, even layer.
- The Art of the Swirl. This is the grand finale! Take your ½ cup of raspberry preserves and drop little dollops all over the surface of the fudge. Don’t just plop it in the middle—space them out. Now, take a toothpick (or the tip of a sharp knife) and gently drag it through the dollops and the white chocolate beneath. Make figure-eights, swirls, zig-zags—get creative! The goal is to marble it, not mix it in completely. This creates those beautiful, rustic ribbons of raspberry.
- The Big Chill. Carefully transfer the pan to your refrigerator. Now, we play the waiting game. Let it chill for at least 2-3 hours, or until it’s completely firm to the touch. I often just let it hang out in there overnight. Patience is key here for the perfect, sliceable texture.
- Slice and Celebrate! Once your fudge is rock-solid, use the parchment paper sling to lift the whole block out of the pan and onto a cutting board. Using a sharp knife, slice it into small squares. I usually aim for 36, cutting 6 rows by 6 rows. For super clean cuts, you can wipe your knife clean with a warm, damp cloth between slices.
How to Serve Your Masterpiece
You’ve just created edible art, so let’s show it off! How you serve this fudge can turn it from a simple treat into a real event.
For a casual gathering, I love piling these squares high on a rustic wooden board or a simple white platter to let those beautiful swirls really pop. If you’re feeling fancy, you can place each square in a mini paper cupcake liner—it looks adorable and makes it easy for guests to grab one.
Now, let’s talk pairings. A cup of strong, black coffee is my go-to; the bitterness is a fantastic contrast to the sweet fudge. For a truly decadent dessert experience, serve it alongside a scoop of vanilla bean ice cream or a dollop of lightly sweetened whipped cream. The creaminess takes it to a whole new level. And if you’re making these for holiday gifting, stack them in a cute cellophane bag tied with a ribbon, or arrange them in a festive tin between layers of parchment paper. It’s a gift from the heart that anyone would be thrilled to receive.
Make It Your Own: Fun Flavor Twists
One of my favorite parts of cooking is playing with flavors and making a recipe truly yours. This fudge base is an incredible blank canvas. Here are a few of my favorite ways to mix it up:
- Berry Blast: Stir in ¼ cup of crushed freeze-dried raspberries into the fudge base along with the vanilla. This doubles down on the raspberry flavor and adds a subtle, fruity crunch and a gorgeous pop of color.
- Chocolate Chip Cookie Dough: Skip the raspberry swirl and instead, fold in ½ cup of mini chocolate chips and 2 tablespoons of miniature rainbow sprinkles for a funfetti-inspired fudge that kids (and kids-at-heart) will adore.
- Peppermint Swirl: Perfect for the holidays! Substitute the raspberry preserves with ½ cup of crushed peppermint candies or candy canes. Gently fold half of the crush into the fudge base and sprinkle the rest on top with a light swirl for a festive, minty treat.
- Dark Chocolate Marble: For the ultimate chocolate lovers, melt ½ cup of dark chocolate chips with a teaspoon of coconut oil. Dollop this over the white chocolate base instead of the raspberry and swirl for a stunning black-and-white effect.
- Dairy-Free Delight: You can absolutely make this vegan! Use a high-quality dairy-free white chocolate and one can of coconut sweetened condensed milk. The method remains exactly the same.
Jackson’s Kitchen Notes & Stories
This recipe has been on quite a journey with me, and it’s evolved in the best ways. I mentioned my first pink-hued batch, right? Well, after that, I went through a phase of being too gentle with the swirl, and the preserves would just sit on top. The key is confidence—don’t be afraid to dip that toothpick right down into the base for a deep, beautiful marble.
Another funny kitchen story: I once decided to be “efficient” and melt the chocolate in the microwave. I zapped it for a minute straight, and let’s just say I ended up with a bowl of chalky, burnt chocolate cement. A total rookie move! It was a solid reminder that some things, like melting delicate chocolate, are worth the extra few minutes of patience on the stovetop. Low and slow wins the race every single time.
Your Fudge Questions, Answered!
Over the years, I’ve gotten a lot of questions about this fudge. Here are the most common ones to help you troubleshoot like a pro.
Q: My fudge is too soft and won’t set. What happened?
A: The most common culprit is that the fudge didn’t chill long enough. It needs a solid 2-3 hours, but if your fridge is packed or not super cold, it might need even longer. Overnight is always safe! Another possibility is inaccurate measuring—be sure you’re using a full 3 cups of chocolate chips.
Q: Why is my fudge grainy?
A: This almost always means the white chocolate was overheated and seized. Remember, low heat is non-negotiable! If you see it starting to get clumpy as you melt it, immediately take it off the heat and stir vigorously. You can sometimes save it by adding a tablespoon of vegetable oil or shortening and stirring until smooth again.
Q: Can I freeze this fudge?
A: Absolutely! This fudge freezes like a dream. Once it’s fully set and sliced, layer the squares between parchment paper in an airtight container. It will keep beautifully for up to 3 months. Thaw in the fridge for a few hours before serving.
Q: My swirl mixed in completely and disappeared!
A> No worries, it’ll still taste incredible! This usually means you stirred or swirled a little too vigorously. Next time, just remember you’re aiming for a gentle marble. Less is more when you’re dragging that toothpick through.
Quick Nutritional Breakdown
Now, I’m all about balance and enjoying life’s delicious treats without guilt. This fudge is a decadent dessert, so here’s a rough nutritional estimate per square (based on 36 squares) to help you enjoy it mindfully. Please note, this is an approximation and can vary based on your specific ingredients.
- Calories: ~130
- Fat: 6g
- Carbohydrates: 18g
- Sugar: 16g
- Protein: 1g
Remember, a little square of something special is good for the soul! The joy of making it and sharing it is part of the nourishment, too.
You’ve Got This!
And there you have it, friends—everything you need to create this stunning, simple, and seriously delicious White Chocolate Raspberry Fudge. I’m so excited for you to try it. This isn’t just a recipe; it’s an invitation to have fun in the kitchen, to not be afraid of a little mess, and to create something that will bring a smile to everyone who tries it.
You are now officially a fudge-making rockstar. So, whip up a batch, share it with your people, and soak in all the compliments. I have no doubt it’s going to become a staple in your recipe box, just like it is in mine.
If you make it (and I really hope you do!), I’d love to see your beautiful creations. Tag me on social @foodmeld so I can cheer you on! Now go forth and melt some chocolate. Let’s cook something awesome together!
With flavor and fun,
Jackson


