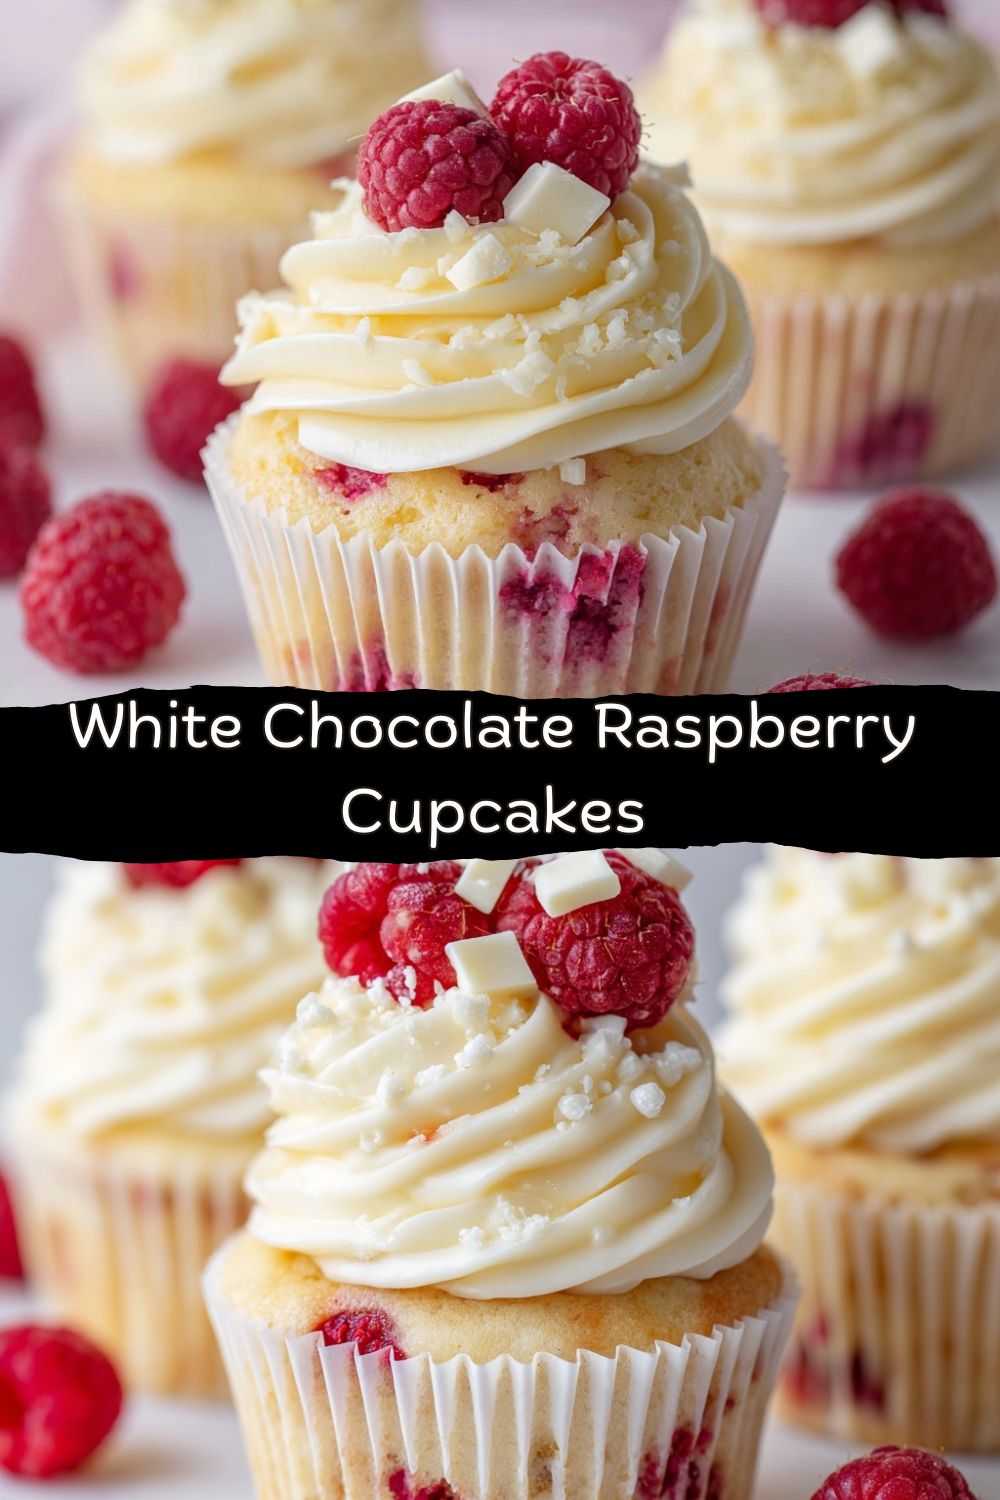
White Chocolate Raspberry Cupcakes: Your New Go-To for Sweet Celebrations
Hey friends, Jackson here from Food Meld. Let’s talk about that moment. You know the one. You’re at a bakery, you peer into the glass case, and your eyes lock onto something spectacular. For me, it’s always the pristine, berry-topped cupcake with a swirl of frosting so perfect it looks like a cloud. There’s a little voice that whispers, “I could never make that at home.” Well, I’m here to tell that voice to take the day off.
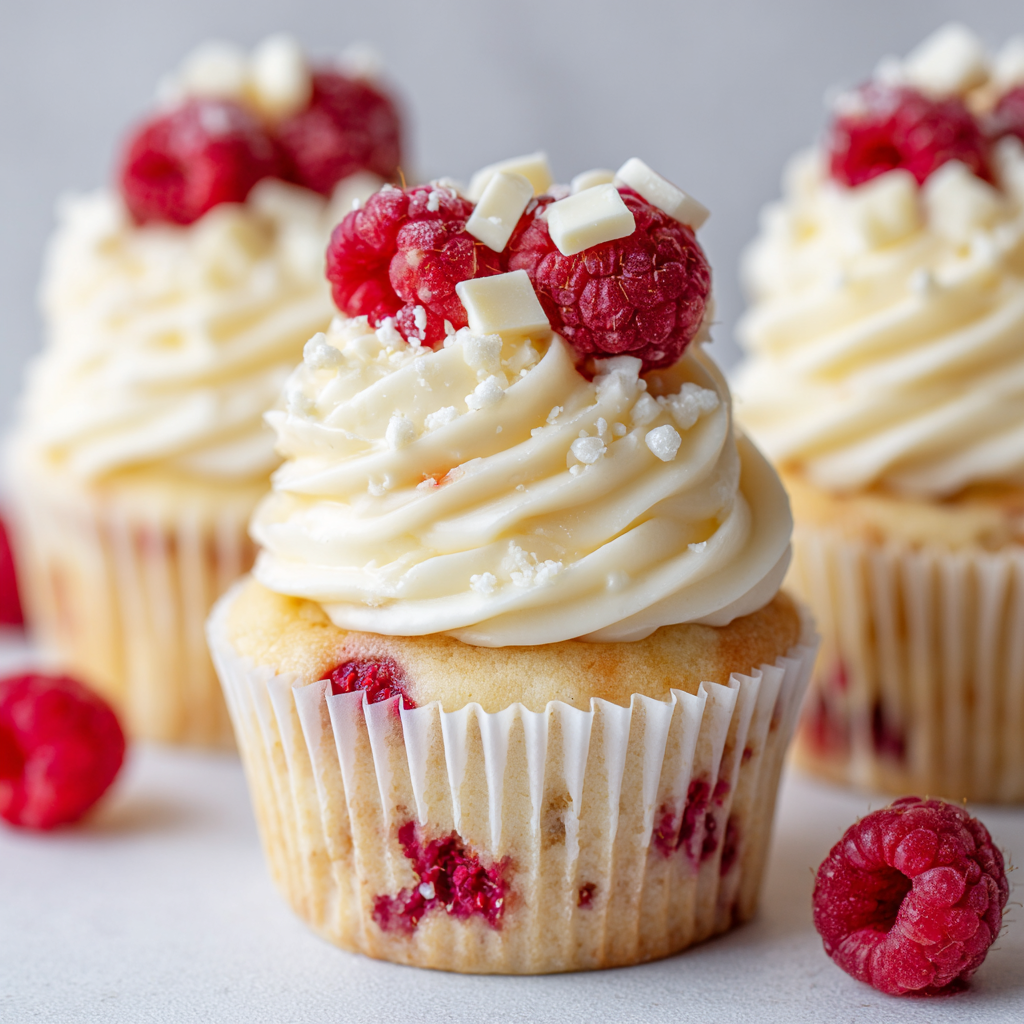
Today, we’re throwing open the doors to that bakery fantasy and bringing it right into your kitchen. These White Chocolate Raspberry Cupcakes are my absolute pride and joy. We’re talking supremely soft, buttery cake pockets bursting with juicy raspberries and melty pockets of white chocolate. And the crown? A luxurious, not-too-sweet white chocolate buttercream that pipes like a dream. This isn’t just a dessert; it’s a mood-lifter, a celebration-starter, a guaranteed showstopper.
I promise you, this recipe strips away the intimidation. We’re using simple techniques and ingredients you probably already have. My goal is to get you that proud, “I-made-this-from-scratch” feeling, followed by the even better “everyone-is-freaking-out-over-these” feeling. So, tie on your apron, grab your favorite mixing bowl, and let’s cook—well, bake—something awesome together. Welcome to your new secret weapon for sweet occasions (or just a really good Tuesday).
The Cupcake That Started It All
This recipe has roots, and they’re a little messy (in the best way). Picture a much younger me, maybe ten years old, “helping” my grandma in her flour-dusted kitchen. She was a wizard with sweets, and one summer afternoon, she decided we were making a raspberry cake. We didn’t have dark chocolate, but we did have a mysterious bar of white chocolate from who-knows-when. “What if we tried this?” she said with a wink, chopping it up and folding it into the batter.
The result was a revelation. The tart raspberries and the creamy, sweet chocolate created this magic contrast that made my eyes go wide. Of course, my “help” mostly involved eating more berries than went into the bowl and licking every spoon, but the lesson stuck: the best creations often come from a bit of playful experimentation. Every time I make these cupcakes and catch that sweet-tart scent in the oven, I’m right back in her kitchen, covered in flour and full of wonder. It’s that “Food Meld” spirit in a cupcake liner.
Gathering Your Flavor Arsenal
Here’s everything you’ll need to create this bit of bakery magic. Don’t just think of these as ingredients; think of them as your flavor building blocks.
For the Cupcakes:
- 1 ½ cups all-purpose flour: The reliable foundation. Spoon and level it into your measuring cup for accuracy—don’t scoop directly from the bag or you might pack in too much!
- 1 tsp baking powder: Our lift agent. It gives the cupcakes their beautiful, tender rise. Make sure yours is fresh for the best puff.
- ¼ tsp salt: The flavor enhancer. It might seem small, but it balances the sweetness and makes all the other flavors pop. Never skip it.
- ½ cup unsalted butter, softened: The key to richness and that melt-in-your-mouth crumb. “Softened” means it should indent easily when pressed but not be oily or melted. Pro tip: leave it on the counter for about an hour before you start.
- ¾ cup granulated sugar: Sweetness and, when creamed with the butter, it creates air pockets for a lighter texture.
- 2 large eggs: They add structure and richness. Have them at room temperature too—they’ll incorporate into the batter much more smoothly.
- 1 tsp vanilla extract: The warm, aromatic backbone. Use the real stuff, not imitation, for the best flavor.
- ½ cup milk: Whole milk is ideal for richness, but any milk you have works. It loosens the batter to the perfect consistency.
- ½ cup white chocolate chips or chopped bar: The star! I prefer chopping a good-quality baking bar for irregular, melty pockets. Chips work perfectly, too.
- ¾ cup fresh raspberries: The tangy jewel. We’re using fresh here (frozen will bleed too much). Tossing them in a tiny bit of the measured flour helps them stay suspended in the batter instead of sinking.
For the White Chocolate Buttercream:
- 1 cup unsalted butter, softened: Yes, another cup! This is American-style buttercream, and butter is the glorious, creamy base. Trust the process.
- 2 cups powdered sugar: It dissolves easily for a smooth frosting. Sift it if it’s lumpy.
- 4 oz melted white chocolate, cooled: Use a good bar here for frosting. Melt it gently (more on that below) and let it cool to room temp so it doesn’t melt our butter.
- 1 tsp vanilla extract: A perfect pairing with white chocolate.
- 1–2 tbsp heavy cream (as needed): This is your texture adjuster. Start with one, and add the second only if your frosting is too thick to pipe.
Let’s Build Some Magic: Step-by-Step
Ready? Let’s do this. I’ll walk you through every step with my favorite kitchen hacks.
- Preheat & Prep: Fire up your oven to 350°F (175°C). Line a 12-cup muffin tin with your favorite cupcake liners. This is non-negotiable for easy removal! Chef’s Tip: If you want really defined, tall cupcakes, use two liners per cup for extra structure.
- Mix the Dry Goods: In a medium bowl, grab a whisk and give your flour, baking powder, and salt a good whirl. This isn’t just mixing; it’s aerating and making sure our leavening is evenly distributed. No one wants a baking powder pocket! Set this bowl aside.
- Creaming is Key: In a large bowl, add your softened butter and granulated sugar. Now, using a hand mixer or stand mixer fitted with the paddle, beat them together on medium-high speed. Don’t rush this! We’re looking for a mixture that turns pale yellow, gets fluffy, and looks almost like a creamy frosting. This should take a good 2-3 minutes. This step incorporates air, which is your ticket to a light, soft cupcake.
- Incorporate Eggs & Vanilla: Crack in your eggs one at a time, beating well after each addition until fully blended. This prevents the batter from breaking. Then, pour in that lovely vanilla and mix just to combine. The smell is already incredible.
- The Alternating Add: Here’s a pro move to avoid over-mixing. Add about one-third of your dry flour mixture to the butter bowl. Mix on low just until it’s mostly incorporated. Now, pour in half of the milk. Mix. Add another third of the flour, the rest of the milk, and finish with the last of the flour. Mix on low until you just see no more dry streaks. A few tiny lumps are FINE. Over-mixing is the enemy of tenderness.
- Gentle Folds: Take that bowl off the mixer. Sprinkle your white chocolate and flour-tossed raspberries over the batter. Now, with a flexible spatula, gently fold them in. Use a turning motion from the bottom of the bowl up. We want to distribute them without crushing the berries or deflating our precious air.
- Bake to Perfection: Using a cookie scoop or two spoons, divide the batter evenly among the 12 liners, filling each about 2/3 full. Slide the tin into the center of your preheated oven and set the timer for 18 minutes. The true test? A toothpick inserted into the center of a cupcake should come out with just a few moist crumbs (not wet batter). They’ll be golden on top. Let them cool in the pan for 5 minutes, then transfer to a wire rack to cool completely before frosting. Patience is a virtue here—warm cupcakes melt frosting!
- Create the Frosting: While the cupcakes cool, let’s make that cloud. Melt your 4 oz of white chocolate in short bursts in the microwave, stirring well between each, until smooth. Let it cool to room temp. In a clean bowl, beat the softened butter on medium speed for 2-3 minutes until it’s super smooth and creamy. Gradually add the powdered sugar on low speed (to avoid a sugar cloud!), then increase speed and beat for 2 minutes. Scrape down the bowl, add the cooled melted white chocolate and vanilla, and beat again for another minute. If it’s too thick, add a tablespoon of heavy cream. Want it pipeable? It should be smooth and hold a stiff peak.
- The Grand Finale: Fit a piping bag with a star tip (or just use a knife for a rustic look). Load it up with frosting and swirl it onto your completely cooled cupcakes. Top with a fresh raspberry and maybe a little white chocolate shard. Step back and admire your work. You did that!
How to Serve These Showstoppers
These cupcakes are a full sensory experience, so let’s plate them for maximum impact. For a casual family treat, just pop them on a simple platter—they’ll disappear fast. If you’re feeling fancy, place each one on a small dessert plate with a dusting of powdered sugar or a drizzle of melted raspberry jam around the base. A tiny mint leaf adds a beautiful pop of color.
My favorite way to serve them? On a beautiful cake stand for a party. Stack them up, let the frosting swirls shine, and watch them become the center of attention. Pair them with a cup of strong coffee to cut through the sweetness, or a glass of cold milk for the ultimate nostalgic treat. Remember, the white chocolate in the frosting firms up a bit at cool room temperature, giving you that perfect, creamy-yet-stable bite.
Make It Yours: Fun Twists & Swaps
The beauty of this recipe is its versatility. Here are a few ways to run with it and make it your own:
- Lemon Raspberry Dream: Add the zest of one lemon to the cupcake batter and a tablespoon of lemon juice to the frosting. The citrus brightens everything up beautifully.
- Double Chocolate Raspberry: Swap the white chocolate chips in the batter for dark or semi-sweet chocolate chips. Keep the white chocolate frosting for an epic contrast.
- Jam Swirl Surprise: For a burst of raspberry in every bite, fill the cupcakes! Once baked and cooled, use a piping tip or small knife to carve a little plug from the top of each. Fill the hole with seedless raspberry jam, then replace the plug and frost over it.
- Dairy-Free Delight: Use plant-based butter and milk (oat milk works great) in the cupcakes. For the frosting, use a high-quality dairy-free butter and ensure your white chocolate is dairy-free. Coconut cream can sub for heavy cream.
- Gluten-Free Friendly: Use a 1:1 gluten-free all-purpose flour blend (like Bob’s Red Mill or King Arthur). The results are fantastic.
Jackson’s Kitchen Notes
This recipe has been my trusty sidekick for years—it’s the one I bring to potlucks when I want to make a serious impression. It’s evolved from my grandma’s simple cake; I tweaked the ratios for a taller, fluffier cupcake and perfected the frosting so it’s rich but not cloying. A funny story: I once, in a pre-coffee haze, forgot the baking powder. Let’s just say we ended up with delicious, dense raspberry hockey pucks. A valuable (and tasty) lesson in why mise en place is your friend! Now, I always whisk my dry ingredients first thing so I never miss a component. These cupcakes keep beautifully in an airtight container at cool room temp for 2 days, or in the fridge for up to 5. Let them come to room temp before serving for the best texture and flavor.
Your Questions, Answered
Q: Can I use frozen raspberries?
A: I strongly recommend fresh for the cupcakes, as frozen berries release too much water and can make the batter soggy and discolored. For the frosting or as a garnish on top, thawed and well-drained frozen berries are fine.
Q: My frosting is too runny/too thick! Help!
A> Don’t panic! Kitchen climates vary. Too runny? Your butter might have been too warm or your chocolate too hot. Pop the whole bowl in the fridge for 15-20 minutes, then re-whip. You can also add a bit more powdered sugar. Too thick? Add heavy cream, one teaspoon at a time, and whip until it reaches your desired consistency.
Q: Why did my raspberries sink to the bottom?
A> This usually means they weren’t tossed in that light coating of flour, or the batter was a bit too thin. The flour trick is a game-changer—it gives the berries a tiny bit of grip to hold onto in the batter.
Q: Can I make these ahead of time?
A> Absolutely! Bake the cupcakes up to a day ahead, let them cool completely, then store unfrosted in an airtight container at room temp. Make the frosting and store it covered in the fridge. Before your event, let the frosting come to room temp and re-whip it for a minute, then frost and decorate.
Nutritional Info (Per Cupcake)
Okay, let’s be real: this is a celebratory treat. I believe in enjoying real, flavorful food, and that includes indulgent desserts. Here’s the breakdown so you can enjoy them as part of your balance. Remember, these are estimates and can vary based on specific ingredients and portion sizes.
Calories: ~340 | Protein: 3g | Carbohydrates: 36g | Sugars: 26g | Fat: 21g | Saturated Fat: 13g | Fiber: 1g | Cholesterol: 65mg | Sodium: 80mg
Prep Time: 20 minutes | Bake Time: 20 minutes | Total Time: 40 minutes (plus cooling)
Final Thoughts from My Kitchen to Yours
There you have it, friends—my heart-on-a-plate recipe for White Chocolate Raspberry Cupcakes. This is more than just a dessert recipe; it’s an invitation to play, to create, and to share something made with your own two hands. Don’t get bogged down in perfection. Maybe your frosting swirl isn’t identical to the one in the bakery case—I bet it has ten times more character and love baked right in.
I hope these cupcakes bring as much joy to your kitchen as they have to mine. When you pull that tray out of the oven, smell that sweet berry aroma, and see the faces of the people you share them with light up… that’s the whole point of Food Meld.


