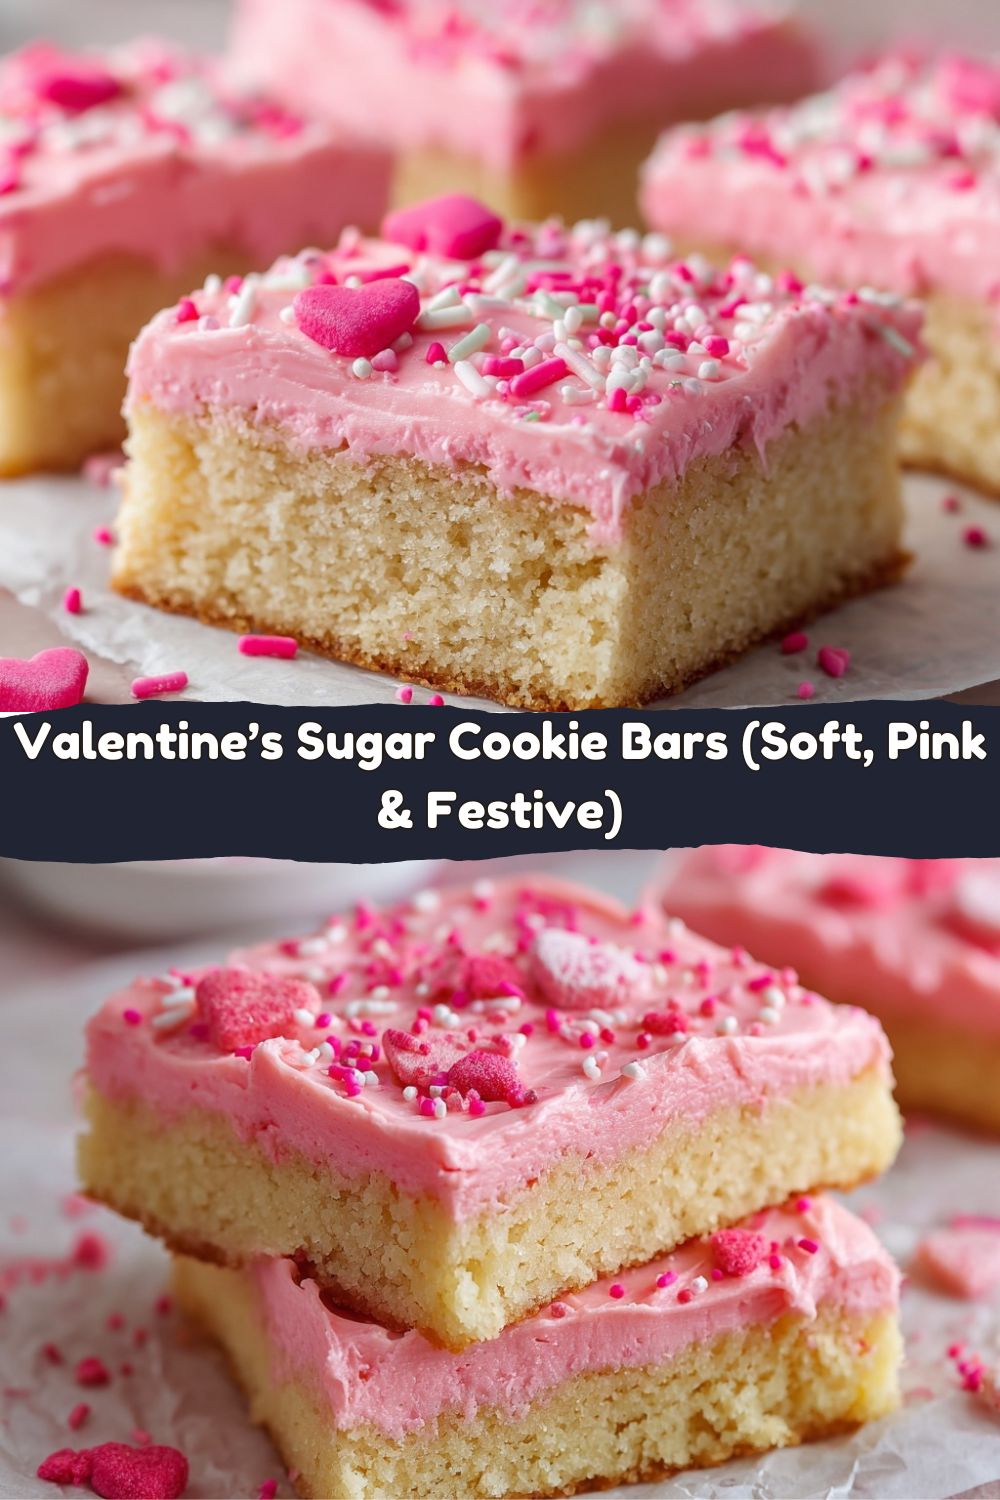
Love at First Bite, in Bar Form
Hey friends, Jackson here from Food Meld! Let’s talk about Valentine’s Day. It can come with a lot of pressure, right? Fancy dinners, elaborate desserts that take all day… I’m here to tell you that the best way to someone’s heart is often the simplest, sweetest, and most straight-from-the-heart route. That’s exactly why I’m obsessed with these Valentine’s Sugar Cookie Bars.
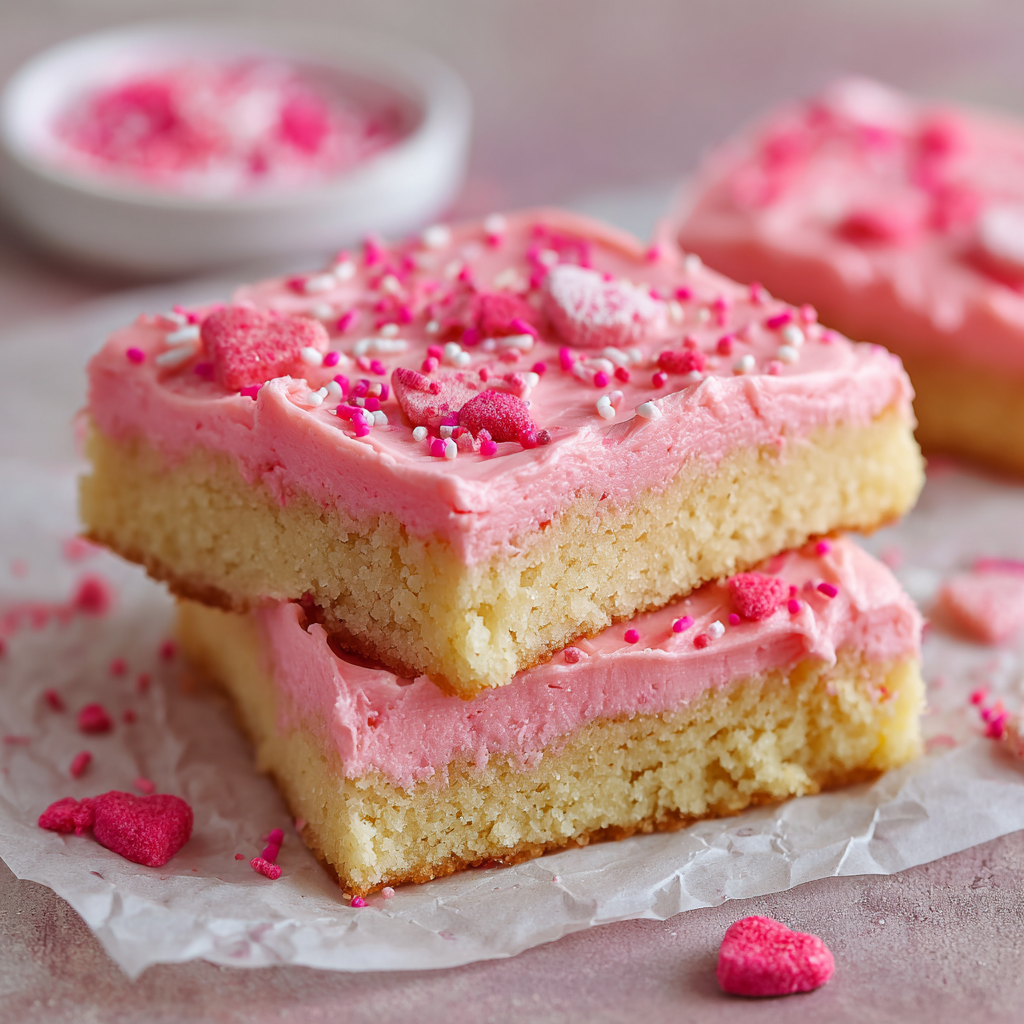
Picture this: a soft-baked, buttery sugar cookie base that melts in your mouth, topped with a fluffy, dreamy strawberry frosting that’s the prettiest shade of pink you’ve ever seen. No rolling pins, no cookie cutters, no fussy piping bags required. This is one-bowl, one-pan magic that delivers all the festive, lovey-dovey vibes without any of the kitchen stress.
Whether you’re baking for your partner, your kids’ class party, your Galentine’s crew, or just for *you* (because self-love desserts are the best love), this recipe is your secret weapon. It’s forgiving, fun, and packed with that “you’ve gotta try this” flavor I’m always chasing. We’re taking classic comfort and giving it a creative, pink-tinged twist. So, tie on your apron, grab your favorite mixing bowl, and let’s turn your kitchen into the most delicious corner of Valentine’s Day. Ready to bake something awesome together? Let’s do this.
My First “Bake Sale” Heartbreak (and the Sweet Redemption)
These bars take me right back to the fourth grade. We had a Valentine’s bake sale, and I was determined to impress. My plan? Heart-shaped sugar cookies with pink icing. The reality? A kitchen disaster of epic, flour-covered proportions. The dough stuck to everything, my hearts looked like lumpy amoebas, and the icing was a runny, neon-pink mess. Let’s just say my cookies didn’t exactly fly off the table.
But my mom, the real MVP, saw my deflated face. She gave me a hug and said, “Jackson, the flavor’s all there. Let’s just smash it all together and call it a ‘cookie cake.’” We pressed the sad dough into a pan, glopped on the icing, and cut it into squares. And you know what? People went nuts for it! They loved the soft texture and the big strawberry flavor. That day, I learned a lifelong kitchen lesson: it’s not about perfect shapes; it’s about big, bold, shareable flavor and joy. These bars are the delicious, grown-up (but still easy) redemption of that childhood flop. Every time I make them, I smile, remembering that sometimes the best creations come from happy accidents.
Your Flavor Toolkit: What You’ll Need
Here’s everything to grab. I’ve added my chef-y notes and swaps so you can make this recipe work with what you’ve got!
For the Cookie Base:
- ½ cup unsalted butter, softened: This is the soul of our cookie base. Softened (not melted!) butter creams with sugar to create that tender, cakey crumb. If you only have salted butter, just omit the added salt in the dry ingredients.
- ¾ cup granulated sugar: For that classic sweet cookie taste. It also helps create a slight crispness on the edges as it bakes.
- 1 large egg: Our binder and rising agent. It adds richness and structure. For a hint of extra flavor, use an egg at room temperature.
- 1 teaspoon vanilla extract: The warm, aromatic backbone. Always use pure vanilla if you can—it makes a world of difference.
- 1 ½ cups all-purpose flour: The foundation. I spoon and level it into my measuring cup to avoid a dense, dry bar. For a nuttier flavor, you can swap ½ cup with whole wheat pastry flour.
- ¼ teaspoon baking powder: Our little leavening helper. It gives the bars a gentle lift, making them soft and pillowy, not flat and hard.
- ¼ teaspoon salt: The flavor enhancer! It balances all the sweetness and makes the buttery vanilla notes pop. Never skip it.
For the Strawberry Frosting:
- ¼ cup unsalted butter, softened: The base of our frosting. Softened beautifully so it whips up light and fluffy.
- 1 cup powdered sugar: Also called confectioners’ sugar. It dissolves instantly for a smooth, lump-free frosting. Sift it if yours is clumpy!
- 1 tablespoon crushed freeze-dried strawberries: This is my secret weapon! It gives the frosting a gorgeous natural pink color and a true, intense strawberry flavor without adding liquid (which would thin the frosting). Find them in the snack or dried fruit aisle.
- 1–2 tablespoons milk or cream: This is our texture adjuster. Start with one tablespoon and add the second only if needed to reach a spreadable consistency.
- ½ teaspoon vanilla extract: A dash to round out the berry flavor beautifully.
- Optional: pink sprinkles or heart-shaped decorations: Go wild! This is where you get to play and make them your own.
Let’s Bake: Simple Steps to Pink Perfection
Follow these steps, and you’ll have perfect bars every single time. I’m talking you through it like you’re right here with me in the Food Meld kitchen.
- Prep Your Stage. Preheat your oven to 350°F (175°C). Line an 8×8-inch baking pan with parchment paper, leaving a little overhang on two sides. This is the ultimate hack for easy removal! Just lift the whole slab of cookie out later. No wrestling, no broken corners.
- Cream the Butter & Sugar. In a medium bowl, beat the softened butter and granulated sugar together with a hand mixer (or stand mixer) for about 2 minutes. You want it light, fluffy, and pale yellow. This step incorporates air, which is key for texture. Don’t rush it!
- Bring in the Wet Team. Crack in the egg and add the vanilla extract. Mix on medium speed just until everything is smooth and fully combined. Scrape down the sides of the bowl with a spatula to make sure nothing’s hiding.
- Gently Add the Dry Ingredients. In a separate bowl, whisk together the flour, baking powder, and salt. Add this to the wet ingredients all at once. Now, mix on low speed just until the flour disappears. The second you no longer see dry flour, STOP. Overmixing is the enemy of a tender cookie bar—it develops gluten and can make them tough.
- Press and Bake. Dump the dough into your prepared pan. It will be thick! Use your fingers, the bottom of a measuring cup, or a spatula to press it into a perfectly even, smooth layer. This ensures even baking. Pop it into the preheated oven and bake for 18-20 minutes. You’re looking for lightly golden edges and a top that looks set. A toothpick inserted near the center should come out clean or with a few moist crumbs. Remember, it will continue to cook a bit as it cools.
- The Most Important Step: Cool Completely. I know, the waiting is torture! But trust me, if you frost a warm cookie base, you’ll have a melted, gloppy mess. Let the pan cool on a wire rack for at least 30 minutes. For best results, I sometimes pop it in the fridge for 15 minutes to really firm up.
- Make the Magic Pink Frosting. While the base cools, make your frosting. First, take your freeze-dried strawberries and crush them into a fine powder. I use a rolling pin or just pop them in a zip-top bag and crush them. In a clean bowl, beat the softened butter until smooth. Add the powdered sugar, strawberry powder, vanilla, and 1 tablespoon of milk. Start mixing on low (so the sugar doesn’t fly everywhere!), then increase to high and beat for 1-2 minutes until fluffy. If it seems too thick, add the second tablespoon of milk, a teaspoon at a time, until it’s spreadable.
- Frost and Celebrate! Once the base is completely cool, spread the frosting evenly over the top with an offset spatula or butter knife. This is your canvas! Immediately add your sprinkles or decorations so they stick. Then, using the parchment paper “handles,” lift the entire block out of the pan and onto a cutting board.
- Slice and Serve. Use a sharp knife to cut into squares. For a fancy touch, wipe the knife clean between cuts for super-sharp edges. Want hearts? Use a small heart-shaped cookie cutter on the frosted bars.
How to Serve These Pink Beauties
Presentation is part of the fun! Here’s how I love to plate them up:
For a casual, shareable vibe, just leave the whole slab on a wooden cutting board with a stack of napkins nearby and let people dig in. For something a bit more special, arrange the squares on a pretty cake stand or platter. I love stacking a few in a little tower on a small plate for a cute individual dessert.
Pair them with a glass of cold milk, a cup of hot coffee, or even a glass of bubbly rosé for the adults. They’re rich and sweet, so that contrast is perfect. And if you’re really feeling the love, package a couple in a cellophane bag tied with a ribbon for the sweetest handmade Valentine’s gift.
Make It Yours: 5 Fun Twists to Try
Got an idea? Run with it! Here are some of my favorite ways to mix up this recipe:
- Chocolate-Covered Strawberry: After frosting, drizzle the bars with melted dark or white chocolate. Instant elegance and that classic flavor combo.
- Lemon-Raspberry: Swap the vanilla extract in the base for lemon extract. For the frosting, use crushed freeze-dried raspberries instead of strawberries. Bright, tart, and incredible.
- Funfetti Valentine’s: Fold ¼ cup of Valentine’s-colored sprinkles or jimmies into the cookie dough before pressing it into the pan. It’s a confetti explosion!
- Gluten-Free/Dairy-Free Friendly: Use a 1:1 gluten-free flour blend for the base. For the frosting, use dairy-free butter and a non-dairy milk. The freeze-dried fruit is already your friend here!
- Adult “Pink Champagne” Frosting: Replace the milk in the frosting with 1-2 tablespoons of pink champagne or prosecco. Reduce the vanilla to ¼ tsp. Sophisticated and bubbly!
Jackson’s Kitchen Notes & Stories
This recipe is a living thing in my kitchen. I’ve made it for baby showers, book clubs, and “I-had-a-rough-day” treats. One time, I accidentally used salted butter AND added the salt. They were… aggressively salty-sweet. My wife politely said they “had character.” We now call them the “Salted Caramel Incident” and laugh about it. The point is, you can’t really ruin these!
Over time, I landed on freeze-dried fruit for the frosting because I got tired of artificial food coloring and watery frostings from using jam. This trick is a game-changer—it packs a punch of real fruit flavor and gives you that stunning natural color. I always keep a bag in my pantry now for instant dessert upgrades.
Your Questions, Answered
Q: My frosting is too runny! What happened?
A: This usually means you added too much liquid. The power of powdered sugar is your fix! Simply add more sifted powdered sugar, a few tablespoons at a time, and beat until it thickens up. Conversely, if it’s too thick, add more milk a teaspoon at a time.
Q: Can I make these ahead of time?
A: Absolutely! Bake and cool the base, wrap it tightly, and store at room temperature for a day. Make the frosting the day you plan to serve. You can also frost the whole thing, cover it well, and store it in the fridge for up to 2 days. Let it come to room temp for about 20 minutes before serving for the softest texture.
Q: I can’t find freeze-dried strawberries. What can I use?
A: No problem! You have options: 1) Use 2-3 tablespoons of high-quality strawberry jam or preserves, but reduce the milk to just ½ tablespoon to start. 2) Use a few drops of natural red food coloring (like from beets) and ½ teaspoon of strawberry extract. The flavor and color won’t be as vibrant, but they’ll still be delicious.
Q: My cookie base is dense or hard. What did I do wrong?
A> This typically points to overmixing the dough after adding the flour. Remember, mix just until combined! Also, double-check your measurements—too much flour (especially if you scoop directly from the bag) is a common culprit. Spoon and level for accuracy.


