Let’s Bake Some Love: The Ultimate Valentine’s Day Sugar Cookie
Hey friends, Jackson from Food Meld here. Let’s get one thing straight right out of the gate: Valentine’s Day isn’t about grand, intimidating gestures. It’s about the small, sweet, from-the-heart moments that truly say, “I get you.” And what’s more “from-the-heart” than a batch of homemade, heart-shaped sugar cookies you whipped up with your own two hands?
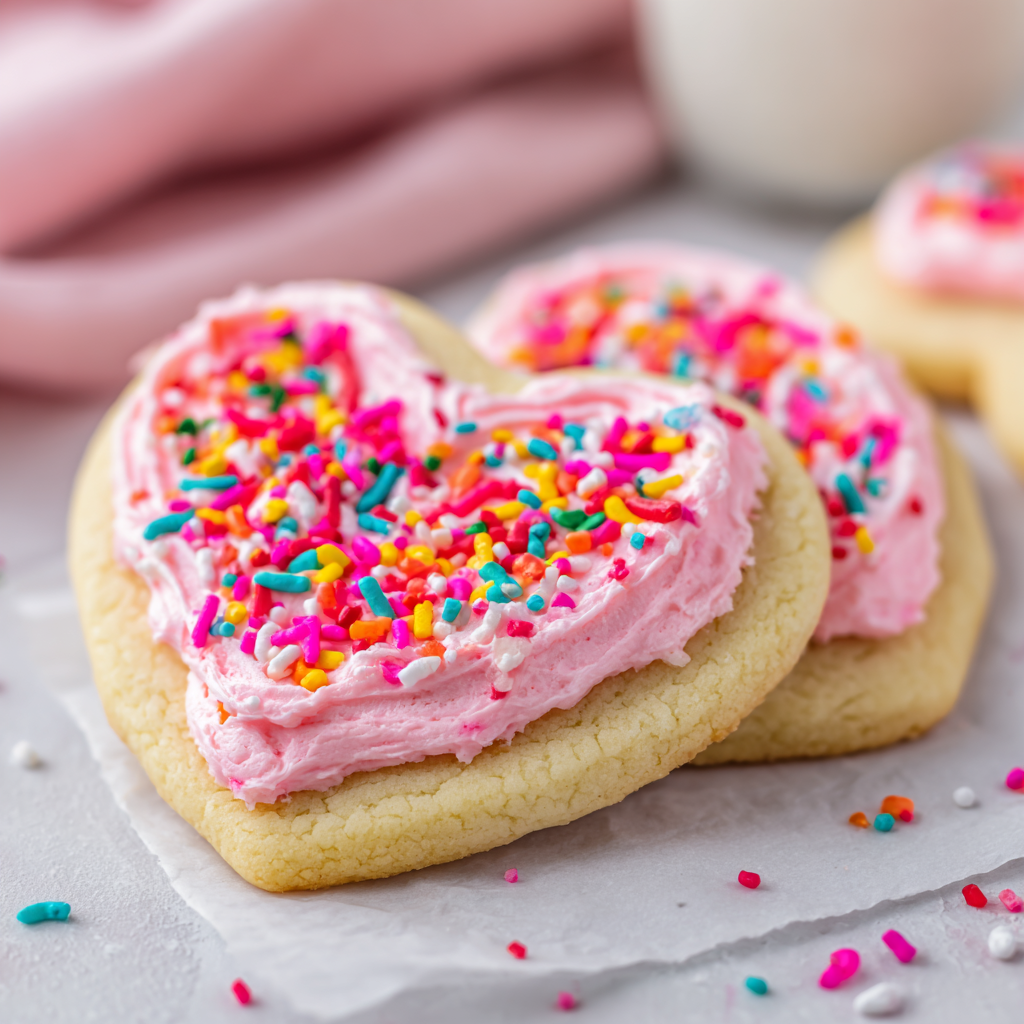
I’m talking about perfectly soft, buttery cookies that practically melt in your mouth. We’re not making those tough, shelf-stable kind you find in a box. No, ma’am. We’re creating a cloud-like cookie with a secret hint of lemon zest, topped with a fluffy, tangy, whipped cream cheese frosting that’s so light, it’s like spreading a sweet pink dream on top. This recipe is my love letter to the classic sugar cookie, but we’re turning up the flavor and the fun.
I know baking can sometimes feel like a science experiment, but I promise you, this is the fun, messy, and incredibly rewarding kind. Whether you’re surprising your partner, having a Galentine’s bash, or just treating yourself (because you absolutely deserve it), these cookies are your ticket to a deliciously memorable day. So, tie on that apron, put on some good music, and let’s cook—er, bake—something awesome together.

The Cookie That Started It All: A Sweet Little Memory
This recipe takes me right back to my grandma’s kitchen, a place that always smelled like butter and happiness. Every Valentine’s Day, she’d let me be her official “sprinkle sous-chef.” She had this one, slightly rusted heart-shaped cookie cutter that she’d used for decades. Her cookies were always the talk of the town—thick, soft, and never, ever dry.
One year, I decided I was a big kid and could handle the frosting bag myself. Let’s just say it ended with more pink frosting on my face and the kitchen walls than on the cookies. But instead of getting mad, Grandma just laughed, wiped a bit of frosting off my nose with her thumb, and said, “Jackson, a little mess just means you put your whole heart into it.” That’s the spirit I want you to bring to this recipe. Don’t stress about perfection. Embrace the fun, the little imperfections, and the joy of creating something sweet for someone you care about (even if that someone is you!). That’s the real secret ingredient.
Gathering Your Cookie Crew: The Ingredients
Before we start, let’s get our mise en place—that’s just a fancy chef term for having all your ingredients prepped and ready to go. It makes the whole process smoother and way more fun. Here’s what you’ll need:
For the Soft & Buttery Cookies:
- 1½ cups (3 sticks) butter, softened: This is the soul of our cookie. Using real butter gives us that rich, classic flavor. Chef’s Insight: “Softened” is key! It should be pliable but not melted. Leave it on the counter for about an hour before you start. Press your finger into it—it should leave an indent easily.
- 1½ cups granulated sugar + ½ cup powdered sugar: The dynamic duo! The granulated sugar gives structure and sweetness, while the powdered sugar makes the texture incredibly tender. Substitution Tip: You can use all granulated sugar if that’s all you have, but the powdered sugar really takes the texture to the next level.
- 4 large eggs: These are the binding agents that bring everything together. Make sure they’re at room temperature to create a smooth, emulsified dough.
- 1 tsp vanilla extract + ½ tsp almond extract: Vanilla is the classic, but that tiny bit of almond extract? That’s the magic. It adds a subtle, bakery-style depth that makes people go, “Wow, what is that amazing flavor?”
- 1 tbsp finely chopped lemon zest: This is our secret weapon! It cuts through the sweetness just enough and makes the whole cookie taste brighter and more special. Don’t skip it!
- 5 cups all-purpose flour: The foundation. We’ll add it gradually to get the perfect consistency.
- 2 tsp baking powder: This is what gives our cookies their lovely, soft lift. It’s different from baking soda, so be sure to use the right one!
- 1 tsp salt: Trust me, salt in desserts is non-negotiable. It enhances all the other flavors and keeps the cookies from tasting one-note and overly sweet.
For the Whipped Cream Cheese Frosting:
- 8 oz cream cheese, softened: Again, softened is crucial! If it’s cold, you’ll end up with lumpy frosting. Let it sit out with the butter.
- 1½ cups powdered sugar: This sweetens and stabilizes our frosting. Sift it if it’s lumpy for an ultra-smooth texture.
- ⅛ tsp salt: A tiny pinch to balance the tang and sweetness.
- ½ tsp vanilla extract: For that warm, familiar flavor.
- 1½ cups heavy whipping cream: This is what makes the frosting “whipped” and incredibly light. Make sure it’s very cold—it whips up better that way.
- Optional: Pink or red food coloring, festive sprinkles: Go wild! Gel food coloring gives a vibrant color without thinning the frosting. And sprinkles? They’re pure joy.
The Fun Part: Let’s Make Some Cookie Magic!
Alright, team, it’s go-time. Preheat that oven to 400°F (200°C) and let’s get our hands (or mixer) dirty.
- Cream the Butter & Sugars: In a large bowl, beat the softened butter, granulated sugar, and powdered sugar together. Now, don’t rush this! Beat it on medium-high speed for a full 3-4 minutes. You’re not just mixing; you’re incorporating tiny air bubbles that will make the cookies light and fluffy. The mixture should turn pale yellow and look wonderfully creamy. Chef’s Hack: Scrape down the sides of the bowl halfway through to make sure everything is getting evenly mixed.
- Incorporate the Wet Ingredients: With the mixer on a lower speed, add the eggs one at a time, letting each one fully incorporate before adding the next. This prevents the mixture from “breaking” or looking curdled. Then, mix in the vanilla extract, almond extract, and that glorious lemon zest. Your kitchen should already be smelling incredible.
- Combine the Dry Ingredients: In a separate bowl, whisk together 2 cups of the flour, the baking powder, and the salt. This ensures the leavening is evenly distributed. Add this dry mixture to the wet ingredients and mix on low until just combined. Now, gradually add the remaining 3 cups of flour. I like to add it in two batches to avoid a flour explosion. Mix until the dough just comes together and pulls away from the sides of the bowl—it should be soft and slightly sticky, but manageable. Chef’s Note: Over-mixing at this stage can lead to tough cookies, so once you don’t see any more dry flour pockets, you’re done!
- Roll & Cut: Lightly flour your clean countertop and a rolling pin. Turn the dough out onto the surface. Roll it out to about ¼-inch thickness. This is the perfect thickness for a cookie that’s substantial and soft. Dip your heart-shaped cookie cutter in a little flour to prevent sticking, then press down firmly. Re-roll the scraps and keep cutting until you’ve used all the dough.
- Bake to Perfection: Place the cut-out hearts on a parchment-lined baking sheet about an inch apart. Pop them into your preheated 400°F oven for 7-8 minutes. This is the most important step! We want them to be just set. The edges should not be brown. They might look a little underdone, but they will continue to cook on the hot baking sheet out of the oven. This is the secret to a super-soft, cake-like cookie. Let them cool on the baking sheet for 5 minutes before transferring them to a wire rack to cool completely. Do not frost warm cookies! It will be a melty, sad mess.
- Whip Up the Frosting: While the cookies cool, let’s make that heavenly frosting. In one bowl, beat the softened cream cheese, powdered sugar, salt, and vanilla until it’s completely smooth and lump-free. In another, completely separate bowl, whip the cold heavy cream until you have stiff peaks. Chef’s Hack: Chill your mixing bowl and whisk attachment in the freezer for 10 minutes before whipping the cream—it whips up faster and higher! Now, gently fold the whipped cream into the cream cheese mixture. Be gentle! You want to keep all that air you just whipped in. If you’re using food coloring, fold it in now until you get your desired shade of pink or red.
- Decorate & Devour: Once the cookies are completely cool, it’s time for the grand finale! Use a knife, an offset spatula, or just a spoon to swirl that fluffy frosting onto each cookie heart. Immediately add your favorite Valentine’s sprinkles so they stick. Then, stand back and admire your handiwork. You just made edible love.
Sharing the Sweetness: How to Serve These Beauties
Presentation is part of the fun! You don’t need to be a professional pastry chef to make these cookies look stunning. Pile them high on a beautiful cake stand or a simple wooden board for a rustic, inviting look. If you’re giving them as a gift, find a cute box or tin and layer them between sheets of parchment paper—it’s a heartfelt gift that truly shows you care.
These cookies are the star of any dessert table. Pair them with a glass of cold milk for the ultimate classic combo, a cup of rich coffee to balance the sweetness, or even a glass of bubbly prosecco for a truly celebratory feel. They’re perfect for a Valentine’s Day dinner finale, a school party, or just as a sweet treat with your afternoon tea.
Make It Your Own: Fun Recipe Twists
Feel like mixing it up? Go for it! That’s the “Meld” spirit. Here are a few ideas to get your creative juices flowing:
- Chocolate Lovers’ Dream: Swap the almond extract for ½ teaspoon of mint extract, and add a few drops of green food coloring to the frosting. Or, fold in some mini chocolate chips into the cookie dough itself!
- Citrus Burst: Not a lemon fan? Substitute the lemon zest with orange or even lime zest for a different, but equally bright, citrus kick.
- Berry Bliss: Fold ¼ cup of freeze-dried strawberry or raspberry powder into the frosting instead of food coloring. It gives a gorgeous natural pink hue and a real fruit flavor.
- Gluten-Free Swap: You can easily use a 1:1 gluten-free all-purpose flour blend in place of the regular flour. I’ve tested this with great success—just ensure your blend contains xanthan gum for binding.
- “Fruity Pebbles” Crunch: Before baking, press a few Fruity Pebbles cereal pieces into the top of each cookie for a fun, colorful, and crunchy twist that kids (and kids-at-heart) will adore.
Jackson’s Kitchen Confidential: A Few Parting Thoughts
This recipe has evolved so much since my grandma’s days. I’ve tweaked the sugar ratios, played with extracts, and finally landed on the lemon zest trick after a happy accident while making a lemon meringue pie. The dough can feel a bit sticky, but trust the process and use enough flour on your rolling surface. If it’s a particularly warm day, don’t be afraid to chill the dough for 20-30 minutes before rolling—it makes it much easier to handle.
And remember my frosting fiasco? I’ve learned that the key to that fluffy frosting is keeping everything cold and folding gently. The first time I tried to make it, I was impatient and mixed the cream cheese and whipped cream on high speed. I ended up with a liquidy soup. We live and we learn! Now you get to benefit from all my delicious mistakes.
Your Questions, Answered!
I know you might have a question or two, so let’s tackle the common ones head-on.
Q: My cookies spread too much! What happened?
A: This usually means your butter was too warm or your oven wasn’t hot enough. Make sure your butter is softened but not melting, and always preheat your oven properly. Also, double-check that your baking powder is fresh!
Q: Can I make the dough ahead of time?
A> Absolutely! You can wrap the dough tightly in plastic wrap and keep it in the fridge for up to 2 days. Let it sit at room temperature for about 15-20 minutes to soften slightly before rolling. You can also freeze the rolled-out, unbaked cookies on a sheet pan, then transfer them to a freezer bag. Bake from frozen, adding a minute or two to the baking time.
Q: My frosting is too runny. How can I fix it?
A> The most common culprit is that the cream cheese or bowl wasn’t cold enough. Pop the entire bowl of frosting into the fridge for 20-30 minutes, then give it a quick whisk. If it’s still too soft, you can gently fold in a little more sifted powdered sugar to help stiffen it up.
Q: Why can’t I taste the almond or lemon?
A> Taste your dough! It’s perfectly safe (and encouraged). If the flavors seem faint, you can add a touch more zest or a few more drops of almond extract. Your palate is your best guide.
Just the Facts: Nutritional Info*
Let’s be real, we’re not eating sugar cookies for their health benefits, but it’s always good to know what you’re enjoying! This is a rough estimate per cookie (assuming 28 cookies from the batch).
- Calories: 190
- Carbohydrates: 23g
- Fat: 10g
- Sugar: 12g
- Protein: 2g
*Please note: This is an approximate calculation based on the ingredients used and can vary significantly based on specific brands, exact measurements, and portion sizes. It’s provided as a courtesy guide.
You Did It! Now, Go Enjoy Every Bite.
Look at you, you magnificent baker! You’ve just created a batch of unforgettable, soft, and sweet Valentine’s Day cookies that are packed with flavor and, more importantly, made with love. I’m so proud of you for getting in the kitchen and making something special.
Remember, the best recipes aren’t just about a list of ingredients and steps—they’re about the moments you create while making them. The laughter when flour goes flying, the quiet calm of frosting cookies late at night, the little smile when someone takes that first bite and says, “Oh wow.” Those are the memories that stick, the ones that make baking magic.
So, pour yourself a cup of coffee or a glass of milk, grab one of those heart-shaped beauties, and take a moment to appreciate the sweetness of it all. You didn’t just bake cookies—you baked joy, nostalgia, and a whole lot of love into every single bite.
From my kitchen to yours, happy Valentine’s Day—and remember, love (and a little butter) really do make the world go ‘round. ❤️
— Jackson


