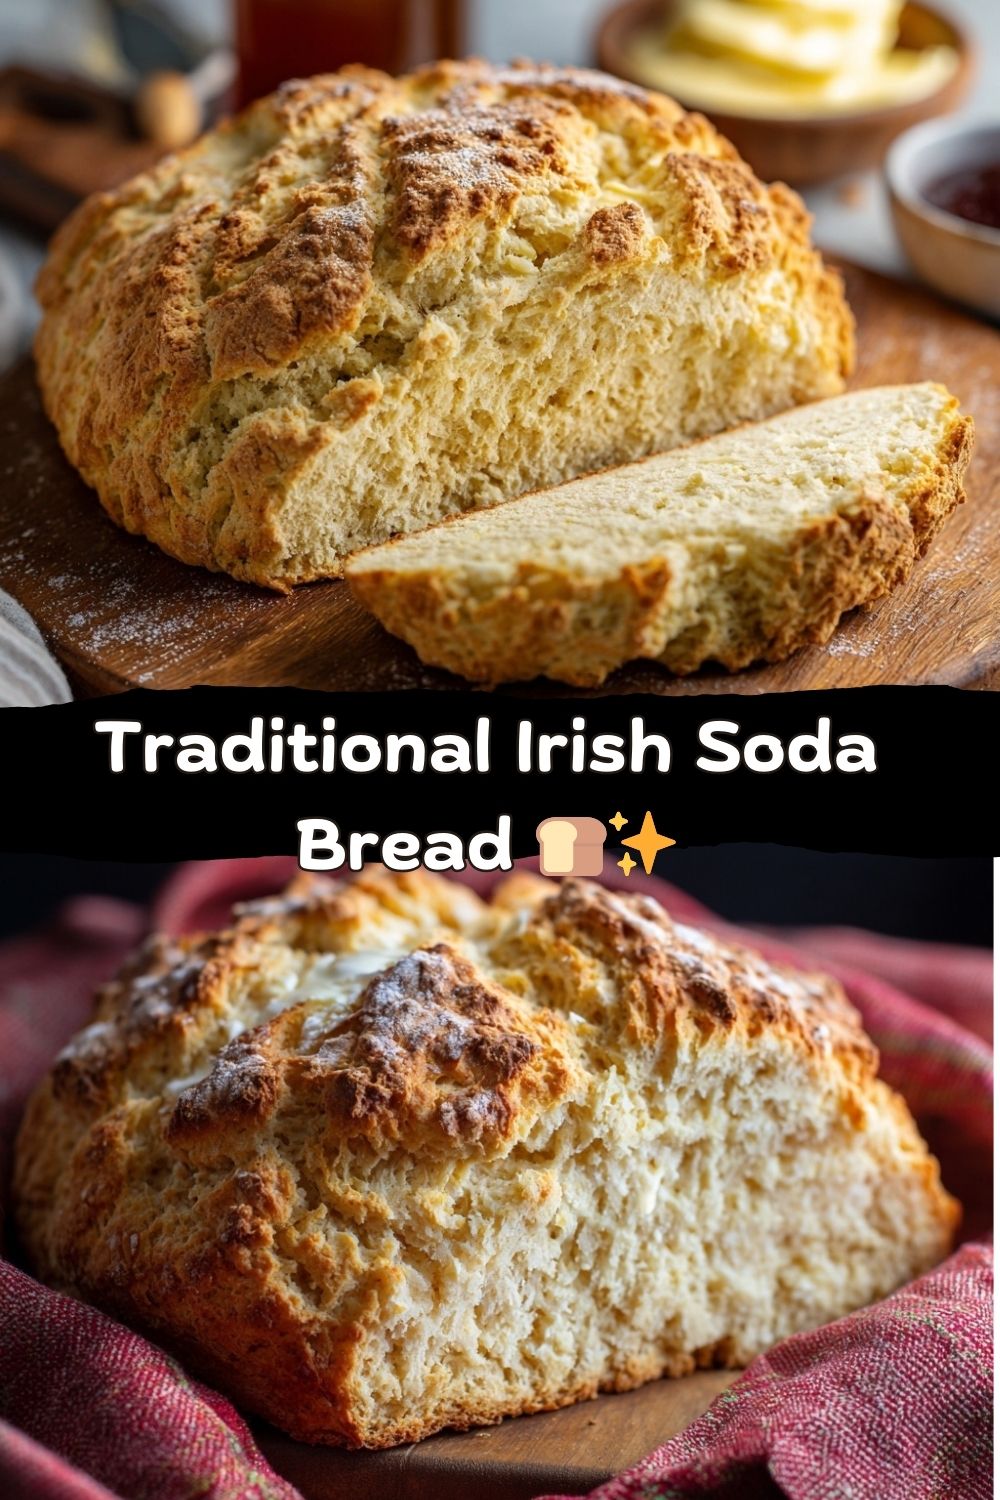
Let’s Bake Some Magic: The Easiest, Most Soul-Warming Bread You’ll Ever Make
Hey friends, Jackson here from Food Meld. Let me paint you a picture: it’s a drizzly afternoon, the kind that makes you want to curl up with a good book and a warm drink. But there’s a rumbling in your kitchen soul—a craving for something simple, substantial, and straight-up comforting. You want fresh bread, but the thought of yeast, proofing times, and intricate kneading feels like a weekend project you just don’t have in you today. Sound familiar? I’ve been there a hundred times.
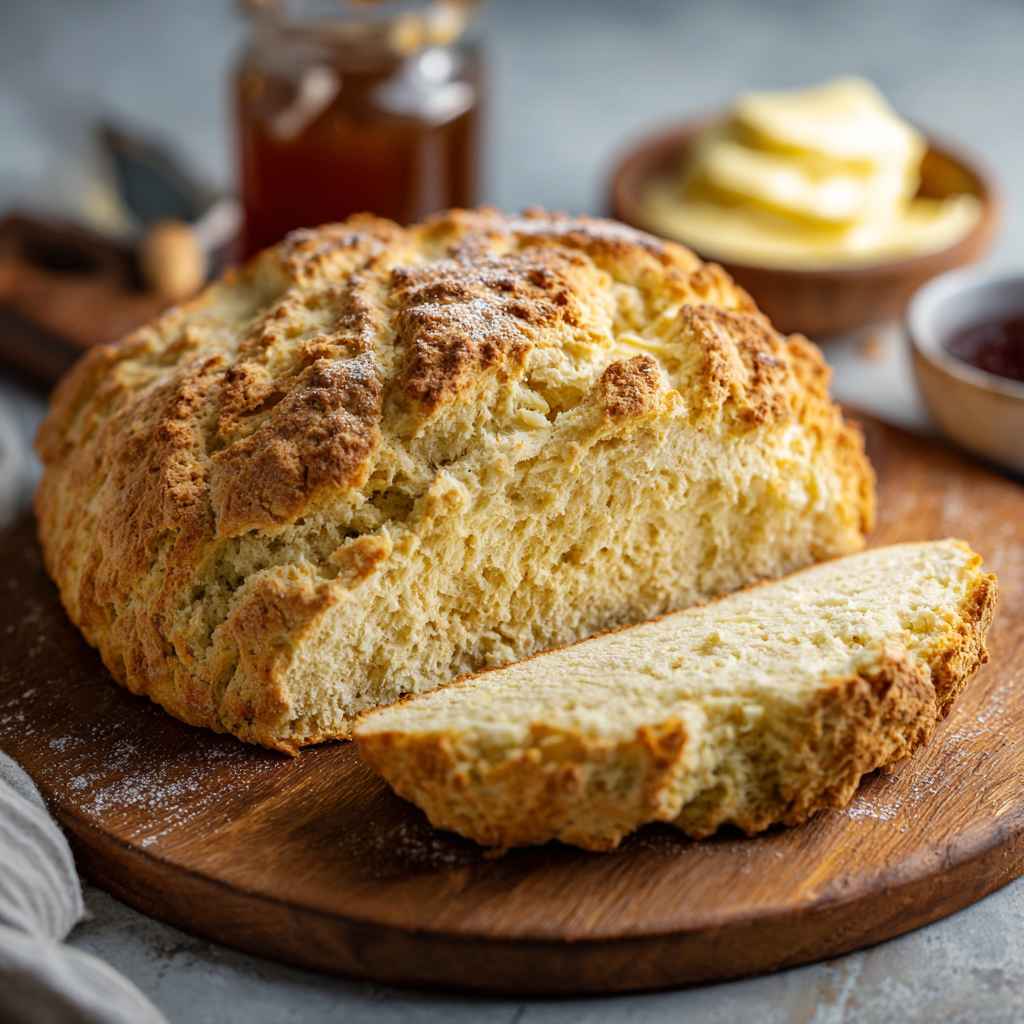
That’s exactly why I need to introduce you to my not-so-secret weapon: Traditional Irish Soda Bread. This is the hero of hungry, impatient, and practical home cooks everywhere. No yeast, no waiting, no fuss. Just one bowl, a handful of pantry staples, and about 45 minutes between you and a loaf of rustic, golden-brown heaven. The magic happens with a simple chemical reaction between baking soda and tangy buttermilk, creating a rise that’s both humble and spectacular.
This isn’t just bread; it’s a edible hug. It’s got a craggy, flour-dusted crust that gives way to a tender, slightly dense crumb that’s perfect for slathering with good butter or dunking into a hearty stew. It’s the definition of “less is more,” and it proves that unforgettable flavor doesn’t need complexity. It just needs heart. So, tie on your apron, clear a little counter space, and let’s cook something awesome together. We’re about to make your kitchen smell like an Irish farmhouse and fill your belly with pure, uncomplicated joy.
More Than Bread: A Lesson in Letting Go
I didn’t discover soda bread in some fancy culinary school. Nope. I learned it from a place of beautiful, messy desperation. Years ago, I was visiting a friend’s family farm in the countryside. A sudden rainstorm blew in, canceling our plans and trapping a hungry crowd indoors. My friend’s mom, a wonderful woman named Maeve who moved like a gentle tornado in the kitchen, announced we were having soup for lunch. “But we’ve no bread to go with it!” someone lamented.
Without missing a beat, Maeve just smiled. “We’ll make it.” In what felt like two minutes flat, she had flour flying, buttermilk splashing, and this shaggy dough coming together in a well-loved ceramic bowl. I watched, fascinated, as she shaped it, slashed a deep ‘X’ on top (she called it “letting the fairies out”), and tossed it into a roaring hot oven. The smell that filled that cozy, chaotic kitchen was incredible. When she pulled out that golden, rustic loaf and broke it apart with her hands, steam billowing out, I had a revelation. This was real cooking. It was resourceful, immediate, and shared. It wasn’t about perfection; it was about feeding people with what you have, right when they need it. That lesson in simplicity and heart has stuck with me through every recipe I’ve ever created. This bread is that feeling, baked.
Gather Your Crew: Simple Ingredients, Big Flavor
Here’s the beautiful part: you likely have most of this in your kitchen already. This recipe is a masterclass in pantry alchemy. Let’s break it down.
- 4 cups (500g) all-purpose flour – The workhorse. It gives our bread structure. I don’t recommend bread flour here—its higher protein can make the loaf tough. All-purpose is your perfect, reliable friend.
- 1 teaspoon baking soda – NOT baking powder. This is our rising agent. It’s going to react with the acid in the buttermilk to create those lovely bubbles. Make sure yours is fresh for maximum lift!
- 1 teaspoon salt – Crucial! This isn’t just for flavor; it strengthens the gluten network slightly. Don’t skip it. I use fine sea salt.
- 1 ¾ cups (420ml) buttermilk – The magic liquid. Its tang and acidity are non-negotiable for authentic flavor and the chemical reaction with the baking soda. Chef’s Insight: No buttermilk? No panic. Make a “soured milk” by adding 1 tablespoon of white vinegar or lemon juice to a measuring cup, then filling it to the 1 ¾ cup line with regular milk. Let it sit for 5 minutes until it curdles slightly. Works like a charm.
- 1 tablespoon granulated sugar (optional) – A tiny hint of sweetness that beautifully complements the tang. It’s traditional in some Irish families, not in others. I add it because I love the subtle balance it creates. It won’t make the bread sweet.
- ½ cup raisins or currants (optional, but highly encouraged for the classic twist) – These little bursts of sweetness are the classic addition. I prefer currants as they’re smaller, but raisins work great. Pro-tip: toss them in a bit of the measured flour first—this helps prevent them from sinking to the bottom during baking.
Let’s Get Baking: Your Foolproof Roadmap to Bread Bliss
Ready? This is where the fun happens. Follow these steps, embrace the shagginess of the dough, and you’ll be a soda bread superstar.
- Heat Things Up: Preheat your oven to a hot 425°F (220°C). This initial blast of heat is key for a great rise and crust. While it heats, lightly dust a baking sheet with flour or, if you have one, use an ungreased cast-iron skillet. The skillet gives an incredible, evenly-baked crust.
- The Dry Team Huddle: In a large mixing bowl, whisk together the flour, baking soda, salt, and sugar (if using). Make sure the baking soda is evenly distributed—no one wants a bitter pocket! If you’re using raisins/currants, toss them in the flour mix now. This is your one-bowl wonder starting point.
- The Big Merge – Don’t Overthink It! Create a well in the center of your dry ingredients. Pour in all the buttermilk at once. Now, using a sturdy wooden spoon or even just your hands, stir it together. Here’s my biggest tip: mix just until the flour is moistened and a rough, shaggy dough forms. It will look messy and uneven. THAT IS PERFECT. The moment you see no dry flour patches, STOP. Overmixing is the enemy of tender soda bread—it develops gluten and makes it tough.
- Shape with a Gentle Touch: Turn the shaggy mass out onto a lightly floured surface. With floured hands, gently fold the dough over onto itself 3-4 times—this isn’t kneading, it’s just shaping. Pat it into a round loaf, about 7 inches across and 1 ½ inches tall. Remember, rustic is the goal here, not a perfect smooth ball.
- The Signature Slash: Transfer your round to the prepared baking sheet or skillet. Now, take a sharp knife or a bench scraper and cut a deep “X” across the top, about ¾ of the way through the loaf. This isn’t just for looks (though it’s gorgeous). It’s a practical hack that helps heat penetrate the thickest part of the dough, ensuring it bakes evenly all the way through. It’s also known as “letting the fairies out” or a blessing cross. I love that.
- Bake to Golden Perfection: Slide your masterpiece into the hot oven. Bake for 15 minutes at 425°F, then without opening the door, reduce the temperature to 400°F (200°C). Bake for another 20-30 minutes. The total bake time is usually 35-45 minutes. You’ll know it’s done when it’s a deep, golden brown and, most importantly, when you tap the bottom of the loaf, it sounds hollow. That hollow sound is your dinner bell.
- The (Brief) Patience Test: Transfer the loaf to a wire rack. I know, I know—you want to tear into it. But let it cool for at least 20-30 minutes. This allows the crumb to set and makes for cleaner slicing. The steam inside is still finishing the job!
How to Serve Your Homemade Masterpiece
Presentation here is all about rustic charm. Don’t you dare put this on a fancy china plate! Tear it, slice it, or break it apart with your hands.
For the ultimate experience, serve it still slightly warm. The way the butter melts into the nooks and crannies is a religious experience. My favorite way is thick slices with a generous smear of good, salted butter and a dollop of tart, homemade raspberry jam. The sweet-tangy-salty combo is unbeatable.
This bread is also the perfect partner for soups and stews. Dunk a chunk into a beef and Guinness stew or a creamy potato leek soup. It soaks up the broth without falling apart. For a next-level lunch, make an incredible sandwich with sharp cheddar, thinly sliced apple, and a smear of grainy mustard. The dense crumb holds up to hearty fillings beautifully. Finally, don’t forget breakfast! A toasted slice with butter and a drizzle of honey is pure morning gold.
Make It Yours: Creative Twists on the Classic
Once you’ve mastered the basic loaf, the world (or at least your pantry) is your oyster. Here are a few of my favorite ways to “Meld” it up:
- The “Everything” Soda Bread: Add 2 tablespoons of everything bagel seasoning to the dry ingredients. The garlic, onion, sesame, and poppy seeds create a savory, incredible crust. Perfect for egg sandwiches!
- Brown Soda Bread: Swap out 2 cups of the all-purpose flour for whole wheat or wholemeal flour. You’ll get a heartier, nuttier flavor and more fiber. You might need a splash more buttermilk as whole wheat absorbs more liquid.
- Cheese & Herb Delight: Fold in 1 cup of grated sharp Dubliner or white cheddar cheese and 2 tablespoons of chopped fresh chives or rosemary into the dry ingredients. The cheese creates little flavor pockets, and the herbs make it fragrant and perfect for a dinner party.
- Sweet Scone-Inspired Loaf: Add the optional sugar, ½ cup of dried cranberries (instead of raisins), and the zest of one orange. It’s like a giant, sliceable scone. Amazing with afternoon tea.
- Dairy-Free/Vegan Swap: Use your favorite plant-based milk (unsweetened soy or oat work best) soured with 1 tbsp vinegar as your buttermilk substitute. For richness, add a tablespoon of neutral oil to the wet ingredients. The texture will be slightly different but still delicious.
Jackson’s Kitchen Notes & Stories
This recipe has been my kitchen constant for years. I’ve made it in tiny apartment ovens, in borrowed vacation home kitchens, and once, memorably, in a Dutch oven over a campfire (it worked!). It’s forgiving. The dough will always look rougher than you think it should—embrace it. The ‘X’ might not be perfectly even—call it artisanal.
One time, I was filming a video for the blog and was talking so much I forgot to slash the top before baking. The bread baked up with a giant, dramatic crack down one side instead. You know what? It was still delicious, and we just called it “rustic volcano bread.” The point is, it’s hard to mess this up. The recipe has evolved for me by becoming even simpler. I rarely measure the flour perfectly—I go by the feel of the shaggy dough. Trust your instincts. And always, always listen for that hollow tap. That’s the bread telling you it’s ready.
Your Questions, Answered
Q: My bread is dense and doughy in the middle. What happened?
A: The two most common culprits are 1) Overmixing the dough, which made it tough, or 2) Underbaking. That hollow sound when tapped is non-negotiable. If the top is browning too fast before the inside is done, tent it loosely with aluminum foil for the last 10 minutes of baking.
Q: Can I use baking powder instead of baking soda?
A: No, they are not direct substitutes here. Baking soda needs an acid (like buttermilk) to activate. Baking powder contains its own acid. Using it would change the flavor and texture completely. Stick with soda!
Q: How do I store it, and does it freeze well?
A: Soda bread is best eaten the day it’s made. Store any leftovers wrapped in a tea towel or in a bread box at room temperature for 1-2 days. For longer storage, slice and freeze it in a sealed bag. Toasted straight from the freezer, it’s fantastic.
Q: My dough was super sticky and impossible to shape. Help!
A> Different flours absorb liquid differently. If it’s a sticky mess, don’t add more flour to the mix. Instead, generously flour your work surface and your hands. It will come together as you gently shape it. A bench scraper is a great tool to help fold and lift a sticky dough.
A Quick Look at the Good Stuff (Per Slice, based on 8 slices, without add-ins)
Let’s keep it real: this is a wholesome, simple bread, not a diet food. It’s meant to be enjoyed as part of a meal. Here’s a general breakdown (approximate, as ingredients vary):
Calories: ~190 | Total Fat: 1g | Saturated Fat: 0.5g | Carbohydrates: 38g | Fiber: 1g | Sugars: 2g (with sugar) | Protein: 6g
The main ingredients—flour and buttermilk—provide a good source of carbohydrates for energy, along with some protein and calcium. Adding whole wheat flour increases the fiber, and including raisins adds a bit of iron and potassium. It’s a satisfying, filling bread that pairs perfectly with proteins, veggies, and healthy fats (like that good butter we talked about!).
Your Kitchen, Your Legacy
And that’s it, friends! You now hold the key to one of the simplest, most satisfying baking projects out there. Traditional Irish Soda Bread is more than a recipe; it’s a reminder that incredible food doesn’t have to be complicated. It’s about connection—to tradition, to your ingredients, and to the people you’ll share that warm, buttered slice with.
I hope you bake this loaf. I hope your kitchen fills with that incredible, toasty smell. And I really hope you experience that moment of proud satisfaction when you tap the bottom and hear that hollow *thump*. You made that. From four simple ingredients and a little bit of “what if we tried this?” energy.


