Forget the Fork: Let’s Make Some Magic in a Pocket
Hey there, friend. Jackson here. Come on in, the kitchen’s warm and there’s flour on the counter—always a good sign, right? I want you to think about the best baked good smell you know. Is it cookies? Fresh bread? For me, it’s that moment when fruit filling starts bubbling and buttery pastry turns a shade of golden brown that just screams “eat me.” That’s the magic we’re making today.
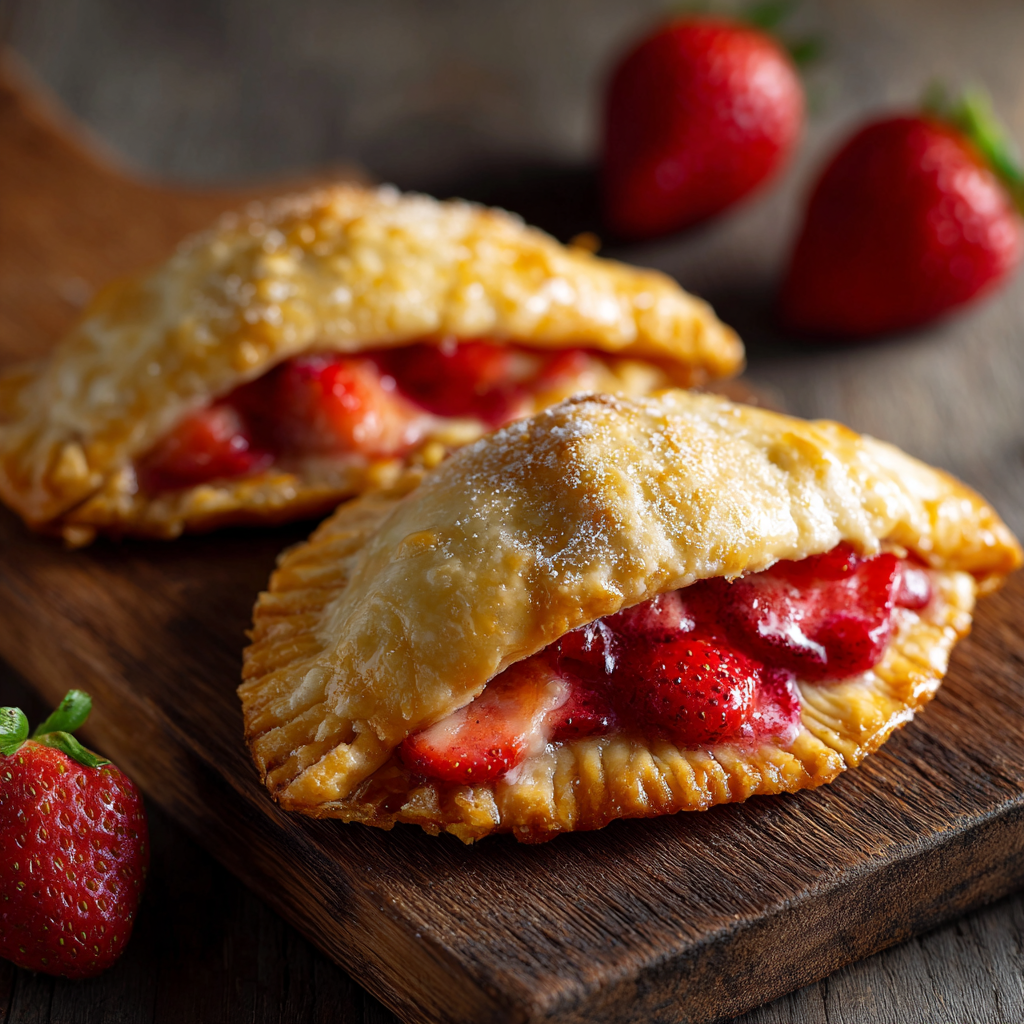
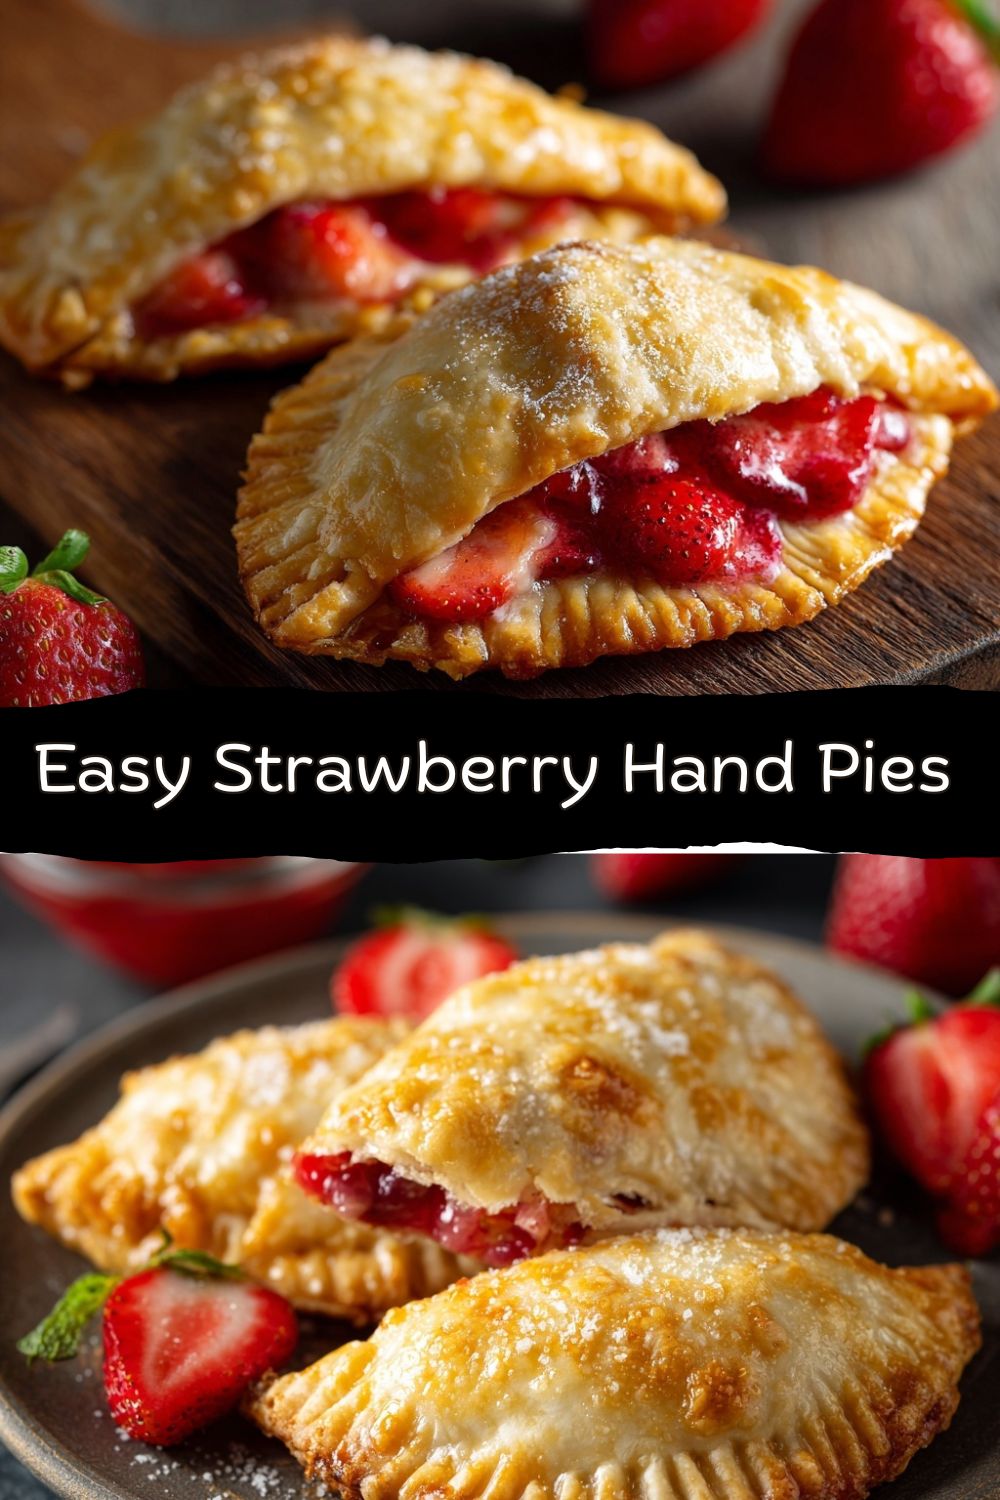
Strawberry hand pies are my kind of perfect treat. They’re unpretentious, wildly delicious, and built for real life. No delicate tartlet tin, no fancy plating required. Just a hearty, flaky pocket you can hold in your hand, bursting with sweet-tart strawberry goodness. They’re the heroes of picnics, the saviors of lunchboxes, and the ultimate “I deserve something awesome with my coffee” snack. And the best part? They’re shockingly simple to master. We’re taking my Southern grandma’s love for a good pie and giving it a fun, portable twist. So, tie on an apron, grab your favorite mixing bowl, and let’s cook something awesome together. Welcome to your new favorite baking project.
Sunshine, Strawberries, and a Grandma’s Secret
This recipe takes me straight back to my Grandma Lou’s porch in late spring. She’d send me out to her patch with a colander to pick strawberries, always with the stern warning: “Two for the bowl, one for you, Jackson Walker.” By the time I’d get back to the kitchen, the colander was half full and my cheeks were stained pink.
She’d make a huge lattice-top pie, but I was an impatient kid. I’d watch the clock, waiting for it to cool, dreaming of that first slice. One day, she took the trimmings of her pie dough, rolled them out, and spooned a little of the cooked strawberry filling onto them. She folded them over, crimped the edges with her weathered hands, and baked me my own personal, mini pie. It was a revelation! My own portable piece of paradise, no waiting for the big pie to slice. That “what if we tried this?” moment is the heart of Food Meld, and it’s the spirit we’re bringing to these hand pies today. It’s about making joy accessible, one delicious handful at a time.
What You’ll Need: Simple Ingredients, Big Flavor
Gather your squad! This is a short list, and each player has a crucial role. Here’s the breakdown with some chef insights to make it your own.
For the Strawberry Filling:
- 1 ½ cups diced strawberries (fresh or frozen): The star! Fresh, ripe berries are gorgeous, but don’t sleep on frozen—they’re picked at peak season and work beautifully here. No need to thaw if using frozen.
- 2 tablespoons sugar: Just enough to sweeten and help the berries release their juices. Taste your berries first—if they’re super sweet, you can nudge this down a tad.
- 1 tablespoon cornstarch: This is our thickening agent, essential for preventing a lava-hot fruit explosion (trust me, I’ve learned the hard way). You can swap it for an equal amount of tapioca starch if that’s what you have.
- 1 teaspoon lemon juice: The brightening backup singer. It balances the sweetness and makes the strawberry flavor pop. Fresh is best, but bottled works in a pinch.
- ½ teaspoon vanilla extract: My secret weapon for depth. It adds a warm, round note that takes the filling from “good” to “where has this been all my life?”
For the Crust & Assembly:
- 1 box (14-16 oz) refrigerated pie crusts (2 crusts): My “keep it real, keep it simple” hack. They’re consistent, easy, and delicious. Of course, if you’re feeling fancy and have a killer homemade pie dough recipe, rock on! But no judgment here—we’re about flavor and fun, not stress.
- 1 egg + 1 tablespoon water (egg wash): This is your pastry’s best friend. It gives us that gorgeous, glossy, golden-brown top. A little beaten milk works too, but egg wash gives the best color.
- Optional: Coarse sugar for topping: The finishing crunch! Turbinado or sanding sugar adds a delightful texture and professional bakery look. Regular granulated sugar works too, but coarse is a game-changer.
Let’s Build These Flaky Pockets of Joy: A Step-by-Step Dance
Ready? We’re going to move with confidence here. Read through once, then just go for it. Cooking is a dance, not a drill.
- Make the Filling – Get That Jammy Goodness Going:In a small saucepan, toss together your diced strawberries, sugar, cornstarch, and lemon juice. Give it a good stir to coat everything. Now, place it over medium heat. You’ll watch a magical transformation: the sugar melts, the berries soften and release their ruby-red juice, and the whole mixture will start to thicken and bubble. Stir it frequently for about 5-7 minutes until it looks like a glossy, thick jam. Chef’s Hack: Mash a few berries with your spoon as you stir for a more cohesive filling. Remove from heat, stir in the vanilla, and let it cool completely. (Pro tip: spread it on a plate to cool faster!).
- Prepare Your Crusts – Roll Out the Canvas:Preheat your oven to 375°F (190°C). Line a baking sheet with parchment paper. Unroll your pie crusts on a lightly floured surface. Using a 3.5 to 4-inch round cutter (a glass or mug works perfectly!), cut out as many circles as you can. Re-roll the scraps to get more. You’ll need an even number—these are the tops and bottoms of your hand pie masterpieces.
- Fill and Seal – The Art of the Crimp:Place half of your dough circles on the prepared baking sheet. Spoon about 1-2 teaspoons of the cooled filling into the center of each. Important! Leave a good ½-inch border all around. Too much filling is the #1 cause of leakage. Now, top each with a second dough circle. Here’s the fun part: use the tines of a fork to press down and crimp the edges together, sealing them tightly. It also gives that classic pie-edge look. Don’t be shy—press firmly!
- Egg Wash & Vent – The Golden Touch:Whisk your egg with that tablespoon of water. Using a pastry brush (or your finger in a pinch), gently brush the top of each hand pie with the egg wash. This is what gives us that beautiful shine. Now, sprinkle generously with that coarse sugar if you’re using it. Last step: take a sharp paring knife and cut two or three tiny slits in the top of each pie. This is crucial—it lets the steam escape so your pies don’t puff up like little balloons and burst.
- Bake to Golden Perfection – The Big Reveal:Slide your tray into the preheated oven. Bake for 20-25 minutes. You’re looking for a deep, golden brown crust and maybe even a little bit of bubbly strawberry goodness peeking out of the slits. Your kitchen will smell unreal.
- Cool and Serve – The Test of Patience:This is the hardest part. Let the pies cool on the baking sheet for at least 10-15 minutes before you even think about touching them. The filling is like molten lava straight out of the oven. Transfer them to a wire rack to finish cooling. They’re sublime warm, at room temp, or even cold from the fridge the next day.
How to Serve These Handheld Wonders
Honestly? Just hand them over. That’s the beauty. But if you want to dress them up for a party or make an occasion feel special, here are my favorite ways:
- The Simple Shower: A light dusting of powdered sugar right before serving looks like a gentle snowfall and adds a hint of extra sweetness.
- The Drizzle Dream: Whisk together ½ cup powdered sugar with a tablespoon or two of milk or lemon juice until you have a thin glaze. Drizzle it artfully (or messily—I prefer messy) over the cooled pies.
- À La Mode, Obviously: Place a slightly warm hand pie on a plate and add a scoop of vanilla bean ice cream. The contrast of hot/cold, flaky/creamy is a religious experience.
- Picnic Perfect: Pack them in a parchment-lined container. They travel like champs and are the ultimate shareable treat.
Mix It Up! Your Hand Pie, Your Rules
Got the basic formula down? Awesome. Now let’s play. Here are a few of my favorite “what if we tried this?” twists:
- Mixed Berry Bonanza: Swap half the strawberries for raspberries, blueberries, or blackberries. A mix is incredibly vibrant and complex.
- Cheesecake Swirl: Before adding the strawberry filling, place a small dollop (½ tsp) of sweetened cream cheese in the center. Top with berries, then seal. You get a creamy, tangy surprise inside.
- Brown Sugar & Balsamic: Use brown sugar in the filling and add a ½ teaspoon of good balsamic vinegar with the vanilla. It adds a deep, caramelized note that pairs amazingly with strawberries.
- Gluten-Free Friend: Use your favorite store-bought or homemade gluten-free pie dough. The filling is naturally GF, so it’s an easy swap.
- Savory-Sweet Herb Twist: Add a tiny pinch of fresh chopped basil or thyme to the strawberry filling. It sounds wild, but it elevates the fruit flavor in the most sophisticated way.
Jackson’s Kitchen Notebook
This recipe is a living thing in my kitchen. I’ve made it with my nephews, who insisted on using dinosaur-shaped cookie cutters (the T-Rex hand pies were a hit). I’ve accidentally used a whole teaspoon of vanilla once (it was not an accident, it was delicious). The biggest lesson? Let the filling cool. I was too eager once and used warm filling—it made the bottom crust soggy before baking, and we ended up with more of a strawberry soup pocket. Tasty, but not the textural dream we’re after. Chill the filling, and you’re golden. Literally.
Your Questions, Answered
Q: My filling leaked out everywhere! What happened?
A: Welcome to the club! This usually means 1) the filling was too hot when you assembled, weakening the dough, 2) you overfilled them (stick to that 1-2 tsp!), or 3) the edges weren’t sealed tightly enough. Crimp with conviction!
Q: Can I make these ahead of time?
A: Absolutely. You can assemble the hand pies, place them on the baking sheet, and freeze them solid before baking. Once frozen, transfer to a bag. Bake straight from frozen, adding 5-8 minutes to the bake time. You can also refrigerate assembled, unbaked pies for up to 4 hours before baking.
Q: My crust isn’t flaky, it’s kinda tough.
A: This is often from over-handling the dough. When you re-roll the scraps, try to handle it as little as possible. Also, make sure your filling is cool so the butter in the dough doesn’t melt before it hits the oven.
Q: Can I use other fruit?
A> YES. Peaches, apples, cherries—you name it. Just adjust the cornstarch slightly for very juicy fruits (like peaches, maybe go to 1.5 tbsp) and cook until properly thickened.
Nutritional Info (Because Knowledge is Power)
Alright, let’s keep it real. This is a dessert, a treat, a moment of joy. Here’s the approximate breakdown per hand pie (based on a yield of 10, using the listed ingredients). This info is an estimate provided for your convenience.
- Calories: 220
- Carbohydrates: 28g
- Protein: 2g
- Fat: 11g
- Sugar: 10g
Remember, cooking at home lets you control the ingredients. Using a sugar alternative or a specific pie dough can adjust these numbers to fit your lifestyle.
Go Forth and Bake Something Unforgettable
And there you have it—the full story of the humble, glorious strawberry hand pie. It’s more than just a recipe; it’s an invitation to play, to create, and to share something made with your own two hands. I hope you feel empowered to make these, to mess them up, to perfect them, and most importantly, to enjoy the entire delicious process.
Remember what Food Meld is all about: mixing up your roots, your inspirations, and your curiosity to create food that makes people smile. These little pies do just that. So take a bite, get a little powdered sugar on your shirt, and savor that “you’ve gotta try this” moment. You earned it.
Until next time, keep your skillet hot and your curiosity hotter. Let’s cook again soon.
– Jackson


