Craving Cheesecake? Let’s Make a Healthy, No-Bake Version!
Hey friends, Jackson here from Food Meld! Let’s be real for a second: sometimes, a cheesecake craving hits you like a ton of bricks. It’s urgent, it’s powerful, and it doesn’t care that you’re trying to eat a little healthier. But what if I told you that you could answer that call without turning on the oven, without a long list of complicated steps, and with a serious protein punch that’ll keep you feeling awesome?
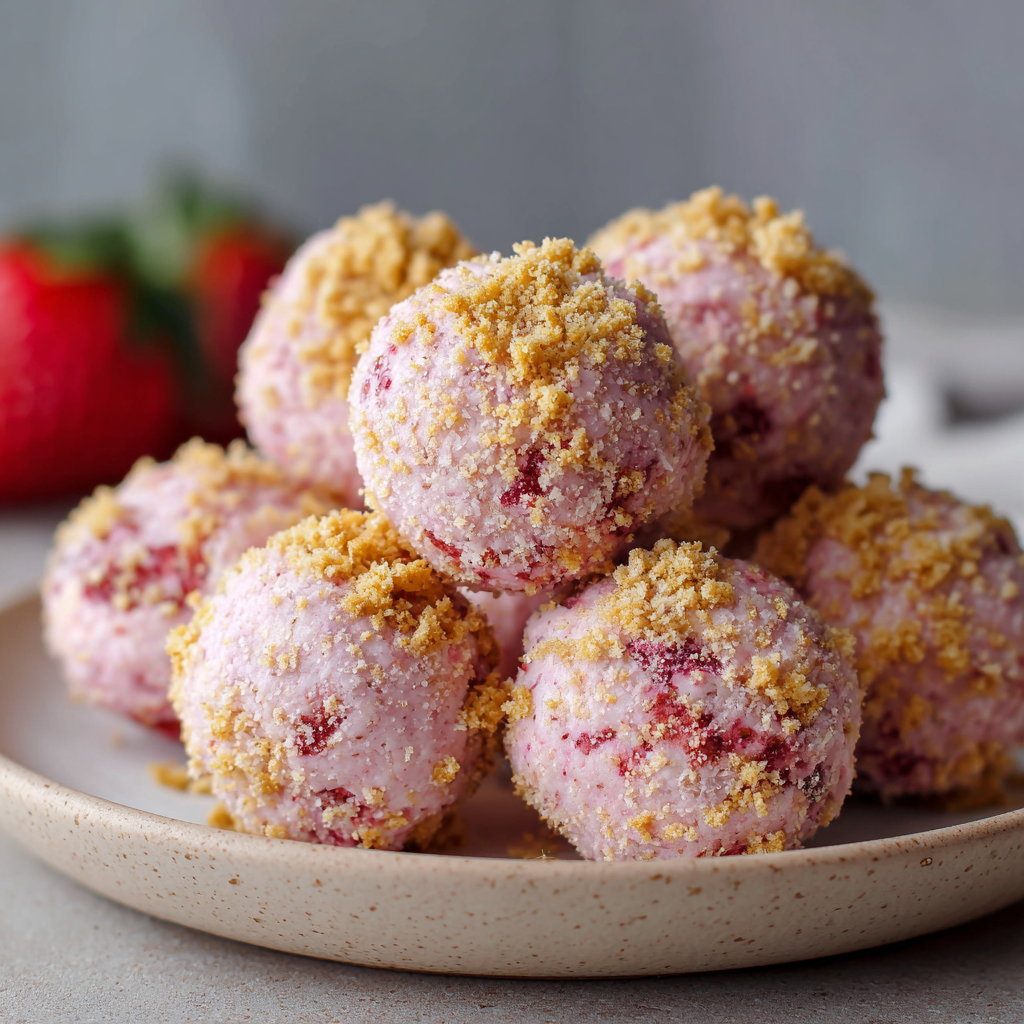
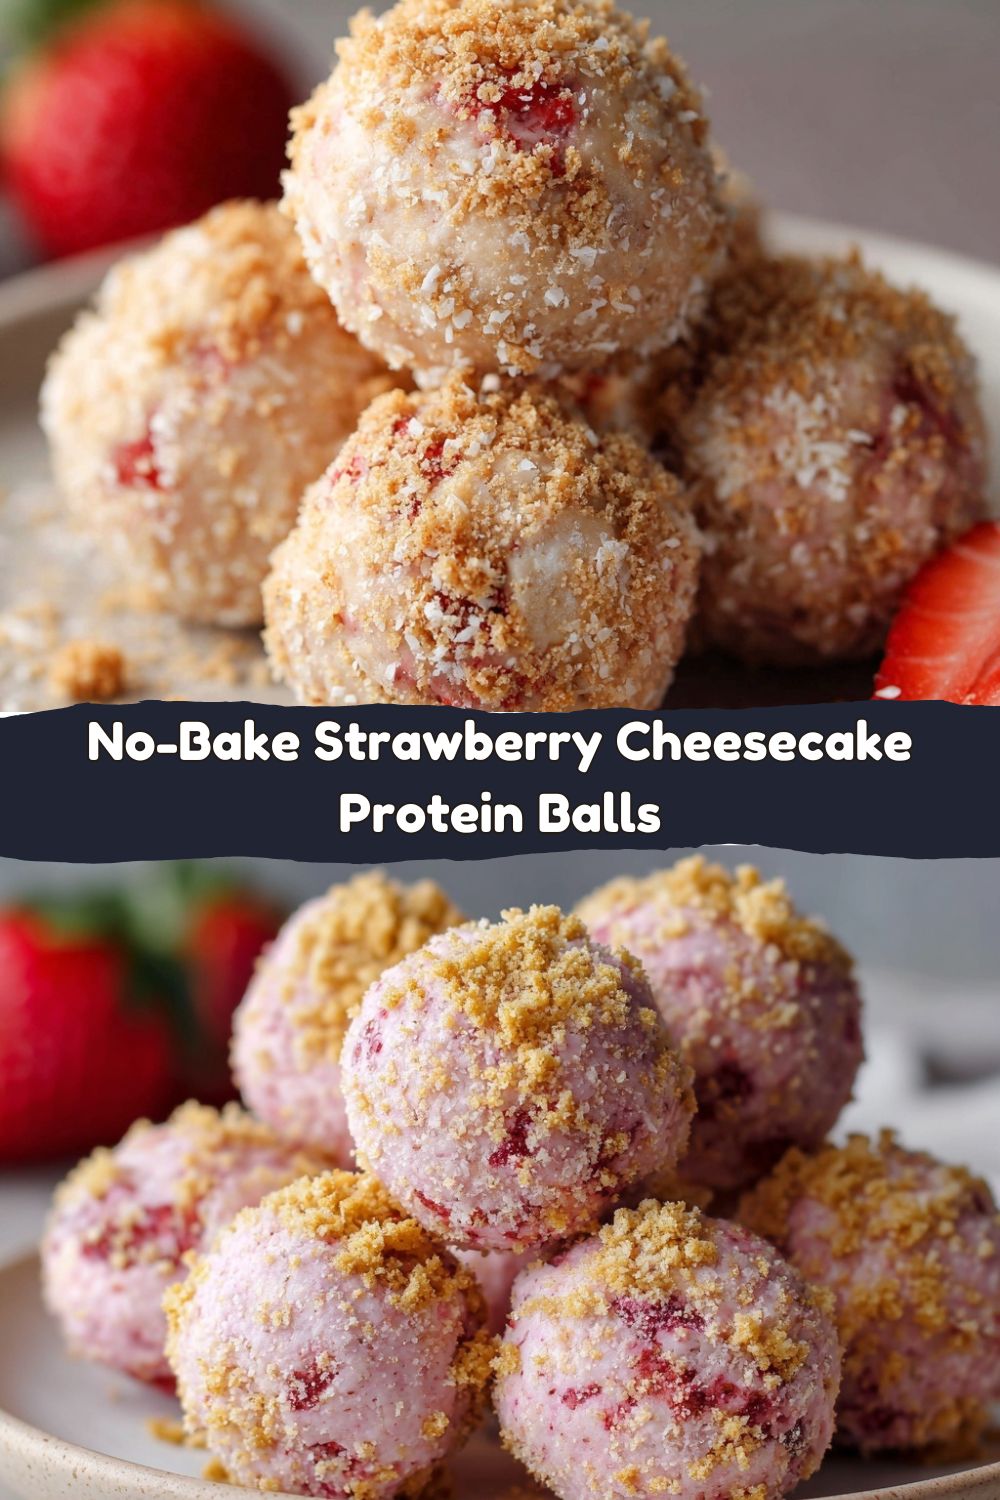
Welcome to the magic of Strawberry Cheesecake Protein Balls. These little bites of heaven are my go-to solution for when I need a sweet, satisfying fix that’s actually good for me. They’re creamy, they’re fruity, and they have that classic “cheesecake” vibe, all rolled into a perfect, pop-in-your-mouth snack. We’re talking just 10 minutes of active prep, zero baking required, and a final result that will have you feeling like a kitchen wizard. Whether you’re meal-prepping for the week, need a post-workout boost, or just want a treat that won’t derail your day, these protein balls are your new best friend. So, let’s ditch the guilt and cook up something awesome together!
A Taste of Summer, Anytime
This recipe takes me straight back to my grandma’s kitchen in the peak of summer. She didn’t make protein balls, of course—hers were full-fledged, glorious strawberry cheesecakes that required a whole afternoon of devotion. But the smell of fresh, mashed strawberries mixed with something creamy? That’s a core memory for me. I remember standing on a step-stool, “helping” her hull the berries, and getting more juice on my face than in the bowl. Her secret was always using the ripest, most fragrant berries you could find, because that’s where the real flavor lives. I’ve channeled that same spirit into these no-bake bites. They capture that joyful, sunny-day feeling but in a form that fits our busy, modern lives. It’s my little way of keeping that sweet, nostalgic tradition alive, one protein ball at a time.
Gathering Your Flavor Arsenal
Here’s the beautiful part: you only need a handful of simple ingredients to create something that tastes incredibly indulgent. Let’s break it down. I like to think of each component as a member of a superstar band—they all have a crucial part to play.
- 1 cup Almond Flour: This is our base, giving the balls structure and a wonderfully soft, moist texture. It’s naturally gluten-free and has a subtly nutty, sweet flavor that works perfectly here. Chef’s Insight: If you don’ have almond flour, oat flour is a fantastic 1:1 substitute!
- 1/2 cup Vanilla Protein Powder: This is our protein powerhouse and a major flavor contributor. It brings that classic “cheesecake” vanilla sweetness. Substitution Tip: Make sure you use a protein powder you enjoy the taste of on its own! A plant-based vanilla blend works just as well as whey.
- 1/4 cup Cream Cheese (softened): The star of the show! This is what gives us that authentic, tangy, creamy cheesecake flavor and richness. Chef’s Hack: Let it sit out on the counter for 20-30 minutes before you start. Soft cream cheese mixes in seamlessly, preventing any lumpy bits.
- 1/4 cup Mashed Strawberries: Our fruity burst of sunshine! Using fresh, mashed berries gives us those lovely red specks and a natural sweetness. Pro-Tip: The riper the berries, the sweeter your balls will be. If yours are a bit tart, just add an extra drizzle of honey.
- 2 tbsp Honey or Maple Syrup: This is our natural sweetener and binding agent, helping everything stick together. Substitution Tip: For a vegan version, maple syrup is the way to go. Agave nectar works great, too!
- 1/2 tsp Vanilla Extract: A flavor enhancer that deepens the vanilla notes and makes the whole thing smell like a bakery. Don’t skip it!
- 1/4 cup Crushed Graham Crackers (optional, for rolling): This is the “cheesecake crust” finish that takes these from great to unforgettable. It adds a little crunch and that classic graham flavor. Dietary Note: For a gluten-free version, just use gluten-free graham-style crackers!
Let’s Get Rolling: Your Foolproof Guide
Ready to see how quickly this comes together? I promise, it’s as easy as 1-2-3. Put on some good music, and let’s get our hands a little messy—that’s half the fun!
- Combine the Dry Ingredients. Grab a medium-sized mixing bowl and add your almond flour and vanilla protein powder. Give them a good whisk together. This isn’t just about mixing; it’s about aerating the ingredients a little so your final texture is light and not dense. Chef’s Hack: If your almond flour is at all clumpy, sift it in for an ultra-smooth dough.
- Bring in the Creamy Goodness. Now, add your softened cream cheese to the bowl. Use a spatula or even your hands to work it into the dry mixture. At first, it might seem a bit crumbly and dry—that’s totally normal! Just keep mixing until it resembles coarse sand. Little Story: The first time I made these, I panicked at this stage and almost added more liquid. Trust the process!
- Introduce the Wet Team. Now for the fun part! Add your mashed strawberries, honey (or maple syrup), and vanilla extract. This is where the magic happens. Stir everything until a soft, slightly sticky dough forms. It should hold together when you pinch it. Pro-Tip: If the dough feels too wet, add a touch more almond flour. If it’s too dry and crumbly, a tiny splash of milk (dairy or non-dairy) or a bit more honey will bring it together.
- Shape Your Masterpieces. Scoop out about a tablespoon of dough and roll it between your palms to form a smooth, 1-inch ball. Place it on a plate or a baking sheet lined with parchment paper. Repeat with the remaining dough. Chef’s Hack: For perfectly uniform balls, I love using a small cookie scoop. It’s a game-changer for speed and consistency!
- The “Cheesecake” Finish. If you’re using the crushed graham crackers, now’s the time! Pour them into a shallow bowl. Take each ball and gently roll it in the crumbs, pressing lightly so they adhere. This gives you that beautiful, textured coating that screams “cheesecake.”
- The Patience Part (The Hardest Step!). Pop all your beautiful protein balls into the fridge for at least 30 minutes to firm up. This chilling step is non-negotiable—it allows the flavors to meld and gives them the perfect, firm-yet-soft texture. Little Story: I can never resist trying one early, and while it’s still tasty, the chilled version is a million times better. I believe in you—you can wait!
How to Serve & Savor Your Creation
Okay, the timer has beeped! Your Strawberry Cheesecake Protein Balls are ready to rock. I love serving these straight from the fridge—they’re cool, firm, and incredibly refreshing. They’re the ultimate grab-and-go snack, so I usually store them in a sealed container in the fridge and just grab a couple whenever a craving strikes. For a real treat, I’ll sometimes plate a few on a little dish with some extra fresh strawberry slices on the side. It feels fancy but took zero effort! They’re perfect for packing in lunch boxes, taking on road trips, or having as a pre-gym energy boost. Honestly, the hardest part is not eating them all in one sitting.
Mix It Up! Creative Twists on the Classic
Once you’ve mastered the basic recipe, the kitchen playground opens up! Here are a few of my favorite ways to mix it up and make this recipe your own.
- Lemon Zest Burst: Add the zest of one lemon to the dough for a bright, tangy twist. It cuts through the sweetness beautifully and tastes like a lemon cheesecake ball!
- Chocolate-Dipped Delight: Melt some dark chocolate with a teaspoon of coconut oil. Dip half of each chilled ball in the chocolate, let the excess drip off, and place them on parchment paper to set. You’re welcome.
- Blueberry Swirl: Swap the mashed strawberries for mashed blueberries. The flavor is deep, sweet, and just as incredible. You can even use a mix of berries!
- Dairy-Free Dream: Use your favorite vegan cream cheese and a plant-based protein powder. The result is just as creamy and delicious, making it an inclusive treat for everyone.
- Cookie Dough Vibe: Use chocolate protein powder instead of vanilla and mini chocolate chips instead of strawberries. Roll them in crushed-up gluten-free cookies. Instant cookie dough protein balls!
Jackson’s Kitchen Notes & Stories
This recipe has seriously evolved in my kitchen. It started as a basic “mix stuff together” experiment on a day I was desperately craving dessert but didn’t want to commit to a whole cake. The first batch was good, but a bit bland. Then I remembered my grandma’s rule: always amplify the core flavors. So, I doubled the vanilla, started using the ripest berries I could find, and added the graham cracker roll. That was the game-changer! It went from a “healthy snack” to a “you’ve gotta try this” moment. Now, it’s a staple in my fridge. A funny side note: my partner can always tell when I’ve been recipe testing these because there’s a faint dusting of almond flour on… everything. A small price to pay for deliciousness!
Your Questions, Answered!
I’ve gotten a lot of questions about this recipe over time, so I’ve compiled the most common ones here to help you out.
- My dough is too sticky! What did I do wrong? Don’t worry, this is common, especially if your strawberries were very juicy. The fix is easy! Just add a bit more almond flour, one tablespoon at a time, until the dough is manageable and no longer sticks to your hands.
- Can I use frozen strawberries? Absolutely! Just make sure you thaw them completely first, and then press them in a fine-mesh strainer to remove as much excess liquid as possible. Using frozen berries without draining will make your dough far too wet.
- How long do these last in the fridge? Stored in an airtight container, they’ll stay fresh and delicious for up to one week. They never last that long in my house, though!
- Can I freeze them? Yes, and it works beautifully! Place them in a single layer on a baking sheet to freeze solid, then transfer to a freezer bag. They’ll keep for up to 3 months. Thaw in the fridge or just let them sit out for 10-15 minutes before eating.
Nutritional Breakdown (The Good Stuff!)
Now, I’m not a registered dietitian, but I love knowing what’s fueling my body. Here’s a general nutritional breakdown per protein ball (assuming the recipe makes 12 balls). Remember, these values can vary based on the specific brands of ingredients you use, especially the protein powder and type of sweetener.
- Calories: ~90
- Protein: 5g (A solid boost to keep you full and support your muscles!)
- Carbohydrates: 5g (Mostly from the natural fruit and a touch of honey.)
- Fat: 6g (Primarily healthy fats from the almond flour, which are great for sustained energy.)
Compared to a slice of traditional cheesecake, which can easily run 300-500 calories with much more sugar and saturated fat, these little guys are a total win. They satisfy the craving while providing a balanced mix of macronutrients.
Your New Go-To Snack Awaits
And there you have it! Your complete guide to making the most delicious, no-fuss, protein-packed snack that truly tastes like a treat. This recipe is all about what Food Meld stands for: taking big, comforting flavors and making them simple, approachable, and fun to create in your own kitchen. I hope these Strawberry Cheesecake Protein Balls become a regular in your snack rotation, bringing a little bit of joy and a whole lot of flavor to your day. I’d love to hear how yours turn out! Tag me on social @FoodMeld with your creations. Now, go on and enjoy every single bite. You’ve earned it!
Happy cooking,
Jackson


