
S’mores Pumpkin Cheesecake Bars: Your New Fall Obsession
Hey friends, Jackson here from Food Meld! Grab your favorite apron and let’s talk about the ultimate flavor collision happening in my kitchen this week. Imagine this: that crackling campfire magic of ooey-gooey s’mores… meets the cozy, spice-kissed hug of pumpkin cheesecake. Yeah, you read that right. S’mores Pumpkin Cheesecake Bars are the ridiculous, delicious lovechild of my two favorite autumn vibes, and trust me, they’re about to become your go-to dessert for everything from pumpkin carving parties to “I-survived-this-Tuesday” celebrations.
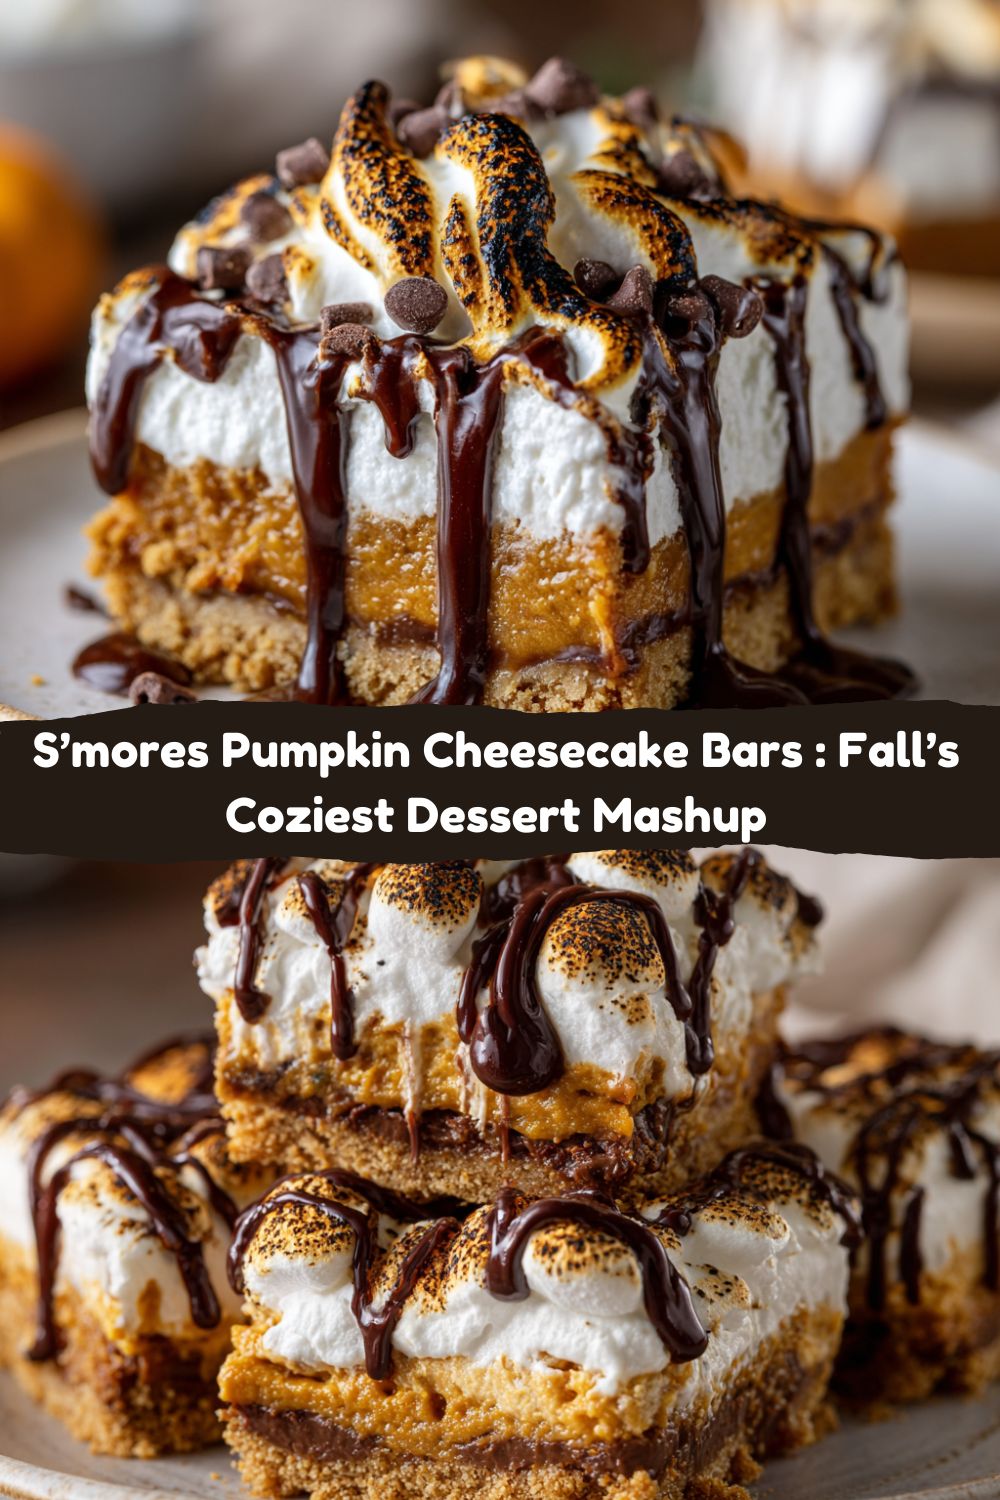
Picture a buttery graham cracker crust – that classic s’mores foundation – cradling a layer of velvety, spiced pumpkin cheesecake so smooth it’ll make you swoon. But we’re not stopping there! We’re crowning it with a fluffy cloud of toasted marshmallow fluff (get ready for those perfect golden-brown spots!) and a decadent drizzle of melted chocolate that ties it all together like a flavor bow. It’s nostalgia meets innovation, campfire meets your comfiest sweater, all in one seriously easy-to-make bar. No fancy skills required, just pure, unadulterated fun. Whether you’re a cheesecake connoisseur or a s’mores purist looking for a seasonal twist, these bars are your invitation to play. Let’s ditch the intimidation and dive headfirst into this flavor party – your taste buds will thank you!
Campfire Memories & Pumpkin Patch Dreams
Okay, story time! This recipe actually started on a chilly October night years ago. My family was having one of our last bonfires of the season, bundled up in flannel, roasting marshmallows until they were gloriously charred. My niece, probably about seven at the time, was meticulously building the *perfect* s’more. Suddenly, she looks up, eyes wide, and asks, “Uncle Jack, what if s’mores tasted like pumpkin pie?” We all laughed, but the idea stuck like melted marshmallow on my fingers.
Fast forward to Thanksgiving test kitchen chaos. I was elbow-deep in pumpkin everything, craving that campfire joy but needing something more “feast-worthy.” Boom! That little kid’s wild question came roaring back. My first attempt? Let’s just say trying to roast actual marshmallows on a baked cheesecake was… ambitious (and messy!). But swapping in marshmallow fluff torched to perfection? Game changer. That moment of seeing my niece’s face light up biting into the final version – pure magic. It tasted like crisp fall air, childhood giggles, and grown-up indulgence all in one bite. That’s the beauty of cooking, right? Taking a spark of inspiration, even a silly one, and turning it into something shareable, something memorable. These bars? They’re my edible campfire story, passed on to you.
Gathering Your Flavor Arsenal
Here’s your shopping list for pure autumn bliss! Don’t stress – I’ve got notes and swaps to make it easy:
- 1½ cups graham cracker crumbs: The campfire foundation! Smash ’em yourself from sheets or grab pre-crushed. Chef Tip: Gluten-free graham crackers work perfectly here too for a GF crowd-pleaser.
- 6 tbsp butter, melted: The glue for that crumbly goodness! Salted butter adds a nice savory hint against the sweet, but unsalted works (just add a tiny pinch of salt to the crumbs).
- 8 oz cream cheese, softened: CRUCIAL! Take it out of the fridge 1-2 hours ahead. Room temp = silky smooth filling, no lumps! Reduced-fat works in a pinch, but full-fat gives that luxurious mouthfeel.
- 1 cup pumpkin purée: NOT pumpkin pie filling! Look for 100% pure pumpkin. Canned is king for convenience and consistent texture. Chef Insight: Squeeze out excess moisture with a paper towel for an even firmer set.
- ½ cup sugar: Sweetens the deal. Granulated white sugar is classic, but light brown sugar adds a deeper, caramel-like note if you’re feeling fancy.
- 1 tsp vanilla extract: The warm hug in the background. Pure vanilla makes a difference!
- 1 tsp pumpkin pie spice: The autumn aroma bomb! No store-bought? Make your own: ½ tsp cinnamon + ¼ tsp ginger + ⅛ tsp nutmeg + ⅛ tsp allspice/cloves.
- 2 eggs: Binds and sets our creamy dream. Add them one at a time, fully incorporating each.
- 1 cup marshmallow fluff: Our easy, toastable cloud! Found near the marshmallows. Pro tip: Warm the jar slightly in warm water for easier spreading.
- ½ cup chocolate chips, melted for drizzle: The final ribbon of decadence! Semi-sweet is classic, but dark chocolate adds sophistication or milk chocolate keeps it kid-friendly.
Let’s Build Some Magic: Step-by-Step
Alright, team, let’s fire up the oven and make some memories! Follow these steps – I’ve packed them with my favorite kitchen hacks to guarantee success.
- Preheat & Prep: Crank that oven to 350°F (175°C). Line your 8×8″ baking pan with parchment paper, leaving some overhang on two sides. Why? This creates a sling to lift the *entire* batch of bars out later for super clean cuts! Lightly grease the exposed parts of the pan. Chef Hack: Use the butter wrapper to grease – zero waste!
- Crust Time: In a medium bowl, dump those gorgeous graham cracker crumbs. Pour the melted butter over them. Grab a fork and mix until every single crumb looks like it took a luxurious butter bath – it should hold together when pinched. Dump it into your prepped pan. Now, the secret weapon: use a flat-bottomed measuring cup or glass to press the crumbs down FIRMLY and evenly across the bottom. Really pack it in! Bake this beauty for 8 minutes. It’ll smell amazing and set the stage. Pull it out and let it cool slightly while you make the filling. Don’t skip this pre-bake – it prevents a soggy bottom!
- Pumpkin Bliss (The Filling): Grab a large bowl and your softened cream cheese. Beat it with an electric mixer (handheld or stand) on medium speed for about 30 seconds – just until it’s smooth and creamy. No lumps allowed! Now, add the pumpkin purée, sugar, vanilla, and pumpkin pie spice. Beat again on medium until everything is beautifully combined and looks like a smooth, orange sunset. Scrape down the sides of the bowl! Now, add the eggs, ONE at a time. Beat on *low* speed just until each egg disappears into the mix. Critical Tip: Overbeating after adding the eggs incorporates too much air, which can lead to cracking later. Low and slow wins the race! Your filling should be velvety and pourable.
- Bake to Perfection: Slowly pour that luscious pumpkin filling over your slightly cooled crust. Gently tilt the pan to spread it evenly. Slide it into your preheated oven. Bake for 25-30 minutes. What to look for: The edges should look set, but the center should still have a slight, gentle jiggle – like Jell-O, not liquid. It will firm up as it cools! Resist the urge to overbake; that’s the #1 cause of cracks. Pull it out and place the pan on a wire rack. Let it cool COMPLETELY to room temperature. Seriously, no rushing – this takes patience (about 1-2 hours). Then, pop it in the fridge for at least 2 hours (or overnight is even better!) to chill and set completely. This step is non-negotiable for clean slices!
- Toast That Cloud! Time for the fun part! Take your chilled bars out of the fridge. Spoon the marshmallow fluff evenly over the top. Spreading Hack: Lightly grease your spatula or spoon with cooking spray – the fluff won’t stick! Now, grab your kitchen torch. Hold it a few inches away and move it constantly in small circles, toasting the fluff until you get gorgeous golden-brown spots all over. No Torch? No Problem! Turn your oven broiler to HIGH. Put the pan on a rack positioned 6-8 inches below the broiler. WATCH IT LIKE A HAWK! Broil for 1-2 minutes MAX, rotating the pan if needed, until toasted. It goes from golden to charcoal FAST!
- The Grand Finale (Chocolate Drizzle): Melt your chocolate chips in a microwave-safe bowl in 30-second bursts, stirring well between each, until smooth. Let it cool slightly (so it doesn’t melt the fluff). Grab a spoon or put the melted chocolate in a small zip-top bag and snip a tiny corner. Drizzle that chocolate artfully (or enthusiastically!) all over the toasted marshmallow. Let the chocolate set for a few minutes before slicing.
Showtime: Serving Your Masterpiece
Alright, artist! Use the parchment paper sling to gently lift the entire block of bars out of the pan and onto a cutting board. Wipe your knife clean with a hot, damp cloth between each cut for super sharp, Instagram-worthy slices. These bars are rich, so I usually cut them into 9 generous squares. Serve them chilled straight from the fridge for that perfect creamy-cheesecake texture against the gooey marshmallow. Want extra pizzazz? Dust lightly with a pinch of extra pumpkin pie spice or cinnamon right before serving. They’re perfect on their own, but honestly? A little scoop of vanilla ice cream on the side takes it to bonfire-in-a-bowl nirvana. Great for dessert plates, cute napkins, or just standing over the kitchen counter savoring every bite!
Make It Your Own: Delicious Twists
Feeling adventurous? Let’s riff on this flavor symphony! Here are some killer variations:
- Chocoholic’s Dream: Stir ½ cup of mini chocolate chips into the pumpkin filling before pouring it over the crust. Double the chocolate drizzle!
- Nutty Crunch: Add ½ cup of finely chopped pecans or walnuts to the graham cracker crust mixture before pressing. That nutty toastiness is *chef’s kiss* with pumpkin.
- Ginger Snap Swirl: Swap the graham crackers for gingersnap crumbs in the crust! Adds a warm, spicy kick. Bonus: swirl 2 tbsp of molasses into the pumpkin filling.
- Lighter Bite: Use reduced-fat cream cheese and a zero-calorie sugar substitute (like monk fruit blend) 1:1 for the sugar. Opt for a light drizzle of chocolate.
- Maple Kiss: Replace 2 tbsp of the sugar in the filling with pure maple syrup. Drizzle the finished bars with maple syrup instead of (or with!) the chocolate for a Vermont-worthy twist.
Jackson’s Notebook: Behind the Bars
Confession: The first time I tried this concept, I was determined to use *actual* marshmallows. Picture this: me, carefully placing mini marshmallows on the warm cheesecake, popping it back under the broiler… only to watch in horror as they promptly slid off like little white glaciers! Cue the fluff epiphany. It spreads like a dream and torches perfectly. Lesson learned: sometimes simpler is smarter (and less messy!).
Over the years, I’ve tweaked the spice blend – a touch more ginger sometimes if I’m feeling zingy. I also became a parchment paper sling evangelist after one too many crumbly corners. These bars have become my signature fall potluck dish. People always ask, “Is this hard to make?” Their shocked faces when I say “Nope, just patience!” is the best reward. The flavor combo feels indulgent, but the process? Totally approachable. That’s the Food Meld spirit! Pro tip: They taste even better on day two as the flavors meld, so don’t hesitate to make them ahead.
S’mores Pumpkin Cheesecake Bar FAQs: Solved!
Got questions? I’ve got answers! Here are the ones I hear most:
Q: Can I use homemade pumpkin purée?
A: Absolutely! Just make sure it’s silky smooth and thick, similar to canned pumpkin. If it’s watery, strain it in a fine-mesh sieve or squeeze it in a clean kitchen towel before using. Too much liquid will make your filling soft and prevent a clean set.
Q: My cheesecake bars cracked—what went wrong?
A: Don’t stress—cracks are just “character lines” and the marshmallow fluff will hide them! But here’s how to avoid them next time:
-
Don’t overbake – Look for a slight jiggle in the center; it will finish setting as it cools.
-
Don’t overmix after adding eggs – Beat on low speed until just combined.
-
Cool gradually – Let them cool at room temp before refrigerating.
Q: Can I make these ahead of time?
A: Yes! In fact, they’re even better on day two after the flavors meld. Store covered in the fridge for up to 4 days. Add the marshmallow topping and chocolate drizzle just before serving for best presentation.
Q: Can I freeze these bars?
A: You can freeze them without the marshmallow topping. Wrap slices tightly in plastic wrap and store in a freezer bag for up to 2 months. Thaw overnight in the fridge, then add the fluff and torch/broil before serving.
Q: Can I double the recipe?
A: Definitely. Use a 9×13″ pan and increase the crust and filling ingredients by exactly double. Bake time may be a few minutes longer—just watch for that gentle jiggle in the center.
Q: I don’t have a kitchen torch—can I still make these?
A: Yes! Use your oven broiler on HIGH and place the pan 6–8 inches from the heat. Keep a close eye, rotating as needed, and pull them as soon as the marshmallow turns golden

S’mores Pumpkin Cheesecake Bars
- Total Time: 55 minutes
- Yield: 9 bars 1x
Description
These decadent bars start with a buttery graham cracker crust, topped with creamy pumpkin cheesecake, then finished with gooey toasted marshmallow fluff and a drizzle of rich chocolate. It’s the ultimate fall mashup — part campfire nostalgia, part pumpkin spice indulgence.
Ingredients
1½ cups graham cracker crumbs
6 tbsp butter, melted
8 oz cream cheese, softened
1 cup pumpkin purée
½ cup sugar
1 tsp vanilla extract
1 tsp pumpkin pie spice
2 eggs
1 cup marshmallow fluff
½ cup chocolate chips, melted for drizzle
Instructions
Make crust: Preheat oven to 350°F (175°C). Mix crumbs and melted butter, press into a parchment-lined 8×8″ pan. Bake 8 min.
Make filling: Beat cream cheese, pumpkin, sugar, vanilla, and pumpkin pie spice until smooth. Add eggs one at a time, mixing until combined. Pour over crust.
Bake: Bake 25–30 min until set. Cool completely.
Top & toast: Spread marshmallow fluff on top. Use a kitchen torch to toast, or broil for 1–2 min watching closely.
Finish: Drizzle with melted chocolate, slice into bars.
- Prep Time: 20 minutes
- Cook Time: 35 minutes
Nutrition
- Calories: 305 / Bar
- Sodium: 202mg / Bar
- Fat: 16g / Bar
- Saturated Fat: 9g / Bar
- Carbohydrates: 37g / Bar
- Cholesterol: 66mg / Bar
Nutrition breakdown
Here’s the approximate nutrition info per bar (based on cutting the recipe into 9 servings):
Calories: 305
Total Fat: 16g
-
Saturated Fat: 9g
Cholesterol: 66mg
Sodium: 202mg
Total Carbohydrates: 37g -
Dietary Fiber: 1g
-
Total Sugars: 26g
Protein: 4g
Notes:
-
This is calculated using full-fat cream cheese, regular sugar, canned pumpkin purée, standard graham crackers, marshmallow fluff, and semi-sweet chocolate chips.
-
If you swap in reduced-fat cream cheese, gluten-free grahams, or a sugar substitute, the values will change.
-
These are dessert-sized values—if you cut them smaller for a big spread, calories and macros will adjust accordingly.
Final Thoughts
S’mores Pumpkin Cheesecake Bars aren’t just a dessert—they’re a mood, a memory, and a mashup masterpiece all wrapped into one gooey, spiced, chocolate-drizzled bite. They bring the campfire glow indoors, mix it with pumpkin patch coziness, and deliver it in an easy, crowd-pleasing format that looks as good as it tastes.
Whether you’re making them for a bonfire night, a Thanksgiving spread, or just because you need a little edible hug after a long week, these bars deliver pure autumn joy. They’re flexible enough to tweak, forgiving for new bakers, and impressive enough to earn you “recipe legend” status with friends and family.
So, grab your torch (or broiler), toast that marshmallow cloud, and let every bite remind you that the best desserts are the ones that tell a story—and invite everyone to take part.


