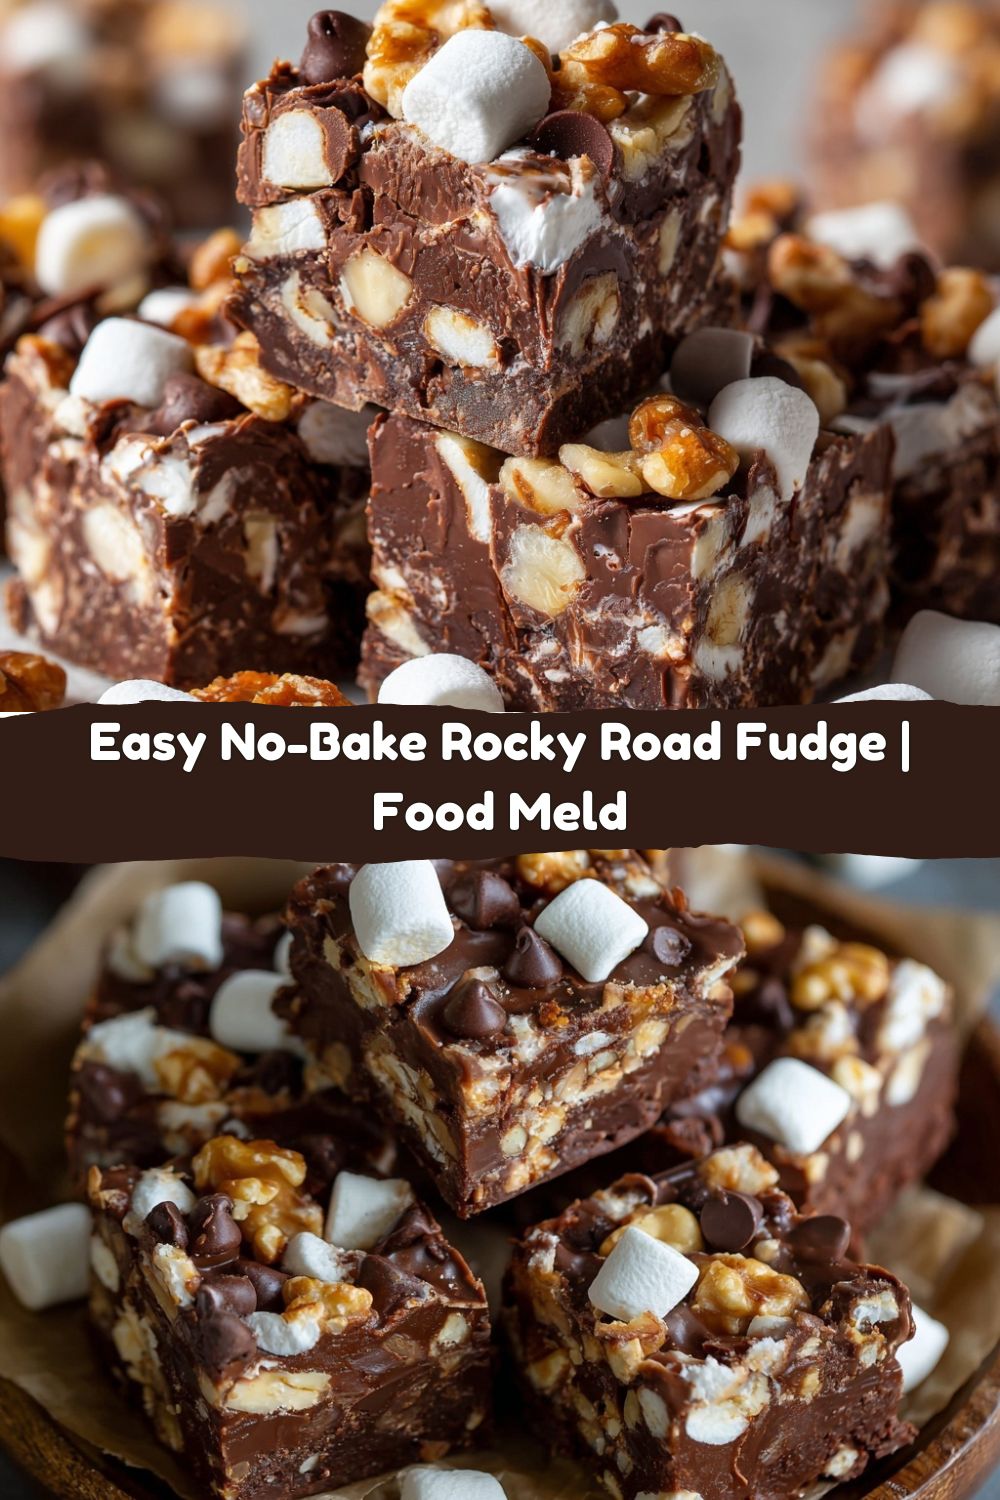
Your New Favorite No-Bake Treat: Rocky Road Fudge That’s Pure Magic
Hey friends, Jackson here from Food Meld. Let’s get straight to the good stuff. You know that feeling when you’re craving something sweet, something chocolatey, but the thought of turning on the oven and measuring a million ingredients makes you want to just close the cookbook and call it a day? Yeah, I’ve been there more times than I can count. That’s exactly why this recipe for Rocky Road Fudge is my go-to hero for last-minute cravings, holiday potlucks, and those “I need a win right now” moments.
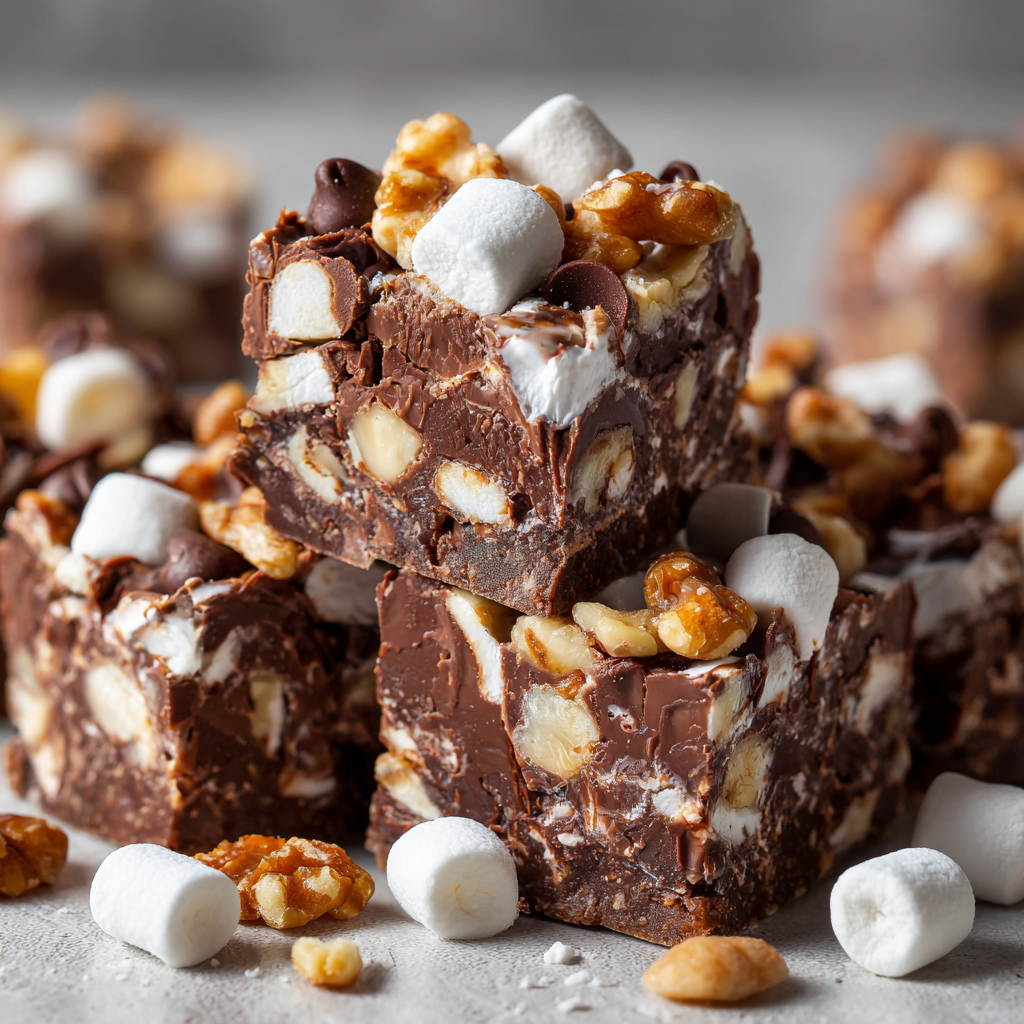
We’re talking about a treat that’s so incredibly simple, you’ll have it mixed up and in the fridge in under 10 minutes. But the payoff? Oh, it’s huge. Imagine the richest, creamiest chocolate fudge you’ve ever tasted, but then we take it on a wild adventure. We’re loading it up with fluffy, gooey mini marshmallows and a serious crunch of toasted walnuts. Every single bite is a party of textures—smooth, chewy, crunchy, all at once. It’s the kind of dessert that makes people’s eyes light up and instantly ask, “Wait, you made this?”
This isn’t just a recipe; it’s a guaranteed mood-lifter. It’s the edible equivalent of a high-five. Whether you’re a total newbie in the kitchen or a seasoned pro looking for a no-fuss, crowd-pleasing delight, you’ve come to the right place. So, grab your favorite saucepan and let’s dive into this together. We’re about to create something unforgettable, and I promise, it’s going to be a whole lot of fun.
A Spoonful of Nostalgia: Why This Fudge Hits Different
This recipe takes me right back to my Grandma Jean’s kitchen, a place that always smelled like butter and love. Every December, her counter would transform into a fudge factory. She had her classic chocolate, her penuche, and then… the rock star of the show: her Rocky Road. It was always the first plate to empty at family gatherings.
I remember one year, I was maybe ten years old, and I was her official “marshmallow and nut stirrer.” She’d pour that glossy, molten chocolate into a big ceramic bowl, let it cool just enough, and then hand me the wooden spoon with a wink. “Alright, Jackson, your moment has arrived. Don’t be shy with the goods.” I’d dump in the whole bag of marshmallows and a mountain of walnuts, stirring with all my might, my face just inches from the bowl, breathing in that magical chocolate-vanilla scent. It felt less like a chore and more like I was being let in on a delicious secret. That first bite, still slightly warm from the pan, was pure childhood joy. This recipe is my tribute to her—and to that feeling of creating a little bit of magic with your own two hands.
Gathering Your Flavor Crew: The Rocky Road Lineup
One of the best things about this fudge is the short and sweet ingredient list. No weird chemicals, no fussy steps. Here’s the dream team that’s going to make this happen. I’ve thrown in some of my favorite chef insights and swaps to make this recipe truly yours.
- 3 cups semi-sweet chocolate chips: This is the foundation, the star of the show. I like semi-sweet because it balances the sweetness from the other ingredients perfectly. Chef’s Tip: The quality of your chocolate matters here! A good brand like Ghirardelli or Guittard will give you a smoother, richer fudge. You can also use dark chocolate chips if you prefer a less sweet, more intense flavor.
- 1 (14 oz) can sweetened condensed milk: This is our magic weapon. It gives the fudge its iconic creamy, soft texture and sweetness without any complicated sugar syrups. Do NOT substitute with evaporated milk—they are totally different!
- 2 tbsp butter: Just a couple tablespoons adds a lovely richness and helps create a beautiful, glossy sheen on the finished fudge. Salted or unsalted works fine here.
- 1½ cups mini marshmallows: These are the “road” in our rocky road! The minis distribute perfectly in every bite. Pro Hack: For an extra-toasty flavor, you can spread them on a baking sheet and pop them under the broiler for 30-60 seconds before adding them. Just watch them closely—they burn fast!
- 1 cup chopped walnuts or almonds: This is where we get that satisfying CRUNCH. I’m a walnut guy for classic rocky road, but almonds are a fantastic, slightly milder option. Allergy Alert? Sunflower seeds or even pretzel pieces make an awesome nut-free swap.
- 1 tsp vanilla extract: The secret flavor enhancer! A splash of good vanilla rounds out all the chocolatey sweetness and adds a layer of warmth.
Let’s Get Building: Your Foolproof Fudge-Making Steps
Okay, team. This is where the magic happens. It’s so simple, but a few key tips will take your fudge from “good” to “can-I-have-the-recipe-NOW” great. Read through these steps once before you start, and you’ll be a fudge pro in no time.
- Line Your Pan. Grab an 8×8-inch baking pan. Take a sheet of parchment paper and press it into the pan, leaving some overhang on two opposite sides. This creates little “handles” that will let you lift the entire slab of fudge out later for super easy cutting. No more struggling to get the first piece out! A little spritz of cooking spray on the pan first helps the parchment stick in place.
- The Low-and-Slow Melt. In a medium-sized saucepan, combine your chocolate chips, the entire can of sweetened condensed milk, and your butter. Now, here’s the most important step: use LOW heat. I’m talking the lowest setting your stove has. Chocolate is a diva and will scorch if you rush it. Stir constantly with a spatula or wooden spoon. You’ll watch it slowly transform from separate ingredients into a gloriously smooth, shiny, chocolate river. This should take about 5-7 minutes. Once it’s completely smooth and no chocolate chips remain, take it off the heat immediately.
- The Crucial Cool-Down. Stir in your vanilla extract. Now, here’s a pro move that makes a big difference: let the mixture cool for about 2-3 minutes. Why? If you dump the marshmallows into piping hot fudge, they’ll start to melt and get stringy. By letting the base cool slightly, we keep those marshmallows intact, giving you those perfect little pockets of chewy goodness.
- The Big Fold-In. Now, add your mini marshmallows and chopped nuts to the pan. Using a folding motion (instead of vigorous stirring), gently mix everything together until it’s evenly distributed. You want to coat everything in that gorgeous chocolate without deflating the marshmallows too much.
- Press and Chill. Pour the mixture into your prepared pan. Use your spatula or (clean!) hands lightly greased with butter to press it into an even layer. Don’t smash it down too hard—just a nice, firm press to get it level. Now, pop the whole pan into the refrigerator. You need to let it chill for at least 2-3 hours, or until it’s completely firm. I know it’s tempting, but don’t rush this! The fudge needs this time to set up properly so you get clean, beautiful squares.
- The Grand Finale: The Cut. Once the fudge is rock solid, use the parchment paper handles to lift it out of the pan and onto a cutting board. Using a large, sharp knife, slice it into 36 squares (or 16 if you’re feeling bold!). For the cleanest cuts, you can run the knife under hot water and wipe it dry between slices.
Sharing the Love: How to Serve Your Masterpiece
You’ve done it! You’ve created a tray of pure joy. Now, how do you present it? This fudge is a star no matter what, but a little flair never hurts.
For a classic, homey look, I love arranging the squares on a simple wooden cutting board or a vintage cake stand. If you’re gifting it, grab a cute cellophane bag or a small cardboard box from the craft store, line it with parchment, and stack a few squares inside. Tie it with a ribbon, and you’ve got a gift that’s way more impressive than anything from a mall.
This fudge is the ultimate potluck champion. It pairs beautifully with a cup of strong black coffee to cut through the sweetness, or a tall glass of ice-cold milk for the ultimate nostalgic combo. It’s rich, so small squares are the way to go—but I won’t judge if you sneak a second… or third.
Make It Your Own: 5 Fun Rocky Road Twists
The beauty of this recipe is its flexibility. Once you’ve mastered the classic, it’s time to play! Here are a few of my favorite ways to mix it up.
- S’mores Slam Dunk: Swap out the walnuts for 1 cup of crushed graham crackers. You can even add a handful of milk chocolate chips along with the semi-sweet for that true s’mores vibe.
- Peanut Butter Paradise: Before you spread the fudge into the pan, drop ¼ cup of creamy peanut butter by spoonfuls on top. Then, use a knife or toothpick to swirl it gently through the chocolate. It’s a match made in heaven.
- Rocky Road, Meet Salted Caramel: Stir in ½ cup of soft caramel bits along with the marshmallows and nuts. After you spread the fudge, sprinkle the top with a little flaky sea salt. The sweet-salty combo is unreal.
- Mint Chocolate Chip: Replace the vanilla extract with ½ teaspoon of peppermint extract. Fold in ½ cup of dark chocolate chunks instead of (or in addition to) the nuts. It’s refreshing and decadent all at once.
- Tropical Escape: For a nut-free version, use 1 cup of chopped dried pineapple and ½ cup of shredded coconut. It’s a completely different, but equally delicious, journey.
Jackson’s Kitchen Confidential: A Few Parting Thoughts
This recipe has been with me for years, and it’s evolved in fun ways. I once, in a pre-coffee haze, accidentally used a whole bag of jumbo marshmallows instead of minis. Let me tell you, trying to chop through a solid block of fudge with giant marshmallow boulders inside was… an experience. We still ate it, of course, but it was a great reminder that the minis are there for a reason!
Over time, I’ve learned that toasting the nuts (just spread them on a pan and bake at 350°F for 5-8 minutes) unlocks a deeper, nuttier flavor that takes the fudge to another level. It’s a tiny extra step with a massive payoff. This recipe is your canvas now. Don’t be afraid to get messy and make it yours.
Fudge FAQs: Your Questions, Answered
I’ve made this fudge a zillion times, and I’ve heard all your questions. Here are the answers to the most common ones!
Q: My fudge is too soft/grainy. What happened?
A: This almost always comes down to the heat. If the heat was too high, the chocolate can “seize” or the fats can separate, leading to a grainy texture. Always, always melt on low. If it’s too soft, it likely just needs more chilling time. Pop it back in the fridge for another hour. Make sure you’re using sweetened condensed milk, not evaporated milk!
Q: How long does this fudge keep?
A: Stored in an airtight container in the refrigerator, this fudge will stay delicious for up to two weeks (if it lasts that long!). You can also freeze it for up to 3 months. Just thaw it in the fridge overnight before serving.
Q: Can I use a different type of nut?
A: Absolutely! Pecans are a classic Southern swap. Almonds, peanuts, and hazelnuts all work wonderfully. Just make sure they’re chopped to a similar size so you get an even crunch in every bite.
Q: My marshmallows melted! Is it ruined?
A> Not at all! It will still taste amazing, it just won’t have the distinct chewy texture. It’ll be more like a Nutty Chocolate Fudge. Consider it a happy (and still delicious) accident. Just remember that cool-down step for next time.
Let’s Talk Ingredients & Nutrition
I’m all about keeping things real, and that includes being transparent about what we’re eating. This Rocky Road Fudge is a treat, through and through. It’s meant to be enjoyed in moderation and shared with people you love.
This nutritional info is an estimate per square (based on 36 squares), but it can vary based on the specific brands of ingredients you use. The semi-sweet chocolate provides antioxidants, and the walnuts add healthy fats and a bit of protein. The sweetened condensed milk is what gives it that incredible creamy texture and a good portion of the sugar content. The beauty of making it yourself is that you control the ingredients—you can choose a high-quality chocolate and adjust the nut-to-marshmallow ratio to your liking. So, savor a square (or two!), enjoy every bite, and know that you’re indulging in a homemade treat made with real, simple ingredients.
Per Square (approx.): Calories: 160, Fat: 9g, Carbs: 18g, Sugar: 15g, Protein: 2g
You Did It! Let’s Keep the Fun Going.
And there you have it! You’re now officially a rock star of rocky road. I hope this recipe brings as much fun and flavor to your kitchen as it has to mine. There’s nothing quite like the pride of putting a homemade treat on the table and watching the smiles appear.
This fudge is more than just a dessert; it’s a conversation starter, a gift from the heart, and a reminder that the best food doesn’t have to be complicated. It just has to be made with a little bit of joy.
I’d love to see your creations! Did you add a twist? Did your family go crazy for it? Tag me on social @FoodMeld and use the hashtag #FoodMeld so I can share in the excitement. Now, go enjoy that fudge—you’ve earned it. Until next time, keep mixing it up and making it yours!
Happy cooking,
Jackson


