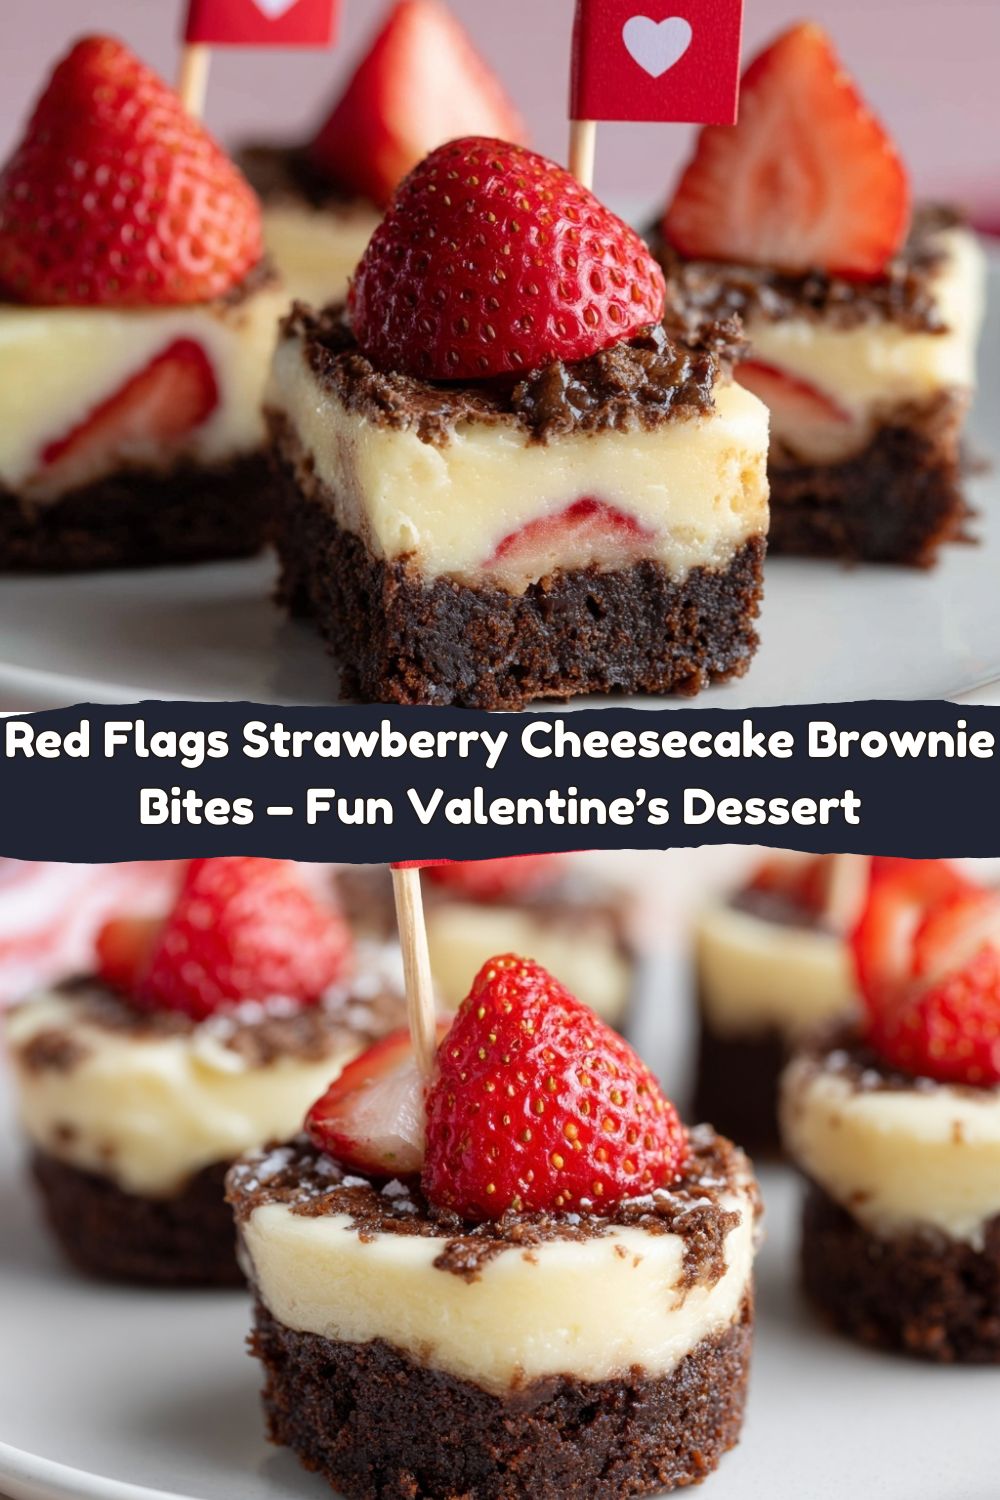
Let’s Bake a Little Drama: Red Flags Strawberry Cheesecake Brownie Bites
Hey there, friend. Jackson here. Pull up a stool, grab a spatula, and let’s get real for a second. Valentine’s Day is… a lot. Whether you’re riding the high of a new crush, celebrating decades of love, or firmly planted in Team Galentine’s with your besties and a killer playlist, the pressure to have a picture-perfect, swoon-worthy dessert can feel like a third wheel we didn’t invite.
What if, instead of stressing over heart-shaped everything, we embraced the fun, the messy, and the honestly hilarious side of modern love? What if our dessert could be a conversation starter, a laugh-out-loud moment, and genuinely, ridiculously delicious all at once?
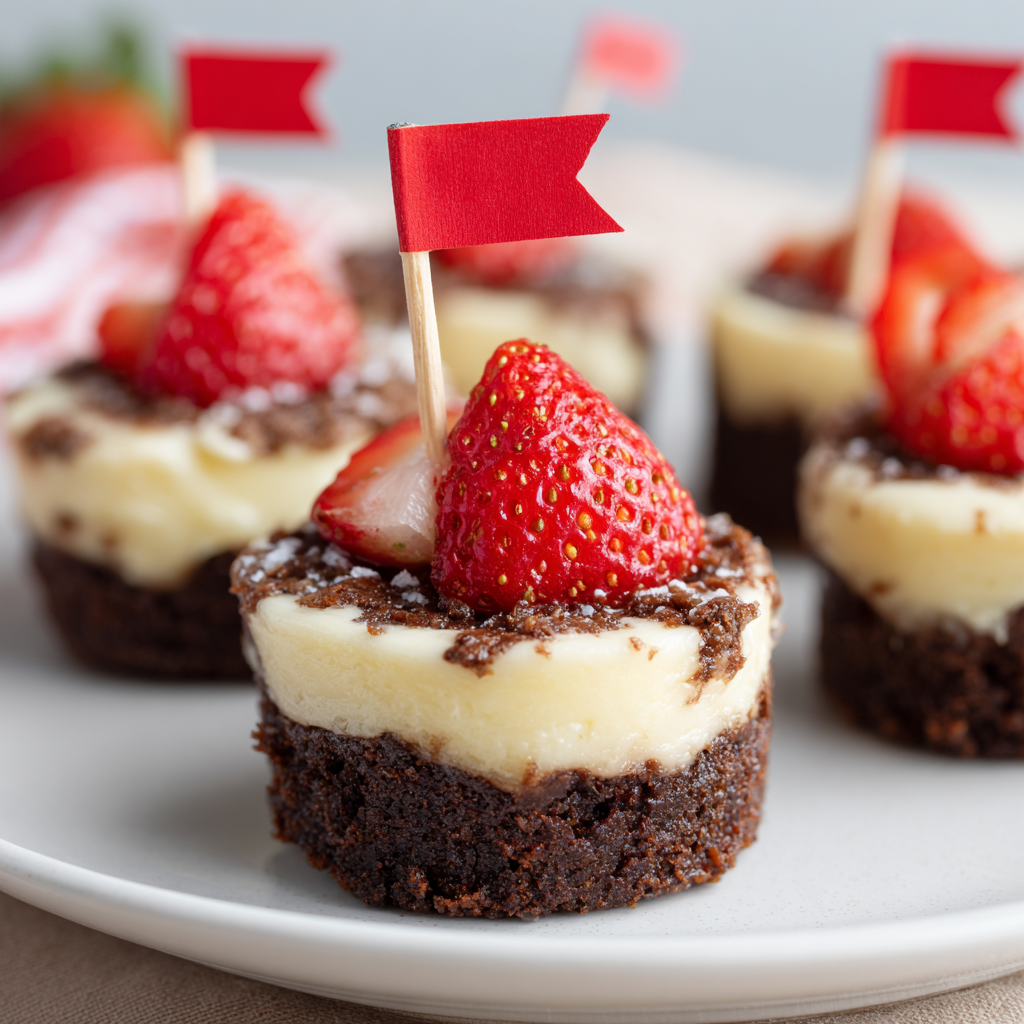
Enter the dessert that’s been taking over my kitchen (and my group chats): Red Flags Strawberry Cheesecake Brownie Bites. This is the kind of treat that doesn’t take itself too seriously but takes flavor very seriously. We’re talking a dense, fudgy brownie base, a cloud-like pocket of creamy cheesecake, and a sweet, fresh strawberry crown. But the real pièce de résistance? A tiny, snarky red flag planted proudly on top, declaring everything from “Has a name for his car” to “Still uses his college ID.”
It’s a dessert with personality. It’s for laughing with your friends, for giving a side-eye to past dating disasters, and for celebrating the fact that the most reliable love affair in the room is the one between you and this incredible bite of food. So, let’s ditch the intimidation, embrace the fun, and cook something awesome—and just a little bit sassy—together.
The Story Behind the Bite: Baking Through the Blunders
This recipe was born from a truly legendary Galentine’s disaster a few years back. I’d attempted a massive, six-layer pink champagne cake that was supposed to be the epitome of elegance. Spoiler: it was not. The layers slid, the frosting split, and it looked less like a patisserie dream and more like a topographical map of a particularly unstable planet. My friends showed up, took one look at the kitchen (and the cake), and we just burst out laughing.
We ordered pizza, scraped the best bits of cake into bowls, and spent the night sharing our most cringe-worthy dating stories. The tales of ghosting, weird hobbies, and the guy who proudly only ate “beige foods” had us howling. That night, covered in frosting and laughing until our sides hurt, was a better celebration than any flawless cake could have provided. It was real, it was funny, and it was full of flavor—just not the kind I’d planned.
These brownie bites are my edible homage to that night. They’re foolproof where my cake was not, shareable so everyone gets in on the fun, and they have that built-in conversation starter we stumbled upon naturally. They’re a reminder that the best moments in life—and in the kitchen—are often the imperfect, hilarious, and genuinely human ones. Now, let’s make some new (and much tastier) memories.
Gathering Your Culinary Crew: Ingredients & Insights
Simple ingredients, massive flavor payoff—that’s the Food Meld motto. Here’s everything you need, plus my little chef secrets for each one.
For the Fudgy Brownie Base:
- 1/2 cup unsalted butter: The rich foundation. Unsalted lets you control the saltiness. If you only have salted, just omit the added salt in the dry ingredients.
- 1/2 cup semi-sweet chocolate chips: We’re melting these right in with the butter for a double-chocolate punch. A bar of baking chocolate chopped up works great too!
- 1/2 cup granulated sugar: Sweetens the deal and helps create that classic crackly brownie top.
- 2 large eggs: Room temperature is key here! They incorporate much more smoothly into the batter, giving us a better texture. Just let them sit in a bowl of warm water for 5 minutes if you forgot to take them out.
- 1/3 cup all-purpose flour: Just enough to hold our brownie world together without turning it cakey. We want fudge, not fluff.
- 2 tbsp cocoa powder: I use natural, unsweetened cocoa for a deep, classic chocolate flavor. It’s our flavor booster.
- 1/4 tsp salt: The ultimate flavor enhancer. It makes the chocolate taste more chocolatey. Don’t skip it!
- 1/2 tsp vanilla extract: The quiet background singer that makes the whole band sound better. Pure vanilla is worth it.
For the Creamy Cheesecake Layer:
- 8 oz (one block) full-fat cream cheese, softened: This is non-negotiable for that luxuriously creamy, tangy filling. Leave it on the counter for a good hour. When you poke it, your finger should leave an indent easily.
- 1/4 cup granulated sugar: Just the right amount to sweeten the cream cheese without overpowering its tang.
- 1 large egg yolk: This adds richness, helps the filling set, and gives it that beautiful pale yellow color. Save the white for a morning omelet!
- 1/2 tsp vanilla extract: Carries the vanilla vibe from the brownie up into the cheesecake layer. Harmony in a bowl.
For the Topping & The Drama:
- 12 medium fresh strawberries, hulled and halved: Look for bright red, fragrant berries. The fresh, juicy pop against the rich brownie and cheesecake is magic.
- 24 mini red flag toothpicks: The pièce de résistance! You can DIY these with red paper, toothpicks, and a printer, or find printable templates online. “Bad texter,” “Makes his own hot sauce,” “Has a podcast” – get creative!
Let’s Build Some Bites: Your Step-by-Step Roadmap
Follow these steps, lean into the process, and don’t worry about perfect—these bites are charmingly rustic. I’m talking you through it like you’re here in my kitchen.
- Preheat & Prep: Fire up your oven to 350°F (175°C). Line a 24-cup mini muffin tin with paper liners or give each cup a generous spritz of non-stick spray. This is your bite-sized real estate—let’s get it ready! Chef’s Hack: Using liners makes cleanup a dream and helps the bites pop out perfectly.
- Melt Your Chocolate Foundation: In a medium microwave-safe bowl, combine the butter and chocolate chips. Microwave in 30-second bursts, stirring well after each, until it’s completely smooth and glossy. It should look like a chocolate lava pool. Let it cool for just a minute so we don’t scramble our eggs in the next step.
- Build the Brownie Batter: Whisk the granulated sugar into the warm chocolate mixture. Then, add the eggs one at a time, whisking vigorously after each until the batter looks shiny and smooth. Stir in that 1/2 tsp of vanilla. Now, sprinkle the flour, cocoa powder, and salt over the wet ingredients. Use a spatula to fold it all together until just combined and no dry streaks remain. Do not overmix! Overmixing = tough brownies, and we’re all about that fudgy life.
- Portion the Brownie Base: Using a small spoon or cookie scoop, portion the brownie batter into your prepared mini muffin cups. Fill them about 2/3 of the way full. This leaves the perfect little well for our cheesecake surprise. A little batter on the liners? Totally fine. We’re going for flavor, not flawlessness.
- Whip Up the Cheesecake Cloud: In a separate bowl, beat the softened cream cheese with a hand mixer (or a strong arm and a whisk) until it’s completely smooth and lump-free. Beat in the 1/4 cup sugar, then the single egg yolk, and finally the vanilla. Scrape down the sides of the bowl to make sure everything is homogenous. This filling should be satiny smooth.
- The Cheesecake Swirl: Drop a rounded teaspoon of the cheesecake filling right into the center of each brownie-filled cup. You can gently spread it a little, but it’s okay if it doesn’t reach the edges. As it bakes, it will settle and spread beautifully. We’re creating layers of joy here.
- Bake to Perfection: Slide the tin into your preheated oven. Bake for 12-15 minutes. You’re looking for the cheesecake centers to be just set—they might still have a slight jiggle, but they shouldn’t be liquid. The brownie edges will look cooked and pull away slightly. A toothpick inserted into the brownie part (not the cheesecake) should come out with moist crumbs, not wet batter.
- The All-Important Cool Down: Let the bites cool in the pan on a wire rack for at least 20 minutes. They need time to firm up. Then, gently twist and lift them out. Pro-Tip: For the cleanest removal and firmest texture, pop the whole tray (once cooled) into the fridge for 30 minutes before taking them out of the tin.
- Garnish & Flag: Right before serving, crown each cool bite with a halved strawberry. Then, plant your pre-made red flag toothpick right in the center. Watch as your friends’ eyes light up, first from the cuteness and then from reading the flags. Cue the laughter.
How to Serve Up the Shenanigans
Presentation is half the fun with these! Ditch the formal dessert plate. I love piling these bites high on a rustic wooden board or a simple white platter. Let the red flags wave at different heights—it adds to the playful chaos. For a Galentine’s party, set them in the center of the table with a sign that says “Choose Your Adventure” or “Dessert & Red Flags.”
Pair them with a glass of sparkling rosé, a rich coffee, or even a cold glass of milk for the ultimate nostalgic combo. The goal is to create a moment that feels inviting, interactive, and Instagram-ready (because let’s be real, we’re gonna take a picture). Encourage everyone to pick their bite based on the flag that makes them laugh the hardest.
Make It Your Own: Creative Twists & Swaps
The beauty of this recipe is its adaptability. Here’s how to run with it and make it yours:
- Berry Blast: Not a strawberry fan? Swap in a raspberry, a blackberry, or a few blueberries. A drizzle of melted white chocolate over the top takes any berry to the next level.
- Chocolate Overload: For the true chocoholics, place a single dark chocolate chip in the center of the cheesecake layer before baking. It’ll create a hidden molten pocket of joy.
- Citrus Zing: Add a teaspoon of lemon or orange zest to the cheesecake filling for a bright, sunny twist. Top with a tiny curl of citrus peel instead of a strawberry.
- Gluten-Free Friendly: Simply swap the all-purpose flour for a 1:1 gluten-free baking blend. The texture will be identical and just as delicious.
- “Green Flags” Version: Flip the script for a sweet celebration! Make green flags with positive traits: “Loves your dog,” “Great listener,” “Remembers your order.” Perfect for anniversaries or just because.
Jackson’s Kitchen Notes: The Evolution of a Bite
This recipe went through more versions than I’d like to admit. The first batch? I overfilled the cups and the cheesecake volcanoed over, creating a delicious but messy pan of “brownie cheesecake blob.” Tasted amazing, looked… abstract. Lesson learned: 2/3 full is your friend.
The red flag idea came after the great Galentine’s cake disaster I told you about. I was brainstorming ways to build connection and laughter into the food itself. The flags were the missing piece. Now, testing new flag phrases is one of my favorite parts (“Owns a metal detector” is a recent favorite). Remember, the best recipes aren’t just lists of instructions; they’re vessels for memory and connection. Don’t stress the small stuff—embrace the blob phases. They usually taste fantastic.
FAQs: Your Questions, Answered
Q: My cheesecake filling sank into the brownie! What happened?
A: No worries! This usually means the brownie batter was a bit too thin or the cups were underfilled. The brownie layer acts as a raft for the cheesecake. Make sure your batter is nice and thick (not overmixed) and you’re filling the cups 2/3 full. It’ll still taste incredible—just consider it a “marbleized” version!
Q: Can I make these ahead of time?
A: Absolutely. You’re a planning genius. Bake and cool the bites completely, then store them in an airtight container in the fridge for up to 2 days. Add the strawberries and flags right before serving so the berries stay fresh and the flags don’t get soggy.
Q: Do I have to use the egg yolk in the cheesecake? Can I use a whole egg?
A: The yolk gives richness and helps set the filling without making it too puffy or eggy. Using a whole egg can make the cheesecake layer rise more and then fall, potentially creating a denser texture. Stick with the yolk for that perfect creamy pocket.
Q: My brownies are too cakey, not fudgy. Why?
A> This is almost always due to overmixing once the flour is added, or baking a minute or two too long. Mix until *just* combined, and pull them when the centers are just set with that slight jiggle. They continue to cook as they cool!
Nutritional Info (Because We’re Balanced Like That)
Okay, let’s keep it real: this is a celebratory treat. But here’s the scoop per bite so you can enjoy the fun and know what you’re working with. These numbers are estimates based on a standard online calculator and will vary depending on brands, substitutions, and how generous you get with those cheesecake dollops (no judgment):
Per Brownie Bite (without strawberry + flag):
-
Calories: ~115
-
Total Fat: ~7g
-
Saturated Fat: ~4g
-
Carbohydrates: ~12g
-
Sugar: ~9g
-
Protein: ~2g
-
Fiber: <1g
-
Sodium: ~45mg
With the strawberry on top: add about 3–4 extra calories and a tiny boost of vitamin C — we love a nutritious queen.
These bites are indulgent, yes, but they’re also small, shareable, and built for pure joy. And honestly? A little joy is part of any balanced life. So enjoy the moment, savor the flavor, and let the red flags fly.
Final Thoughts
At the end of the day, these Red Flags Strawberry Cheesecake Brownie Bites aren’t just a dessert—they’re a whole moment. They’re the laughter around the table, the “oh my gosh, read THIS one!”, the collective gasp when someone bites into that fudgy-cheesecake magic for the first time. They’re the reminder that Valentine’s Day (or Galentine’s… or honestly a random Tuesday) doesn’t have to be picture-perfect to be meaningful. It just has to be fun, shared, and a little bit sweet.
If there’s anything I’ve learned in the kitchen—and, let’s be honest, in love—it’s that imperfections make the best stories. These bites celebrate that. They bring people together, break the ice, and spark the kind of conversations that leave you smiling long after the dishes are done. So whether you’re passing them around with your best friends, surprising someone special, or treating yourself like the absolute legend you are, I hope these little bites of joy give you the same warm, hilarious, heart-filled moment they gave me.
Bake boldly, laugh loudly, and may all your red flags be edible. ❤️🍓🍫


