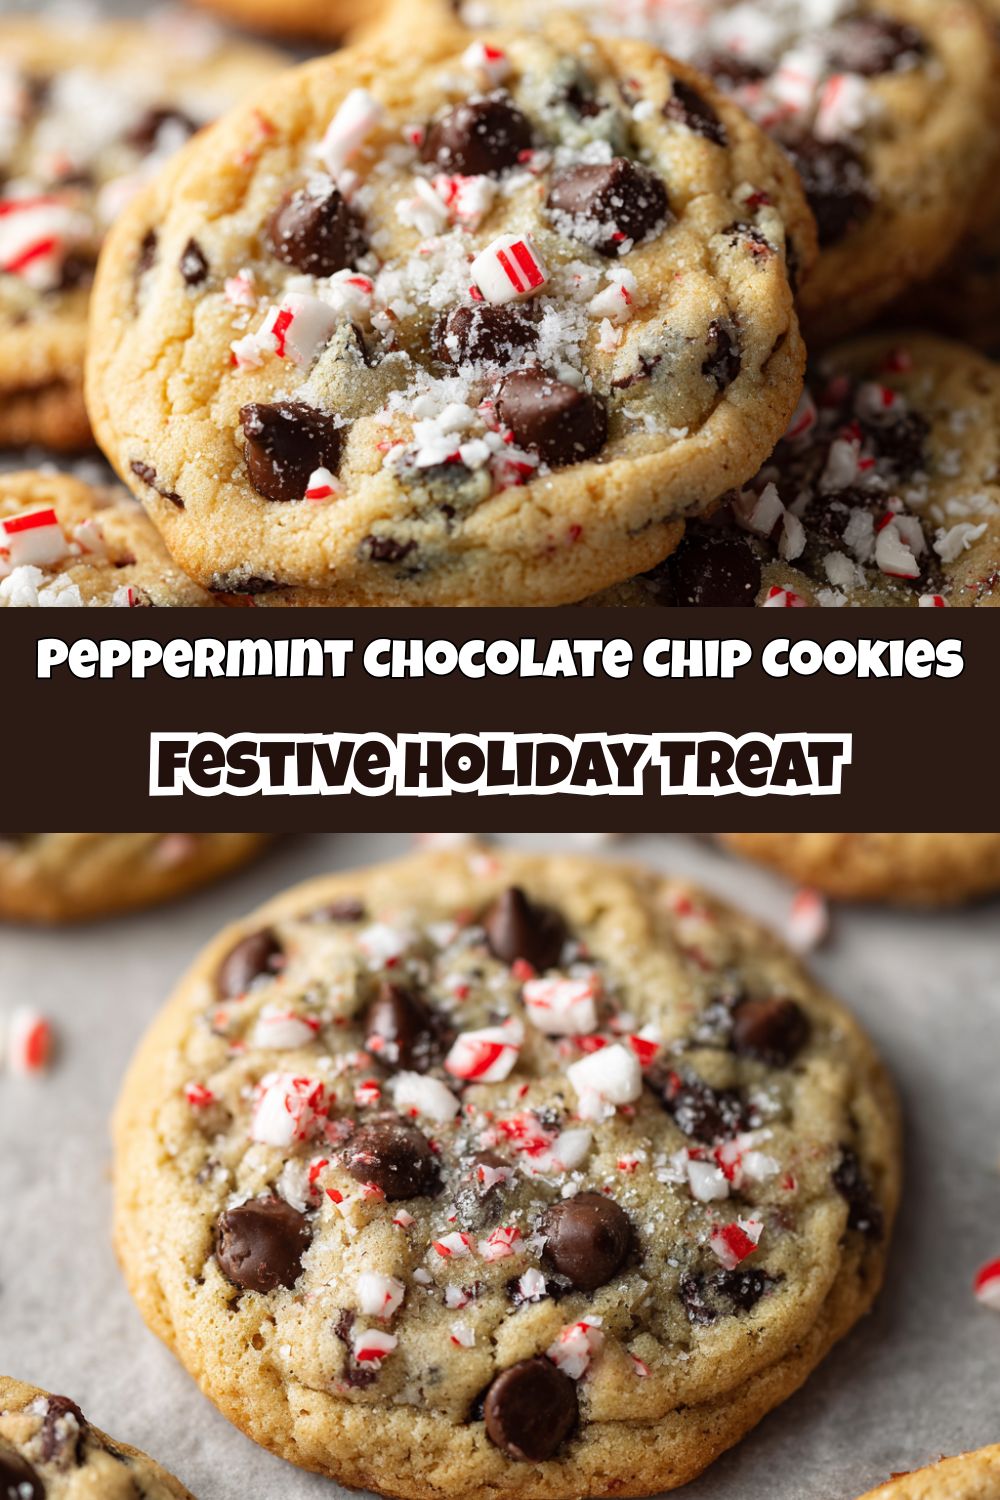
Let’s Bake Some Holiday Magic: Peppermint Chocolate Chip Cookies
Hey friends, Jackson from Food Meld here! Is there anything better than the smell of cookies baking in the oven? I’m talking about that warm, buttery, sugary aroma that just wraps around your entire house like a cozy hug. Now, imagine that classic smell, but with a cool, festive twist of peppermint dancing through the air. That’s exactly what we’re diving into today with these utterly irresistible Peppermint Chocolate Chip Cookies.
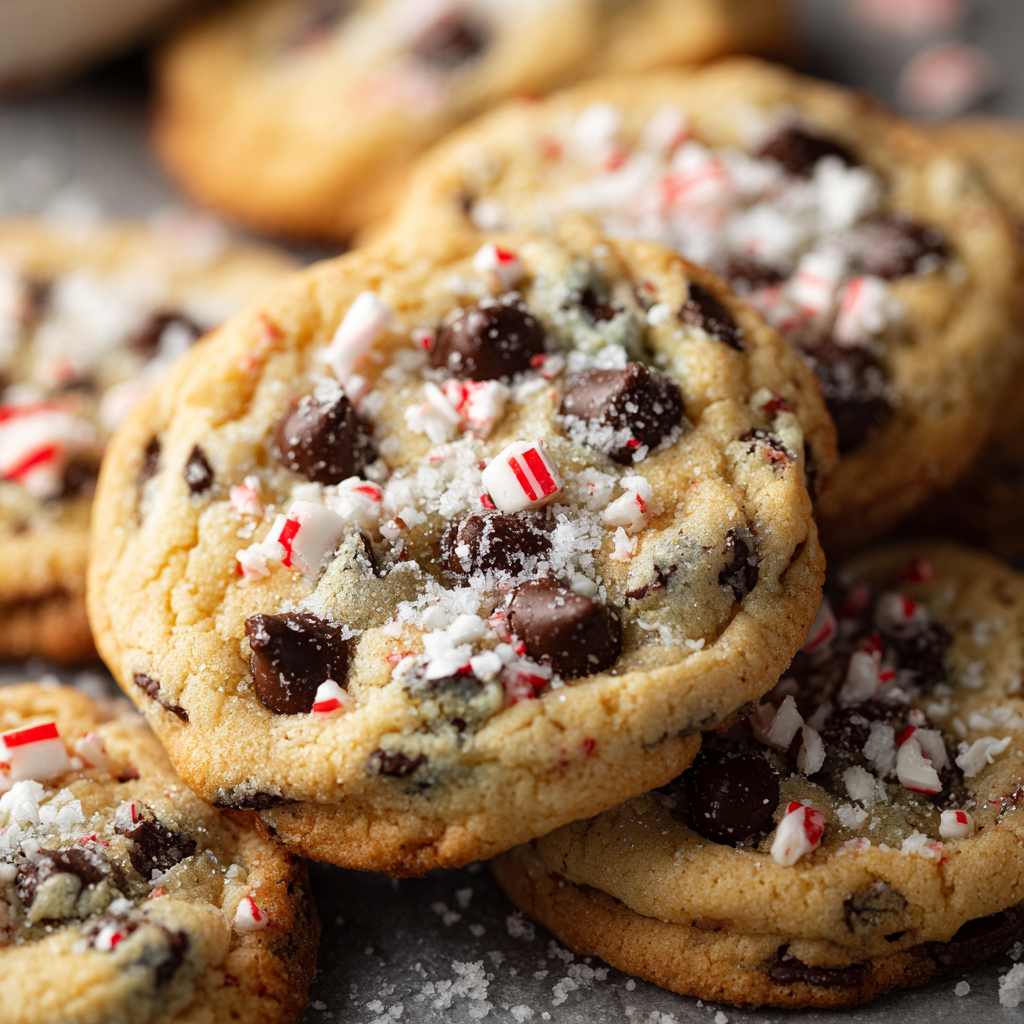
These aren’t your average chocolate chip cookies. Oh no. These are the cookies of holiday dreams. We’re taking that beloved, soft-and-chewy chocolate chip cookie base you know and love and giving it a full-on festive glow-up. We’re folding in cool, crunchy bits of peppermint candy that burst with flavor against the rich, gooey pools of semi-sweet chocolate. Every single bite is a perfect holiday mashup—comforting, familiar, and excitingly new all at once.
Best of all? They’re seriously simple to make. No fancy techniques, no intimidating steps—just good, honest baking that’s as fun to make as they are to eat. This is the kind of recipe that’s perfect for a cookie exchange (you’ll be the most popular person there), for leaving out for Santa (he deserves an upgrade from the basic stuff), or just for curling up on the couch with a plateful and a big glass of cold milk. So, preheat those ovens, grab your favorite mixing bowl, and let’s cook something awesome together. Welcome to the most delicious part of the holiday season.
A Cookie That Tastes Like Christmas Morning
This recipe takes me right back to my grandma’s kitchen. Every Christmas Eve, the whole family would descend upon her house, and the kitchen became our command center. The air was thick with the scent of pine, roasting turkey, and about a dozen different types of cookies. My job, as the eager (and slightly messy) kid, was always to help crush the candy canes for her famous peppermint bark. I’d put them in a zip-top bag, grab a rolling pin, and go to town, sending red and white shards flying everywhere.
One year, we were making her classic chocolate chip cookies and realized we’d gone a little overboard on the candy cane crushing. We had a whole bowl of extra peppermint dust and pieces. Grandma, never one to waste a single ingredient, looked at me with a twinkle in her eye and said, “Well, Jackson, what if we tried this?” We folded that entire bowl of peppermint right into the cookie dough. The result was pure, unplanned magic. Those cookies disappeared faster than any other dessert on the table. That “what if we tried this?” moment stuck with me, and it’s the heart and soul of this recipe. It’s a reminder that the best dishes often come from a little bit of fun, a little bit of mess, and a whole lot of love.
Gathering Your Cookie Crew (The Ingredients!)
Here’s your shopping list for holiday success. I’ve included some of my favorite chef insights and substitutions to make these cookies your own!
- 1 cup (2 sticks) unsalted butter, softened – This is the foundation of flavor and that perfect chewy texture. Pro Tip: “Softened” means cool to the touch but your finger can leave a gentle indent. Don’t melt it! If you only have salted butter, that’s okay—just reduce the added salt to ¼ teaspoon.
- ¾ cup packed brown sugar – The molasses in brown sugar is the secret to a moist, chewy cookie with a deeper, caramel-like flavor.
- ½ cup granulated sugar – This helps create a slight crispness on the edges while keeping the centers soft.
- 2 large eggs – They bind everything together and add structure. Make sure they’re at room temperature to cream beautifully with the butter and sugar.
- 1 teaspoon pure vanilla extract – The warm, floral notes of vanilla are the perfect bridge between the chocolate and peppermint.
- 1 teaspoon peppermint extract – This is our flavor powerhouse! It gives that unmistakable, cool peppermint vibe throughout every bite. A little goes a long way, so don’t be tempted to overdo it.
- 2¼ cups all-purpose flour – The workhorse of the dough. For a foolproof measure, fluff your flour with a spoon, spoon it into your measuring cup, and level it off. No packed flour!
- 1 teaspoon baking soda – Our leavening agent that gives the cookies their perfect rise and lift.
- ½ teaspoon salt – Crucial for balancing all the sweetness and making the flavors pop. Trust me, never skip the salt.
- 1½ cups semi-sweet chocolate chips – I love the rich, bitter-sweet balance of semi-sweet here. It stands up perfectly to the strong peppermint. Feel free to use dark chocolate chips for an even richer cookie or milk chocolate for a sweeter treat.
- ½ cup crushed peppermint candies or candy canes – The festive crunch! You can buy pre-crushed or do it the old-fashioned way: place candies in a sturdy zip-top bag and crush with a rolling pin.
- Optional: Extra chips and peppermint pieces for topping – This is my bakery-style secret for cookies that look as incredible as they taste.
Let’s Get Baking: The Step-by-Step Fun
Alright, team, let’s do this! Follow these steps, and you’ll have perfect cookies in no time. I’m adding my favorite kitchen hacks along the way.
- Preheat and Prep: Fire up that oven to 350°F (175°C). This is step one for a reason—you want that oven hot and ready when your dough is! Line your baking sheets with parchment paper. This is a non-negotiable for me; it prevents sticking and makes cleanup an absolute breeze. No parchment? A silicone baking mat works wonders too.
- Cream the Good Stuff: In a large bowl, beat together the softened butter, brown sugar, and granulated sugar. Now, here’s a major chef hack: beat it for a full 2-3 minutes until it’s light, pale, and fluffy. This step incorporates air into the dough, which is the secret to a perfectly textured cookie. Don’t just mix it until it’s combined; really let that mixer work its magic.
- Bring in the Wet Team: Beat in the eggs one at a time, making sure each is fully incorporated before adding the next. Then, pour in the vanilla and peppermint extracts. Scrape down the sides of the bowl with a spatula to make sure everything is getting to know each other evenly.
- Whisk the Dry Squad: In a separate, medium-sized bowl, whisk together the flour, baking soda, and salt. Whisking is key here—it evenly distributes the baking soda so you don’t get any bitter bites in your finished cookies.
- Combine with Care: Gradually add the dry ingredients to the wet ingredients. I like to do this in two or three additions, mixing on low speed just until the flour disappears. Do not overmix! Overworking the dough after the flour is added is the number one cause of tough, dense cookies. A few streaks of flour are okay; they’ll incorporate when we add the chips.
- The Grand Finale Fold: Switch to a sturdy spatula. Now, gently fold in the chocolate chips and the crushed peppermint candies. Be gentle—you want to distribute them evenly without crushing those beautiful candy pieces.
- Scoop and Space: Use a tablespoon-sized cookie scoop or a regular spoon to portion the dough into balls. Place them about 2 inches apart on your prepared baking sheets. This gives them room to spread and become perfect little cookie puddles without merging into one giant cookie sheet (which, honestly, doesn’t sound all that bad, but we want individual cookies!).
- Bake to Perfection: Bake for 9-11 minutes. Now, listen up: they will look underdone. This is what we want! The edges should be set and lightly golden, but the centers will still look soft and puffy. They will continue to cook on the hot baking sheet after you pull them out. This is the ultimate secret to a soft, chewy cookie. If you wait for the centers to look fully cooked in the oven, you’ll end up with overdone, crispy cookies.
- The Bakery Touch: As soon as the cookies come out of the oven, immediately press a few extra chocolate chips and peppermint pieces into the top of each one. This makes them look professionally decorated and extra indulgent.
- The Patient Cool Down: Let the cookies cool on the hot baking sheet for a full 5 minutes. This allows them to set up enough to move without breaking. Then, transfer them to a wire rack to cool completely. Or, you know, eat a few warm and gooey right then and there. I won’t tell.
How to Serve These Festive Beauties
Okay, you’ve baked the most amazing cookies. Now, how do you present them? Let’s get creative!
For the ultimate holiday platter, stack these cookies high on a beautiful rustic wooden board or a festive ceramic plate. Tuck a few sprigs of fresh rosemary or mint around them for a gorgeous green contrast against the red and white peppermint pieces. They are the absolute star of any cookie exchange or holiday party dessert table.
My favorite way to enjoy them? Still slightly warm from the oven, placed right on top of a giant mug of rich hot chocolate. The chocolate chips are still melty, and the peppermint starts to melt into the hot chocolate below. It’s a next-level experience, my friends.
And of course, you can’t go wrong with the classic: a cold glass of milk. The creamy milk is the perfect partner to cut through the sweetness and refresh your palate for the next incredible bite. For the adults, pairing one of these cookies with a glass of peppermint schnapps-laced coffee or a stout beer makes for a surprisingly delicious end to a holiday meal.
Mix It Up! Creative Recipe Twists
Feel like playing around? Here are a few of my favorite ways to change up this classic recipe:
- Double Chocolate Peppermint: Replace ¼ cup of the flour with ¼ cup of unsweetened cocoa powder for an intensely chocolatey, brownie-like cookie. You might need to add a tablespoon of milk to the dough if it seems too dry.
- White Chocolate Cranberry Peppermint: Swap the semi-sweet chips for white chocolate chips and add ½ cup of dried cranberries along with the peppermint. The tartness of the cranberry is a fantastic contrast to the sweet white chocolate and cool mint.
- Gluten-Free Joy: Use a 1:1 gluten-free all-purpose flour blend (I love Bob’s Red Mill or Cup4Cup). The result is just as chewy and delicious!
- Peppermint Kiss Thumbprints: Instead of mixing in the peppermint, roll the dough balls in crushed candy canes before baking. Right when they come out of the oven, press a Hershey’s Kiss or a chocolate star into the center of each cookie.
- “Andes Mint” Style: Use 1 cup of semi-sweet chocolate chips and ½ cup of chopped up Andes mints. You get layers of chocolate and mint in every single bite.
Jackson’s Chef Notes & Kitchen Stories
This recipe has evolved so much since that first batch in my grandma’s kitchen. I’ve learned that chilling the dough for just 30 minutes can help prevent overspreading if your kitchen is really warm, but I usually can’t wait that long! The peppermint extract was my addition—it boosts that cool flavor so every bite is consistent, not just the ones with a big candy piece.
A funny story: I once brought a batch of these to a friend’s party, and her dog, a clever little beagle named Baxter, managed to quietly sneak one off a low table. He didn’t eat it, he just carried it into the corner and meticulously licked off every single chocolate chip, leaving a sad, naked cookie behind. We still laugh about Baxter’s sophisticated palate. (Don’t worry, he was perfectly fine, but it’s a good reminder to keep these away from pups!)
Your Questions, Answered!
Q: My cookies spread too much and got really flat. What happened?
A: This is usually one of two things! First, your butter might have been too soft or even melted. Butter should be softened but still cool. Second, your baking sheet might still have been warm from a previous batch. Always use a cool sheet for each new round of cookies.
Q: Can I make the dough ahead of time and freeze it?
A: Absolutely! This dough freezes beautifully. Scoop the dough balls onto a parchment-lined sheet, freeze them solid, and then transfer them to a zip-top bag. You can bake them straight from the freezer—just add 1-2 minutes to the baking time. Hello, fresh cookies anytime!
Q: The peppermint candy melted and disappeared into the cookies. How do I prevent that?
A> The very fine “dust” from crushing candies will melt in, which is great for flavor. To ensure those visible, crunchy pieces remain, make sure you have some slightly larger chunks (about the size of a pea) when you crush them. Also, pressing a few pieces on top after baking guarantees you’ll see that festive red and white.
Q: Can I omit the peppermint extract and just use the candy?
A> You can, but the flavor will be much milder and only present in the bites where you get a piece of candy. The extract gives that wonderful peppermint essence throughout the entire cookie. I highly recommend using both for the full effect!
Nutritional Information*
*Please note: This is a rough estimate per cookie based on the ingredients listed and a yield of 36 cookies. Values can vary based on specific brands and actual portion sizes.
- Calories: ~150 kcal
- Total Fat: 8g
- Saturated Fat: 5g
- Carbohydrates: 18g
- Fiber: 1g
- Sugar: 12g
- Protein: 2g
These are a treat, through and through! Enjoy them mindfully as part of your holiday celebrations.
Final Thoughts
Well, there you have it! My all-time favorite holiday cookie that’s bursting with flavor, nostalgia, and pure festive joy. I hope this recipe brings as much happiness to your kitchen as it has to mine over the years.
Remember, baking is supposed to be fun. It’s okay if a few candy cane shards end up on the floor or if your cookies aren’t all perfectly round. It’s those little imperfections that make them real, made-with-love creations. The most important ingredient is always the joy you stir into the bowl.
I’d love to hear how your cookies turn out! Tag me on social @FoodMeld


