Forget Boring Chicken: Your New Weeknight Hero is Here
Hey friends, Jackson from Food Meld here. Let’s be real for a second. How many times have you stood in front of the fridge at 5 PM, staring at a pack of chicken breasts, and felt… absolutely nothing? No inspiration, no excitement, just the looming dread of another “meh” dinner? I’ve been there. We’ve ALL been there. That’s exactly why I’m so fired up to share this recipe with you today.
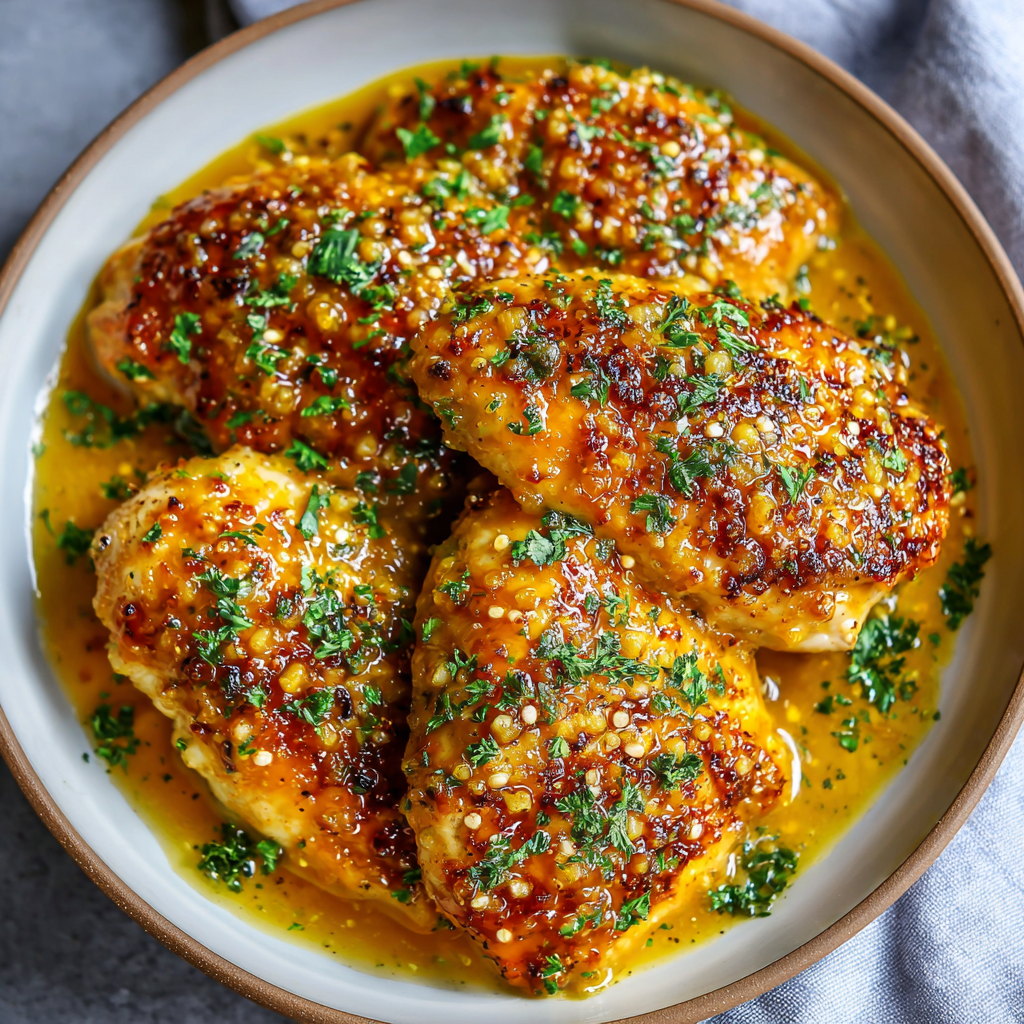
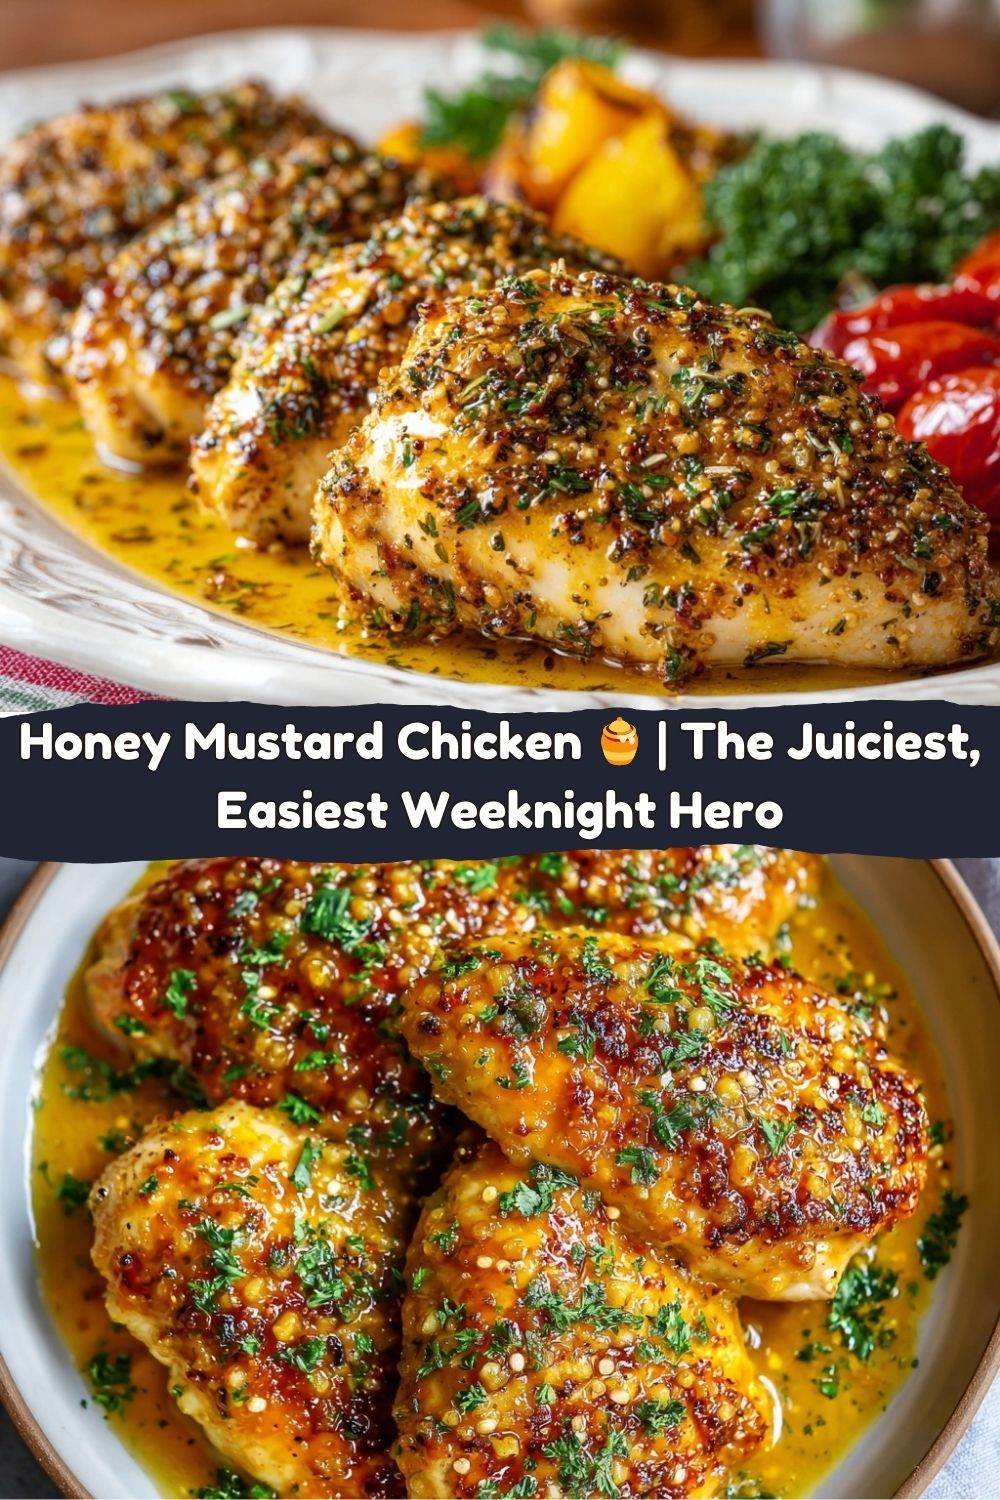
This isn’t just any chicken recipe. This is the one that breaks the cycle. This Oven-Baked Honey Mustard Chicken with Herb Crust is the golden, sticky, flavor-bomb hero your dinner routine has been begging for. Imagine this: tender, juicy chicken, slathered in a sweet-and-savory glaze that caramelizes into a slightly crispy, herb-speckled crust in the oven. The sauce bubbles and thickens right in the pan, creating its own incredible gravy to spoon over everything. It’s the kind of dish that makes your whole house smell like a professional kitchen and has everyone asking, “What’s that amazing smell?” long before they hit the table.
The best part? It’s deceptively simple. We’re talking about 15 minutes of hands-on work. You whisk, you pour, you bake. That’s it. No fancy techniques, no hard-to-find ingredients. Just bold, comforting food that feels special but is totally approachable. So, let’s ditch the dinner dread and cook something awesome together. This is the “you’ve gotta try this” moment I’m always talking about.
A Little Southern Sunshine & A Lot of Mustard
This recipe takes me right back to my grandma’s kitchen in Georgia. She was a firm believer that a good sauce could save any meal. Her classic was a simple, tangy mustard-based barbecue sauce she’d slather on everything. I’ve always loved that sharp, savory punch, but my own style leans a little more… “meld-y.” I wanted to play with that Southern mustard base and take it on a trip.
The “honey mustard” idea actually came from a happy accident. One afternoon, I was trying to recreate her sauce but got a little overzealous with the honey bear. Instead of a tangy glaze, I ended up with this incredible sweet-savory balance that caramelized beautifully in the oven. I threw in some paprika for a touch of smokiness and basil for that herby, almost Italian-family-dinner vibe. The first time I made it for friends, the entire pan was wiped clean. They were using pieces of bread to get the last bits of sauce from the dish. That’s when I knew this wasn’t just a recipe; it was a keeper. It’s my grandma’s Southern roots meeting my own “what if we tried this?” energy, and friends, the result is pure magic.
Gathering Your Flavor Arsenal
Here’s your shopping list! This is where the fun begins. Let’s break down why each ingredient is here and how you can make it your own.
- Nonstick cooking spray: Our trusty sidekick to prevent a sticky situation. A quick spritz and cleanup is a breeze. Chef’s Insight: If you don’t have spray, a light coating of olive or avocado oil works perfectly.
- 12 skinless, boneless chicken breast halves: The main event! I like breasts for their lean, even cook. Substitution Tip: Thighs are a FANTASTIC swap here! They’re harder to overcook and stay incredibly juicy. Just add 5-10 minutes to the baking time.
- Salt and black pepper, to taste: The fundamental building blocks of flavor. Don’t be shy! Seasoning the chicken directly is a non-negotiable step for a tasty crust.
- 1 cup honey: This is our sweet, caramelizing agent. It balances the mustard’s tang and creates that gorgeous, sticky glaze. Substitution Tip: For a deeper flavor, try pure maple syrup. For a lower-sugar option, a sugar-free maple-style syrup works in a pinch.
- 1 cup prepared mustard: The tangy soul of the dish! Chef’s Insight: I love a 50/50 mix of Dijon (for its sharp, white wine complexity) and classic yellow mustard (for that bright, picnic-ready tang). Using all of one kind is totally fine, so use what you love!
- 2 tsp dried basil & 1 tsp dried parsley: Our herbaceous dream team. They create that “herb crust” we’re after. Substitution Tip: Fresh herbs are incredible! Triple the amount and chop them finely. Try thyme or rosemary for a different, earthy twist.
- 2 tsp paprika: This isn’t just for color! It adds a subtle smokiness and warmth that plays so well with the honey. Chef’s Insight: Smoked paprika is a game-changer here if you have it. It adds a whole new layer of flavor.
- 1 tsp garlic powder: We use powder here for its consistent, mellow flavor that distributes evenly through the glaze. It gives us depth without the risk of burning that fresh garlic might have.
- Zest of 1 lemon: The secret weapon! This little bit of zest doesn’t make the dish taste lemony; it just makes it taste brighter and more alive. It cuts through the richness and makes all the other flavors pop.
- Optional: ½ tsp crushed red pepper flakes: For my spice-loving friends! This adds a gentle, warm kick in the background. You can always add more, so start here if you’re unsure.
Let’s Build Some Flavor: Your Step-by-Step Guide
Ready to make some magic? Put on some good music, grab your favorite bowl, and let’s do this. I’m walking you through every step.
- Prep Oven & Pan: First things first, preheat your oven to 375°F (190°C). While it’s warming up, grab your large baking dish (a 9×13-inch is perfect) and give it a light but confident spray with that nonstick cooking spray. Chef’s Hack: Lining the pan with foil or parchment paper first makes cleanup literally a 10-second task. You’re welcome!
- Arrange the Chicken: Place your chicken breasts in the prepared dish in a single layer. Don’t overcrowd them – they need their personal space to cook evenly. Now, be generous! Season both sides with a good pinch of salt and a few cracks of black pepper. This simple step seasons the chicken from the inside out, making a world of difference.
- Whisk the “Liquid Gold” Glaze: This is the fun part. In a medium bowl, combine the honey, mustard, dried basil, paprika, dried parsley, garlic powder, lemon zest, and those optional red pepper flakes. Now, whisk it like you mean it! Get it completely smooth and watch as it turns into the most beautiful, aromatic, golden-orange sauce. Give it a little taste. See? I told you it was magic.
- Glaze & Bake (Part 1): Now, pour that glorious sauce all over the waiting chicken. I like to use a pastry brush or just my (clean!) hands to make sure every single nook and cranny of each breast is coated in that sticky goodness. Once they’re all dressed up, cover the dish loosely with foil. This first stage of baking with the foil on traps steam, gently cooking the chicken through and keeping it incredibly juicy.
- Bake (Part 2 – The Grand Finale): After 20 minutes, carefully remove the pan from the oven (it’s hot!) and take off the foil. Ah, behold! The sauce is bubbling, and the chicken is already looking plump and happy. Now, pop it back in, uncovered, for the final 15-20 minutes. This is where the transformation happens. The sauce will reduce, thicken, and caramelize around the edges, forming that incredible herb crust we’re after. The chicken is done when it reaches an internal temperature of 165°F (75°C) on a meat thermometer.
- Serve it Up: Take the pan out and let it rest for just 5 minutes. This lets the juices redistribute throughout the chicken. When you’re ready, spoon all that amazing pan sauce over the top of each piece. This sauce is liquid gold—don’t you dare leave it behind! A sprinkle of fresh parsley on top makes it look restaurant-worthy.
How to Plate This Beauty
Okay, the chicken is perfect. Now, let’s turn it into a meal! This dish is incredibly versatile, so here are a few of my favorite ways to serve it up.
The Classic Plate: My go-to is a simple, beautiful plate with a generous piece of chicken, a big scoop of fluffy jasmine rice or creamy mashed potatoes, and a side of roasted broccoli or green beans. The rice or potatoes act as the perfect vehicle for that extra sauce. Seriously, you’ll want to drink it.
The “Bowl” Life: For a healthier twist, create a vibrant bowl! Start with a base of quinoa or cauliflower rice. Top with shredded honey mustard chicken, a handful of fresh arugula, some cherry tomatoes, and a drizzle of the pan sauce as your dressing. It’s a complete, satisfying meal in one bowl.
Wrap & Roll: Let the chicken cool slightly, then shred it with two forks and toss it with the remaining sauce from the pan. Pile this deliciousness into warm tortillas or pita pockets with some crunchy lettuce, sliced avocado, and a dollop of Greek yogurt or sour cream. Instant lunchtime superstar.
Make It Your Own: Creative Twists
Once you’ve mastered the base recipe, the playground is open! Here are a few ways to mix it up and keep things exciting.
- Spicy Chipotle Twist: Swap the paprika for 1-2 teaspoons of chipotle powder and use all Dijon mustard. The smoky heat from the chipotle with the sweet honey is an unforgettable combo.
- Whole Grain & Herb Fresh: Use whole grain mustard for a fantastic texture and pop of flavor. Then, swap all the dried herbs for 3 tablespoons of fresh, chopped herbs like tarragon, chives, and parsley.
- Gluten-Free & Dairy-Free “Parmesan” Crust: This is a crowd-pleaser! Right after you remove the foil for the final bake, sprinkle the top of each chicken breast with a mixture of ½ cup nutritional yeast and ¼ cup almond flour. It gives a cheesy, crispy crust that’s naturally free of gluten and dairy.
- Asian-Inspired Fusion: Replace the dried herbs with 1 tablespoon of grated fresh ginger and 2 minced garlic cloves. Use a 50/50 mix of honey and soy sauce (or tamari) for the liquid. The result is a sweet, salty, umami-packed glaze that’s incredible.
- Creamy Mustard Sauce: Want it even saucier? After baking, transfer the chicken to a plate. Pour the pan sauce into a small saucepan and whisk in ½ cup of heavy cream or coconut milk. Simmer for a few minutes until slightly thickened, then pour it back over the chicken. Divine.
Jackson’s Kitchen Notes
This recipe has been a staple in my kitchen for years, and it’s evolved in the best ways. I used to be so careful with the measurements, but now? I often just eyeball the sauce until it tastes right to me. That’s the goal—for you to feel that confident, too!
One of my favorite kitchen memories is of my dog, Biscuit, sitting directly in front of the oven the entire time this chicken bakes. He doesn’t beg for anything else, but the smell of this honey mustard glaze caramelizing? He becomes a statue of hope. I always have to give him a tiny, unseasoned piece after it’s cooled. A true Food Meld taste-tester!
The biggest lesson this recipe taught me is to trust the process. That moment when you take the foil off and it looks a little pale and saucy can be deceiving. Just have faith! Those last 15 minutes in the oven are pure culinary alchemy. The transformation is real.
Your Questions, Answered!
I’ve gotten a lot of questions about this recipe over the years. Here are the big ones to help you nail it every single time.
- My sauce isn’t thickening/caramelizing. What did I do wrong? No worries! This usually means there’s too much liquid or your oven temp is a bit low. First, make sure you’re baking it uncovered for the full final 15-20 minutes. If it’s still too thin, you can pop the pan under the broiler for 2-3 minutes at the very end (watch it closely!). Alternatively, transfer the sauce to a saucepan and simmer on the stovetop for a few minutes to reduce it.
- Can I make this ahead of time? Absolutely! You can whisk the glaze and store it in a jar in the fridge for up to 3 days. You can also arrange the raw, seasoned chicken in the baking dish, cover it, and refrigerate it for a day. When you’re ready, just pour the glaze over and bake. You might need to add 5-10 minutes to the baking time since you’re starting with a cold dish.
- Help! My chicken is dry. How can I prevent that? The two most common culprits are overcooking and not using the foil. The foil step is crucial for gentle, steamy cooking. The #1 best tool to prevent dry chicken? A $10 digital meat thermometer. Cook to 165°F and pull it out immediately. It’s a game-changer for perfect poultry every time.
- Is it better to use fresh or dried herbs? For the glaze itself, dried herbs are actually perfect. They infuse their flavor slowly into the sauce as it bakes. Fresh herbs are best used as a garnish at the end for a burst of fresh color and flavor. But feel free to experiment with the variations I listed above!
Nutritional Breakdown (Per Serving)
Hey, I’m all about flavor first, but I know many of you like to keep an eye on things! Here’s a general breakdown per serving (assuming 10 servings). Remember, this can vary based on the specific brands and ingredients you use.
- Calories: ~310
- Protein: 28g (Chicken is a fantastic lean protein source!)
- Fat: 8g
- Carbohydrates: 28g
- Sugar: 24g (The majority of this comes naturally from the honey, which is what gives us that beautiful caramelization.)
Chef’s Insight: To lower the sugar and carbs, you can reduce the honey by 1/4 cup and use a sugar-free substitute for the rest, or follow the maple syrup substitution tip. Using chicken thighs will increase the fat content slightly, but it’s a satisfying, flavorful swap.
You’ve Got This!
And that’s it — your weeknight chicken rut is officially over. This Oven-Baked Honey Mustard Chicken isn’t just a dinner; it’s proof that a handful of pantry staples can turn into something extraordinary. With just 15 minutes of prep and a little oven magic, you’ll have golden, juicy chicken glazed in that sticky-sweet, herb-flecked sauce that’s equal parts comfort food and showstopper.
Remember: don’t overthink it. Let the sauce bubble, trust the process, and let your kitchen smell like heaven. Cooking should make you feel confident and excited, not stressed — and this dish delivers every time.
So next time you’re staring at a pack of plain chicken breasts wondering what to do, grab the honey and mustard and make this instead. It’s bold, cozy, and guaranteed to earn you applause (or at least some serious second helpings).


