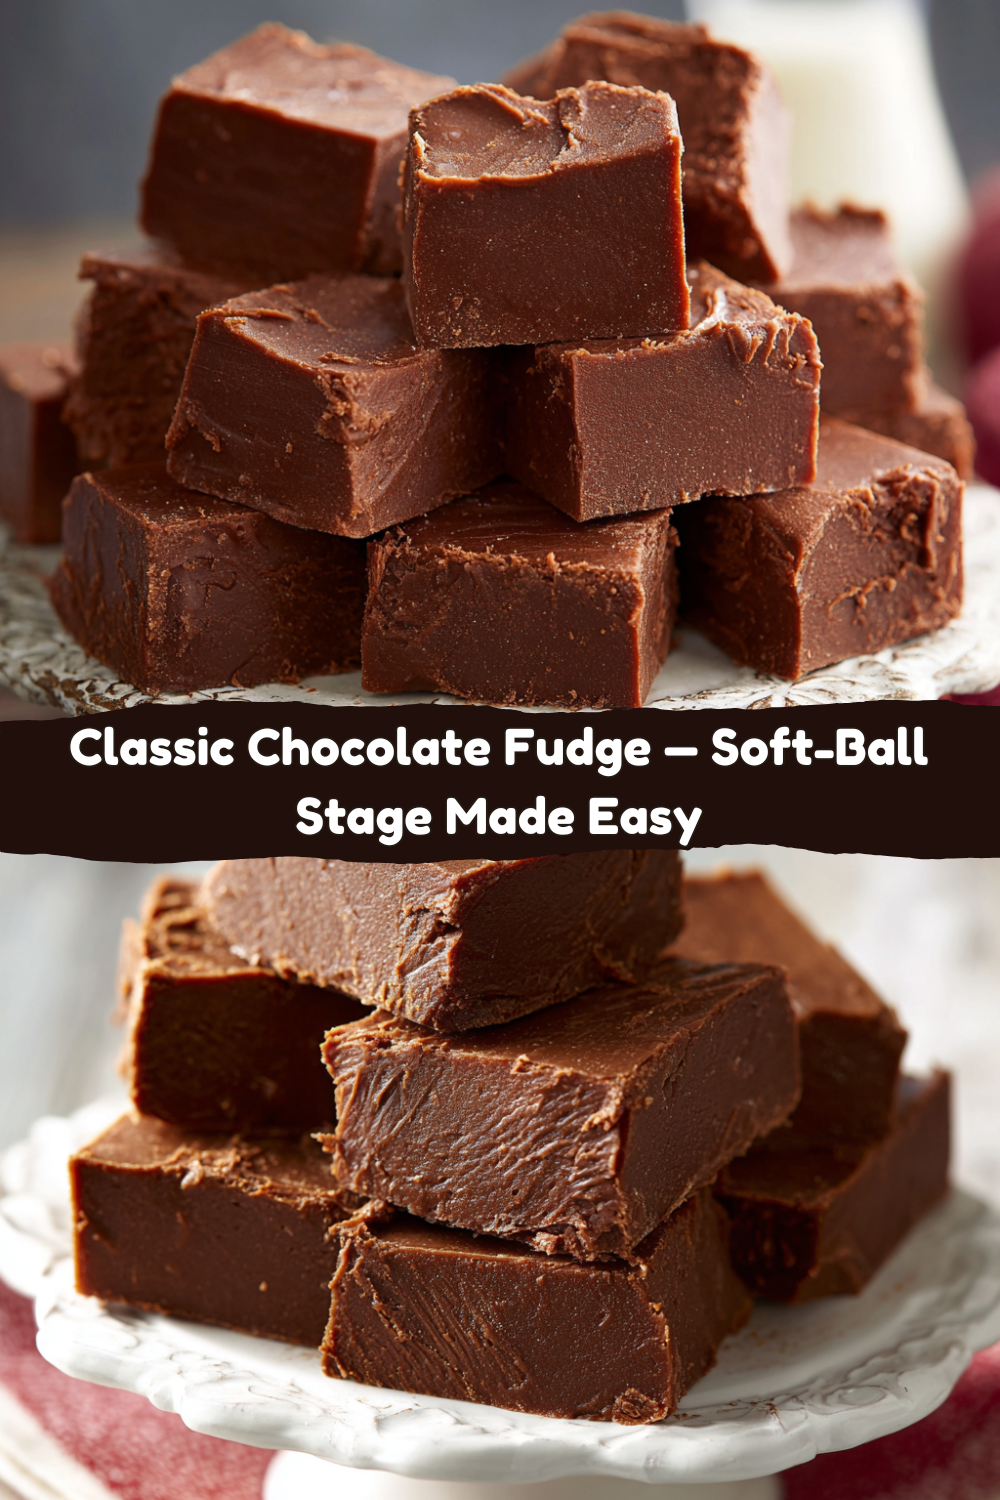
The Ultimate Comfort: Why This Old-Fashioned Fudge is a Forever Favorite
Hey there, friend! Jackson from Food Meld here. Let’s talk about something magical. I’m not talking about fancy molecular gastronomy or deconstructed desserts (though those are fun, too). I’m talking about that one classic, no-fuss treat that has the power to stop a conversation, bring a smile to anyone’s face, and instantly transport you back to your grandma’s kitchen. That’s right, we’re making Old-Fashioned Fudge today.
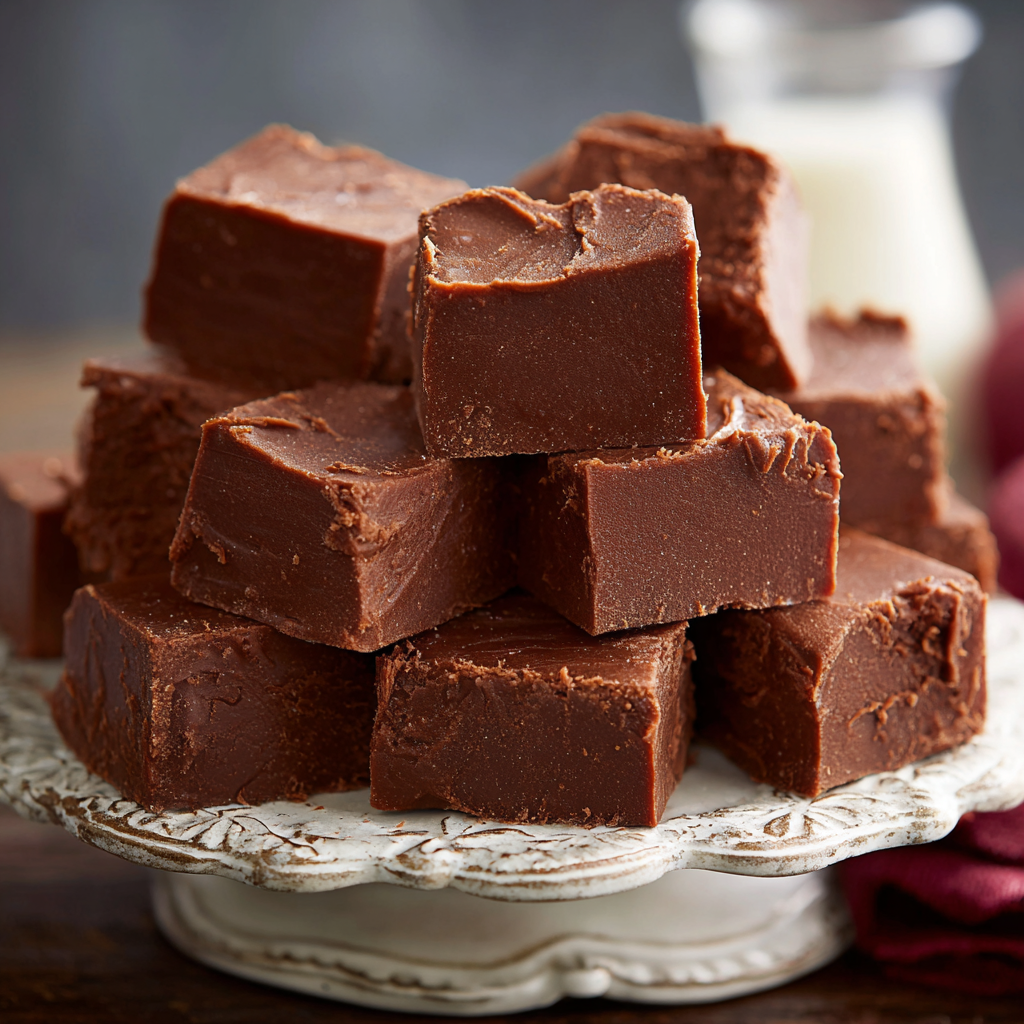
In a world of quick fixes and pre-made everything, there’s something incredibly satisfying about standing over a pot, watching sugar and cocoa transform into something glossy and incredible. This isn’t just candy; it’s an edible hug. It’s the rich, deeply chocolatey, melt-in-your-mouth squares you remember from holiday trays, bake sales, and those little tins that your neighbor would bring over. It’s the kind of dessert that feels like a genuine gift, because it is. It’s made with time, attention, and a whole lot of love.
I know some folks get a little nervous about candy thermometers and “soft-ball stages,” but I’m here to tell you—you’ve totally got this. We’re going to walk through this together, step-by-step. I’ll share all my chef hacks and the little signs to look for so you feel confident. This recipe is my go-to for a reason: it’s reliable, it’s ridiculously good, and the process is half the fun. So, grab your favorite heavy-bottomed pot and let’s create some of those “you’ve gotta try this” moments. We’re about to cook something awesome, and unforgettable, together.
A Spoonful of Memory: My First Fudge Fiasco
My love affair with fudge started, ironically, with a spectacular failure. I was about ten years old, buzzing with excitement at my grandma’s house during the holidays. She was the fudge queen of our family, and her kitchen always smelled like sweet magic in December. That year, I was finally deemed “old enough” to help. My job was simple: stir the pot and watch the thermometer. Well, ten-year-old me had the attention span of a goldfish, and I got distracted by the snow falling outside.
I stirred… then I stopped. I peeked at the thermometer… then I got bored. By the time my grandma swooped in, we had a pot of grainy, crumbly chocolate that was more like sweet sand than smooth fudge. I was devastated, thinking I’d ruined Christmas. But you know what she did? She laughed her warm, full-belly laugh, gave me a hug, and said, “Jackson, even the flops are delicious. Now we know for next time—fudge demands our full attention, just like the people we love.” We salvaged it by crumbling it over ice cream, and it was still pretty great. That lesson stuck with me: cooking is about the journey, not just the destination. Now, every time I make this fudge, I think of her and that messy, wonderful kitchen. It’s a reminder to be present, to pay attention to the process, and that even kitchen “failures” can lead to something sweet.
Gathering Your Flavor Arsenal: The What and Why
This recipe is beautifully simple, which means every ingredient plays a starring role. Using the best quality you can find will make a noticeable difference. Here’s the breakdown:
- 3 cups granulated sugar: This is the foundation. It provides the sweetness and, when cooked correctly, the structure of our fudge. I don’t recommend substituting with alternative sugars like coconut or brown sugar for this classic version, as they contain moisture and molasses that will throw off the chemistry and texture.
- ¾ cup unsweetened cocoa powder: This is where the deep, chocolate soul of the fudge comes from. Use a natural, unsweetened cocoa powder (not Dutch-process) for that classic, slightly tangy fudge flavor. My chef insight? For an even richer flavor, you can use a blend of half natural cocoa and half dark cocoa powder.
- 1½ cups whole milk: The fat content in whole milk is crucial for achieving a creamy, luxurious mouthfeel. This is one place I don’t suggest skimping. Lower-fat milks can result in a less tender fudge. For a supremely decadent version, you could even use half-and-half!
- ¼ tsp salt: Never, ever skip the salt! It’s not there to make things salty; it’s a flavor enhancer that makes the chocolate taste more chocolatey and cuts through the sweetness perfectly.
- 2 tbsp unsalted butter: Added after cooking, the butter enriches the flavor and contributes to that smooth, melt-in-your-mouth texture. Using unsalted lets you control the salt level. Make sure it’s at room temperature so it incorporates easily.
- 1 tsp vanilla extract: The grand finale of flavor. Use pure vanilla extract, not imitation, for the best aroma and taste. It adds a warm, complex note that makes the chocolate sing.
The Fun Part: Let’s Make Some Magic
Alright, team. This is where we turn simple ingredients into something legendary. Read through all the steps once before you start. You’ll want to have everything measured and ready to go (this is called mise en place—fancy chef talk for “get your stuff together”).
Step 1: The Foundation. Grab your heaviest, largest saucepan (a 3- or 4-quart pot is perfect). Why heavy-bottomed? It distributes heat evenly, preventing those pesky hot spots that can cause the sugar to scorch and burn. Combine the sugar, cocoa powder, milk, and salt right in the cold pot. Use a wooden spoon or whisk to stir it until it’s a smooth, muddy paste with no lumps. Chef Hack: Sifting your cocoa powder first can help prevent lumps, but a good whisking usually does the trick!
Step 2: The Patient Simmer. Now, place the pot over medium heat. This is key—don’t rush it with high heat! Stir it constantly as it warms up. This helps dissolve the sugar completely before the mixture comes to a boil. You’ll see it go from that thick paste to a thin, bubbling chocolate river. Once it reaches a full, rolling boil, stop stirring. I repeat, put the spoon down! Stirring after this point can encourage sugar crystals to form, leading to grainy fudge. Now, attach your candy thermometer to the side of the pot, making sure the bulb is submerged in the chocolatey liquid but not touching the bottom.
Step 3: The Waiting Game. Let the mixture boil away, undisturbed, until it reaches 234°F (112°C) on the candy thermometer. This is the famous “soft-ball stage.” This will take about 10-15 minutes. If you don’t have a thermometer, you can do the cold water test: drop a small bit of the syrup into a cup of ice water. If you can form it into a soft, pliable ball that flattens when you take it out, it’s ready!
Step 4: The Cool Down. As soon as it hits that magic temperature, immediately remove the pot from the heat. This is critical! Add your pats of butter and the vanilla extract. Now, here’s the hard part: DO NOT STIR. I know it’s tempting, but walk away. Let the pot sit, untouched, on the stovetop (or on a trivet) until it cools down to about 110°F (43°C). This usually takes 45-60 minutes. You can test this by flicking a bit on your wrist—it should feel just warm, not hot. This cooling period is non-negotiable for achieving the perfect creamy texture.
Step 5: The Arm Workout. Once it’s cooled, it’s time to beat it! Grab that wooden spoon again and start stirring with a vengeance. You’ll see the glossy, thin mixture begin to thicken, become opaque, and lose its shine. This is the sugar crystallizing properly. Keep beating until it’s very thick and starts to hold its shape—this can take 5-10 minutes of vigorous stirring. You’ll know it’s ready when you can dollop a spoonful and it sits on top without immediately melting back in.
Step 6: The Finale. Work quickly now! Pour the thickened fudge into a buttered 8×8-inch dish. Use a buttered spatula to smooth the top into an even layer. Let it cool completely at room temperature until it’s firm to the touch. Chef Hack: Resist the urge to put it in the fridge to speed things up! This can cause condensation and make the fudge weepy. Good things come to those who wait!
Sharing the Love: How to Serve Your Masterpiece
You did it! You’ve created a pan of pure, old-fashioned joy. Now, how to present it? For that classic, nostalgic look, I love cutting it into small, bite-sized squares—about 1-inch pieces. Run a sharp knife under hot water, wipe it dry, and make your cuts for super clean edges.
Pile these little squares high on a vintage ceramic plate or a beautiful wooden board for a casual get-together. For gift-giving, nothing beats a classic Christmas tin or a small cardboard box lined with parchment or wax paper. Stack the fudge in layers with parchment between them so they don’t stick together.
And while it’s perfect all on its own, don’t be afraid to get creative! Crumble a piece over a scoop of vanilla bean ice cream for an next-level sundae. Or, serve a square alongside your afternoon coffee for the ultimate pick-me-up. However you choose to share it, do it with pride. You made this!
Make It Yours: Creative Twists on a Classic
The beauty of this base recipe is that it’s a perfect canvas for your creativity. Once you’ve mastered the classic, try one of these fun variations!
- Rocky Road Fudge: Right after you finish beating the fudge and before you pour it into the pan, stir in 1 cup of mini marshmallows, ½ cup of chopped walnuts or almonds, and ½ cup of chopped chocolate chips.
- Sea Salt Caramel Swirl: After pouring the fudge into the pan, drizzle ¼ cup of warm store-bought or homemade caramel sauce over the top. Use a knife to swirl it into the fudge, and then sprinkle generously with flaky sea salt.
- Peanut Butter Paradise: Swirl in ½ cup of warmed, smooth peanut butter at the same time as the caramel variation above. For a bigger PB punch, stir in ¾ cup of chopped peanut butter cups at the very end.
- Mint Chocolate Chip: Replace the vanilla extract with ½ teaspoon of peppermint extract. After beating, stir in ½ cup of mini chocolate chips for a cool, refreshing treat.
- Boozy Bourbon Pecan: Replace 1 tablespoon of the milk with 1 tablespoon of good-quality bourbon. Stir in ¾ cup of toasted, chopped pecans right before pouring.
Jackson’s Notebook: Lessons from the Kitchen
This recipe has evolved in my kitchen over the years. The biggest game-changer for me was learning the importance of not stirring during the cooling phase. My early batches were sometimes grainy because I was impatient and would give it a curious stir. Trust the process—it works!
I also have a funny story about a “double batch.” Fudge is one of those things that doesn’t always scale perfectly. I once tried to double everything in the same pot. Let’s just say I spent the next hour cleaning a volcano of molten sugar off my stovetop. Lesson learned: if you need more, make two separate batches. It’s worth the extra time. Nowadays, this recipe is my tried-and-true, no-fail favorite. It’s been through holiday craziness, last-minute gift emergencies, and countless “I need chocolate now” moments. It hasn’t let me down yet.
Fudge FAQs: Your Questions, Answered
Q: My fudge turned out grainy and sugary. What happened?
A: This is usually caused by sugar crystals forming during the process. The most common culprits are: stirring the mixture after it comes to a boil, or getting a few sugar crystals on the side of the pan that fall back in. To prevent this, wash down the sides of the pan with a wet pastry brush right when it starts to boil to dissolve any stray sugar crystals. And remember—no stirring while it’s boiling!
Q: My fudge is too soft and won’t set. Why?
A: This typically means the fudge didn’t reach the full 234°F temperature. Your candy thermometer might be off! Test its accuracy by placing it in boiling water—it should read 212°F (100°C). If it’s off, you’ll know to adjust. If your fudge is too soft, you can actually try re-cooking it! Add it back to the pot with a little milk, bring it back to temperature, and try again.
Q: Can I make this without a candy thermometer?
A: You can! Use the cold water test. Drop a small amount of the boiling syrup into a cup of ice water. If you can form it into a soft, pliable ball that flattens when you remove it from the water, it’s at the soft-ball stage and ready to be taken off the heat.
Q: How long does homemade fudge keep?
A: Stored in an airtight container at room temperature, it will stay fresh and delicious for about 1-2 weeks. It can also be refrigerated for up to 3 weeks or frozen for up to 3 months. Just thaw it in the fridge overnight.
Nutritional Information (Because Knowledge is Power!)
Okay, let’s be real—we’re not eating fudge for its health benefits. It’s a treat, meant to be enjoyed in moderation and shared with joy. But it’s always good to know what you’re enjoying! This nutritional info is per 1-inch square, based on the recipe yielding 36 pieces.
Calories: 90 | Fat: 2g | Saturated Fat: 1g | Cholesterol: 3mg | Sodium: 20mg | Carbohydrates: 18g | Fiber: 0.5g | Sugar: 16g | Protein: 0.5g
The primary sources of calories are carbohydrates from the sugar and a small amount of fat from the milk and butter. The cocoa powder provides a tiny boost of antioxidants and iron. The key is savoring each rich, chocolatey bite!
Your New Go-To Recipe
And there you have it! The complete guide to creating unforgettable, old-fashioned fudge right in your own kitchen. I hope this recipe takes the intimidation out of candy-making and fills your home with the incredible smell of melting chocolate and happy memories.
This is more than just a recipe; it’s a connection to the past and a delicious way to create new moments with the people you love. So don your apron, embrace the process (the stirring is a great arm workout!), and get ready for that incredible feeling of pride when you slice into your own perfect batch.
I’d love to hear how it turns out for you! Did you add a twist? Was it a hit at your party? Tag me on social @FoodMeld with your creations. Now, go


