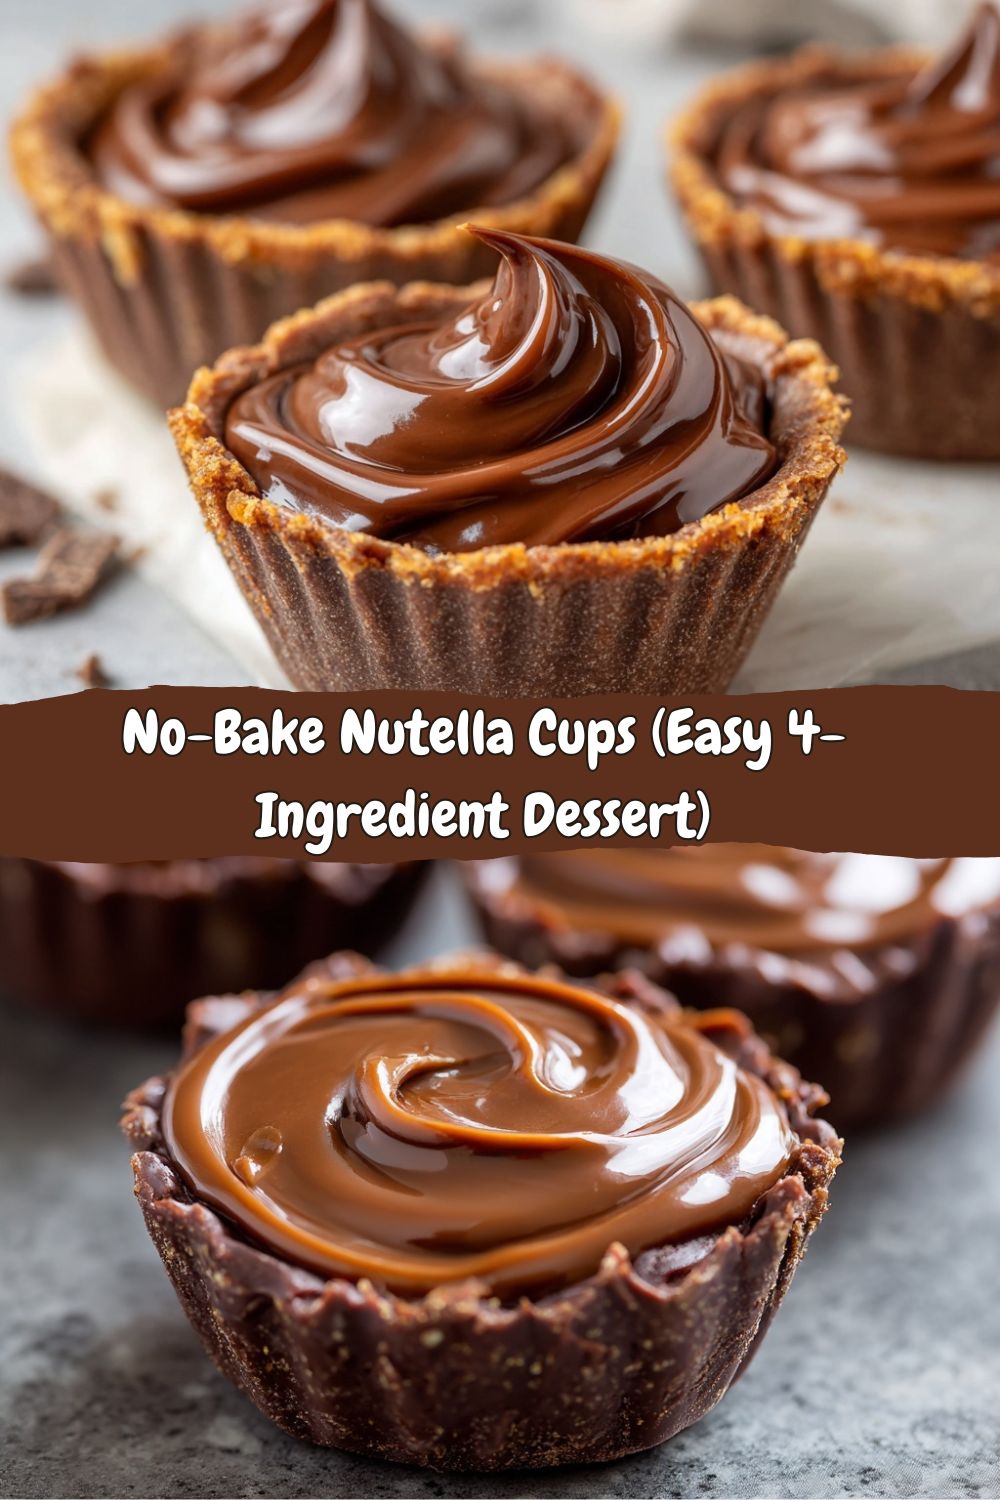
Nutella Cups: Your New Favorite No-Bake Treat (Sorry, Willpower)
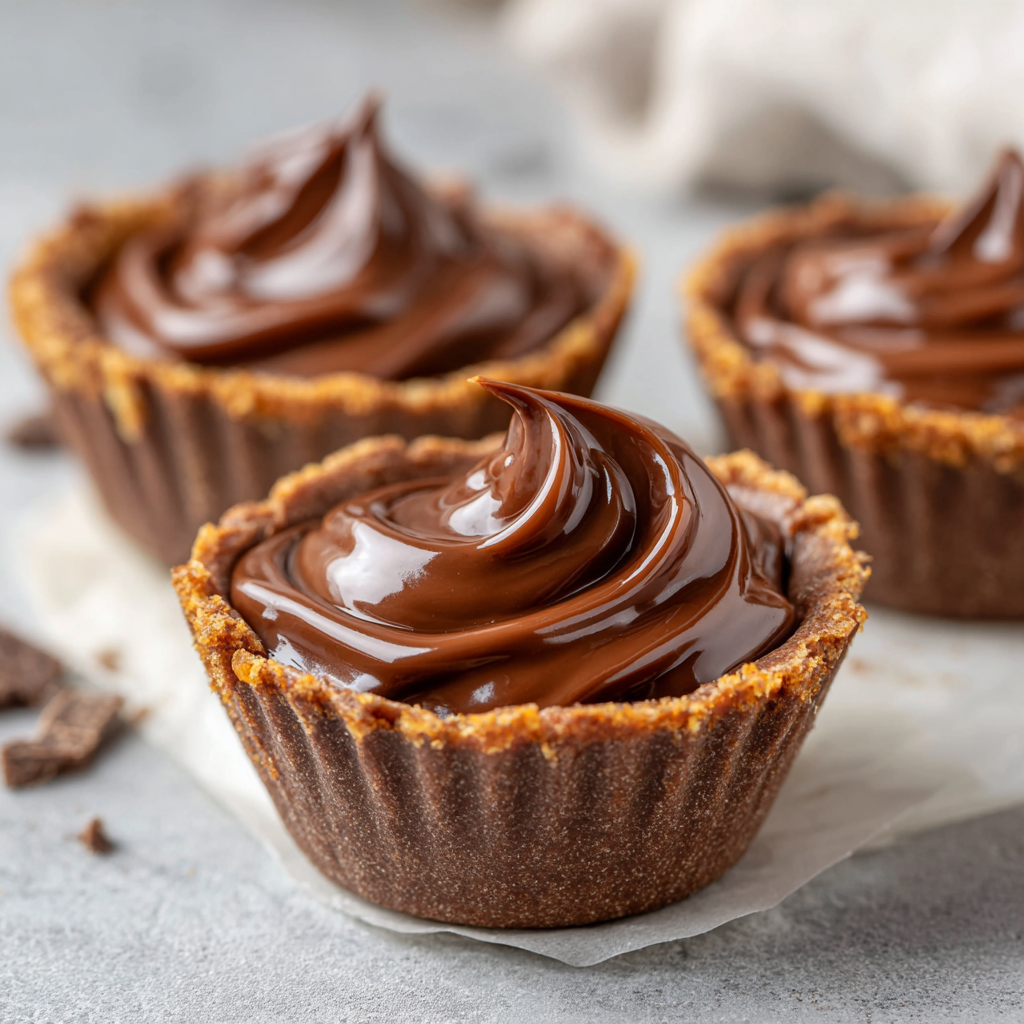
Welcome to the magic of No-Bake Nutella Cups. These little guys are the ultimate proof that the most unforgettable treats don’t need a laundry list of ingredients or a degree in pastry arts. They’re rich, creamy, and have that perfect “snap” when you bite into the chocolate shell, followed by that silky, dreamy Nutella center. They’re the perfect project for a fun afternoon in the kitchen, a lifesaver when you need a last-minute dessert that wows, or just a really, really good reason to finally use that mini muffin pan.
This is the kind of recipe that embodies everything I love about Food Meld: bold, comforting flavor, a creative twist on something familiar, and a process that’s downright fun. There’s no intimidation here, just you, a couple of bowls, and the promise of a seriously delicious payoff. So, grab that jar, and let’s turn your kitchen into a mini candy workshop. I promise, the result is pure, unadulterated joy in a bite-sized package.
The Jar That Started It All: A Sweet, Sticky Memory
My love affair with Nutella goes way back. It wasn’t a staple in our Southern household growing up—we were more of a peanut butter and banana sandwich kind of crew. I first truly met the stuff on a chaotic, laugh-filled trip to visit a friend in college. His Italian roommate, Marco, watched in horror one morning as I spread a sad, thin layer of generic chocolate syrup on toast. He marched over, pushed my creation aside, and pulled out a large, unlabeled jar from a care package his nonna had sent.
“This,” he said, with the gravity of a philosopher presenting a great truth, “is how you live.” He slathered a thick, generous layer of this mysterious brown cream onto warm, crusty bread. The first bite was a revelation. It was like someone took the best parts of a chocolate bar and a roasted nut, spun them into silk, and put it in a jar. We spent the rest of that weekend finding increasingly ridiculous things to put it on (crackers, apples, straight off a finger…). It was messy, it was excessive, and it was an absolute blast.
That spirit of shared, unpretentious discovery is what I wanted to bottle up in this recipe. These Nutella Cups are my homage to that moment—taking something simple and beloved and turning it into a shared experience that feels special. Every time I make them, I think of that messy kitchen and Marco’s insistence on doing flavor right. It’s not just about the treat; it’s about the fun you have making it and the smiles it creates. Let’s make some new memories, shall we?
Gathering Your Flavor Arsenal
Here’s the beautiful part: you only need a handful of simple ingredients to create pure magic. I’ll walk you through each one, because knowing your ingredients is the first step to becoming a kitchen rockstar.
- 1½ cups semi-sweet or milk chocolate chips: This is your shell! Chef’s Insight: I often go for semi-sweet to balance the sweetness of the Nutella, but milk chocolate makes for an ultra-indulgent, kid-friendly version. Using good-quality chips (like Ghirardelli or Guittard) makes a noticeable difference in sheen and taste. For a next-level move, chop up a real chocolate bar instead.
- 1 cup Nutella (chocolate hazelnut spread): The star of the show, the heart of the cup. Make sure it’s at room temperature so it’s easy to spoon. Substitution Tip: Any chocolate-hazelnut spread will work. For a nut-free version, try a chocolate sunflower seed butter spread!
- 1 tablespoon coconut oil (optional, but recommended): This is my secret weapon for a perfectly smooth, snappy shell. Chef’s Hack: The oil thins the melted chocolate just enough to make it easy to swirl and creates a beautiful glossy finish. If you don’t have coconut oil, you can use a tiny bit of vegetable shortening, or simply omit it—your chocolate will just be a tad thicker.
- Mini cupcake liners: Non-negotiable for easy removal and a cute presentation. The paper peels off like a dream after chilling.
See? I told you it was simple. With just these four things, you’re already 90% of the way there.
Let’s Build Some Chocolatey Magic: Step-by-Step
This is where the fun begins. Put on some music, clear a little counter space, and let’s get our hands (metaphorically) dirty. Follow these steps, and you’ll be a pro in no time.
Step 1: Prep Your Stage
Grab your mini muffin pan and line each cup with a mini cupcake liner. This isn’t just for looks—it’s your ticket to a perfect, mess-free release later. No mini muffin pan? No panic! You can place the liners tightly together on a small baking sheet or plate. They’ll hold each other up just fine.
Step 2: Melt the Chocolate Like a Boss
In a microwave-safe bowl, combine your chocolate chips and coconut oil (if using). Now, listen up: the microwave is your friend, but it can turn into a frenemy real quick with chocolate. Chef’s Golden Rule: Heat in 30-second intervals on medium power, stirring vigorously with a dry spoon or spatula between each blast. We’re going for smooth and glossy, not scorched and grainy. It usually takes about 90 seconds total. When just a few lumps remain, keep stirring off the heat—the residual warmth will melt them completely.
Step 3: Create the Chocolate Base
Using a small spoon, put about 1 teaspoon of the melted chocolate into the bottom of each liner. Here’s the pro move: lift the pan and gently swirl it or use the back of your spoon to coax the chocolate up the sides a little bit. You’re creating a little edible cup to hold the Nutella! Don’t worry about perfection—rustic is charming. Once done, pop the whole pan into the freezer for 5 minutes. This quick set is crucial for a distinct layered look.
Step 4: The Nutella Heart
Pull your set bases out of the freezer. They should look matte and feel firm. Now, spoon about 1 to 2 teaspoons of room-temperature Nutella right into the center of each chocolate cup. The amount depends on how much of a Nutella explosion you want! Just make sure to leave a little chocolate border around the edge so the final top layer can seal it in.
Step 5: Seal the Deal
Take your remaining melted chocolate (if it has hardened, give it another quick 10-second zap) and spoon it over each Nutella mound. Gently spread it to the edges, completely enclosing the Nutella. A little tap of the pan on the counter helps settle everything and remove air bubbles. This is the moment of transformation—they officially look like real candies now!
Step 6: The Final Chill
Transfer the pan to the refrigerator (not the freezer this time) for 20-30 minutes, or until the tops are completely firm to the touch. The fridge sets them more gently, giving you that perfect bite texture. Patience is a virtue, but I won’t blame you for sneaking one early.
Step 7: Reveal & Enjoy!
The grand finale! Simply peel away the paper liners. You’ll be greeted with beautiful, glossy little cups with a hidden treasure inside. Arrange them on a plate, and get ready for the compliments to roll in.
How to Serve These Little Gems
Presentation is half the fun! You’ve made something gorgeous, so let it shine. For a casual family treat, I just pile them high on a colorful plate or in a rustic bowl. For a party or gifting, think like a pro:
- Gift Box Glam: Place each cup in a small, frilly paper candy cup and arrange them in a small gift box lined with parchment. Tie it with a ribbon. Instant edible gift that looks store-bought (but tastes infinitely better).
- Dessert Board Star: Add them to a charcuterie-style dessert board alongside some fresh berries, roasted nuts, and a few pieces of good cheese. The sweet and salty combo is killer.
- Coffee’s Best Friend: Serve a couple alongside an afternoon espresso or a mug of cold brew. The rich chocolate and hazelnut are a match made in heaven with coffee.
Store any leftovers (if you have any!) in an airtight container in the fridge for up to a week. They also freeze beautifully for up to a month—just thaw in the fridge for an hour before serving.
Mix It Up! Your Canvas, Your Creation
Once you’ve mastered the classic, the kitchen playground opens up. Here are a few of my favorite twists to spark your creativity:
- The Salty-Sweet Dream: Right after adding the Nutella, press a tiny pinch of flaky sea salt or a single pretzel piece into the center before sealing with the top chocolate layer.
- Crunch Time: Mix 2 tablespoons of crushed toasted hazelnuts, rice krispies, or even crushed waffle cone pieces into the Nutella filling for an amazing texture contrast.
- Fruit Fusion: Place a single freeze-dried raspberry or a small piece of candied orange peel on the Nutella before topping with chocolate. The tartness cuts through the richness beautifully.
- White Chocolate Swirl: Use dark chocolate for the shell and mix 1 tablespoon of softened cream cheese into the Nutella for a slightly tangy, cheesecake-like filling. Drizzle with melted white chocolate after they set.
- Vegan/Veggie Boost: Use dairy-free chocolate chips and a vegan chocolate-hazelnut spread. For a hidden veggie boost (don’t tell the kids!), you can stir a spoonful of pureed avocado into the Nutella—it adds creaminess and healthy fats without changing the flavor!
Jackson’s Kitchen Notes & Stories
This recipe is a testament to the “what if we tried this?” energy I love so much. It actually started as a failed attempt at homemade peanut butter cups that were too soft. In a moment of frustration (and hunger), I grabbed the Nutella jar, globbed some in the middle of my sad chocolate puddles, and covered them up. The result was a happy accident that’s now a staple.
A funny story: I once filmed a video tutorial for these and, in my excitement to show the “swirl,” I swung the pan a little too enthusiastically. Let’s just say I had to clean chocolate off my kitchen cabinets and start the base layer over. The lesson? Enthusiasm is great, but maybe keep the swirling contained to the pan. We’re all learning, and the mess is part of the memory. The final cups still tasted amazing, cabinet drippings notwithstanding.
FAQs & Quick Fixes
My chocolate got thick and clumpy when melting. What happened?
Ah, the dreaded “seizing.” This usually happens if a tiny drop of water or steam gets into the chocolate. Chocolate and water are not friends! Fix: Try stirring in a teaspoon of warm coconut oil or vegetable shortening to smooth it back out. To prevent it, always ensure your bowl and spoon are completely dry before melting.
Can I use a double boiler instead of a microwave?
Absolutely! It’s actually the traditional chef’s method. Place a heatproof bowl over a pot of barely simmering water (make sure the bottom of the bowl doesn’t touch the water). Stir until melted. It takes longer but gives you more control.
Why did my Nutella sink into the bottom layer?
This means your base layer wasn’t set enough. That quick 5-minute freeze is non-negotiable—it creates a solid foundation. If your kitchen is very warm, give it an extra 2-3 minutes in the freezer.
How do I get them out of the liners cleanly?
Make sure they are completely chilled and firm. The paper should peel away like a dream. If they’re sticking, they likely need more chilling time, or the chocolate may have been too thin (adding a bit more chocolate to the liner next time helps).
Nutritional Info (A Chef’s Honest Take)
Look, we’re not pretending these are health food—and that’s kind of the point. These Nutella Cups are a joy treat, meant to be savored, shared, and occasionally eaten straight from the fridge at midnight with zero regrets.
Approximate Nutrition (per cup, based on 12 cups)
-
Calories: ~180
-
Fat: 11g
-
Carbohydrates: 18g
-
Sugar: 16g
-
Protein: 2g
Values vary by chocolate brand and portion size. Translation: rich, satisfying, and absolutely worth it.
One Last Bite Before You Go
These No-Bake Nutella Cups are proof that dessert doesn’t need to be complicated to be impressive. They’re the kind of treat that makes people raise an eyebrow and say, “Wait…you made these?” The kind that disappears from the plate faster than you planned. The kind that quietly becomes your signature easy dessert.
Make them for parties. Make them for gifts. Make them because Tuesday felt long and your pantry whispered sweet things to you. However you enjoy them, remember: cooking (and no-baking!) should be fun, forgiving, and just a little indulgent.
From my kitchen to yours,
Jackson Walker


