
Mini Smash Burgers: Your New Go-To for Big Flavor, Fun-Sized Fun
Hey friends, Jackson from Food Meld here! Let’s talk about one of life’s simple, perfect pleasures: the burger. That beautiful, juicy, messily-constructed masterpiece we all know and love. But what if I told you we could take that classic experience and crank the fun dial up to eleven? Enter the Mini Smash Burger.
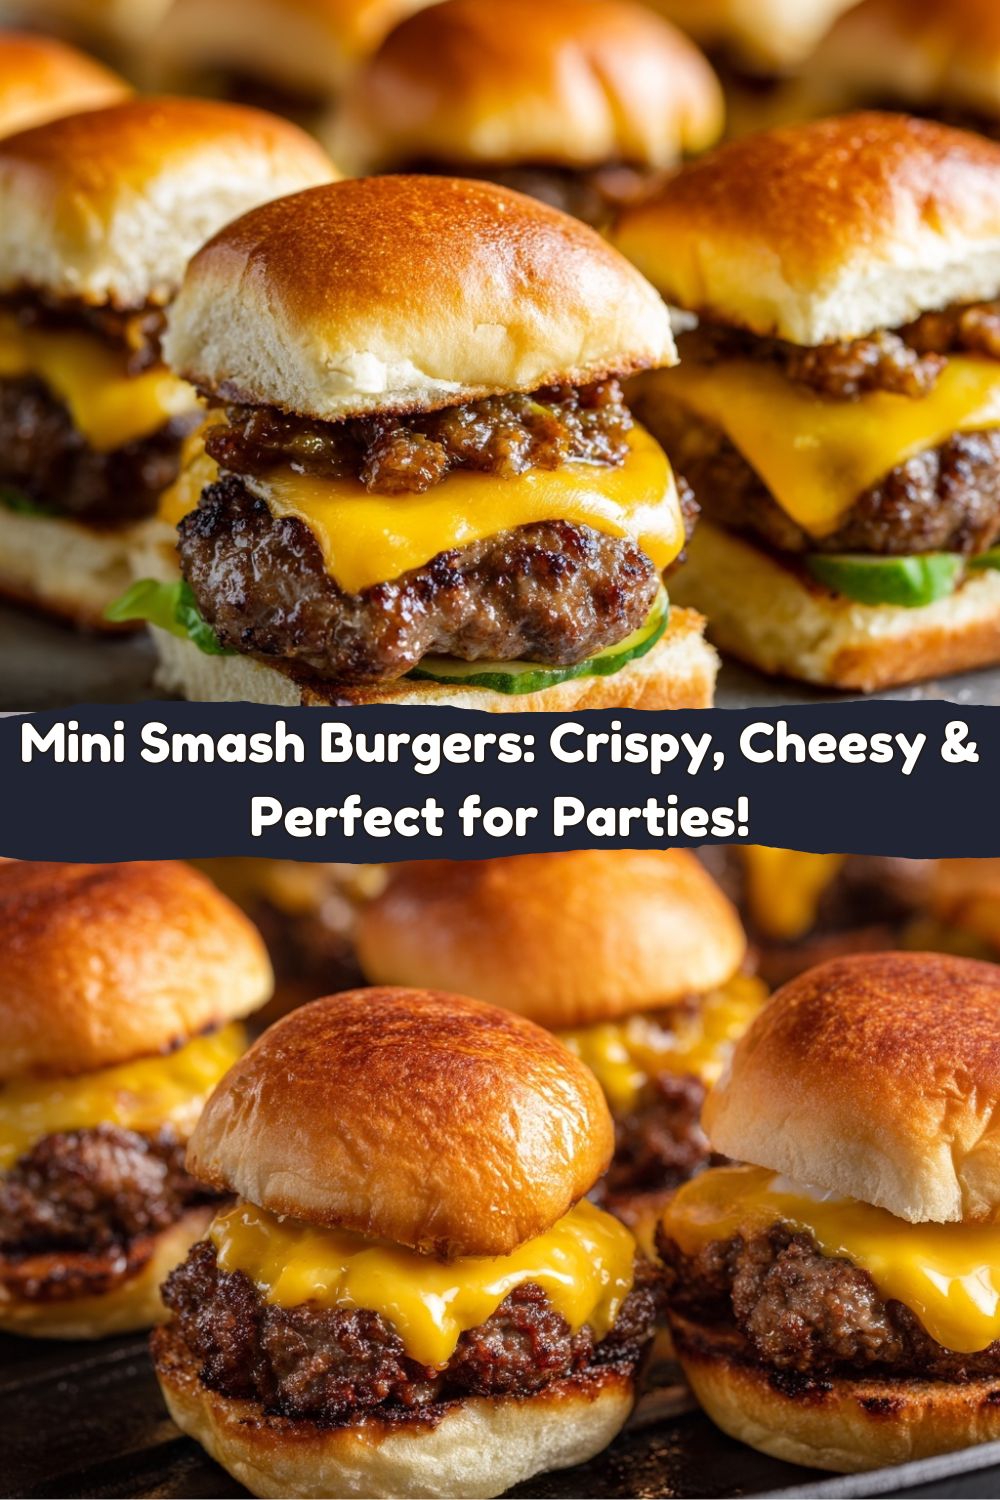
Now, I know what you’re thinking. “Jackson, why go small when you can go big?” Trust me on this one. These aren’t just tiny burgers; they’re a whole new way to enjoy everything we love about a great patty. We’re talking about hot, fast cooking on a ripping-hot griddle that creates the most incredible, crispy, lacy, caramelized edges you’ve ever sunk your teeth into. Each one is a perfect little package of savory beef and gloriously gooey melted cheese, all nestled in a soft, toasted slider bun.
This is the ultimate party food, the star of any game day spread, and the answer to those nights when you just can’t decide what to make for dinner. They cook in minutes, they’re incredibly easy (seriously, if you can press down with a spatula, you’ve got this), and they deliver a flavor punch that will have everyone asking, “What’s your secret?” Spoiler: The secret is the smash. So, grab your griddle, and let’s cook up some unforgettable, bite-sized perfection together.
That One Backyard BBQ That Changed Everything
My love affair with the smash burger started not in a fancy restaurant, but at a slightly chaotic, totally wonderful family reunion in the heart of Georgia. My Uncle Leo, a man who believes more is more when it comes to both flavor and volume, was manning the grill. But instead of the usual thick patties, he had a cast-iron griddle perched right over the coals, and he was making a mountain of these little, crispy-edged burgers.
The sizzle was deafening, the smell was intoxicating, and the line for burgers stretched across the entire lawn. I remember watching him take a loose ball of beef, slam it down with the back of a giant metal spatula until it was whisper-thin, and then, just a minute or two later, scrape up this perfectly crisp, cheesy masterpiece. It was a revelation. That single bite—the crunch of the seared edge, the tender middle, the way the cheese fused with the craggy surface of the meat—was a core memory in the making. It taught me that sometimes, the most incredible food isn’t about complicated techniques; it’s about nailing the fundamentals with a little bit of “what if we tried this?” energy. This recipe is my homage to Uncle Leo and that perfect, messy, flavor-packed day.
Gathering Your Flavor Arsenal
One of the best things about this recipe is its beautiful simplicity. You don’t need a laundry list of ingredients to make something truly magical. Here’s what you’ll need to create these mini flavor bombs.
- 1 lb ground beef (80/20 blend recommended): This is non-negotiable for the best smash burgers! The 80% lean/20% fat ratio is your golden ticket. The fat is what renders out, creating that incredible crispy edge and keeping the patty juicy. Don’t be tempted by leaner meat here—we need that fat for flavor and texture.
- Salt & pepper to taste: The dynamic duo! I use a coarse kosher salt and freshly cracked black pepper. We season the outside right when we smash, creating a delicious, seasoned crust. Don’t mix it into the meat—trust me on this.
- 8 slider buns: Potato buns are my absolute favorite for this. They’re soft, slightly sweet, and sturdy enough to hold up to the juicy burger without getting soggy. Brioche buns are another fantastic, decadent option.
- 8 slices American cheese: I know, I know. But hear me out! American cheese melts into that iconic, creamy, uniform blanket that just belongs on a classic smash burger. Its emulsifiers give it that perfect “cheese pull.” If you must swap, a thin slice of provolone or cheddar works, but it won’t be quite the same melt.
- Butter or oil for the griddle: A little fat to prevent sticking. I usually use a neutral oil like avocado or canola because of its high smoke point, but a swipe of mayonnaise works shockingly well for an next-level golden sear!
- Your Favorite Toppings! This is where you make it yours.
- Pickles: The vinegar punch cuts through the richness perfectly.
- Diced Onions: A little sharp, crunchy bite. I love white or yellow onions here.
- Sauce Trio: Ketchup, mustard, and mayo—the holy trinity. Mix them for a quick “special sauce.”
- Shredded Lettuce: For a bit of fresh, crisp texture.
Let’s Get Smashing: Your Step-by-Step Guide to Burger Bliss
Okay, team. This is where the magic happens. It’s fast and furious, so have all your ingredients prepped and within arm’s reach. You’re the conductor of this delicious, sizzling symphony!
- Preheat Your Griddle: Get your griddle or large, heavy-bottomed skillet screaming hot over medium-high to high heat. We’re aiming for around 400-450°F (200-230°C). You should be able to flick a few drops of water on it and see them skitter and evaporate almost instantly. Lightly grease the surface with your oil or butter. Chef’s Hack: A well-seasoned cast iron griddle is your best friend here, but any heavy-duty pan will work.
- Form Loose Beef Balls: Divide your 1 lb of beef into 8 equal portions (about 2 ounces each). Gently roll them into loose balls. Don’t compact them! We want them to be just held together. This loose pack is crucial for creating a craggy, textured surface when we smash. Chef’s Insight: If your hands are warm, run them under cold water before handling the meat to prevent it from getting greasy.
- The Big Smash & Sizzling Sear: Place your beef balls on the hot griddle, giving them plenty of room—you don’t want them steaming each other. Now, for the main event! Take a sturdy, flat spatula (a burger press is even better) and place a small square of parchment paper over the first ball. Press down firmly and evenly, smashing the ball into a thin patty. You’re aiming for about ¼ inch thick. Don’t be shy! A good smash is the key to crispy edges. Immediately season the top generously with salt and pepper. Let them cook, untouched, for 2-3 minutes. You’ll see the edges turn brown and crispy. Chef’s Tip: Smash and hold for a count of three to ensure maximum contact with the griddle. That contact = maximum flavor.
- The Flip & Cheesy Finish: Use a sharp, thin spatula to scrape under each patty and flip it. You’ll see that beautiful, caramelized crust we’ve created. Immediately place a slice of cheese on each patty. Let them cook for another 1-2 minutes, just until the cheese is melted and gooey and the burger is cooked through. Chef’s Hack: If you want to speed up the cheese melting, you can tent the burgers with a large metal bowl for the last 30 seconds to trap the heat.
- Toast Those Buns: While the cheese is melting, quickly place your slider buns, cut-side down, on any empty space on the griddle. Toast them for 30-60 seconds until they’re golden brown and warm. This step adds a wonderful texture and prevents a soggy bun situation.
- Assemble & Devour: It’s time! Place a cheesy patty on the bottom half of each toasted bun. Pile on your favorite toppings, crown it with the top bun, and serve immediately. These are best enjoyed hot, straight off the griddle, with friends and family gathered around.
How to Serve Up These Mini Masterpieces
Presentation is part of the fun with these little guys! I love creating a DIY “slider bar” for parties. Pile the hot, cheesy burgers on a big platter and set out small bowls with all the topping options—diced onions, pickles, shredded lettuce, and a few sauce choices. Let everyone build their own perfect bite. It’s interactive, fun, and takes the pressure off you as the host.
For a more classic setup, I’m a fan of the double-stack. Two smashed patties with cheese in between, stacked on a single bun. It’s a decadent, meat-lover’s dream. No matter how you stack them, serve these burgers with something to cut through the richness. A big, crisp side salad, some crunchy potato chips, or a batch of my Easy Crispy Smashed Potatoes are the perfect companions. And don’t forget the napkins—you’re gonna need ’em!
Mix It Up: Creative Twists on the Classic
Once you’ve mastered the basic smash, the world is your oyster! Here are a few of my favorite ways to mix it up and keep things exciting.
- The “Blend” Burger: Swap out half of the beef for ground pork or even lamb for a richer, more complex flavor profile. A beef/pork blend is absolutely incredible.
- Globally-Inspired Toppings: Take a trip with your toppings! For a “Banh Mi” style, top with quick-pickled carrots and daikon, sliced jalapeños, cilantro, and a swipe of sriracha mayo. For a “Tex-Mex” vibe, use pepper jack cheese, a spoonful of guacamole, and a dollop of pico de gallo.
- The “Oklahoma Style” Onion Burger: This is a legendary variation. Before you smash the burger, place a small pile of very thinly sliced onions on the griddle. Place the beef ball on top of the onions and smash them together. The onions steam and caramelize into the patty, creating something truly special.
- Dietary Swaps: For a turkey version, use ground turkey (preferably a mix of light and dark meat for more fat) and be a little more gentle when smashing. For a gluten-free feast, simply use your favorite gluten-free slider buns or serve them over a crisp lettuce wrap.
- Breakfast Smash Burgers: Yes, really! Use breakfast sausage instead of beef. Smash it thin, top with a slice of cheddar, and serve on a toasted English muffin with a fried egg. You’re welcome.
Jackson’s Chef Notes & Kitchen Confessions
This recipe has become a staple in my home, and it’s evolved in the funniest ways. I’ll never forget the first time I made them for a big group—I was so focused on the smash-and-flip rhythm that I completely forgot to toast the buns! We had to do a quick rescue mission, toasting them in the oven while everyone patiently (and hungrily) waited. Lesson learned: mise en place is everything!
Over time, I’ve learned that the beef temperature matters. Don’t use ice-cold beef straight from the fridge; let it sit out for 10-15 minutes to take the chill off. It smashes much more easily and evenly. And my final piece of advice? Double the recipe. I’m not kidding. However many you think you’ll need, make more. They disappear faster than you can say “Food Meld.”
Your Questions, Answered!
Q: My burgers are sticking to the spatula when I try to smash them! Help!
A: This is the most common issue, and it’s an easy fix! The trick is to place a small square of parchment paper between the beef ball and your spatula or press before you smash. The paper prevents sticking, and you can just peel it right off. You can also spray your spatula with a little non-stick cooking spray.
Q: Can I make these without a griddle?
A: Absolutely! A large, heavy cast-iron skillet or even a sturdy stainless steel pan will work great. You just might have to work in two batches since you won’t have as much surface area. Keep the first batch warm in a 200°F oven while you cook the second.
Q: The meat is boiling in its own juices and not getting crispy. What am I doing wrong?
A: This almost always means your cooking surface isn’t hot enough. You need that initial blast of high heat to instantly sear the outside and create the crust. If the griddle isn’t hot, the meat will just steam and release its liquid. Wait until it’s properly preheated—you should hear an aggressive sizzle the moment the beef hits the surface.
Q: Are these burgers safe to eat if they’re cooked so quickly and so thin?
A> Because they are so thin, they cook through very fast. The USDA recommends cooking ground beef to an internal temperature of 160°F (71°C). With a thin smash burger, this happens in just a few minutes. If you’re concerned, you can always use an instant-read thermometer to check.
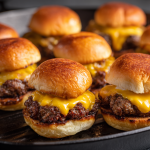
Mini Smash Burgers on the Griddle : Crispy, Cheesy, Bite-Sized Perfection
- Total Time: 20 minutes
- Yield: 8 mini burgers 1x
Description
Mini Smash Burgers are the ultimate way to serve up big flavor in a small package. Cooked hot and fast on a griddle, these little patties get those signature crispy, caramelized edges and are topped with gooey melted cheese. Sandwiched between soft slider buns and loaded with your favorite fixings, they’re perfect for parties, BBQs, or satisfying those classic burger cravings—no drive-thru required.
Ingredients
1 lb ground beef (80/20 recommended)
Salt & pepper to taste
8 slider buns
8 slices American cheese (or cheese of choice)
Butter or oil for the griddle
Optional toppings:
Pickles
Diced onions
Ketchup, mustard, mayo
Shredded lettuce
Instructions
Preheat griddle: Get it hot—medium-high to high heat. Lightly grease with oil or butter.
Form loose balls: Divide beef into 8 equal portions and roll into loose balls (about 2 oz each).
Smash & sear: Place balls on the hot griddle and smash down with a spatula or burger press. Season with salt and pepper. Cook 2–3 minutes until edges are crispy.
Flip & cheese: Flip burgers, add cheese, and cook 1–2 more minutes until melted.
Toast buns: Quickly toast the buns on the griddle until golden.
Assemble: Stack patties on buns with your favorite toppings and serve hot.
- Prep Time: 10 minutes
- Cook Time: 10 minutes
Nutrition
- Calories: 310 / Serving
- Sugar: 3g / Serving
- Sodium: 450mg
- Fat: 18g / Serving
- Carbohydrates: 21g / Serving
- Protein: 17g / Serving
- Cholesterol: 55mg / Serving
Nutritional Info (For the Curious Foodie)
Hey, I’m all about balance! While these are a treat, it’s always good to know what you’re enjoying. The info below is a general estimate for one slider (patty, cheese, and bun) without additional toppings or sauces. Remember, the exact numbers can vary based on the specific brands of ingredients you use.
Per Slider (Approximate):
Calories: 310 | Protein: 17g | Carbohydrates: 21g | Fat: 18g | Saturated Fat: 7g | Cholesterol: 55mg | Sodium: 450mg | Sugar: 3g
To lighten things up a bit, you can use a 90/10 beef blend (just know the edges might not get *quite* as crispy), use a lighter cheese, or serve them on a lettuce wrap instead of a bun. But my philosophy? Enjoy the real deal, savor every single bite, and pair it with a big, healthy salad tomorrow.
Your Next Kitchen Adventure Awaits
And there you have it! The humble, yet utterly transformative, mini smash burger. This recipe is a perfect example of what I love about cooking: taking something familiar and, with just one simple technique, turning it into something extraordinary. It’s about creating those “you’ve gotta try this!” moments right in your own kitchen.
I hope this guide gives you the confidence to fire up that griddle and get smashing. Don’t be afraid to get a little messy, to play with your toppings, and to make this recipe your own. That’s what Food Meld is all about. Now, I’d love to hear from you! Tag me on social @FoodMeld with a picture of your crispy, cheesy creations. Let’s keep the flavor conversation going.
Until next time, keep cooking with curiosity and joy.
– Jackson


