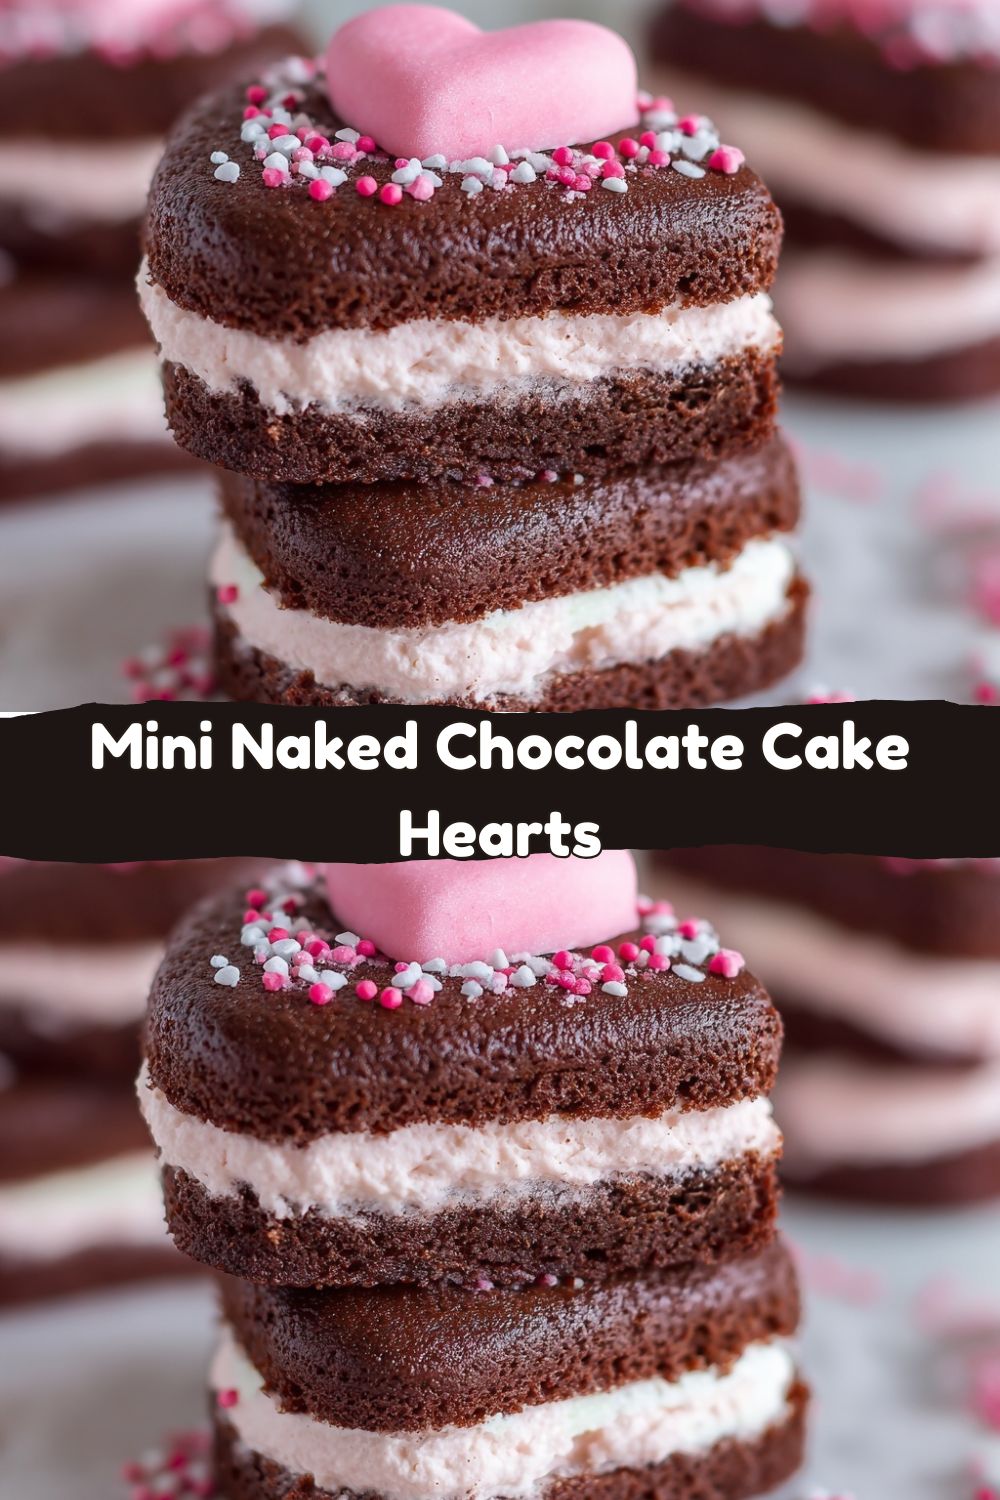
Let’s Bake a Little Love: Mini Naked Chocolate Cake Hearts
Hey there, friend. Jackson here. Pull up a stool, grab a mixing bowl, and let’s talk about the best kind of kitchen magic: the kind that ends with something adorable, decadent, and shared with someone you adore. We’re leaving the intimidating, multi-tiered masterpieces to the pastry chefs today. Instead, we’re making Mini Naked Chocolate Cake Hearts – your secret weapon for looking like a total rockstar with minimal fuss.
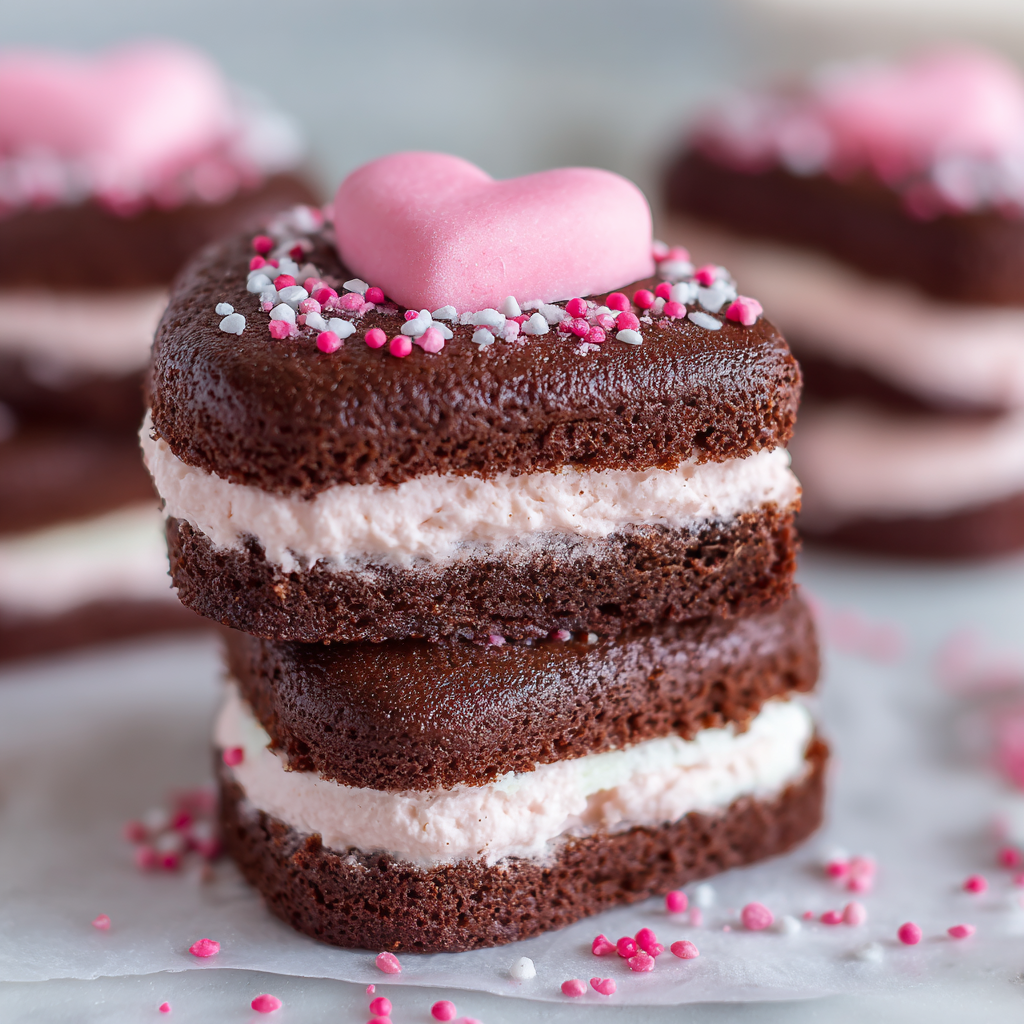
Picture this: tender, rich bites of chocolate cake, shaped into perfect little hearts, sandwiched with a blush-pink filling that tastes like strawberries and cream, and finished with a simple, elegant “naked” look that says, “I’m chic, not fussy.” No fancy crumb coats, no stress. These are for Valentine’s Day, anniversaries, Galentine’s, “just because” Tuesdays, or when you simply need to treat yourself like the VIP you are. This is the Food Meld philosophy in dessert form: big flavor, creative twists (hello, pink strawberry cream cheese filling!), and a whole lot of fun. So, tie on your apron, and let’s cook something awesome—and incredibly sweet—together
.
The Cake That Started It All
This recipe takes me right back to my grandma’s linoleum-floored kitchen. She wasn’t a “fancy dessert” person, but every year for my birthday, she’d make a single-layer chocolate cake from a well-splattered recipe card. It was always slightly lopsided, always frosted with a thin, almost see-through layer of her simple buttercream, and it was always perfect. She called it her “Naked Cake” because the cake itself peeked through. That cake wasn’t about perfection; it was about the love and the chocolatey crumb.
These mini hearts are my playful, romantic homage to her. By making them mini, we get more of that perfect cake-to-frosting ratio in every bite. By leaving the sides bare, we celebrate the beautiful, rustic texture of the cake itself—no hiding here! And by shaping them into hearts, we’re just wearing that “made with love” intention right on our sleeve (or plate). It’s a little nostalgic, a lot delicious, and 100% from the heart.
Gathering Your Flavor Toolkit
Here’s everything you’ll need to create these little love bites. I’ve added my two cents on each ingredient because knowing the “why” makes you a more confident baker!
- For the Chocolate Cake:
- 1 cup all-purpose flour: The trusty foundation. For a slightly denser, more tender crumb, you can swap in cake flour, but all-purpose works beautifully here.
- 1/2 cup unsweetened cocoa powder: This is your flavor anchor. Use a good-quality natural cocoa powder (like Hershey’s) for that classic, nostalgic chocolate taste. Dutch-process will work but gives a darker, milder flavor.
- 1 teaspoon baking powder: Our leavening agent for that gentle rise. Make sure it’s fresh!
- 1/4 teaspoon salt: Never skip this! Salt makes the chocolate flavor pop and balances the sweetness.
- 2 large eggs: Bring them to room temperature. They’ll incorporate into the batter more smoothly, giving us a better texture.
- 3/4 cup granulated sugar: Sweetens and helps create a tender crumb.
- 1/2 cup vegetable oil: My secret for an incredibly moist cake. Oil keeps it tender longer than butter would.
- 1/2 cup buttermilk: The tangy MVP. It reacts with the baking powder for lift and adds a subtle richness. Chef Hack: No buttermilk? Add 1/2 tablespoon of white vinegar or lemon juice to a 1/2 cup measuring cup, then fill the rest with regular milk. Let it sit for 5 minutes. Boom, DIY buttermilk.
- 1 teaspoon vanilla extract: The flavor enhancer. It rounds out all the other notes.
- For the Pink Filling:
- 1/2 cup unsalted butter, softened: “Softened” means it gives slightly when pressed. Leave it on the counter for an hour. This is key for a smooth, lump-free filling.
- 1 cup powdered sugar: Sift it if you can! It prevents any little lumps in your silky filling.
- 1/2 cup cream cheese: Also softened! This adds a lovely tang and helps the filling hold its shape.
- 1/4 cup freeze-dried strawberries, crushed: My favorite “Food Meld” twist! This gives a natural pink hue and a real fruity flavor. If you’re in a pinch, a drop or two of pink gel food coloring works, but try the strawberries—they’re a game-changer.
- 1/2 teaspoon vanilla extract: A little extra in the filling ties everything together.
- For Topping & Assembly:
- Pink fondant or colored chocolate hearts: The cute topper! Store-bought is totally fine. Or, melt pink candy melts and pipe tiny hearts onto parchment paper. Let them set—easy and impressive.
- Powdered sugar for dusting: The final “snowy” touch that makes these look straight out of a bakery case.
Let’s Build Some Edible Hearts: Step-by-Step
Ready? Let’s do this. I’m walking you through each step with my favorite kitchen hacks to ensure success.
- Prep & Preheat: Crank your oven to 350°F (175°C). Line a standard baking sheet (around 9×13) with parchment paper and give it a very light spray with cooking oil. This is our cake “slab” pan—no special pans needed!
- Mix the Dry Team: In a medium bowl, whisk together the flour, cocoa powder, baking powder, and salt. Get it nice and uniform. This aerates the dry ingredients and prevents over-mixing later. Set this bowl aside—this is Team Dry.
- Whip Up the Wet Team: In a larger bowl, beat the eggs and granulated sugar with a hand mixer (or a vigorous whisk) for a good 2-3 minutes. You want it pale, thickened, and fluffy. This incorporates air for a lighter cake. Now, stream in the vegetable oil while mixing on low. Follow with the buttermilk and vanilla. Mix until just combined. This is Team Wet.
- The Grand Meld: Here’s the crucial part: add the Team Dry ingredients to the Team Wet bowl. Use a spatula and fold gently. Mix only until the last streak of flour disappears. Over-mixing is the enemy of tender cake—it develops gluten and makes things tough. A few tiny lumps are perfectly fine.
- Bake the Cake Slab: Pour your gorgeous, shiny batter onto the prepared sheet pan. Use your spatula to spread it into a relatively even layer, about 1/2-inch thick. Bake for 12-15 minutes. The cake is done when the top springs back lightly to the touch and a toothpick inserted in the center comes out with just a couple of moist crumbs (not wet batter).
- The Cool Down: Let the cake cool completely in the pan on a wire rack. I know, the wait is hard! But if you try to cut warm cake, it will tear and crumble. Patience, young Padawan.
- Heart-Cutting Time: Once cool, use a 2-3 inch heart-shaped cookie cutter to stamp out as many hearts as you can. Press straight down and lift—don’t twist. You can re-roll the scraps to get a few more, but those might be slightly less tender. Aim for an even number!
- Make the Dreamy Pink Filling: While the cake cools, make the filling. In a clean bowl, beat the softened butter and cream cheese together until completely smooth and creamy. Gradually add the sifted powdered sugar, beating on low at first to avoid a sugar cloud, then on high until fluffy. Crush your freeze-dried strawberries into a fine powder (a bag and a rolling pin work great!) and beat them in with the vanilla. Taste it. You’re welcome.
- Assembly & The Naked Look: Match your cake hearts into pairs. Pipe or spoon a dollop of pink filling onto the flat side of one heart. Gently press its partner on top. Now, here’s the “naked” part: you can optionally take a small offset spatula or butter knife and swipe a very thin layer of leftover filling around the very edge of the cake to cover any crumbs, but let the sides of the cake show through proudly. That’s the look!
- The Final Flourish: Place a fondant or chocolate heart on top of each mini cake. Just before serving, give them a delicate dusting of powdered sugar through a fine-mesh sieve. It’s like edible fairy dust.
How to Serve These Little Love Notes
Presentation is half the fun! Place each mini cake heart on a simple, elegant dessert plate. For a real “wow” moment, swipe a tiny smear of the pink filling or a drizzle of chocolate sauce on the plate first, then set the cake on top. Scatter a few fresh raspberries, a mint leaf, or even a few extra crushed freeze-dried strawberry crumbs around the plate for color and texture.
These are perfect with a cup of strong coffee, a glass of cold milk, or even a glass of champagne or prosecco if you’re celebrating. They’re small but rich, so one per person is satisfying, but let’s be real—I won’t judge if you “accidentally” make a few extra for quality control.
Make It Your Own: Creative Twists
The beauty of this recipe is its adaptability. Here are a few Food Meld-approved twists to play with:
- Orange Zest Dream: Add the zest of one orange to the cake batter and use orange juice in place of the vanilla in the filling (omit the strawberries). Top with a candied orange slice.
- Cookies & Cream: Fold 1/2 cup of finely crushed Oreo pieces into the filling instead of strawberries. Use a black cocoa powder for the cake for an ultra-chocolatey, dramatic look.
- Peanut Butter Cup: Replace the pink filling with a mixture of 1/2 cup peanut butter, 1/2 cup powdered sugar, and 2 tbsp softened butter. Top with a mini peanut butter cup.
- Gluten-Free Friendly: Swap the all-purpose flour for a 1:1 gluten-free baking blend. The texture will be slightly more delicate but still delicious.
- Vegan Experiment: Use flax eggs (2 tbsp ground flax + 5 tbsp water), vegan butter/cream cheese, and a plant-based milk + vinegar for the buttermilk. It’s a fun challenge with a sweet payoff!
Jackson’s Kitchen Notes
This recipe has evolved from my grandma’s simple cake into this playful version. The first time I tried the freeze-dried strawberry trick, I might have eaten half the filling straight from the bowl… for research. The key insight? Don’t stress about perfectly uniform cake slabs. Even if it’s a little bumpy, the heart cutter forgives all. The biggest laugh in my test kitchen was when I tried to cut hearts while the cake was still warm. Let’s just say I had a lot of “rustic” (read: crumbly) cake pops instead. Lesson learned! These cakes are best eaten the day they’re made but will keep, covered, in the fridge for up to 2 days. Let them sit at room temp for 20 minutes before serving for the best texture and flavor.
Your Questions, Answered
Q: My cake baked with a slight dome, not flat. Help?
A: No worries! This happens. Just gently press the dome down with the palm of your hand after it’s cooled. The cutter will still work perfectly, and the filling will even it out.
Q: Can I make the components ahead of time?
A: Absolutely! Bake the cake slab, let it cool, wrap it tightly in plastic, and keep it at room temp for a day. Make the filling and store it covered in the fridge. Assemble the day you plan to serve them.
Q: My filling is too soft/runny. What did I do?
A: This usually means your butter or cream cheese was too warm. Pop the whole bowl of filling in the fridge for 20-30 minutes to firm up, then re-whip. Also, ensure you’re using full-fat cream cheese.
Q: I don’t have a heart-shaped cutter!
A> Get creative! A round biscuit cutter makes adorable mini layer cakes. You could even cut squares and call them “love blocks.” The taste is what matters most.
A Note on Nutrition
Look, we’re here for a good time, not a long time when it comes to these cakes. This is a special occasion treat, meant to be savored and enjoyed mindfully. Each mini cake heart is a rich, satisfying portion. The nutritional estimate is a guideline based on the specific ingredients used. If you have dietary concerns, the variation section offers great starting points for swaps. Remember, food is love, nourishment, and joy—and these little hearts are packed with all three.
Go Forth and Bake with Love
And that’s it, my friend! You’re now armed with the recipe to create something truly special and undeniably cute. Remember, cooking—and baking—is supposed to be fun. If your hearts aren’t perfect, if you get a little powdered sugar on the floor, if you sample a little too much filling… that’s all part of the story. The person you share these with won’t see the tiny flaws; they’ll see the effort, the creativity, and the giant heart behind it all. That’s what Food Meld is all about. Now, get in that kitchen, put on some good music, and let’s make some memories. And don’t forget to tag me @FoodMeld if you share your creations—I love seeing your kitchen wins!
Happy Baking,
Jackson


