Love at First Bite: Your New Favorite Mini Heart-Shaped Cheesecakes
Hey friends, Jackson from Food Meld here! Let’s be real for a second. Valentine’s Day can feel like a lot of pressure, right? Fancy dinners, extravagant gifts… it can suck the fun right out of a day that’s supposed to be about, you know, love. But I’ve always believed the most memorable moments happen right in your own kitchen. It’s not about being perfect; it’s about creating something awesome together, with a little bit of mess and a whole lot of heart.
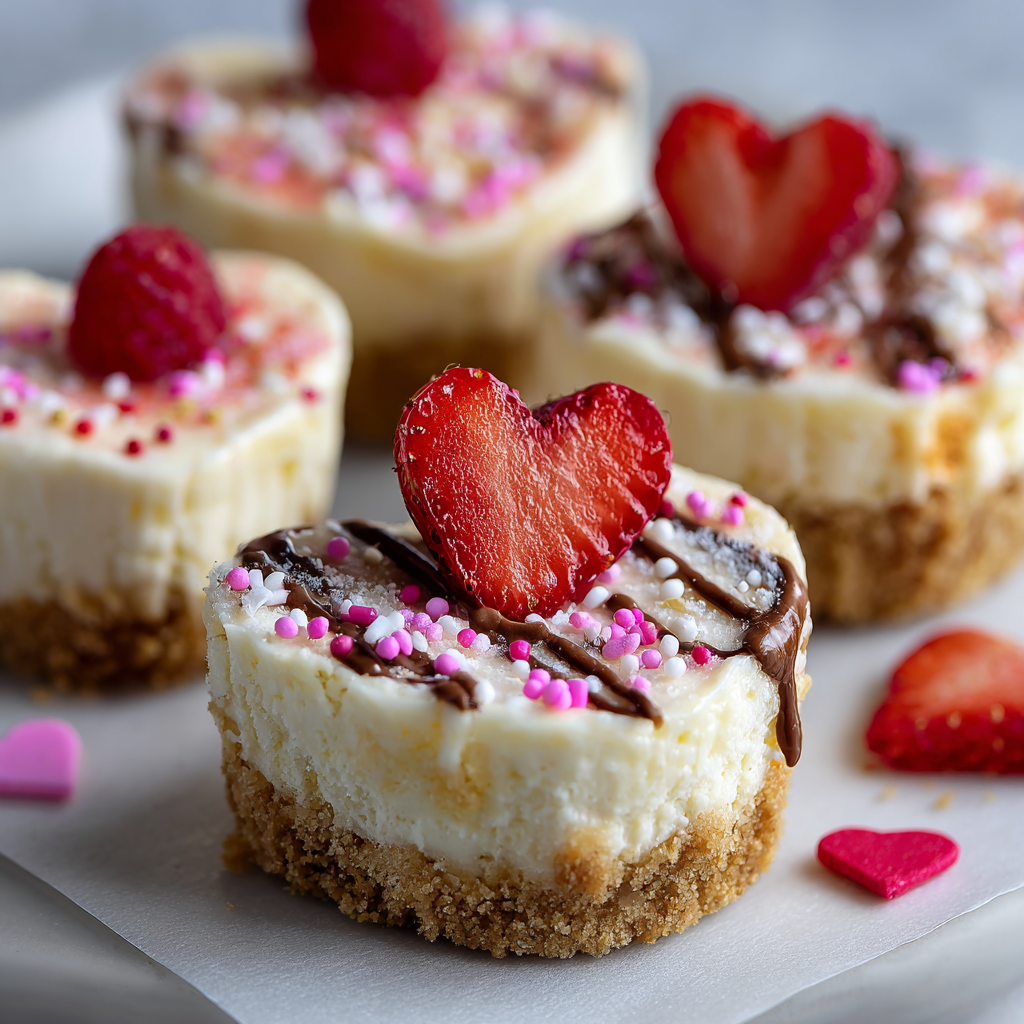
And that’s exactly why I’m so obsessed with these Mini Heart-Shaped Cheesecakes. Forget the stress of a giant, crack-prone classic cheesecake. We’re making magic in mini form. They’re sweet, impossibly creamy, and just the cutest little things you’ll ever pull out of your oven. They have that classic, rich flavor we all crave, but their small size makes them feel special and personal. They’re the perfect project for a cozy night in, whether you’re baking for your partner, your Galentine’s crew, or just treating your wonderful self.
I’ve packed this recipe with all my best tips and tricks to make it foolproof. We’re talking a buttery graham cracker crust that holds its shape, a filling that’s smooth as silk, and endless topping options to make them your own. So, tie on your apron, grab your favorite mixing bowl, and let’s cook up a little bit of edible romance. Trust me, these are the kind of dessert that creates those “you’ve gotta try this” moments I’m always chasing.

A Cheesecake Kind of Love Story
This recipe takes me right back to my Grandma Lou’s kitchen. She wasn’t a fancy baker, but she was a powerhouse of comfort food. Every year for my birthday, she’d let me choose any dessert I wanted, and nine times out of ten, I’d ask for her “New York Style” cheesecake. It was a behemoth—dense, towering, and with a sour cream topping I’d happily eat with a spoon.
I’ll never forget the year I was finally tall enough to see over the counter and “help.” She put the big stainless steel bowl in front of me, handed me the wooden spoon, and said, “Alright, Jackson, you’re in charge of the smooth. No lumps on my watch!” My little arms would ache, but I’d beat that cream cheese and sugar like my life depended on it. The pride I felt when we pulled that golden, perfect cheesecake out of the oven was unreal. That’s the feeling I want to bring to you with this recipe. It’s that same soul-warming, made-with-love vibe, just shrunk down into a fun, shareable, heart-shaped package. It’s my little nod to Grandma Lou and all the big loves that start in the kitchen.
Gathering Your Cheesecake Crew
One of the things I love most about this recipe is the simplicity of the ingredients. We’re using classic players, but each one has a specific role in our creamy, dreamy ensemble. Here’s your shopping list and my chef-y insights to set you up for success.
For the Crust:
- 1 cup graham cracker crumbs: This is our foundation. That toasty, honey-kissed flavor is pure nostalgia. Chef’s Tip: You can buy pre-crumbled crumbs, but I love blitzing whole graham crackers in a food processor for a super-fresh, even texture.
- 2 tbsp sugar: Just a little bit to sweeten the deal and help the crust caramelize slightly.
- 4 tbsp melted butter: This is the glue, folks! It binds our crumbs together into that perfect, pressable crust. Use unsalted so you control the salt level.
For the Cheesecake Filling:
- 16 oz (two blocks) cream cheese, softened: This is the star of the show, non-negotiable. CRUCIAL TIP: Take it out of the fridge at least an hour before you start. Room temp cream cheese is the #1 secret to a lump-free, silky filling. I can’t stress this enough!
- ½ cup sugar: We’re using a bit less than a classic recipe because the mini size means the flavor is more concentrated. It’s the perfect level of sweetness.
- 1 tsp vanilla extract: The supporting actor that makes everything taste warmer and more complex. Use the real stuff if you have it!
- 2 large eggs: They give the cheesecake its structure and rich texture. Add them one at a time, and make sure they’re at room temp too, to prevent the filling from seizing up.
- ¼ cup sour cream: This is my secret weapon! It adds a subtle tang and incredible moisture, making the texture luxuriously creamy instead of dry.
- 1 tbsp all-purpose flour (optional): Think of this as your insurance policy. It gives the filling a little extra structure, which is great for beginners and helps prevent cracking. You can skip it if you want a super-pure, flourless experience.
Optional Toppings (Go Wild!):
- Fresh strawberries or raspberries: A classic for a reason. The bright, juicy acidity cuts through the richness beautifully.
- Melted chocolate or chocolate ganache: Because when has chocolate ever been a bad idea? Drizzle it for drama.
- Whipped cream: A fluffy cloud on top never hurt anybody. Homemade is best, but we don’t judge around here.
- Heart-shaped sprinkles: For maximum cuteness factor. It’s all about the joy!
Let’s Build Some Edible Hearts: Your Step-by-Step Guide
Okay, team, this is where the fun begins. Follow these steps, read my little hacks along the way, and you’ll have a tray of perfect mini cheesecakes before you know it.
- Preheat and Prep: Fire up your oven to 325°F (163°C). This lower temperature is key for gentle, even cooking that prevents our little cheesecakes from puffing up and cracking. Now, grab your standard 12-cup muffin tin. You’ll need heart-shaped silicone molds that fit inside the cups. (Chef’s Hack: If you don’t have silicone molds, you can use a heart-shaped cheesecake pan, but the mini muffin tin version is just so darn cute and easy to portion!). Lightly spray the molds with a little cooking spray for an easy release later.
- Make the Crust: In a medium bowl, stir together the graham cracker crumbs and 2 tablespoons of sugar. Pour in the melted butter and mix until it looks like wet sand and holds together when you pinch it. Pro Tip: I use a fork to mix, which helps avoid clumps. Now, scoop about a tablespoon of this mixture into each heart mold. Use a small glass, a measuring spoon, or your fingers to press it down firmly and evenly. A tight pack here means your crust won’t fall apart when you take a bite! Pop the whole tray in the oven for 5 minutes. This toasts the crumbs and sets the shape. Pull it out and let it cool while you make the filling.
- Create the Creamy Filling: In a large mixing bowl, beat the softened cream cheese and ½ cup sugar together on medium speed until it’s completely smooth, creamy, and no lumps remain. Scrape down the sides of the bowl with a spatula—this is a non-negotiable step for uniformity! Now, beat in the vanilla extract. Next, add the eggs one at a time, beating until each one is fully incorporated before adding the next. Finally, mix in the sour cream and the tablespoon of flour (if using). Mix just until everything is combined and gloriously smooth. Overmixing at this stage can incorporate too much air and lead to cracking, so once it’s homogenous, you’re done!
- Fill ‘Em Up! Spoon the filling over your pre-baked crusts, dividing it evenly among the 12 molds. I like using a cookie scoop for less mess, but two spoons work just fine. Fill them almost to the top, leaving just a hair of space. Smooth the tops with the back of a spoon or a small offset spatula for a professional finish.
- Bake to Perfection: Carefully slide the muffin tin into your preheated oven. Bake for 18-22 minutes. You’re looking for the edges to be set, but the centers should still have a slight jiggle—like Jell-O—when you gently shake the pan. They will firm up dramatically as they cool. This is the most important visual cue! If the centers are completely firm, they’re overbaked.
- The All-Important Cool Down: Once they’re out of the oven, let the cheesecakes cool completely in the muffin tin on a wire rack. This gradual cooling is another secret weapon against cracking. After they’ve reached room temperature, transfer the entire tin to the refrigerator. You must chill them for at least 2 hours, but ideally 4 hours or overnight. This sets the flavor and texture, transforming them from good to absolutely “you’ve gotta try this” incredible.
Plating Your Masterpiece
Okay, the hard part (waiting) is over! Now for the grand finale. Gently pop the cheesecakes out of their silicone molds. They should release like a dream.
For a simple, elegant look, I love placing one cheesecake in the center of a small plate. A dusting of powdered sugar using a fine-mesh sieve looks like a light snowfall—so pretty. If you’re going the berry route, slice a few strawberries thinly and fan them out on top, or just scatter a handful of fresh raspberries. A single mint leaf adds a gorgeous pop of green.
If you’re serving these at a party, create a DIY cheesecake bar! Place all the mini hearts on a beautiful platter and set out small bowls with all the toppings: a bowl of glossy chocolate ganache, a pile of whipped cream in a piping bag, fresh berries, and those adorable heart sprinkles. Let your guests build their own perfect bite. It’s interactive, fun, and always a huge hit.
Mix It Up! Creative Twists on the Classic
Once you’ve mastered the basic recipe, the world is your oyster… or your cheesecake! Here are a few of my favorite ways to play with the formula.
- Chocolate Lovers’ Dream: Replace the graham cracker crumbs with crushed Oreo cookies (filling and all!) for a chocolate crust. Then, fold ½ cup of mini chocolate chips into the cheesecake filling before baking.
- Lemon Berry Burst: Add the zest of one lemon and a tablespoon of lemon juice to the filling for a bright, sunny twist. Top with a homemade raspberry compote instead of fresh berries for a stunning red swirl.
- Salted Carilla Delight: After baking and chilling, drizzle the tops with homemade caramel sauce and finish with a tiny sprinkle of flaky sea salt. The sweet and salty combo is unreal.
- No-Bake Version: In a hurry or don’t want to turn on the oven? You can adapt these! Use the same crust, but for the filling, use a no-bake cheesecake mix or a recipe that uses whipped cream and gelatin. Set in the fridge. It’s a different texture, but still delicious.
- Dietary Swaps: For a gluten-free version, use certified gluten-free graham crackers. For a slightly lighter take, you can use Neufchâtel cheese (⅓ less fat cream cheese), but know the texture will be a bit softer.
Jackson’s Kitchen Notes
This recipe has been through a lot of testing in the Food Meld lab (aka my kitchen, which is usually a beautiful disaster zone). The first time I made them, I was so impatient I didn’t let the cream cheese soften enough. Let’s just say I had more lumps than a bowl of oatmeal! I learned the hard way so you don’t have to. Patience with the ingredients is everything.
I also used to overbake them, terrified of a raw center. The result was a slightly rubbery, puffed-up cheesecake that fell and cracked as it cooled. Trust the jiggle! That gentle wobble in the center is your guiding light to creamy perfection. These little cakes have now become my go-to for birthdays, baby showers, and any day that needs a little extra love.
Your Cheesecake Questions, Answered!
Q: My cheesecakes cracked on top! What did I do wrong?
A: Hey, no stress! First, they still taste amazing. But for next time, the top culprits are usually: overmixing the batter (which adds too much air), overbaking, or cooling them too quickly. Using the optional tablespoon of flour and making sure not to open the oven door during baking can also help prevent this.
Q: Can I make these ahead of time?
A: Absolutely! In fact, I highly recommend it. These are the perfect make-ahead dessert. They will keep beautifully in an airtight container in the fridge for 3-4 days. I often make them the night before I need them.
Q: I don’t have heart-shaped molds. Can I use a regular muffin tin?
A> You sure can! Just line a standard muffin tin with paper liners. The baking time might be slightly different, so keep an eye on them. They’ll be just as delicious, I promise. The heart shape is just for the extra “aww” factor.
Q: How do I know for sure they’re done baking?
A> The “jiggle test” is your best friend. The edges should look set, and if you gently tap the pan, the center of the cheesecakes should have a slight wobble, like Jell-O. They will firm up perfectly in the fridge.
Nutritional Info (Because Knowledge is Power!)
Okay, let’s keep it real—this is a dessert, and it’s meant to be a treat! But I believe in transparency. Here’s a rough breakdown per mini cheesecake (without toppings), so you can indulge mindfully.
- Calories: ~220
- Protein: ~4g
- Carbohydrates: ~18g
- Sugar: ~15g
- Fat: ~15g
Remember, these are estimates and can vary based on the specific brands of ingredients you use. The beauty of the mini size is built-in portion control. You get a rich, satisfying dessert that feels indulgent without being overwhelming. Now, go enjoy every single bite!
Your Next Kitchen Adventure Awaits
And there you have it, my friends — little bites of love that are creamy, rich, and utterly irresistible. These Mini Heart-Shaped Cheesecakes are proof that dessert doesn’t need to be complicated to feel special. Whether you’re celebrating Valentine’s Day, an anniversary, or just want to treat yourself to something sweet, these tiny cheesecakes deliver all the flavor of the classic with a fraction of the stress.
There’s something magical about pulling these golden little hearts out of the oven, letting them chill, and knowing you’ve created something that’ll make people smile. They’re small enough to enjoy without guilt, fancy enough to impress, and simple enough to whip up any day of the week. That’s what love in the kitchen looks like — a little messy, a little sweet, and always made with heart.
So grab a fork, share them (or don’t — I won’t tell), and remember: the best desserts are the ones that come with a story. 💕


