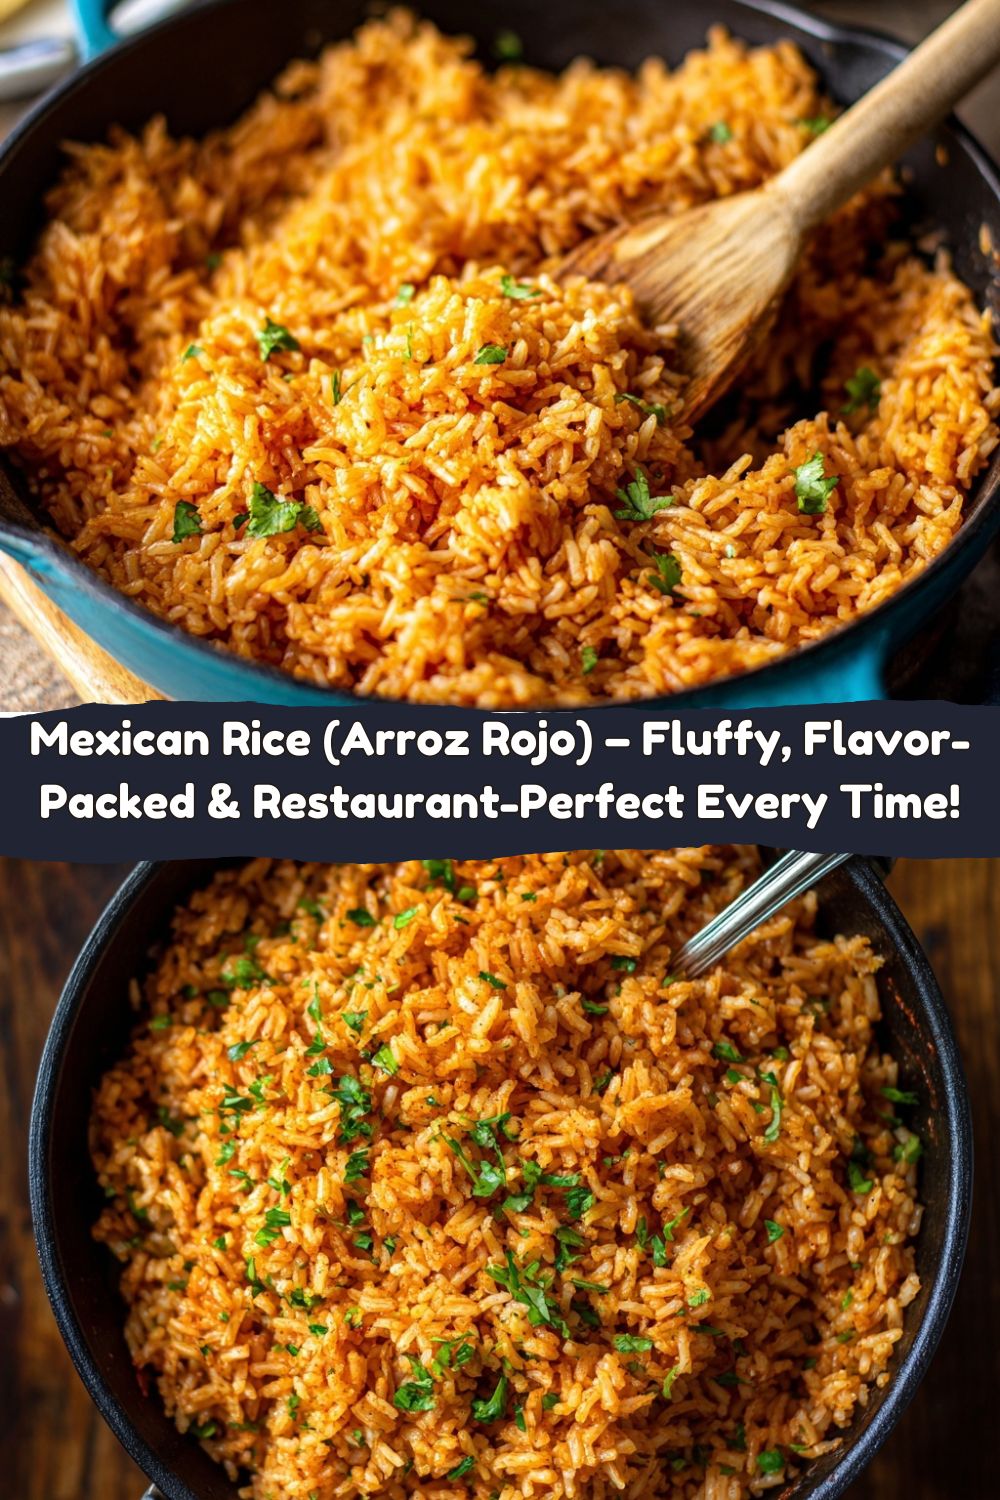
Mexican Rice (Arroz Rojo) – Your New Secret Weapon for Flavorful Dinners
Hey friends, Jackson here from Food Meld. Let’s get real for a second. How many times have you been absolutely nailing your main dish—those killer carnitas, that perfect chicken tinga—only to be let down by a sad, bland side of rice? I’ve been there. You put all that love into the star of the show, and the supporting actor just… doesn’t show up. Well, my friends, that ends today. We’re not making boring rice. We’re making Arroz Rojo—the vibrant, fluffy, garlicky, tomato-kissed heart of a true Mexican meal.
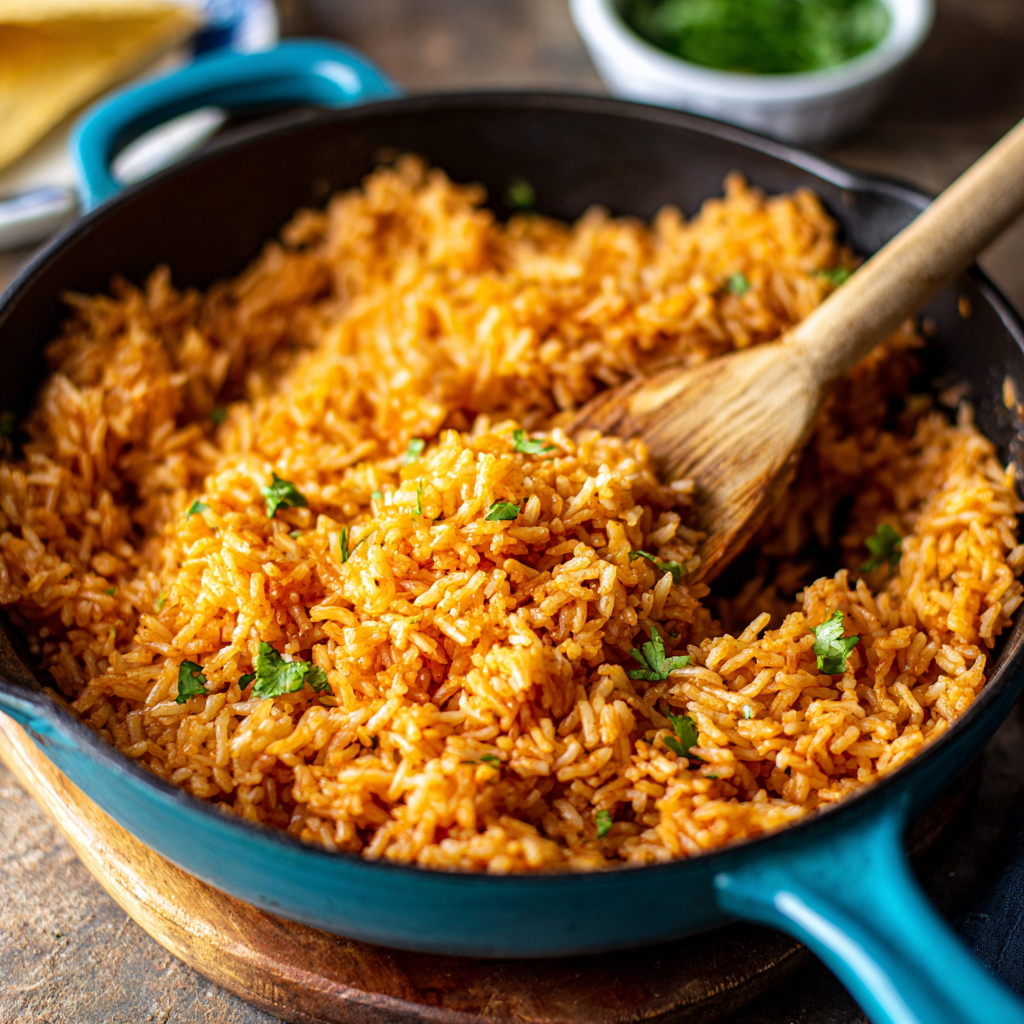
This isn’t just “Spanish rice” from a box. This is the real deal. It’s the rice that soaks up all the good stuff from your plate, that holds its own in a burrito bowl, and that people sneak spoonfuls of straight from the pot. The magic happens when simple rice gets toasted until nutty and golden, then simmers in a savory, cumin-scented tomato broth. Every single grain soaks up that incredible flavor, emerging separate, fluffy, and packed with personality.
I promise you, once you learn this method, you’ll never go back. It’s surprisingly simple, wildly forgiving, and it brings that “wow, you made this?!” factor to your table with minimal effort. So grab your favorite skillet or pot, and let’s cook something awesome together. We’re about to make the ultimate sidekick that might just steal the show.
The Pot That Started It All: A Slightly Smoky Memory
I’ll never forget the first time I *really* paid attention to Mexican rice. I was a teenager, trying to impress my then-girlfriend’s family with my “culinary skills” (read: I could make toast). Her abuela, Doña Rosa, was overseeing a massive family dinner. She handed me a bag of rice and a pot, gave me a few quick instructions in Spanglish, and went to tend to a dozen other things.
Confident and clueless, I turned the heat up high, dumped everything in, and walked away. You can guess what happened. A few minutes later, the distinct, acrid smell of scorching tomatoes and rice filled the kitchen. I had burned the bottom layer to a crisp. Panic set in. But Doña Rosa just chuckled, waved away the smoke, and showed me the secret I’ll share with you today: the toast. She scraped out the good rice from the top, rinsed the pot, and had me start over—this time, patiently toasting the dry rice in oil, stirring constantly, watching it turn from pale to a perfect golden tan. That moment of transformation, that nutty aroma filling the air… that’s where the flavor is born. The rice that followed was a revelation. It taught me that the foundation of great cooking isn’t complexity; it’s attention. And sometimes, a little smoky mistake is the best teacher you’ll ever have.
Gathering Your Flavor Army: The What & Why
Here’s everything you need to build layers of flavor. Don’t just dump and run—let’s talk about why each ingredient matters and how you can make it your own.
- 1 cup long-grain white rice (like Jasmine or Basmati): This is our canvas. Long-grain rice stays separate and fluffy, not sticky. Chef’s Insight: Rinsing it is non-negotiable! It washes off excess surface starch, which is the enemy of fluffy grains.
- 2 tbsp vegetable oil (or avocado oil): Our toasting medium. You need a good, neutral oil with a high smoke point. Substitution Tip: A light olive oil works, but avoid extra virgin—its flavor is too strong and it smokes at lower temps.
- 2 cloves garlic, minced: The aromatic backbone. Fresh is best here—that pre-minced stuff just won’t give you the same punch.
- 1/4 small onion, finely chopped: Sweetness and depth. White or yellow onion works perfectly.
- 1 1/2 cups chicken broth: This is where the savory, umami depth comes from. Pro Swap: Use vegetable broth to keep it vegetarian, or even water in a pinch (just add a bit more salt).
- 1/2 cup tomato sauce (or blended fresh tomatoes): The “rojo” in Arroz Rojo! Tomato sauce gives consistent color and flavor. Creative Twist: For a brighter taste, blend 1 ripe Roma tomato with 1/4 cup of the broth until smooth.
- 1/2 tsp ground cumin: That warm, earthy, unmistakably comforting note. Toasting the cumin for about 10 seconds in the oil before adding the liquid can unlock even more fragrance.
- Salt to taste: Start with 3/4 tsp of kosher salt. You’ll adjust at the end. Remember, the broth has salt too!
- Optional: 1/4 cup frozen peas or diced carrots: A pop of color and sweetness. I add them frozen right before simmering—they cook perfectly with the rice.
Let’s Build Some Magic: Your Foolproof Step-by-Step
Follow these steps, and you’re guaranteed success. I’m talking you through it like you’re right here in my kitchen.
Step 1: The Rinse & The Toast (The MOST Important Step)
First, put your rice in a fine-mesh strainer and rinse it under cold running water. Swirl it with your hand. Keep going until the water runs completely clear, not cloudy. This is your first act of love for this dish—it ensures fluffiness. Let it drain well. Now, in a medium saucepan or skillet with a tight-fitting lid, heat the oil over medium heat. Add the drained rice. Here’s the fun part: toast it! Stir it almost constantly for 5-7 minutes. You’ll watch it go from white, to a light tan, to a deeper golden brown and you’ll smell this incredible, nutty aroma. Chef’s Hack: This toasting step seals the starch on the outside of the grain, so it won’t get mushy. Don’t rush it!
Step 2: Building the Flavor Base
Once your rice is a beautiful golden color, add the chopped onion and garlic. Stir constantly for just about 1 minute—you just want them fragrant, not browned. If you’re using the optional cumin here, add it now and stir for 10 seconds to wake it up. Now, carefully pour in your tomato sauce and chicken broth. It will sizzle and steam gloriously! Add your salt. Give everything one good stir to combine. Pro Tip: Taste the liquid now. It should taste a bit salty and highly seasoned—the rice will absorb and mellow it.
Step 3: The Trust-the-Process Simmer
Bring the pot to a full, rolling boil. The moment it’s boiling, give it one last stir, reduce the heat to the lowest possible setting, and cover it tightly with the lid. Set a timer for 18 minutes. Do not peek. I know it’s tempting, but that trapped steam is what’s cooking your rice evenly. Let the magic happen. Walk away. (Okay, you can stir the main dish you’re making).
Step 4: The Fluff & The Rest (The OTHER Most Important Step)
When the timer goes off, turn off the heat. Do not lift the lid yet. Let the pot sit, covered and off the heat, for 10 full minutes. This resting period allows the rice to finish steaming gently and lets any residual moisture redistribute. After 10 minutes, now you can unveil your masterpiece! Take a fork and fluff the rice from the bottom up, gently separating the grains. See how perfectly fluffy and separate it is? That’s the result of your patience. Stir in your frozen peas or carrots now if using—the residual heat will warm them through perfectly.
How to Serve It Like a Pro
This rice is the ultimate team player. Here’s how to make it shine on your table:
For a family-style feast, I love serving it straight from the pot or a warm serving bowl. Garnish it with a final flourish—a sprinkle of fresh chopped cilantro or a few thin slices of fresh jalapeño for those who like heat. A squeeze of lime juice over the top just before serving? Absolute perfection. It cuts through the richness and brightens every flavor.
My Favorite Pairings:
– The Classic Combo: Alongside saucy enchiladas, sizzling fajita veggies and steak, or a big platter of build-your-own tacos.
– Bowl Life: As the hearty base for epic burrito bowls. Layer it with black beans, grilled chicken or cauliflower, salsa, guac, and cheese.
– The Simple Supper: Topped with a saucy batch of slow-cooked Pinto Beans (charro or borracho style) and warm tortillas. Dinner, done.
– Next-Day Genius: Fried rice! Sauté leftover Arroz Rojo with a little oil, some diced onion and bell pepper, push it to the side, scramble an egg in the middle, and mix it all together. Breakfast of champions.
Make It Your Own: 5 Flavor Twists to Try
Mastered the classic? Let’s play! Here are some of my favorite ways to mix it up.
1. The “Everything But The Kitchen Sink” Fiesta Rice: After toasting the rice, add 1/2 cup of diced bell peppers (any color) with the onion. At the fluffing stage, stir in a cup of corn kernels, a can of rinsed black beans, and the zest of one lime.
2. The Smoky Chipotle & Charred Corn: Add 1-2 minced chipotle peppers in adobo sauce (careful, they’re spicy!) with the tomato sauce. Use fire-roasted corn (fresh or frozen) as your optional add-in for a deep, smoky vibe.
3. The “Clean Out the Fridge” Veggie Boost: Perfect for using up bits and bobs. Finely dice zucchini, mushrooms, or spinach and sauté them with the onion. It’s a stealthy, delicious way to add more veggies.
4. The Cilantro-Lime Brilliance: For the ultimate fresh finish, stir in 1/3 cup of finely chopped fresh cilantro and the juice of half a lime right after fluffing. It’s vibrant and zingy.
5. The Rich & Toasty (My Guilty Pleasure): Substitute half the chicken broth with water, but before you add any liquid, stir 1 tablespoon of tomato paste into the toasted rice and let it cook for 30 seconds. It gives an incredible depth of concentrated tomato flavor.
Jackson’s Kitchen Notebook
This recipe has been my faithful companion for years, and it’s evolved with me. The biggest lesson? Embrace the toast. I used to be scared of burning it, so I’d under-toast, and my rice was always a bit pale and one-dimensional. Now, I aim for a deep golden color—it’s the flavor foundation. Also, I’ve learned the type of pot matters. A heavy-bottomed pot (like enameled cast iron or a good stainless steel saucepan) distributes heat evenly, preventing those dreaded hot spots that can cause sticking. And if a *little* bit sticks to the bottom? Don’t stress. That’s called “socarrat” in some cultures, and it’s a prized, flavorful crunch. Just don’t scrape it up into the fluffy rice! This rice also freezes like a dream. Portion cooled leftovers into freezer bags, and you’ve got a instant flavor boost ready for a future busy night.
Got Questions? I’ve Got Answers!
Q: My rice turned out mushy/wet. What did I do wrong?
A: This usually means too much liquid or not enough cooking/resting time. First, make sure you’re using a standard 1 cup dry measure for the rice. Second, ensure your simmer is truly on the lowest heat and you didn’t peek, letting steam escape. Finally, that 10-minute rest off the heat is crucial—it absorbs the last bit of moisture.
Q: The flavor is a bit bland. How can I fix it?
A: No worries! This is an easy save. First, always taste your broth mixture before simmering—it should be highly seasoned. To fix finished rice, you can drizzle a bit of warm broth over it and gently fluff, or stir in a pinch more salt and a squeeze of fresh lime juice. Next time, try using a full teaspoon of cumin or adding a bay leaf to the pot before simmering.
Q: Can I use brown rice?
A: Absolutely! It’s a great healthy twist. Use the same method, but you’ll need about 2 1/4 cups of liquid and a simmer time of 40-45 minutes, followed by the same 10-minute rest. The toasting step is even more important for nutty brown rice.
Q: My rice is sticking to the bottom of the pot!
A: A little sticking is normal, especially if you achieved a good toast. To prevent excessive sticking, use that heavy-bottomed pot, keep the heat at a true low during simmering, and don’t skip the rest time before fluffing. If you have a persistent issue, a very thin, even layer of oil on the bottom of the pot before adding the rice for toasting can help.
Nutritional Info (For Your Info!)
Let’s keep it real: food is for nourishment *and* joy. Here’s a general breakdown for one serving (about 3/4 cup) of the basic recipe, made with chicken broth and without optional veggies. Remember, these are estimates—your exact ingredients may vary slightly.
Approximate Per Serving: Calories: 190 | Total Fat: 6g | Saturated Fat: 0.5g | Sodium: ~400mg (varies with broth) | Total Carbohydrates: 30g | Dietary Fiber: 1g | Sugars: 1g | Protein: 4g
This side dish is a great source of energy from complex carbs. To boost the fiber and nutrient profile, I highly recommend adding those peas and carrots, or serving it alongside plenty of vegetables and a lean protein. Using a low-sodium broth is an easy way to control the salt content if that’s a priority for you.
Your Kitchen, Your Rules
And there you have it—the secret to never having a boring side dish again. This Arroz Rojo is more than a recipe; it’s a technique, a confidence-builder, and a guaranteed crowd-pleaser. It proves that the simplest dishes, made with a little attention and a little intention, can transform an entire meal.
What I love most about this rice is that it shows up—every time. It never tries to steal the spotlight, but somehow it ends up being the thing everyone raves about. It’s the side that anchors the plate, balances the spice, carries the sauce, and brings that warm, savory comfort you only get from food made with patience and care. Once you master the toast-simmer-rest rhythm, this recipe becomes second nature—something you’ll whip up without even thinking, something your family will expect, something that makes every dinner feel a little more special.
So the next time you’re firing up a skillet for fajitas, simmering a pot of beans, or building the world’s greatest burrito bowl, make a batch of this Arroz Rojo and watch the entire meal come alive. From my kitchen to yours, I hope this becomes a dish that earns its place in your rotation, sparks a few new memories, and reminds you that great cooking doesn’t come from perfection—it comes from heart.
Until next time, keep your rice fluffy, your flavors bold, and your kitchen full of good stories.
— Jackson 🍚🔥


