Let’s Bake Some Magic: Melt-In-Your-Mouth Cookies
Hey friends, Jackson here from Food Meld. You ever have one of those cookies that just… disappears? I’m not talking about the ones that vanish from the cooling rack because your family has lightning-fast hands (though that’ll happen too). I’m talking about a cookie that literally dissolves on your tongue the second it hits it. A cookie so tender, so delicate, and so blissfully buttery that it feels less like eating and more like a delicious, sweet cloud experience.
Well, pull up a stool and get your mixing bowl ready, because we’re making my absolute go-to for that exact feeling: Melt-In-Your-Mouth Cookies. This isn’t just a clever name; it’s a promise. These cookies are the culinary equivalent of a warm hug. They’re the perfect companion for your morning coffee, the star of your holiday cookie tray, or the “I-deserve-this” treat you whip up on a random Tuesday.
The best part? They’re deceptively simple. We’re talking about a handful of pantry staples and zero fancy equipment. No chilling the dough, no complex techniques—just straightforward, joyful baking that leads to a seriously impressive payoff. This is the kind of recipe that builds confidence in the kitchen, and I’m so excited to walk you through it. So, let’s ditch the intimidation, embrace the fun, and create something truly unforgettable together.

The Cookie That Started It All
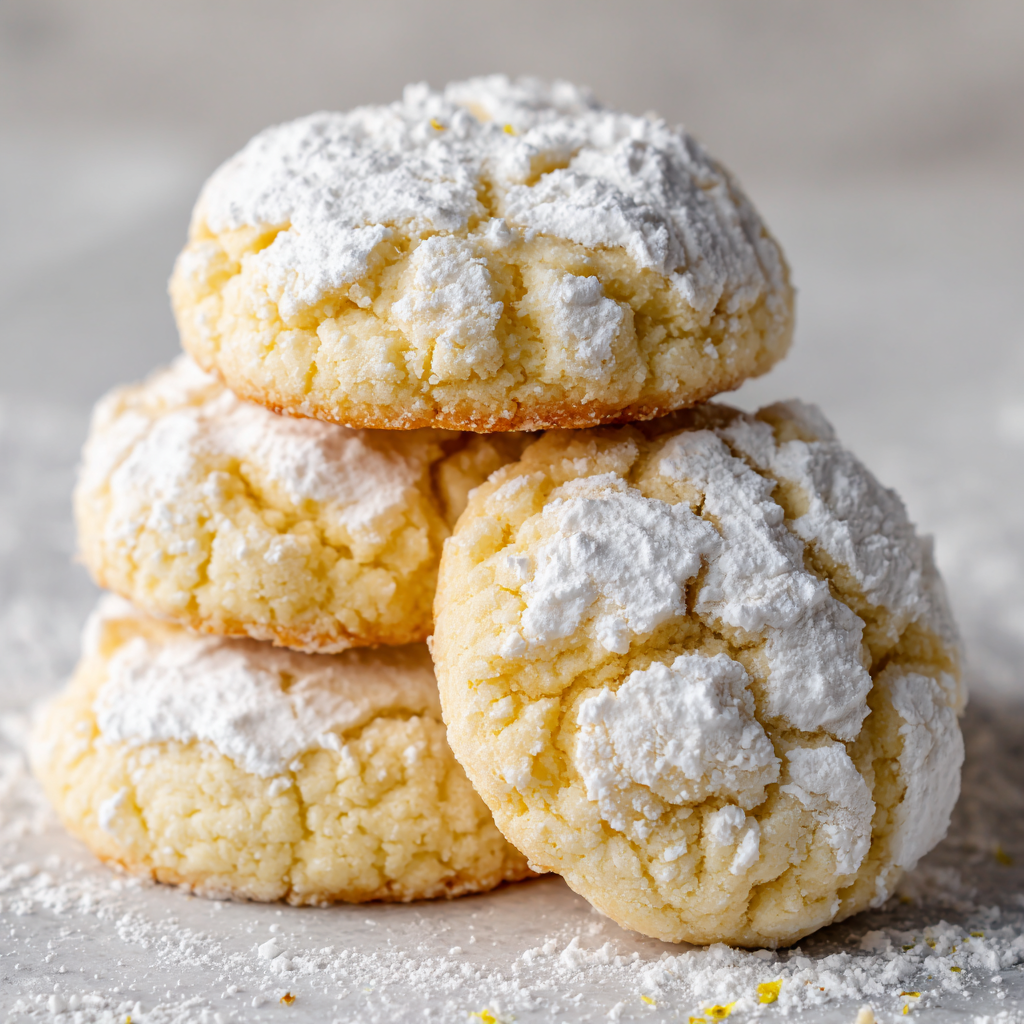
This recipe takes me right back to my grandma’s kitchen. She wasn’t a fancy pastry chef; she was a “a little of this, a pinch of that” kind of cook, but she had one recipe she followed to the letter: her “Snowball Cookies.” To me, they were pure magic. She’d always let me be the one to dust them with that final blizzard of powdered sugar, and I’d inevitably end up wearing more of it than the cookies did.
I remember the first time I tried one, still warm from the oven. I took a bite and my eyes just went wide. It wasn’t chewy or crunchy; it was something entirely different. It practically evaporated in my mouth, leaving nothing but the rich taste of butter and a hint of vanilla. I was hooked. Over the years, I’ve taken her sacred recipe and, true to Food Meld form, played with it. I’ve tweaked the method for maximum tenderness and introduced a few flavor twists, but the soul of the cookie—that incredible, melting texture—is all Grandma. Every time I bake a batch, that sweet, sugary memory comes right back with it.
Gathering Your Cookie Crew
See? I told you it was simple. This is the A-team of baking ingredients, and each one plays a superstar role in creating that signature texture.
- 2 cups (4 sticks) unsalted butter, softened: This is the heart and soul of the cookie. Using high-quality butter is key because its flavor shines through. Chef’s Insight: “Softened” is crucial here! It should be pliable but not melted. Poke it with your finger—it should leave an indent but not squish through. This allows it to trap air when creamed, which is the secret to a light, tender crumb.
- 1 ½ cups powdered sugar: We’re using powdered sugar instead of granulated for a reason! Its fine texture and the inclusion of a tiny bit of cornstarch make for a much more delicate, meltier cookie than granulated sugar ever could.
- 1 teaspoon vanilla extract: The classic flavor enhancer. It provides a warm, sweet backbone. Substitution Tip: Feel free to swap this with ½ teaspoon of almond extract for a wonderful nutty flavor, or add the zest of one lemon for a bright, sunny twist!
- 4 cups all-purpose flour: The structure of our cookie. Chef’s Hack: For the absolute most tender cookie, fluff your flour in the bag, then spoon it lightly into your measuring cup and level it off with a knife. Don’t scoop directly with the cup—that packs in too much flour and can make the cookies dry.
- Topping: Extra powdered sugar or sanding sugar: This is for that beautiful, snowy finish. Sanding sugar gives a little sparkle and crunch, while a second dusting of powdered sugar after baking leans into the classic “snowball” look.
The Fun Part: Let’s Make the Dough!
Okay, team. Here’s where we turn these simple ingredients into cookie magic. Read through these steps once before you start—it’s all about the technique!
- Preheat and Prep: Fire up your oven to 350°F (175°C). Line your baking sheets with parchment paper. Why parchment? It prevents sticking without adding extra grease, and it makes cleanup an absolute dream. This is a non-negotiable for happy baking.
- The Creaming Champions: In a large bowl, add your softened butter and 1 ½ cups of powdered sugar. Now, we “cream” them together. This isn’t just mixing; we’re beating them until the mixture is pale, fluffy, and smooth. This step is VITAL. You’re incorporating tiny air bubbles into the fat, which will expand in the oven and give us that light, tender texture. Use a hand mixer or stand mixer on medium speed for a good 2-3 minutes. Don’t rush this!
- Flavor Infusion: Mix in your vanilla extract (and/or almond extract or lemon zest if you’re using them). Beat for another 30 seconds just until it’s fully incorporated and your kitchen starts to smell amazing.
- Bringing It All Together: Now, gradually add your flour to the butter mixture. I like to add it in three parts, mixing on low speed until just combined after each addition. Watch closely here! The moment the dough starts to pull away from the sides of the bowl and no dry streaks of flour remain, stop mixing. Over-mixing at this stage can develop the gluten in the flour and make the cookies tough, and we want tender, tender, tender!
- Shaping Your Masterpieces: Your dough will be soft, but not sticky. Scoop up about a tablespoon of dough and roll it into a smooth ball between your palms. Place it on your prepared baking sheet. Gently press down on each ball just slightly to flatten the top a tiny bit—this gives you a more even bake. If you’re using sanding sugar for topping, now’s the time to roll the tops in it or sprinkle it on.
- Bake to Perfection: Pop those beauties into your preheated oven and bake for 12-14 minutes. Chef’s Secret: We’re not looking for a golden brown color all over. You want the bottoms to be just lightly golden, and the tops should still look pale and set, without any shine. They might look a little underdone, but trust the process! This is the key to the melt-in-your-mouth texture.
- The Patient Cool-Down: This is the final, critical step. When the cookies come out of the oven, let them cool on the hot baking sheet for 5 minutes. They are incredibly fragile right now, and this allows them to set up. After 5 minutes, you can carefully transfer them to a wire rack to cool completely. Once they are completely cool, if you didn’t use sanding sugar, give them a heavenly dusting with more powdered sugar.
How to Serve These Buttery Beauties
Presentation is part of the fun! For that classic, elegant look, pile them high on a simple white plate or a rustic wooden board. That final snowfall of powdered sugar really pops against a dark surface. I love serving these with a hot cup of strong coffee—the bitterness is a perfect match for the cookie’s subtle sweetness—or a cold glass of milk for the ultimate nostalgic trip.
These cookies are also legendary gift-givers. Tuck a few into a cellophane bag, tie it with a pretty ribbon, and you’ve just become someone’s favorite person. They’re so unassuming, but that first bite is a genuine “wow” moment for anyone lucky enough to receive them.
Mix It Up! Your Cookie, Your Rules
Once you’ve mastered the classic, it’s time to get creative. Here are a few of my favorite ways to mix it up:
- Lemon-Poppy Seed Bliss: Add the zest of one large lemon and two tablespoons of poppy seeds to the dough. It’s bright, cheerful, and has a wonderful little crunch.
- Chocolate-Dipped Dream: Melt some high-quality dark or semi-sweet chocolate. Once the cookies are completely cool, dip half of each cookie in the chocolate, let the excess drip off, and place them on parchment to set. Sprinkle with a tiny bit of sea salt for a next-level experience.
- Nutty Professor: Finely chop ¾ cup of toasted pecans or walnuts and fold them into the dough along with the flour. The nutty flavor and added texture are incredible.
- Jammy Thumbprint: Before baking, use your thumb or the back of a small spoon to make an indent in the center of each cookie dough ball. Fill the divot with a ¼ teaspoon of your favorite jam or fruit preserves—raspberry and apricot are my go-tos.
- Gluten-Free Swap: You can easily make these with a 1:1 gluten-free all-purpose flour blend. The texture will be just as tender and delicious!
Jackson’s Kitchen Confidential
I’ve made these cookies more times than I can count, and they’ve never let me down. The recipe has evolved a bit from my grandma’s original—I’m convinced she used a little more butter than she ever wrote down, the sneaky genius. The biggest lesson I’ve learned is to not be scared when they come out of the oven looking soft. That softness is what transforms into that magical melting quality as they cool.
One time, I was filming a video for the blog and I was talking to the camera, gesturing a little too wildly, and I sent a whole tray of freshly baked cookies flying. It was a true tragedy… and also a very tasty mess to clean up. The point is, don’t stress. Baking is supposed to be fun, even when it’s a little messy.
Your Questions, Answered!
Q: My cookies spread too much and are flat. What happened?
A: This almost always points to your butter being too warm. If the butter is melted or greasy, the cookies will spread. Remember, softened means cool to the touch but indentable. If your kitchen is very hot, you can pop the shaped dough balls in the fridge for 15 minutes before baking to firm them up.
Q: My cookies are dry and crumbly. How can I fix that?
A: This is likely from too much flour. Next time, be sure to spoon and level your flour, don’t scoop! Also, make sure you’re not over-baking them. They continue to set up as they cool on the tray, so taking them out when the edges are just barely golden is key.
Q: Can I make the dough ahead of time?
A> You can! The dough balls freeze beautifully. Place them on a parchment-lined sheet, freeze until solid, then transfer to a freezer bag. You can bake them straight from the freezer, just add 1-2 minutes to the baking time.
Q: Why powdered sugar instead of granulated?
A> Great question! Powdered sugar contains a small amount of cornstarch, which helps tenderize the cookie. Its fine texture also dissolves instantly, contributing to that signature “meltaway” feel that granulated sugar can’t provide.
Let’s Talk Nutrition & Prep
Okay, let’s be real—these are a treat, and they’re proud of it! But it’s always good to know what you’re enjoying. Here’s the lowdown:
- Prep Time: 10 minutes
- Bake Time: 12-14 minutes
- Total Time: 25 minutes
- Yield: About 36 cookies
Estimated Nutrition (per cookie): Calories: 120 | Total Carbohydrates: 14g | Fat: 7g | Protein: 1g
Remember, these are estimates and can vary based on specific ingredients and cookie size. The beauty of a small, rich cookie like this is that one is often perfectly satisfying, making it easy to enjoy a special treat mindfully.
Your New Go-To Cookie
And there you have it! The secret to the most tender, buttery, melt-in-your-mouth cookie you’ll ever make. This recipe is a testament to the fact that you don’t need a long list of complicated ingredients to create something truly spectacular. It’s about technique, a little bit of love, and the joy of sharing something delicious.
I hope you bake a batch, make a mess, and create some amazing memories of your own. Tag me on social @FoodMeld if you make them—I love seeing your creations! Now get in that kitchen and let’s cook something awesome together.
With flavor and fun,
Jackson


