Your New Secret Weapon for When a Sweet Tooth Strikes
Hey friends, Jackson here from Food Meld. Let’s get real for a second. We’ve all been there. It’s 4 PM on a Tuesday, the day has been a marathon, and out of nowhere, a craving hits. Not just any craving, but a deep, undeniable, gotta-have-it-NOW cookie craving. You stare into the pantry, but the idea of hauling out the mixer, sifting flour, and creaming butter feels like climbing a mountain. You almost give up and settle for that slightly stale granola bar in the back of the cupboard.
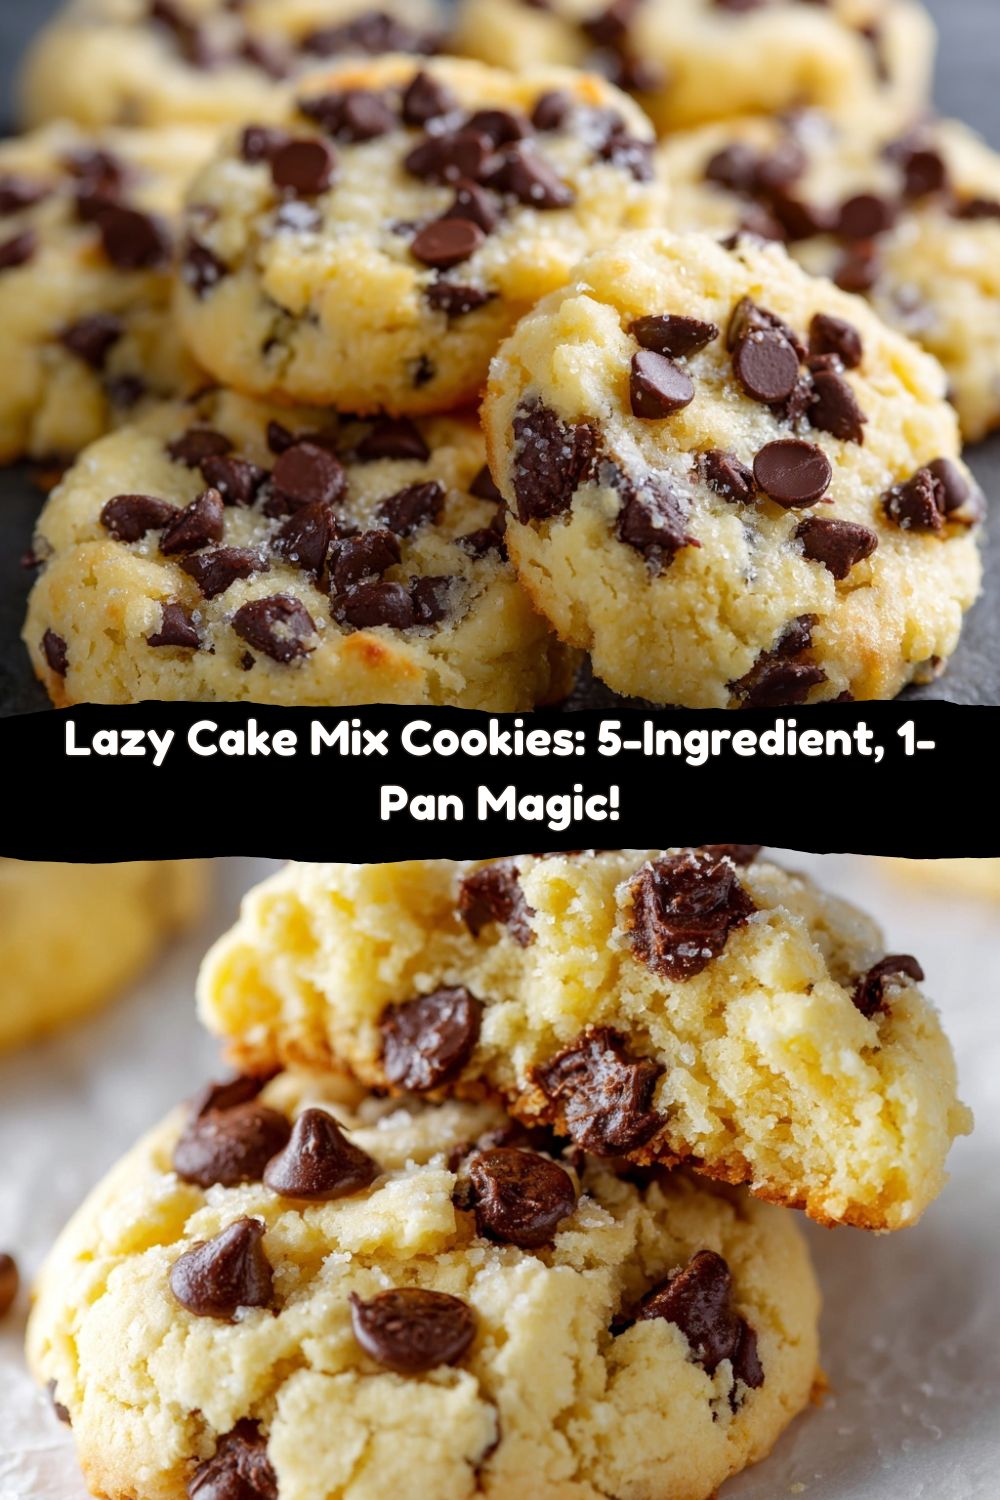
Stop right there. Do not pass go. Do not collect $200. I’m about to hand you the keys to the easiest, fastest, most dangerously simple cookie recipe in my entire arsenal. These aren’t just any cookies; these are my legendary Lazy Cake Mix Cookies.
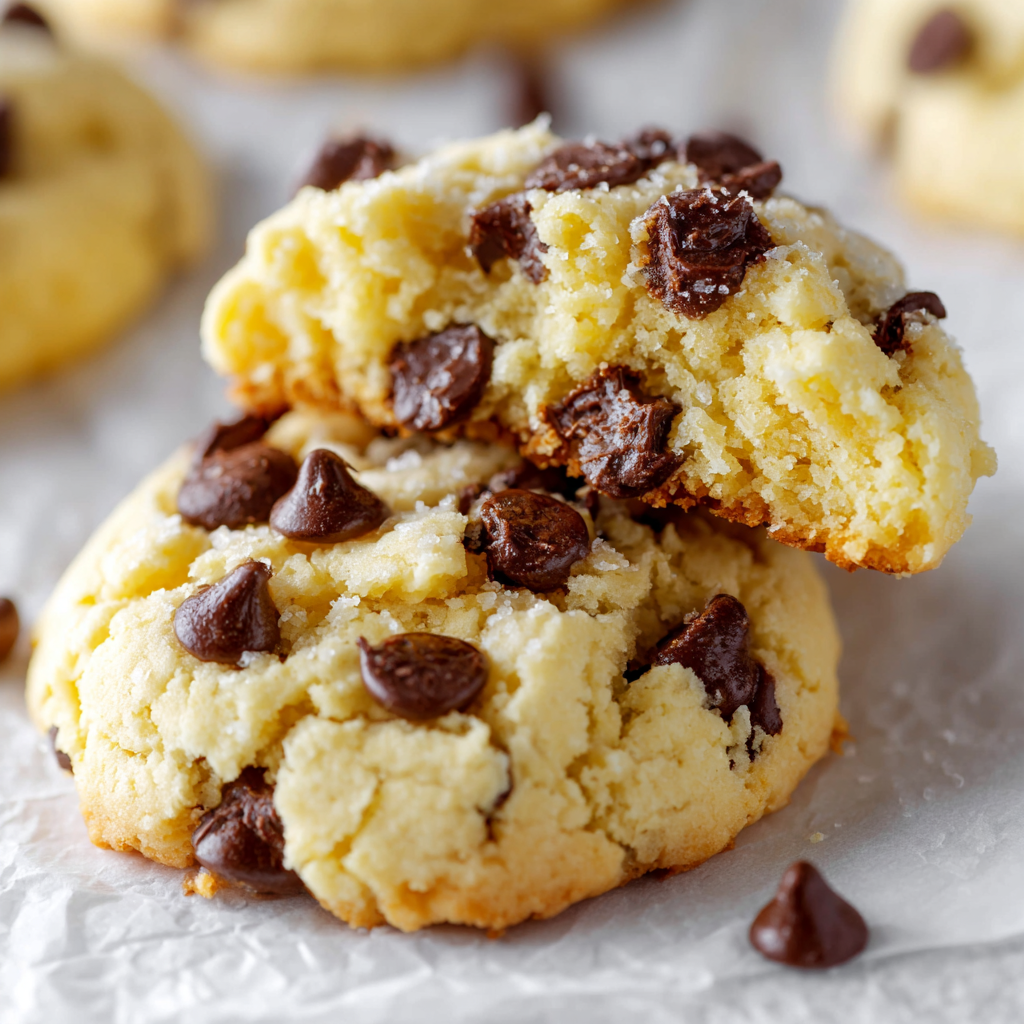
We’re talking about a recipe with just five humble ingredients, one single bowl to wash, and one trusty 9×13 pan. No mixer, no chill time, no fancy techniques. In less time than it takes to watch half an episode of your favorite show, you’ll be pulling a pan of warm, gooey, chocolate-chip-studded cookie bars out of your oven. Your kitchen will smell like a bakery, and you’ll feel like a total kitchen hero. This is the kind of “you’ve gotta try this” magic I live for at Food Meld. It’s bold in its simplicity, comforting in its deliciousness, and packed with a whole lot of “why didn’t I think of that?” energy. So, let’s ditch the complicated and embrace the beautifully simple. Your future self (and your very happy family) will thank you.
The Cake Mix Revelation: A Story of Sweet Desperation
I wish I could tell you this recipe was born from years of meticulous, chef-level experimentation. The truth is, it was born from pure, unadulterated desperation. Picture this: I was about ten years old, and my grandma was coming over. My mom, the ultimate hostess, had the whole visit planned—except for one crucial detail. She’d completely forgotten to make dessert. Panic mode ensued.
We were scouring the cabinets, and all we had was a lone box of yellow cake mix, a bag of chocolate chips, and some eggs and butter. In a moment of what I can only describe as kitchen genius, my mom looked at me and said, “What if we just… mix it all together and see what happens?” We did. We glopped this thick, strange dough into a pan, crossed our fingers, and slid it into the oven. What emerged was nothing short of a miracle. A golden, chewy, incredible cookie bar that had my grandma asking for the “secret family recipe.” We just smiled and winked. That day, I learned a lesson that still defines my cooking: the best recipes often come from a little bit of chaos and a whole lot of “what if?” It’s a memory I treasure, and every time I make these, I get a little taste of that childhood kitchen magic.
Gather Your A-Team: Just 5 Ingredients to Glory
Here’s the beautiful part. You probably have everything you need already. This is about making the pantry work for you. Let’s break it down.
- 1 box yellow or white cake mix – This is our MVP. It’s the ultimate shortcut, a pre-mixed blend of flour, sugar, leavening, and flavor. I typically grab a standard 15.25 oz box. Chef’s Insight: Yellow cake mix gives you that classic, buttery sugar cookie vibe, while white cake mix lets the chocolate chips truly shine. Both are winners!
- 2 large eggs, beaten – Our binding agent. Eggs give the dough structure and richness, helping it all come together into a cohesive, bake-able masterpiece. Make sure they’re at room temperature if you can, as they incorporate more easily.
- 1 stick (½ cup) unsalted butter, melted – This is where the flavor and tenderness come from. Melting the butter means we skip the creaming step entirely. Pro Substitution: If you only have salted butter, that’s totally fine! Just omit any additional salt you might be tempted to add. You can also use an equal amount of neutral oil, but butter gives that irreplaceable, rich flavor.
- 2 cups chocolate chips – The star of the show! I’m a semi-sweet chocolate chip purist for that perfect sweet/bitter balance, but this is your canvas. Get Creative: Use milk chocolate for extra sweetness, dark chocolate for sophistication, or even a mix of white chocolate and macadamia nuts. You do you!
- Nonstick cooking spray – Our trusty sidekick to prevent a sticky situation. A quick spritz is all it takes for a flawless release. Chef’s Hack: I’m a huge fan of the butter-flavored sprays for this recipe—it adds one more subtle layer of rich, buttery goodness to the edges.
Let’s Make Some Magic: The Foolproof Process
Ready? This is so simple, you barely need instructions. But I’ll walk you through it like you’re right here in the kitchen with me.
- Preheat and Prep. Fire up that oven to 350°F (175°C). While it’s warming up, grab your 9×13-inch baking pan and give it a confident spray with that nonstick spray. This is the only “prep” you have to do. I love using a light-colored metal pan for even baking, but a glass one works great too—just keep an eye on it as it might bake a touch faster.
- The “Mixing Bowl” (Aka, The One Bowl Wonder). Grab your biggest mixing bowl. Seriously, bigger is better here to give you room to stir without flour clouds. Dump in the entire box of cake mix. Now, pour in that glorious, melted butter and crack in your two eggs. Chef’s Hack: I like to beat the eggs lightly with a fork in a small dish first. It just makes it easier to ensure you get a perfectly uniform dough without overmixing.
- Stir It Up! Now, arm yourself with a sturdy wooden spoon or a rubber spatula. We’re not using a mixer, remember? This is hands-on! Stir everything together until it just comes combined and no dry streaks of cake mix remain. The dough will be very thick and a little sticky—that’s exactly what we want. Pro Tip: Don’t overmix! Once it’s combined, stop. Overmixing can make the cookies a bit tough.
- The Grand Finale: Chocolate. Time for the main event. Dump in those two beautiful cups of chocolate chips. Fold them gently into the thick dough until they’re evenly distributed. I always sneak a taste of the dough at this stage (no raw eggs to worry about with the cake mix!), and I highly recommend you do the same. It’s the chef’s privilege.
- Pan and Spread. Scrape every last bit of that glorious, chip-filled dough into your prepared pan. Now, use your spoon or spatula to press and spread it into a nice, even layer. It might seem like there’s not enough dough, but trust the process. It will puff up and spread as it bakes to create the perfect cookie bar thickness.
- Bake to Perfection. Slide that pan into your preheated oven and let the magic happen. Bake for about 18-22 minutes. You’re looking for lightly golden edges and a center that looks just *set*. It might still look a tiny bit soft in the middle—that’s perfect! Key Insight: The number one mistake here is overbaking. We want them soft and chewy, not dry and crunchy. They continue to cook a bit as they cool in the pan.
- The Hardest Part: Wait. I know, I know. The smell is intoxicating. But you have to let the pan cool completely on a wire rack before you even think about cutting into it. This is non-negotiable for clean, perfect squares. If you cut them warm, they’ll be a gooey mess (a delicious mess, but a mess nonetheless).
How to Serve Up These Superstar Cookies
Okay, the pan is cool. You’ve waited patiently. Now for the fun part! Use a sharp knife to cut these into squares. I usually go for 24 smaller bars, perfect for a quick grab-and-go treat, or 12 larger, more indulgent rectangles.
Presentation is everything, even for lazy cookies. For a simple dessert, place a square on a plate and add a small scoop of vanilla ice cream right on top. The contrast of the warm cookie and cold ice cream is a classic for a reason. Drizzle with a little caramel or chocolate sauce if you’re feeling fancy.
For a party or potluck, arrange them on a cute platter and dust them with a little powdered sugar. They look beautiful and no one will ever guess how little effort they took. Honestly, they’re so good straight out of the pan with a tall glass of cold milk that you really can’t go wrong. This is comfort food at its most accessible.
Make It Yours: 5 Fun Flavor Twists
The basic recipe is a flawless foundation, but you know I love a good “what if?” moment. Here are a few of my favorite ways to mix it up:
- Funfetti Fiesta: Use a Funfetti cake mix and swap the chocolate chips for a cup of rainbow sprinkles. Instant party in a pan!
- Peanut Butter Paradise: Use a chocolate fudge cake mix and swap the chocolate chips for a cup of peanut butter chips and a cup of chopped Reese’s Peanut Butter Cups. You’re welcome.
- Lemon Blueberry Bliss: Go bright and fruity! Use a lemon cake mix and fold in 1 ½ cups of white chocolate chips and 1 cup of dried blueberries (fresh or frozen might make it too wet).
- M&M Magic: Perfect for holidays! Use a yellow cake mix and swap the chocolate chips for 1 ½ cups of M&Ms. Use holiday colors for Easter, Christmas, or the 4th of July.
- Salted Caramel Pretzel Crunch: My personal favorite “grown-up” twist. Use a yellow cake mix, fold in 1 cup of semi-sweet chips, ½ cup of crushed pretzel pieces, and after baking, while still warm, drizzle with store-bought caramel sauce and a sprinkle of flaky sea salt.
Jackson’s Kitchen Notes & Stories
This recipe has been with me for over two decades, and it’s evolved in tiny ways. I used to be a “milk chocolate only” guy, but my palate has matured to appreciate the depth of semi-sweet. I’ve also learned that the brand of cake mix can slightly change the texture, so don’t stress if one brand feels a bit drier or wetter than another—just go with it! They always turn out delicious.
One of my favorite kitchen memories is of my niece, who was about five at the time, “helping” me make these. She was in charge of stirring and took her job very seriously, flour and chocolate chips flying everywhere. The kitchen was a disaster, but her pride when we served “her” cookies was absolutely priceless. That’s the real magic of this recipe—it’s not just about the cookies, it’s about the moments you create while making them.
Your Questions, Answered!
Over the years, I’ve gotten a few common questions about this recipe. Let’s tackle them head-on.
Q: My cookies came out really dry and cakey. What happened?
A: The most likely culprit is overbaking. Remember, you want the edges golden and the center *just* set. It will continue to cook as it cools. Also, double-check your cake mix box size; using a larger “family size” box can throw off the wet-to-dry ratio.
Q: Can I make these into individual drop cookies instead of a bar?
A> You absolutely can! Drop rounded tablespoons of the dough onto a parchment-lined baking sheet, about 2 inches apart. They’ll spread a bit. Bake at the same temperature for 10-12 minutes, until the edges are set. You’ll get about 2 dozen cookies.
Q: Why did my dough turn out super oily?
A> This can happen if you accidentally use a larger “European-style” butter that has a higher fat content, or if you measure your butter while it’s still hot. Make sure your melted butter has cooled slightly before mixing it in.
Q: How should I store these, and can I freeze them?
A> They keep beautifully in an airtight container at room temperature for up to 4 days. For longer storage, they freeze like a dream! Cut them into squares, wrap them tightly in plastic wrap, and pop them in a freezer bag for up to 3 months. Thaw at room temperature or microwave for 15 seconds for a warm, fresh-from-the-oven treat.
Let’s Talk Nutrition (The Real Talk)
Look, I’m all about balance. We eat our veggies, we drink our water, and sometimes, we indulge in a warm, gooey cookie bar. This recipe is a treat, and it’s okay to enjoy treats! The nutritional info is a rough estimate and can vary based on the specific brands of ingredients you use.
Per bar (based on 24 servings):
Calories: ~180 | Carbs: 23g | Fat: 9g | Sugar: 14g | Protein: 2g
My philosophy is to enjoy food mindfully and joyfully. So when you eat one of these, really savor it. Don’t feel guilty. You made something delicious from scratch with your own two hands, and that’s something to be proud of. Now, take a bite and enjoy the moment.
You’ve Got This!
And there you have it. Your secret weapon against cookie cravings and boring Tuesdays is officially unlocked. This recipe is proof that you don’t need a pastry degree or a kitchen full of fancy tools to make something truly special and satisfying. It’s about working smart, not hard, and focusing on the joy of the process and the delicious result.
I hope this recipe becomes a staple in your home, just like it is in mine. A reliable friend for last-minute playdates, a savior for potlucks, and a little piece of sweet comfort at the end of a long day. So the next time that craving hits, you’ll know exactly what to do.
I’d love to hear how your Lazy Cake Mix Cookies turned out! Tag me on social @FoodMeld or leave a comment below with your favorite variation. Now go on, get in that kitchen and cook something awesome. Talk soon!
– Jackson


