
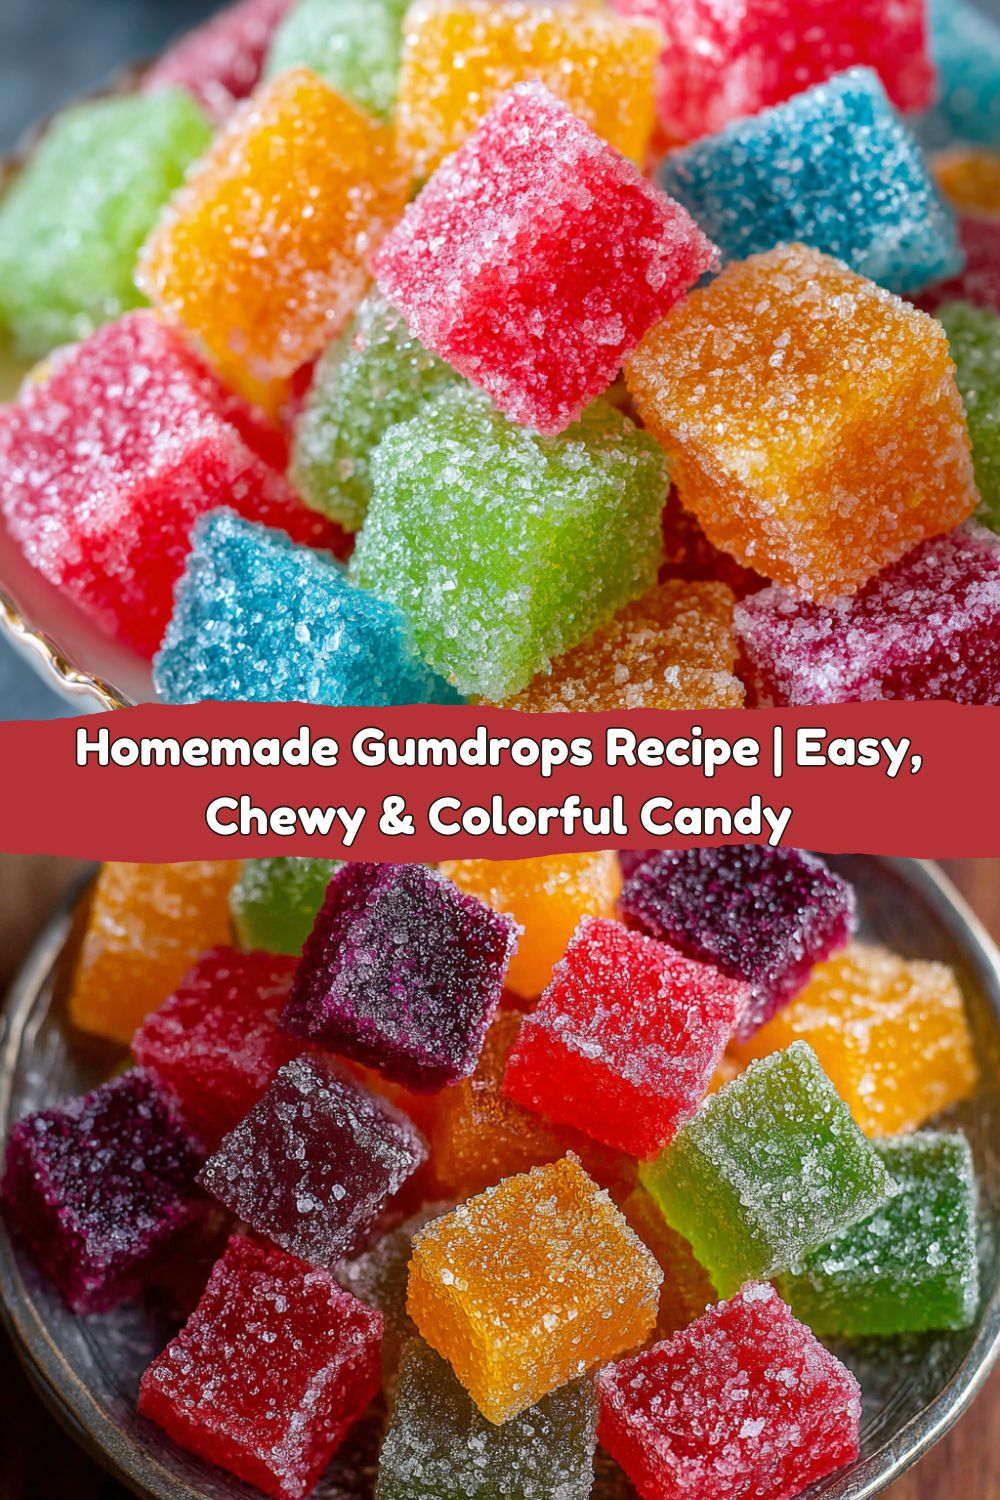
Forget the Store-Bought Stuff: Let’s Make Magical Homemade Gumdrops!
Hey friends, Jackson from Food Meld here! Let’s talk about joy for a second. Not the big, life-changing kind, but the small, sparkly, sugar-coated kind. The kind you find at the bottom of a candy bowl or tucked into the corner of a holiday stocking. I’m talking about gumdrops. Those chewy, brightly colored, impossibly fun little jewels that make you feel like a kid again with every single bite.
Now, I’m a savory guy at heart—you know I’d usually rather be searing a steak or building a towering skillet lasagna. But something magical happens in my kitchen when I decide to play with sugar. It’s a different kind of cooking, one that’s less about dinner and more about pure, unadulterated fun. And let me tell you, making your own gumdrops is one of the most fun, satisfying, and surprisingly simple candy projects you can tackle.
Forget the bland, waxy, one-note gumdrops from the store. The ones we’re making today are a whole different universe. They’re bursting with real, punchy fruit flavor, they have that perfect tender-yet-chewy texture, and they’re rolled in a blanket of sparkling sugar that crackles just a little when you bite into them. The best part? You’re the boss. You pick the colors, you pick the flavors, and you get to create something utterly delightful from scratch. So, are you ready to tap into that “what if we tried this?” energy and cook up a batch of pure, sugary joy? Let’s get this candy party started!
A Sticky, Sweet Memory: My Grandmother’s Candy Dish
My love affair with gumdrops is 100% my Grandma Mae’s fault. On her coffee table sat this heavy, cut-glass candy dish that was, without fail, always full of three things: those strawberry hard candies wrapped to look like strawberries (you know the ones), a few dusty peppermints, and a glorious, towering pile of gumdrops. To my young eyes, it was a treasure chest. The rule was always “just one,” but Grandma had a wink-and-a-nod policy where she’d never notice if you “accidentally” grabbed two—a red one and a green one, for balance, of course.
I remember the ritual of it. Peeling the slightly sticky gem off its sugary brethren, the faint citrusy and berry scent hitting my nose before it even reached my mouth. Then the chew—that initial resistance giving way to a soft, flavorful give. It wasn’t just candy; it was a moment of quiet, happy connection. Making them myself now, that scent of cooking fruit gelatin takes me right back to her living room. It’s my little way of keeping that sweet, simple memory alive and sharing it with you. Now, let’s create some new memories, shall we?
Gathering Your Gumdrop Gear: The Players
Don’t let the fancy name fool you—the ingredient list is beautifully simple. This is all about pantry power! Here’s what you’ll need to make about 50 little bites of happiness.
- 2½ cups granulated sugar, divided: Sugar is the star of the show here, doing double duty. It sweetens the candy itself and creates that iconic crunchy coating. Don’t be tempted to reduce it; the sugar is crucial for the right texture.
- 1½ cups unsweetened applesauce: This is the secret weapon! It provides the perfect neutral fruit base, natural pectin for that fantastic chewy set, and moisture without making things weird. Chef’s Insight: Do not use sweetened applesauce. We need to control the sugar ourselves!
- 2 (3 oz) boxes flavored gelatin (any color/flavor): This is where the magic happens! This is your primary flavor and color source. Pick your favorites! I’m using cherry and lime for this batch. Substitution Tip: For a less artificial flavor, you can seek out natural gelatin brands or even experiment with a tablespoon of fruit powder, though the color may be more muted.
- 2 envelopes unflavored gelatin: This is your structure. The flavored gelatin gives taste, but the unflavored stuff is what gives these gems their sturdy, chewy body. It’s non-negotiable and a total kitchen workhorse.
- 1 tsp lemon juice or flavored extract (optional but highly recommended): A little acid, like lemon juice, brightens up the fruit flavors and keeps the sweetness from being one-dimensional. Alternatively, a dash of almond, orange, or vanilla extract can add a wonderful, sophisticated layer of flavor. This is your “creative twist” moment!
- Additional sugar for coating: Have a little extra bowl of sugar on hand for rolling. You’ll be surprised how much they drink up!
The Fun Part: Let’s Cook Some Candy!
Okay, team, put on your favorite playlist and let’s do this. It comes together in a flash, but the waiting is the hardest part. Follow these steps for gumdrop glory.
- Prep the Pan: First things first, grab a 9×13-inch baking dish. Line it neatly with aluminum foil—this will make removing your giant gumdrop slab so much easier later. Give the foil a very light spritz with cooking spray or a tiny smear of neutral oil. This ensures a clean getaway. Chef’s Hack: Let a little foil hang over the edges to create “handles” for lifting!
- Make the Mixture: Now, grab a medium saucepan. This is your candy cauldron. Dump in the applesauce, 1½ cups of the sugar (remember, we’re saving the rest for coating!), both boxes of flavored gelatin, and both envelopes of unflavored gelatin. Here’s my pro tip: whisk everything together while it’s still cold before you turn on the heat. This prevents the gelatin from clumping up and ensures a silky-smooth mixture.
- Cook It Up: Place the saucepan over medium heat. Now, your job is to stir. Constantly. Seriously, grab a wooden spoon and don’t stop. We’re not looking for a hard boil, just bringing it to a gentle, steady bubble. Once it starts boiling, let it go for exactly 1 minute. This quick cook helps the gelatin fully dissolve and activate. You’ll feel the mixture thicken slightly as you stir. After 60 seconds, immediately remove it from the heat. Watchpoint: This mixture can bubble up and is VERY hot and sticky. Be careful!
- Add Your Flavor Boost: Off the heat, stir in your teaspoon of lemon juice or your chosen extract. Give it a good whisk to incorporate it fully. Immediately pour the mixture into your prepared pan. It will be liquidy and that’s perfect. Use a spatula to spread it into an even layer. Little Story: The first time I did this, I got impatient and tried to taste it. Don’t be like past Jackson. Molten sugar is a tongue-scorcher!
- The Long Wait: This is the ultimate test of patience. Leave the pan uncovered on your counter at room temperature. Do not refrigerate it! Let it sit for at least 8 hours, but honestly, overnight is best. You’ll know it’s ready when you gently press the top and it’s firm and bounces back, with no liquidy jiggle.
- Cut & Coat: The big reveal! Use your foil handles to lift the entire giant gumdrop slab out of the pan and onto a cutting board. Peel away the foil. Now, get a sharp knife or pizza cutter and lightly coat the blade with cooking spray—this prevents sticking! Cut the slab into small squares, about ¾-inch each. Now, pour your remaining 1 cup of sugar into a shallow bowl. Roll each and every little gumdrop square in the sugar until it’s completely coated. This is a great job for helpers (kids love this part!).
- Set & Store: Place the sugar-coated gumdrops on a wire rack or a parchment-lined baking sheet and let them air-dry for 1-2 hours. This helps the coating set and gives them that perfect final texture. To store, layer them in an airtight container with wax paper between the layers. They’ll keep happily at room temperature for up to 2 weeks… if they last that long!
How to Serve Your Sparkling Creations
You’ve made these beautiful, jewel-toned candies—now how do you show them off? Here are a few of my favorite ways:
The Classic Candy Bowl: Obvious? Yes. Perfect? Also yes. Pile them high in a clear glass bowl or jar and let them be the star of your coffee table or dessert spread. They’re an instant conversation starter.
Gifted with Love: Fill small cellophane bags tied with a ribbon for adorable, homemade party favors at birthdays, baby showers, or holiday gatherings. A gift that says “I made this just for you” is always a winner.
The Ultimate Dessert Topper: Use them to decorate! They’re fantastic on top of cupcakes, nestled into the frosting of a birthday cake, or as a fun garnish on a dish of ice cream or pudding. They add a pop of color and a delicious chewy texture.
On a Gingerbread House: Move over, stale licorice! These soft, flavorful gumdrops are the perfect edible decoration for your next gingerbread architectural masterpiece. They’re easy to attach with a dab of royal icing.
Mix It Up: Your Gumdrop, Your Rules!
This recipe is a blank canvas for your creativity. Here are a few twists to get those “what if” gears turning:
- The Sour Patch Kid: This is a game-changer. For a sour version, add 1-2 teaspoons of citric acid to the sugar you use for coating. The contrast between the sweet interior and the tangy, lip-puckering outside is absolutely incredible.
- Spiced & Nice: Channel those fall vibes! Use a cinnamon-red hots flavored gelatin for a warm, spicy kick. A tiny pinch of cayenne pepper in the mix would add a real grown-up, adventurous twist.
- Tropical Vacation: Combine a box of pineapple gelatin with a box of mango or orange. Add a teaspoon of coconut extract instead of lemon juice. Close your eyes, take a bite, and you’re on a beach.
- Mocktail Hour: Mimic your favorite drinks! Try a mojito-inspired version with lime gelatin and a hint of mint extract. Or a margarita gumdrop with lime and a touch of tequila flavoring (the alcohol cooks out, leaving just the taste).
- Sugar-Free Swap: You can experiment with sugar-free gelatin and a sugar substitute that measures like sugar (like erythritol blends) for the cooking and coating. The texture might be slightly different, but it’s a great option for those watching their sugar intake.
Jackson’s Chef Notes: A Few Confessions
I’ve made this recipe more times than I can count, and it’s evolved from a sticky disaster to a foolproof favorite. The first time, I definitely did not grease the foil enough and ended up with gumdrop shards instead of squares. Learn from my mistakes! Grease that foil!
I also once tried to speed up the setting process by putting the pan in the fridge. Big mistake. It caused the top to set too quickly and form a weird skin, while the bottom was still liquid. Room temperature is the way to go—trust the process.
Over time, I’ve started using a pizza wheel to cut them. It’s faster, cleaner, and gives you perfectly straight lines. And my favorite flavor combo so far? Blackberry gelatin with a teaspoon of almond extract. It tastes like a sophisticated, chewy jam. You’ve gotta try it!
Gumdrop FAQs: Your Questions, Answered
Q: My mixture is really sticky and stringy when I’m cutting it. What did I do wrong?
A: This usually means it needed to set longer. The full 8+ hours is crucial. If you’re in a humid climate, it might even need a bit more time. If you’ve already cut them, just roll them extra well in sugar and let them dry out on the counter for a few more hours; they’ll firm up.
Q: Can I use fresh fruit instead of applesauce?
A: I don’t recommend it. Applesauce provides a consistent texture, acidity, and pectin level that’s hard to replicate. Blended fruit purees have varying water content, which can throw off the set and make the gumdrops too soft or weepy.
Q: Why did my gumdrops “melt” together in the container?
A: This is almost always a moisture issue. They might not have dried long enough after coating, or there might be humidity. The wax paper between layers is essential! If they get sticky, you can re-roll them in a little fresh sugar to refresh them.
Q: Are these gluten-free?
A: Yes! The ingredients as listed are naturally gluten-free. Just always double-check your gelatin boxes if you have a severe allergy, as manufacturing processes can sometimes vary.
Homemade Gumdrops
- Total Time: ~8½ hrs
- Yield: ~50 gumdrops
Description
Bursting with fruity flavor and coated in sparkling sugar, these gumdrops are a homemade candy classic. Easy to make and endlessly customizable in flavor and color, they’re perfect for kids, party favors, or festive decorating.
Ingredients
2½ cups granulated sugar, divided
1½ cups unsweetened applesauce
2 (3 oz) boxes flavored gelatin (any color/flavor)
2 envelopes unflavored gelatin
1 tsp lemon juice or flavored extract (optional)
Additional sugar for coating
Instructions
Prep the pan
Line a 9×13″ baking dish with foil and lightly grease it.
Make the mixture
In a saucepan, combine applesauce, 1½ cups sugar, flavored gelatin, and unflavored gelatin. Cook over medium heat, stirring constantly until mixture boils. Boil gently for 1 minute, then remove from heat.
Add flavor
Stir in lemon juice or extract if using for extra brightness. Pour mixture into the prepared pan and let sit uncovered at room temp for at least 8 hours or overnight to firm up.
Cut & coat
Loosen edges and invert onto a cutting board. Cut into squares or use mini cookie cutters for shapes. Roll each gumdrop in remaining sugar to coat.
Set & store
Let gumdrops air-dry for 1–2 hours for a firmer finish. Store in a covered container, layering with wax paper.
Flavor & Color Ideas
Red (cherry, cinnamon, or raspberry)
Green (lime or mint)
Yellow (lemon or pineapple)
Orange (orange or mango)
Purple (grape or blackberry)
Add citric acid to sugar coating for a sour twist
- Prep Time: 20 minutes
- Set Time: 8+ hrs
Nutrition
- Calories: 45 / gumdrop
- Carbohydrates: 11g / gumdrop
Nutritional Information (Because Knowledge is Power!)
Okay, let’s be real: these are a candy treat. They’re not a health food, but it’s empowering to know what you’re eating, especially when you make it yourself! This estimated nutritional info is per gumdrop (based on a batch of 50).
Estimated per gumdrop: ~45 kcal | 0g fat | 11g carbs | 0g protein
The primary source of calories is carbohydrates from the sugar, which provides the energy and structure for the candy. There is no fat or protein to speak of. Because you’re controlling the ingredients, you know there are no hidden preservatives or artificial colors beyond what’s in your chosen gelatin. Enjoy them mindfully as part of a balanced diet—a little bit of homemade joy goes a long way!
Final Thoughts: Share the Sweetness
And there you have it! You’re now a certified gumdrop artisan. See? I told you it was easy. This project is proof that the most rewarding kitchen moments often come from embracing a little whimsy and not being afraid to get your hands sugary.
This recipe is more than just a list of steps; it’s an invitation to play, to create, and to share something genuinely delightful. I hope you have as much fun making these as I do. I hope your kitchen gets a little messy and your fingers get a little sticky. And most importantly, I hope you share them with someone who will appreciate that spark of homemade magic.
If you make them (and you totally should), tag me on social @FoodMeld! I wanna see your colorful creations. Now go forth and melt some flavor together!
Happy cooking,
Jackson


