
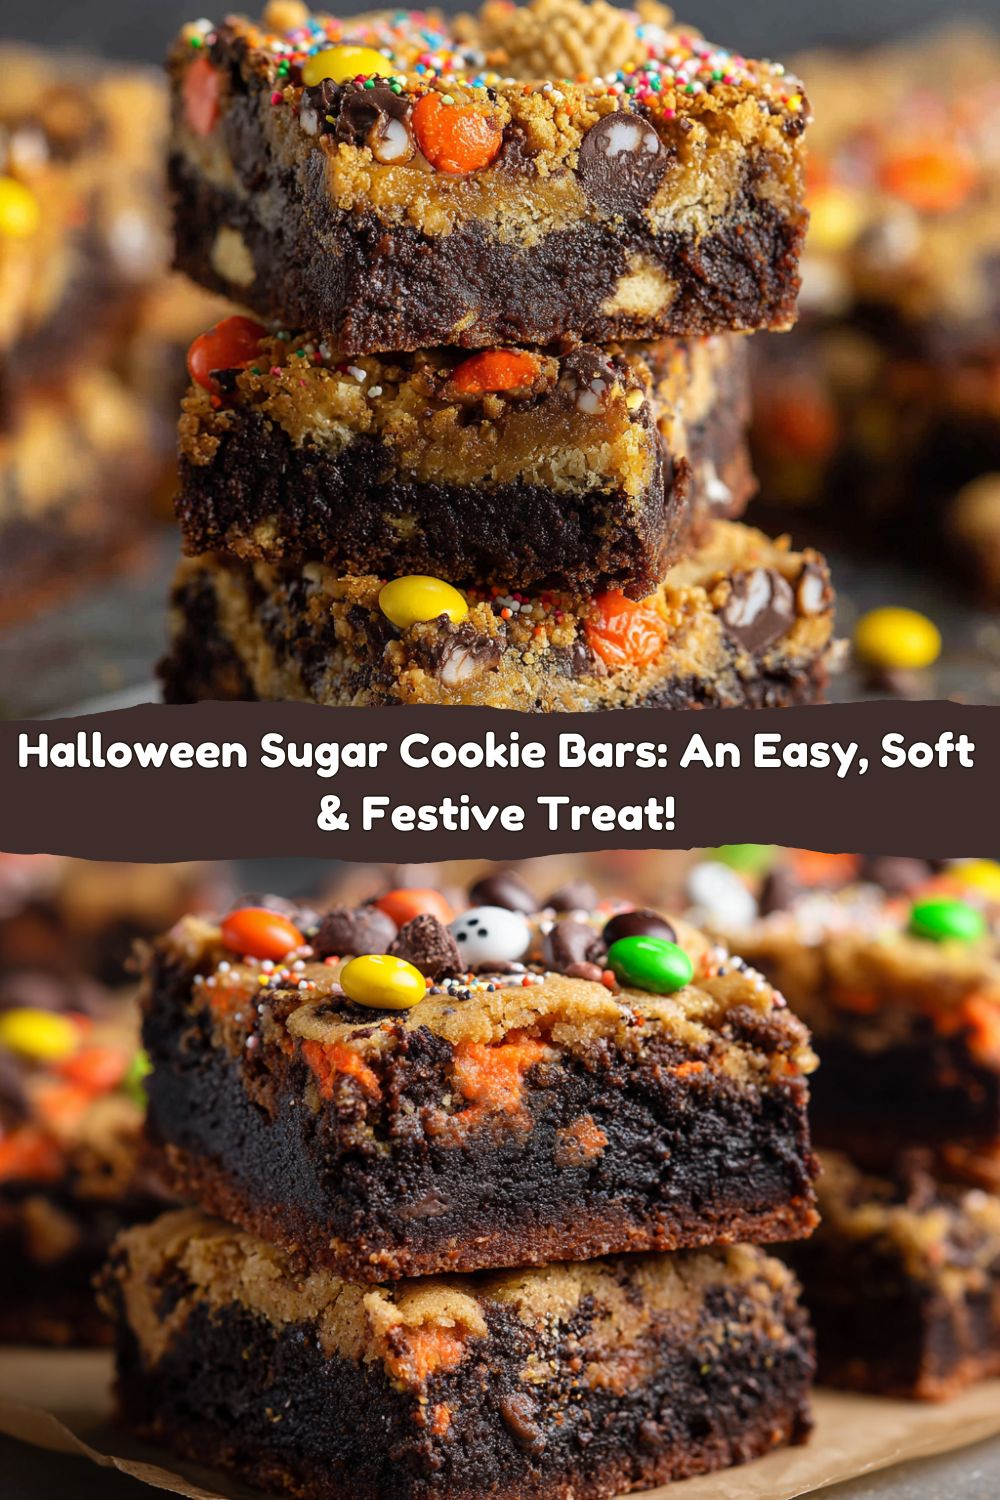
Spooky, Soft, and Seriously Simple: Your New Favorite Halloween Treat!
Hey friends, Jackson from Food Meld here! Let’s be real for a second. Halloween is awesome, but the pressure to create Pinterest-perfect, elaborate spooky treats can be… well, a little terrifying. I’m all about those “wow” moments in the kitchen, but I’m a much bigger fan of fun, flavor, and not spending six hours piping intricate spiderweb designs on cupcakes. That’s where these legendary Halloween Sugar Cookie Bars swoop in to save the day.
Imagine this: a buttery, soft sugar cookie base that’s magically split into two vibrant layers of black and orange. It’s topped with a cloud of sweet, creamy purple frosting and a reckless, joyful shower of Halloween sprinkles. The best part? You don’t need to be a pastry chef to pull these off. We’re talking one bowl (okay, maybe two), one pan, and zero fuss with rolling pins or cookie cutters. This is the ultimate treat for class parties, a killer addition to your Halloween potluck spread, or just a fun project to do with your favorite mini monsters (aka your kids) that guarantees a delicious payoff. So, tie on your apron, crank up some Monster Mash, and let’s melt some flavors together into something unforgettable.
The Cookie That Started It All
This recipe takes me right back to my grandma’s linoleum-floored kitchen. She was the queen of “semi-homemade” before it was even a term on TV. Every Halloween, she’d whip up a massive batch of her famous sugar cookies, but instead of painstakingly cutting out bats and ghosts, she’d press the whole dang batch into a jelly roll pan, slather it with bright orange icing, and let me go to town with a jar of sprinkles. It was our tradition. The kitchen would be a glorious mess, my fingers would be stained with food coloring for days, and we’d have a tray of treats that disappeared faster than a ghost in a haunted house.
These bars are my grown-up, slightly more polished (but still gloriously messy) homage to her. I’ve added the fun layered dough for that extra “how’d you do that?!” factor, but the soul of the recipe is the same: keep it simple, make it joyful, and always, always make enough to share. It’s not just about the sugar rush; it’s about creating those sweet, sticky-fingered memories.
Gathering Your Spooky Squad: The Ingredients
Here’s the lineup for these frightfully good cookie bars. Nothing too crazy here—just solid, reliable ingredients that create magic together. Read on for my chef-y notes and easy swaps!
For the Cookie Base:
- 1½ cups salted butter, softened – This is the heart of the recipe, giving us that rich, buttery flavor and tender crumb. Chef’s Tip: If you only have unsalted butter, just add an extra ¼ tsp of salt to the dry ingredients. Your butter is perfectly softened when you can press your thumb into it easily and leave a slight indentation.
- 3 cups white sugar – Sweetness and helps create that perfect soft texture.
- 2 large eggs – They bind everything together and add structure. Make sure they’re at room temperature to help them incorporate smoothly into the butter and sugar.
- 3 tsp vanilla extract – The flavor backbone. Don’t be shy with it!
- 4 Tbsp sour cream – This is my secret weapon! The acidity and fat in the sour cream make these bars incredibly soft and moist, preventing them from drying out. Easy Sub: Plain, full-fat Greek yogurt works just as well in a pinch.
- 7½ cups all-purpose flour – The foundation. I always recommend fluffing your flour with a spoon, sprinkling it into your measuring cup, and leveling it off. Don’t scoop directly from the bag—you’ll pack in too much and end up with dry dough!
- 1 tsp salt – Balances the sweetness and makes all the other flavors pop.
- 2 tsp baking powder – Our leavening agent for a little bit of lift.
- Black and orange gel food coloring – Crucial note: Use gel food coloring, not the liquid kind from the grocery store. The gel is super concentrated, so you get vibrant colors without throwing off the liquid balance of your dough. For a deep black, you’ll need quite a bit of the black gel—don’t be alarmed!
For the Frosting & Decoration:
- 1 cup salted butter, softened – The base of our creamy, dreamy frosting.
- 8 cups confectioners’ sugar – Also known as powdered sugar. It dissolves easily for a smooth frosting.
- ½ cup half & half (or milk) – This thins the frosting to a spreadable consistency. Start with a little less and add more as needed. Whole milk or even heavy cream works great too!
- 2 tsp vanilla extract – Flavor, flavor, flavor!
- Purple gel food coloring – Again, gel is the way to go for that perfect witchy purple.
- Halloween sprinkles (optional but fun) – The more the merrier! This is where you can really let your personality shine.
Let’s Make Some Magic: Step-by-Step Instructions
Alright, team, let’s do this! It’s easier than you think. I’ll walk you through every step with my favorite hacks to ensure your bars are the talk of the town (or at least your kitchen).
- Preheat and Prep: Fire up your oven to 350°F (175°C). Now, take your 9×13 inch pan and line it with parchment paper, leaving a little overhang on the two longer sides. Why? This is your ultimate hack for easy removal and clean cutting later. You’ll be able to lift the entire slab of cookie out of the pan once it’s cooled. Give the parchment a light spritz with cooking spray to make sure nothing sticks.
- Cream the Good Stuff: In a large bowl (I use my stand mixer with the paddle attachment, but a hand mixer works perfectly), cream together the softened butter and white sugar on medium-high speed for a good 2-3 minutes. You want it to be light, fluffy, and almost pale in color. This step is non-negotiable for the perfect texture—it incorporates air, which makes the bars soft!
- Combine the Wet Team: Beat in the eggs, one at a time, making sure each is fully incorporated before adding the next. Then, mix in the vanilla extract and that secret weapon, the sour cream. Scrape down the sides of the bowl to make sure everything is homogenous.
- Whisk the Dry Squad: In a separate bowl, whisk together the flour, salt, and baking powder. This ensures our leavening agents are evenly distributed so we don’t get any bitter pockets of baking powder.
- Bring It All Together: With your mixer on low speed, gradually add the dry ingredients to the wet ingredients. Mix just until the flour disappears. Don’t overmix! Overworking the dough is the number one way to end up with tough cookie bars. The dough will be thick and a little sticky—that’s perfect.
- Color Time! This is the fun part! Divide the dough in half. Plop one half into another bowl. Using your gel food coloring, color one half a vibrant orange and the other a deep, dark black. Pro-tip: Wear disposable gloves for this unless you want Halloween hands for a week. For the black dough, be patient—it takes a fair amount of gel to move past gray and into a true black.
- Layer Up: Take your orange dough and press it evenly into the bottom of your prepared pan. I like to use lightly moistened fingers or the flat bottom of a measuring cup to press it down smoothly. Next, take chunks of the black dough, flatten them slightly in your hands, and lay them on top of the orange layer. Gently press and smooth the black layer to cover the orange completely, creating two spooky, distinct strata.
- Bake to Perfection: Pop the pan into your preheated oven and bake for 22-25 minutes. You’re looking for the edges to be just lightly golden brown. The center might still look a tiny bit soft—that’s okay! It will continue to set up as it cools. Do not overbake! Overbaking is the enemy of a soft, chewy bar.
- The All-Important Cool Down: Take the pan out and let the cookie base cool completely in the pan on a wire rack. I mean it—completely! If you frost it while it’s warm, you’ll have a melty, gloppy mess. This is the perfect time to wash your dishes and make the frosting.
- Whip Up the Frosting: In a clean bowl, beat the softened butter until it’s smooth and fluffy. Gradually add the confectioners’ sugar, about a cup at a time, beating on low speed first to avoid a sugar cloud, then increasing to medium. Once all the sugar is in, add the vanilla and about half of the half & half. Beat on medium-high for 2-3 minutes until it’s super light and creamy. Add your purple gel coloring and more half & half if needed to reach a spreadable consistency.
- Frost and Festoon: Once the cookie base is 100% cool, spread the purple frosting evenly over the top. Now, unleash your inner artist with those Halloween sprinkles! Go wild.
- The Final Wait: For the cleanest cuts, pop the entire pan into the refrigerator for about 30 minutes to let the frosting set. Then, use the parchment paper to lift the whole block out onto a cutting board. Use a sharp knife to cut into bars. Enjoy the applause!
How to Serve These Spooky Sensations
Presentation is part of the fun! I love arranging these bars on a rustic wooden board or a stark black platter to really make those colors pop. Stack them up high for a dramatic effect on your dessert table. They’re rich and sweet, so I like to pair them with a big pot of strong coffee or a cold glass of milk to balance everything out. These are the ultimate grab-and-go treat for a party, but they’re fancy enough to feel really special.
Mix It Up! Recipe Variations
Feel like playing mad scientist? Here are a few of my favorite twists:
- Bakery-Style Flavor: Add ½ tsp of almond extract to the cookie dough along with the vanilla. It adds a incredible depth of flavor that tastes professionally made.
- Chocolate Chip Twist: Fold ¾ cup of mini chocolate chips into the orange layer of dough before pressing it into the pan. Orange and chocolate are a classic combo for a reason!
- Cookies ‘n Creepy: Crush up a handful of Oreo cookies (black filling and all!) and mix them into the black layer of dough for a fun cookies-and-cream texture.
- Dairy-Free Delight: Use plant-based butter and a plain, unsweetened dairy-free yogurt instead of sour cream. For the frosting, use vegan butter and a splash of oat or almond milk.
- Next-Level Decor: Instead of sprinkles, press candy eyes or witch hat-shaped chocolates into the frosting before it sets for an extra dose of spooky personality.
Chef’s Notes: Stories from My Kitchen
This recipe has seen some things, let me tell you. The first time I tested it, I was so excited I frosted the bars while they were still slightly warm. Let’s just say I ended up with purple-frosted cookie *crumbles* instead of pretty bars. A delicious mistake, but a lesson learned! Now I’m militant about the cooling step.
The recipe has also evolved. It started as a simple one-color bar, but I got the layered idea after a failed attempt at marbleizing that turned into two perfect layers. Sometimes the best recipes come from happy accidents! I also upped the vanilla from the original test because, in my world, there’s no such thing as too much vanilla. These bars are now a non-negotiable part of my Halloween season, and I hope they become a tradition in your kitchen, too.
FAQs & Troubleshooting
Q: My dough is really sticky and hard to handle. What did I do wrong?
A: You probably did nothing wrong! This is a thick, sticky dough, especially after adding all that flour. This is exactly why we press it directly into the pan instead of rolling it. The best tools for the job are lightly moistened fingers or a flat-bottomed glass dipped in a little water or sugar to prevent sticking.
Q: Why did you specify gel food coloring? Can I use the liquid kind?
A: I strongly recommend gel. Liquid food coloring will add too much extra moisture to your dough and frosting, which can throw off the texture, making the dough too wet and the frosting runny. Gel coloring is highly pigmented, so you use less and get vibrant colors without affecting the recipe’s balance.
Q: My black dough looks more dark gray. How do I get it truly black?
A: Getting a true black can be tricky. You need a *lot* of black gel. Don’t be afraid to keep adding until it looks right. Some brands also make a “super black” gel color that is specifically formulated to achieve a deeper color faster. Also, remember that the dough will darken slightly as it bakes!
Q: Can I make these ahead of time?
A: Absolutely! These bars are fantastic make-ahead treats. You can bake the cookie base up to two days in advance, let it cool completely, wrap the whole pan tightly in plastic wrap, and store it at room temperature. Make the frosting and assemble the day you plan to serve them for the freshest taste and texture. Fully assembled bars keep beautifully in an airtight container in the fridge for up to 5 days.
Halloween Sugar Cookie Bars
- Total Time: 50 minutes
- Yield: 24 bars 1x
Description
These Halloween Sugar Cookie Bars are soft, buttery, and spookily festive with layers of black and orange cookie dough topped by a thick layer of creamy purple frosting. With a double batch, there’s plenty to go around — perfect for parties, trick-or-treat trays, or a frightfully sweet dessert table.
Ingredients
Cookie Base:
1½ cups salted butter, softened
3 cups white sugar
2 eggs
3 tsp vanilla extract
4 Tbsp sour cream
7½ cups all-purpose flour
1 tsp salt
2 tsp baking powder
Black and orange gel food coloring
Frosting:
1 cup salted butter, softened
8 cups confectioners’ sugar
½ cup half & half (or milk)
2 tsp vanilla extract
Purple food coloring
Halloween sprinkles (optional but fun)
Twists to Try:
Add ½ tsp almond extract to the dough for bakery-style flavor
Mix mini chocolate chips or crushed Oreos into the orange layer
Instructions
Preheat oven to 350°F and line a 9×13 pan with parchment paper.
In a large bowl, cream together butter and sugar until fluffy. Beat in eggs, vanilla, and sour cream.
In another bowl, whisk flour, salt, and baking powder. Gradually mix dry ingredients into wet.
Divide dough in half. Color one half black and the other orange using gel food coloring.
Press orange dough into bottom of pan. Gently press black dough on top to create two spooky layers.
Bake for 22–25 minutes or until edges are lightly golden. Cool completely.
For frosting, beat butter until fluffy. Gradually add sugar, vanilla, half & half, and purple food coloring.
Spread over cooled cookie base. Decorate with Halloween sprinkles. Chill slightly before cutting into bars.
- Prep Time: 25 minutes
- Cook Time: 25 minutes
Nutrition
- Calories: 270 / Bar
- Sugar: 28g / Bar
- Fat: 12g / Bar
- Carbohydrates: 38g / Bar
- Protein: 2g / Bar
Nutritional Information (Approximate, per bar)
Let’s be real—this is a treat! But here’s the approximate breakdown for one bar (based on 24 bars from the pan):
- Calories: ~270
- Carbohydrates: ~38g
- Fat: ~12g
- Sugar: ~28g
- Protein: ~2g
Disclaimer: This is an estimate based on the ingredients used. Values can vary depending on specific brands and measurements.
Final Thoughts
Halloween doesn’t have to mean complicated recipes or hours in the kitchen—it just needs a little color, a little frosting, and a whole lot of fun. These sugar cookie bars hit every note: soft, buttery, vibrant layers, a swoosh of creamy purple frosting, and enough sprinkles to make any ghoul grin. They’re festive without being fussy, which is exactly the kind of spooky magic I’m here for.
So whether you’re baking with kids, heading to a party, or just want to treat yourself to something sweet and seasonal, these bars deliver big flavor with zero stress. Embrace the messy frosting smudges, the over-sprinkled tops, and the candy-colored chaos. That’s what makes Halloween baking memorable—and delicious.
Bake a batch, share a laugh, and watch them disappear faster than candy on trick-or-treat night. Trust me, friends—these are the kind of “boo-tiful” bakes that’ll earn you legend status in your kitchen


