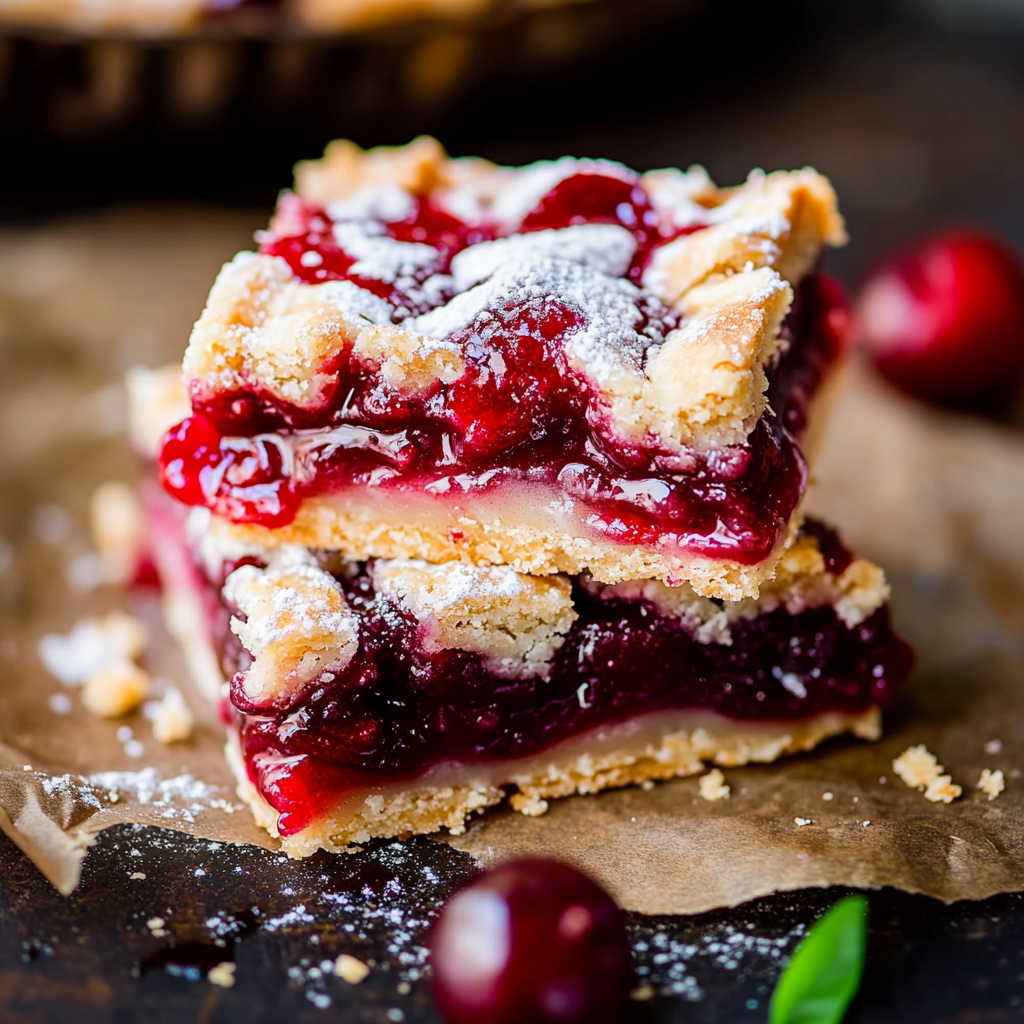
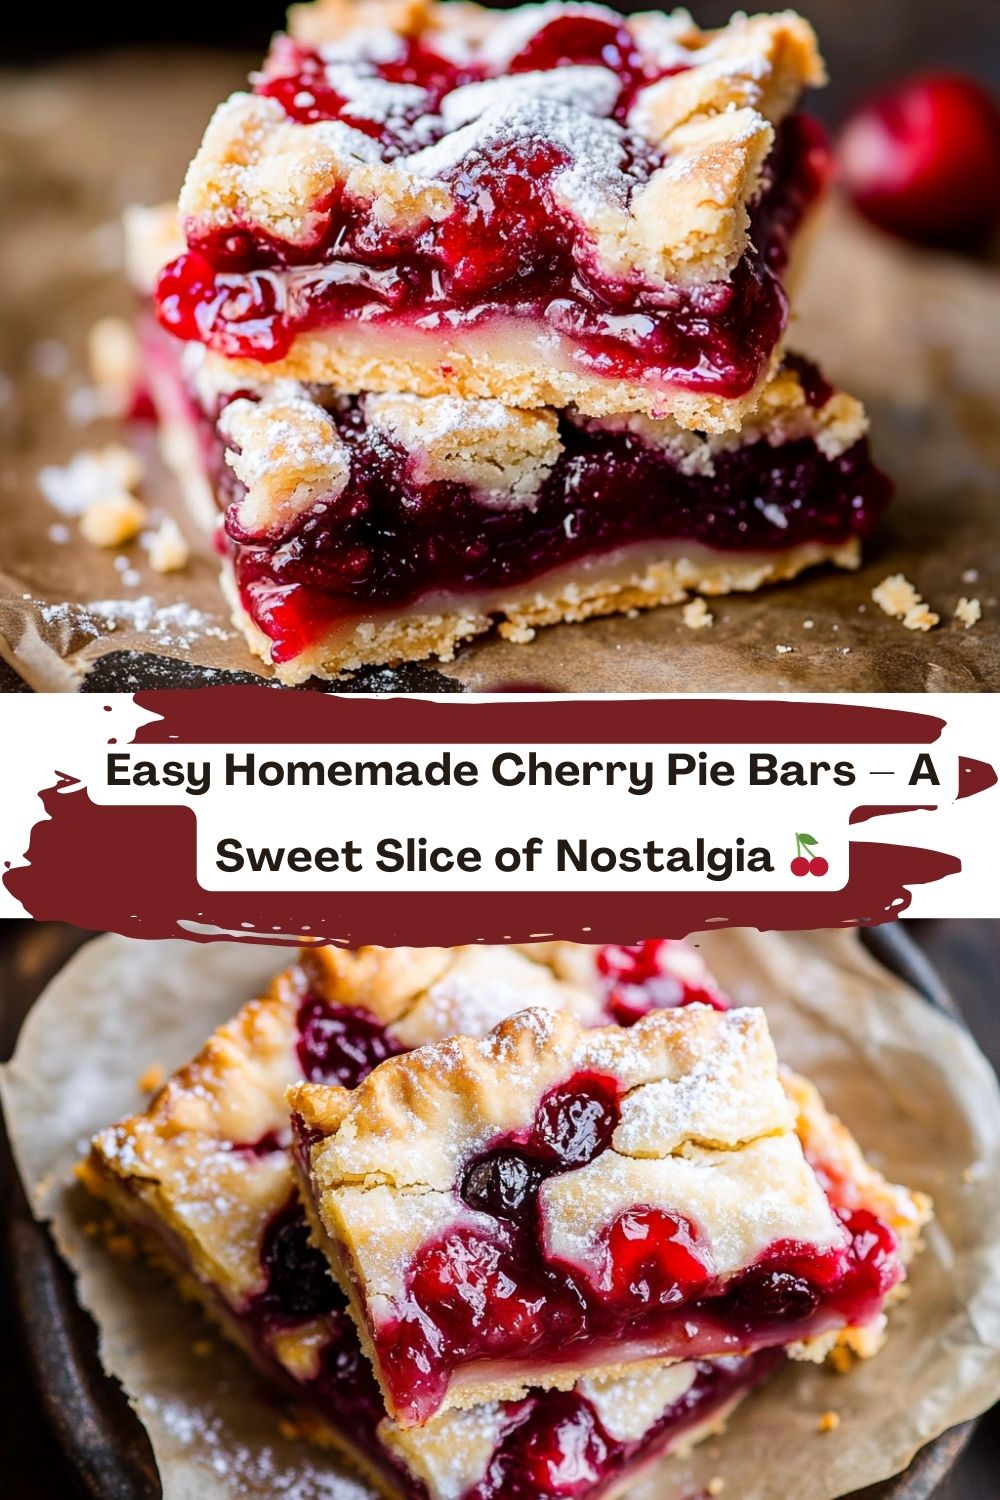
Easy Homemade Cherry Pie Bars: Your New Favorite Nostalgic Dessert 🍒
Picture this: It’s a sticky summer afternoon, thunder rumbling in the distance, and you’re perched on the kitchen counter watching your mom whisk together buttery dough and ruby-red cherries. The smell of vanilla and toasted sugar wraps around you like a hug. That’s where these cherry pie bars live in my heart – equal parts childhood magic and grown-up practicality. Today, I’m passing on this family heirloom recipe that’s survived spilled milk, questionable ’90s kitchen gadgets, and my disastrous first attempt at 16 (we’ll get to that later). Whether you’re a pastry pro or someone who thinks “baking” means reheating takeout, these bars are your ticket to becoming the hero of potlucks, picnics, and “I deserve something sweet” moments. Let’s bake memories!
The Time My Mom Outsmarted a Thunderstorm (And My Sweet Tooth)
Let me set the scene: 1997, a suburban kitchen with floral wallpaper, and 8-year-old me sulking because our annual pie night got rained out. Mom glanced at the storm clouds, then at my pout, and did that thing moms do where they turn nothing into something magical. “Who needs pie crusts?” she declared, pulling out a jelly roll pan. What followed was a flurry of creamed butter, cherry splatters, and the kind of laughter that happens when you’re licking batter off rain-streaked windows. Those imperfect, jammy squares tasted like victory over gloomy weather. Now, whenever I smell almond extract warming in the oven, I’m back at that linoleum table, learning that joy isn’t about perfect crusts – it’s about the hands you’re sharing it with.
Ingredients Breakdown: Your Grocery List With Benefits 🛒
- Unsalted butter (1 cup): The VIP of tenderness! Pro tip: If using salted, reduce added salt by half. Vegan? Swap in coconut oil – it adds a subtle tropical flair.
- Granulated sugar (2 cups): Not just sweetens – creates that craveable crispy edge. For deeper flavor, try 1/4 cup brown sugar mixed in.
- Almond extract (1/4 tsp): Optional but life-changing. It’s like giving your cherries a fancy hat. Allergic? Orange zest works wonders!
- Canned cherry pie filling (21 oz): The cheat code we all deserve. Feeling ambitious? Toss 3 cups fresh pitted cherries with 1/4 cup cornstarch and 1/2 cup sugar.
Baking Magic: Let’s Create Layers of Joy 🥄
Step 1: Preheat that oven to 350°F (175°C) – and don’t just set it, verify with an oven thermometer! I’ve lost count of how many “350°” ovens actually run at 325°…
Chef Hack: While waiting, place your mixing bowl in the fridge. Cold tools make better crusts!
Step 4: Spreading the batter? Channel your inner Picasso! A slightly damp offset spatula glides like a dream. Leave a 1/4” border to prevent jammy lava flows.
Plating Like a Pro (Even in Pajamas) 🍽️
These bars shine brightest on Grandma’s china or a paper towel – no judgment here! For dinner parties, stack triangles vertically with mint sprigs poking out like edible confetti. Midnight snack version? Microwave for 8 seconds and plop vanilla ice cream on top so it cascades down the sides seductively…
Variations to Try: Cherry Pie Bars with a Twist!
Cherry pie bars are already a crowd-pleaser, but once you’ve nailed the classic (and we know you will!), it’s time to flex those creative baking muscles. These variations turn one beloved recipe into a whole dessert playlist—perfect for seasonal swaps, dietary needs, or just switching things up because you’re feeling fancy. Let’s remix that nostalgia!
🍫 1. Black Forest Cherry Pie Bars
Love cherry pie and chocolate cake? Let’s marry the two. Stir ½ cup mini chocolate chips into the batter before baking. Then drizzle cooled bars with melted dark chocolate and a dusting of powdered sugar. For a bonus twist, swirl in 2 tablespoons of hot fudge sauce into the cherry filling before spreading—it’s messy, gooey, and absolutely divine.
🥥 2. Coconut Almond Cherry Bars (aka “Bake Sale Show-Offs”)
Swap ¼ cup of the flour for shredded sweetened coconut, and top the bars with sliced almonds before baking. The coconut adds tropical sweetness while the almonds bring that toasty crunch. Finish with a light coconut glaze (just powdered sugar + coconut milk) and serve with chilled coffee. Trust me, PTA moms will beg for the recipe.
🍋 3. Cherry Lemonade Bars
Brighten things up by adding 1 tablespoon of lemon zest to your batter and a teaspoon of lemon juice to the cherry filling. It cuts the sweetness and gives a subtle tang, like cherry pie met a lemon bar at a summer picnic. Top with a powdered sugar glaze spiked with more lemon juice for extra zing.
🥜 4. Cherry PB&J Bars
Take the nostalgic route even further—this one’s like childhood in dessert form. Mix 2 tablespoons of peanut butter into the base batter and swirl a bit of grape (or strawberry!) jelly into the cherry filling. Optional: sprinkle chopped roasted peanuts on top for salty crunch. It’s playful, familiar, and totally lunchbox-worthy.
🌾 5. Oatmeal Cherry Crumble Bars
Want something more rustic? Replace ½ cup of the flour with rolled oats and 2 tablespoons with ground flaxseed. The oats give a golden, chewy top layer that pairs beautifully with that jammy cherry center. Add cinnamon to the dough for a cozy bakery feel—especially great for fall mornings or breakfast bars (yes, dessert for breakfast is real).
🍎 6. Cherry Apple Pie Bars
Feeling fall-ish? Stir 1 cup of finely chopped tart apple (like Granny Smith) into the cherry pie filling. Sprinkle a dash of nutmeg and a pinch of allspice into the batter. It adds texture and warm spice—like biting into cherry pie at a harvest fair.
No matter how you remix these bars, remember: the magic isn’t just in the cherries or the crust. It’s in the joy you bake into every batch. So go wild, have fun, and maybe even invent your own signature twist (Cherry Bourbon Bacon Bars, anyone?). Just don’t forget to write it down—because one day, someone else might call your version the “classic.”
Confessions of a Cherry Pie Bar Addict 🍒
True story: I once made these for a first date, forgot the sugar, and we bonded over dunking salvageable bits in coffee. Married him anyway! Over the years, I’ve learned…
Your Burning Questions, Answered 🔥
Q: Can I freeze these?
A: Absolutely! Freeze unglazed bars for up to 3 months. Pro tip: Layer parchment between slices so they don’t get clingy.
Nutritional Transparency (No Judgment Zone!) 📊
Let’s be real – these aren’t salad. But joy has nutritional value too! Per bar (based on 20 servings): 230 calories, 9g fat…
🍒 Final Thoughts: Sweet Memories, One Bar at a Time
And just like that, we’ve reached the end of our cherry-splattered adventure—but don’t be surprised if these Easy Homemade Cherry Pie Bars become your new signature treat. Whether you’re baking on a rainy afternoon like my mom did back in ‘97 or pulling together something sweet for a last-minute potluck, these bars are the perfect balance of homey, nostalgic, and ridiculously craveable.
What I love most about this recipe—besides how downright delicious it is—is how forgiving it can be. You don’t need a lattice crust or a pastry degree. You just need a big bowl, a pan, and the willingness to get a little messy. This dessert doesn’t ask for perfection; it just asks for presence. That’s the magic: butter under your fingernails, the scent of almond extract hanging in the air, and that first warm bite that instantly makes the world feel a little softer around the edges.
Maybe you’ll bake these bars for a birthday party, or a family reunion, or because you had a rough Tuesday and need a pick-me-up that doesn’t come in a wrapper. Maybe you’ll swirl in chocolate or sneak in some lemon zest or serve them with ice cream and eat them barefoot on the porch. However you enjoy them, these bars aren’t just dessert—they’re an experience. A mood. A memory in the making.
I hope they remind you of the little things that make life sweet: old family recipes scribbled in faded ink, thunder rumbling while the oven hums, and that quiet joy that comes from creating something with your own two hands. They’re the kind of dessert that invites you to slow down and savor—not just the flavor, but the moment.
So go ahead—slice up some joy. Wrap a few in parchment and surprise your neighbor. Pack one in a lunchbox for a midday smile. Or keep them all for yourself and snack on them while watching your favorite comfort movie. No judgment here. Just crumbs, smiles, and a little bit of cherry-stained happiness.
Thanks for baking along with me, friends. If you try this recipe, I’d love to hear your take—your swaps, your wins, your glorious messes. Tag me, comment, send a pic, or just drop a line to say hello. And most of all? Keep making kitchen magic, one memory (and bite) at a time.