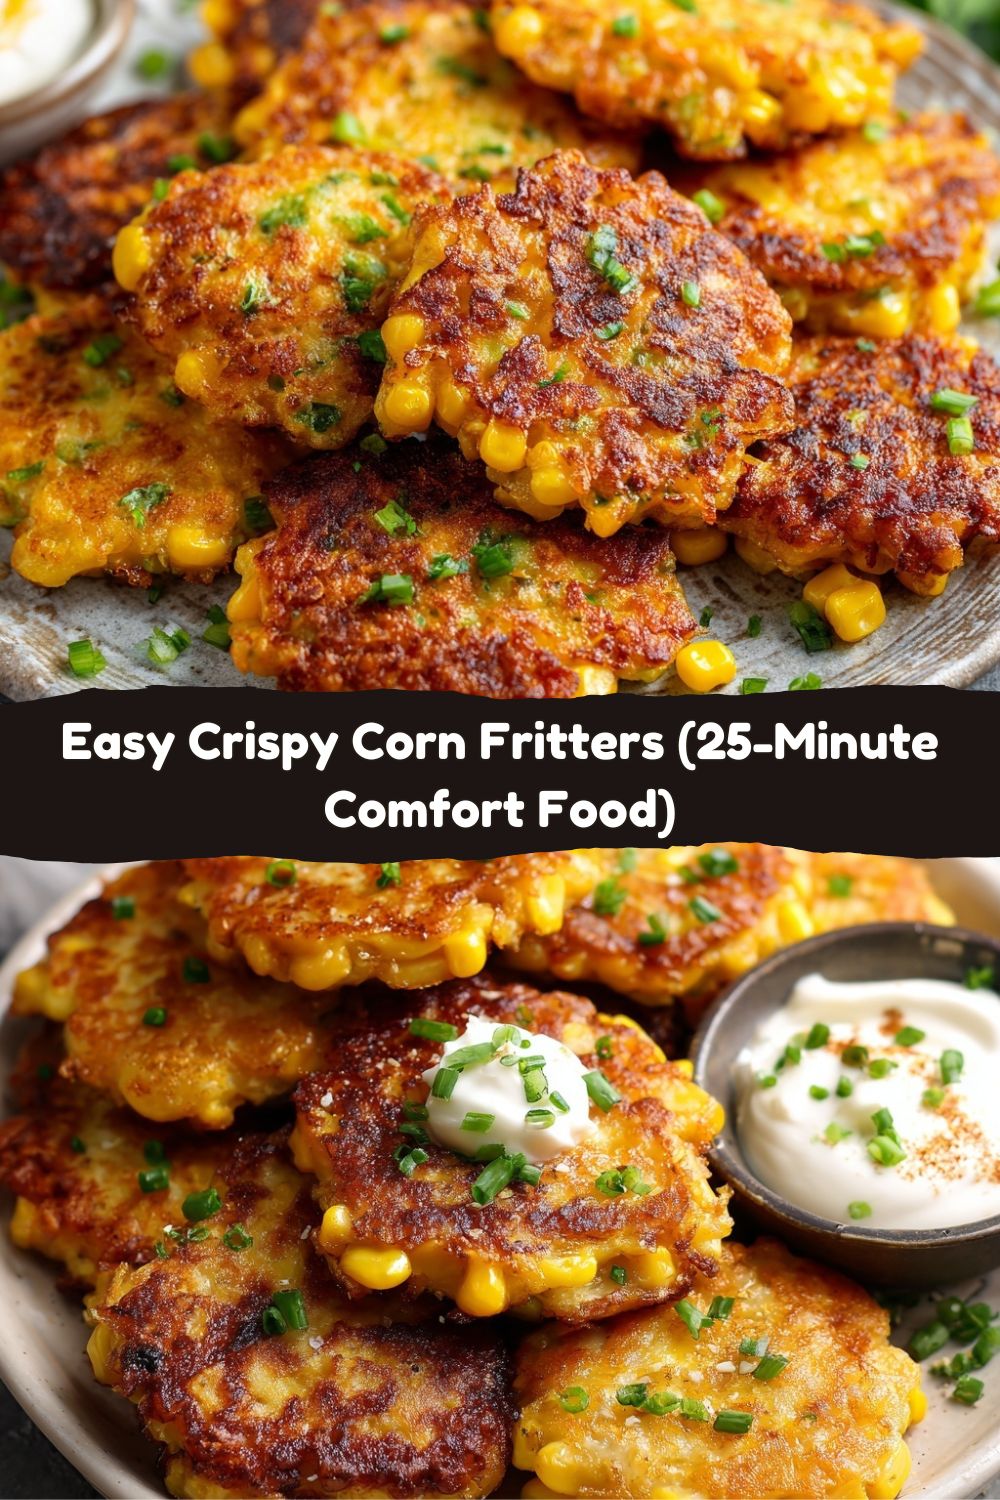
Let’s Make Some Seriously Good Corn Fritters
Hey there, it’s Jackson from Food Meld. Pull up a chair, grab a coffee (or a cold one, I don’t judge), and let’s talk about one of my all-time favorite kitchen hacks: turning simple, humble ingredients into something that makes everyone at the table go completely silent—in the best way possible. That’s the magic of a perfect Corn Fritter. We’re talking crispy, golden edges giving way to a tender, fluffy middle absolutely bursting with sweet pops of corn. It’s the kind of food that feels like a hug but tastes like a celebration.
Maybe you’ve got a bag of frozen corn in the freezer begging for purpose, or some fresh ears from the market. Maybe you just opened the pantry and thought, “I need something awesome, and I need it in 20 minutes.” Friend, you’ve come to the right place. This isn’t a fussy recipe. It’s a “dump, mix, sizzle, and devour” recipe. It’s weeknight dinner hero, brunch showstopper, and game-day MVP all rolled into one delicious, pan-fried package. I’ve made these a hundred different ways, and the formula I’m sharing with you today is the gold standard—the one I always come back to. So, tie on your apron (or don’t, I’m not your mom), and let’s cook something awesome together.
A Fritter, a Grandpa, and a Summer Afternoon
This recipe always takes me right back to my grandpa’s porch in Georgia. He wasn’t a fancy cook, but man, could he make a skillet sing. One blistering summer afternoon, after we’d shucked what felt like a million ears of silver queen corn, he looked at the mountain of kernels and said, “Well, we ain’t just gonna boil it all.” With a wink, he pulled out a big yellow bowl and started tossing things in with the kind of effortless confidence that only comes from decades in the kitchen. No measuring cups in sight. The scent of those fritters hitting the hot bacon grease (his secret weapon) is forever etched in my memory—sweet, savory, and utterly irresistible. We ate them straight off the paper towel-lined plate, burning our fingers, drizzling them with hot sauce, and laughing until our sides hurt. That’s the spirit I want to bring to your kitchen. It’s not just about the food; it’s about the fun, the mess, and the “you’ve gotta try this” moment you create while making it.
What You’ll Need & Why It Works
Here’s the beautiful part: you probably have 90% of this already. This is a pantry-power play. Let’s break it down so you see why each piece matters and know exactly how to swap things if you need to.
- 1 cup all-purpose flour: Our trusty foundation. It gives the fritters structure without making them tough. For a gluten-free twist, a 1:1 GF blend works like a charm—I’ve tested it!
- 1 teaspoon baking powder: This is our little leavening miracle worker. It creates tiny air pockets as the fritters cook, giving them that perfect, tender lift so they’re not dense hockey pucks.
- 1/2 teaspoon salt & 1/4 teaspoon black pepper: The essential flavor enhancers. Salt makes the corn taste corn-ier, and pepper adds a subtle background warmth. Don’t skip ‘em.
- 1/2 teaspoon smoked paprika (optional but highly recommended): My “what if we tried this?” addition. It doesn’t make things spicy, just adds a whisper of smoky, campfire depth that plays so nicely with the sweet corn. If you don’t have it, no sweat, but it’s a game-changer.
- 2 large eggs: Our binder and bonus richness. They hold everything together and contribute to that gorgeous golden-brown color.
- 1/4 cup milk: Any kind you have—whole, 2%, even unsweetened almond milk. This loosens the batter to the ideal, scoopable consistency.
- 2 cups corn kernels: The STAR. Fresh off the cob in summer is sublime, but frozen (thawed and patted dry) or canned (drained well) are fantastic year-round workhorses. I almost always use frozen—it’s consistent, sweet, and easy.
- 1/4 cup chopped green onions or chives: A pop of color and a fresh, mild oniony bite that cuts through the richness. If you’re out, a little finely diced red onion or even a pinch of onion powder in the dry mix can sub in.
- 1/2 cup shredded cheese (cheddar or pepper jack, optional): Okay, not *truly* optional in my book. Melty, salty cheese takes these from great to legendary. Sharp cheddar is classic, but pepper jack brings a fun kick. Fold it in last so it doesn’t clump.
- Vegetable oil, for frying: A neutral oil with a high smoke point is key. Canola, avocado, or a light olive oil are my go-tos. You don’t need to deep fry—just a good 1/4-inch layer in the bottom of your skillet.
Let’s Get Cooking: Your Step-by-Step Roadmap to Crispy Bliss
Ready? This is where the fun begins. I’ll walk you through each step with the little tips and tricks I’ve learned to guarantee fritter success every single time.
Step 1: The Dry Team Assembly. Grab your largest mixing bowl. Why large? Because we’re adding everything to it eventually, and we hate spills. Dump in the flour, baking powder, salt, pepper, and that glorious smoked paprika. Give it a good whisk. You’re not just mixing; you’re aerating the flour and making sure the baking powder is evenly distributed. No one wants a bite that’s all baking powder, trust me. Chef Hack: If you’re feeling fancy, you can sift it, but a vigorous whisk does the job.
Step 2: The Wet Team Whisk. In a smaller bowl or a large measuring cup, crack in your two eggs and pour in the milk. Beat them together until they’re completely homogenous and slightly frothy. This is your quick “glue” that will bring the dry and the corn together.
Step 3: The Meld. Here’s the crucial part: pour the wet ingredients into the dry. Take a spatula or wooden spoon and stir until the two are just combined. I’m talking maybe 10-15 strokes. It will look shaggy and lumpy, and that’s PERFECT. Overmixing is the enemy of tender fritters—it develops the gluten in the flour and makes them tough. A few dry streaks are totally fine.
Step 4: The Flavor Fold-In. Now, gently fold in your corn, green onions, and cheese (if using). “Folding” means you’re not stirring aggressively; you’re using a turning motion to incorporate everything without crushing the corn kernels. The batter will be thick and chunky—exactly what we want. Let it rest for 5 minutes while you heat your oil. This lets the flour hydrate fully and results in a better texture.
Step 5: Heat is Key. Place a large skillet (cast-iron is king for even heat, but non-stick works great too) over medium heat. Add enough oil to coat the bottom generously, about 1/4 inch deep. Let it heat up for a good 3-4 minutes. To test if it’s ready, drop a tiny bit of batter in. If it sizzles immediately and starts to bubble around the edges, you’re in the goldilocks zone. Too hot, and they’ll burn outside before cooking inside; too cool, and they’ll soak up oil and be greasy.
Step 6: Fry Time! Use a large spoon or a 1/4-cup measure to drop mounds of batter into the hot oil. Don’t crowd the pan—leave about an inch between them so they have room to breathe and you can flip them easily. Use the back of your spoon to gently flatten each mound to about 1/2-inch thick. This ensures even cooking and maximum crispy surface area. Let them cook, undisturbed, for 2-3 minutes, until the edges look set and the bottoms are a deep, golden brown.
Step 7: The Flip & Finish. Slide your spatula underneath, be confident, and flip! They should release easily if a good crust has formed. Cook for another 2-3 minutes on the second side. When they’re done, transfer them to a plate lined with a couple of paper towels. This drains any excess oil and keeps them crispy. Repeat with the remaining batter, adding a touch more oil to the pan if it gets dry.
How to Serve These Golden Gems
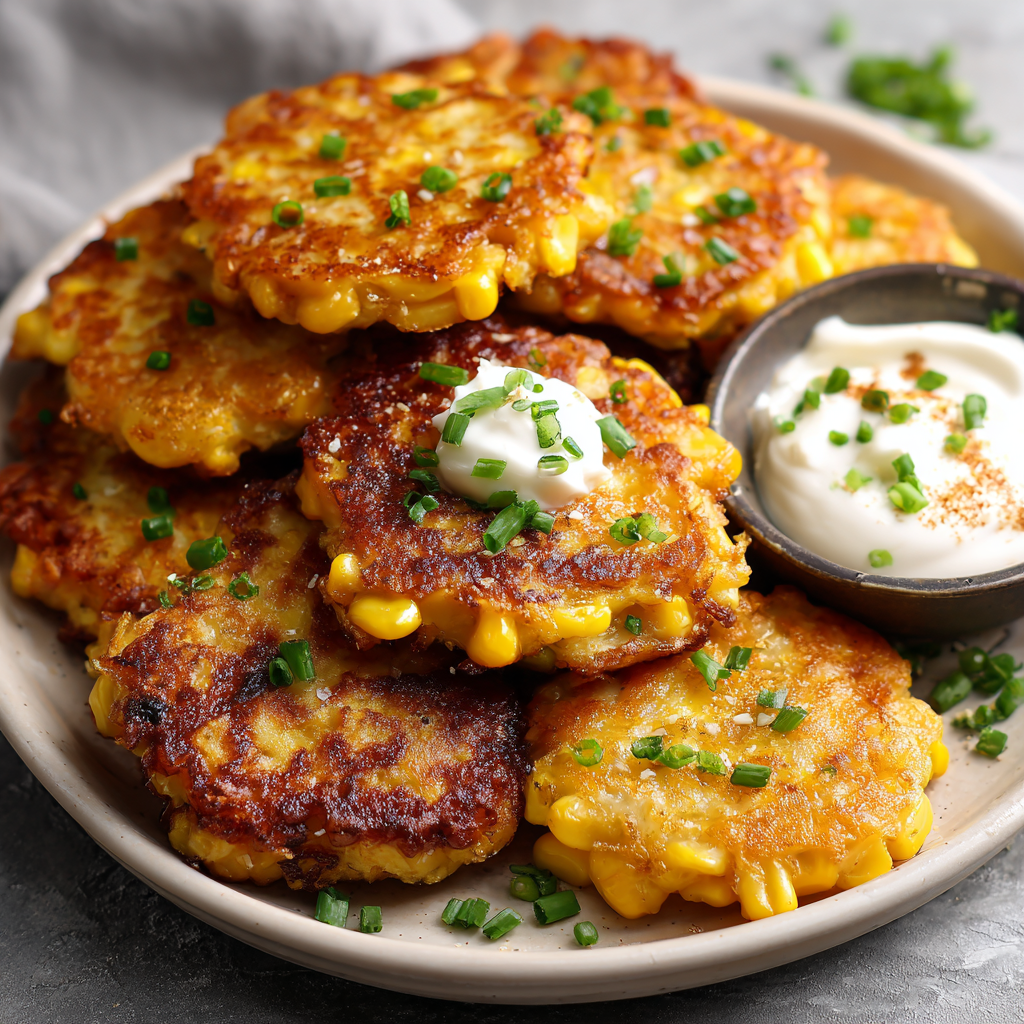
You can absolutely eat these straight off the paper towel line (I won’t tell). But if you want to make it a moment, here’s how I love to plate ‘em up. Pile them high on a big, rustic platter. The visual of all those crispy edges and bright pops of corn and green onion is half the appeal. Now, the dip station is where you get to personalize. I always offer a few options:
- The Classic Trio: A big dollop of cool sour cream, a bowl of spicy salsa, and a drizzle bottle of hot honey (just warm some honey with a pinch of red pepper flakes—it’s life-changing).
- The Elevated Bite: Smash an avocado with lime juice and salt for quick guac, or whip up a quick chipotle mayo (mayo + a minced chipotle in adobo + a squeeze of lime).
- For a Full Meal: Serve them alongside a big, bright salad for a killer lunch, or top them with a perfectly fried egg and a dash of hot sauce for the ultimate brunch. They’re also the best sidekick for grilled chicken or smoky BBQ.
Mix It Up! 5 Delicious Twists on the Classic
Once you’ve mastered the base, the world is your oyster… or your fritter. Here are some of my favorite ways to play with the formula.
- Southwest Fiesta: Add a finely diced jalapeño, swap the cheese for pepper jack, and fold in 1/4 cup of drained black beans. Serve with lime crema.
- Breakfast Fritters: Add 4-5 strips of cooked, crumbled bacon and a handful of chopped chives to the batter. Serve with maple syrup for a sweet-savory dream.
- “Everything Bagel” Style: Omit the green onions and swap the smoked paprika for 1 tablespoon of everything bagel seasoning in the batter. After frying, brush the tops with a little cream cheese thinned with milk.
- Thai-Inspired: Swap the green onions for 1/4 cup chopped cilantro and 1 tablespoon finely chopped lemongrass (or 1 tsp zest). Use a sweet chili sauce for dipping.
- Zucchini-Corn Combo: Grate 1 small zucchini, squeeze out ALL the excess liquid in a kitchen towel, and fold it in with the corn. Adds great moisture and a veggie boost.
Jackson’s Kitchen Notes
This recipe has been on quite a journey with me. It started as my grandpa’s no-recipe recipe, became my college dorm hack (using canned corn and a hot plate, believe it or not), and has evolved into this tested-and-perfected version I share with you. The smoked paprika and cheese are my personal “Meld” touches. One time, I was filming a video for the blog and got so excited talking about the corn that I flipped a fritter right onto the floor. My dog, Biscuit, thought it was the best day of his life. So, don’t stress perfection. Embrace the little messes and surprises. The batter can hang out in the fridge for a couple of hours if you want to get ahead, and leftover fritters re-crisp beautifully in a toaster oven or air fryer. They’re resilient, just like us.
Your Questions, Answered
Q: My fritters are turning out greasy/oily. What am I doing wrong?
A: This almost always comes down to oil temperature. If the oil isn’t hot enough, the batter will absorb it instead of sealing on contact. Let your oil heat for a full 3-4 minutes over medium heat and do the sizzle test with a tiny bit of batter first. Also, make sure you’re not overcrowding the pan, which causes the temperature to drop.
Q: Can I bake these instead of frying?
A: You can! For a lighter version, preheat your oven to 400°F (200°C). Brush a baking sheet generously with oil or line it with parchment. Form the fritters, place them on the sheet, and brush the tops lightly with more oil. Bake for 15-20 minutes, flipping halfway, until golden on both sides. They won’t be *quite* as crispy as pan-fried, but they’re still delicious.
Q: The inside of my fritter is still a bit doughy. Help!
A> Two culprits: 1) The heat was too high, so the outside browned before the inside cooked through. Stick to a steady medium heat. 2) The fritters were too thick. Remember to flatten them to about 1/2-inch thick before frying so the heat can penetrate to the center evenly.
Q: Can I make the batter ahead of time?
A> I recommend making it no more than an hour ahead and keeping it in the fridge. The baking powder will start to activate once it hits the liquid, and if it sits too long, you might lose some of that lift. It’s so quick to mix, I usually just do it right before cooking.
Nutritional Info (A Quick Look)
Just so you know what’s in the goodness you’re making! This estimate is for one fritter (assuming the recipe makes 8) and includes the optional cheese, using 2% milk, and accounts for oil absorption during frying. Remember, these are estimates and can vary based on your specific ingredients and portion sizes.
- Prep Time: 10 minutes
- Cook Time: 15 minutes
- Total Time: 25 minutes
- Servings: 8 fritters
Per fritter (approx.): 130 calories, 4g protein, 12g carbohydrates, 7g fat. They’re a satisfying bite! For a lighter version, try the baking method mentioned above and consider reducing the cheese slightly.
Final Thoughts: Your Kitchen, Your Rules
And that’s it! You’re now armed and ready to make the most irresistible, crispy, flavor-packed corn fritters. Remember, this recipe is a canvas. Love garlic? Add a minced clove to the wet mix. Want more herbs? Toss in some fresh dill or parsley. That’s the whole spirit of Food Meld—taking something fantastic and making it unmistakably yours. So, go forth, get that skillet sizzling, and create your own “you’ve gotta try this” moment. I’d love to hear how they turn out! Tag me on social or drop a comment on the blog. Now, let’s eat!
– Jackson


