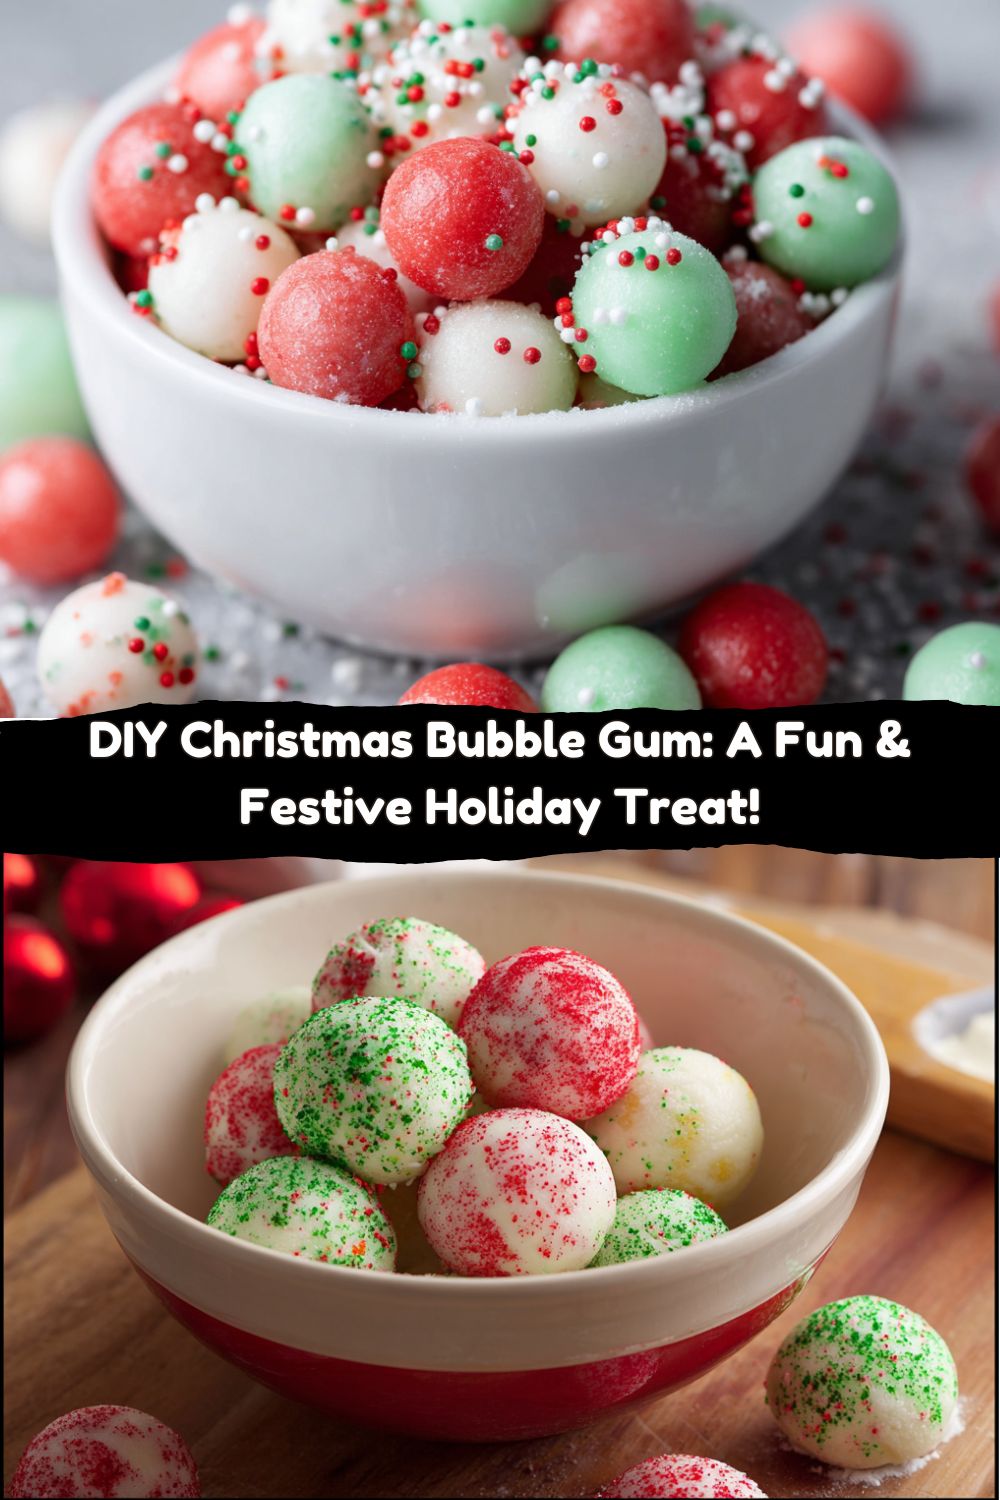
Let’s Make Some Magic: DIY Christmas Bubble Gum!
Hey friends, Jackson from Food Meld here! Is there anything that screams “holiday fun” more than the smell of peppermint and the sight of red and green everything? I’m a sucker for those classic flavors, but you know me—I always have a little “what if we tried this?” itch to scratch. This year, we’re taking that festive spirit and turning it into something you can actually chew. That’s right, we’re making our very own DIY Christmas Bubble Gum from scratch!
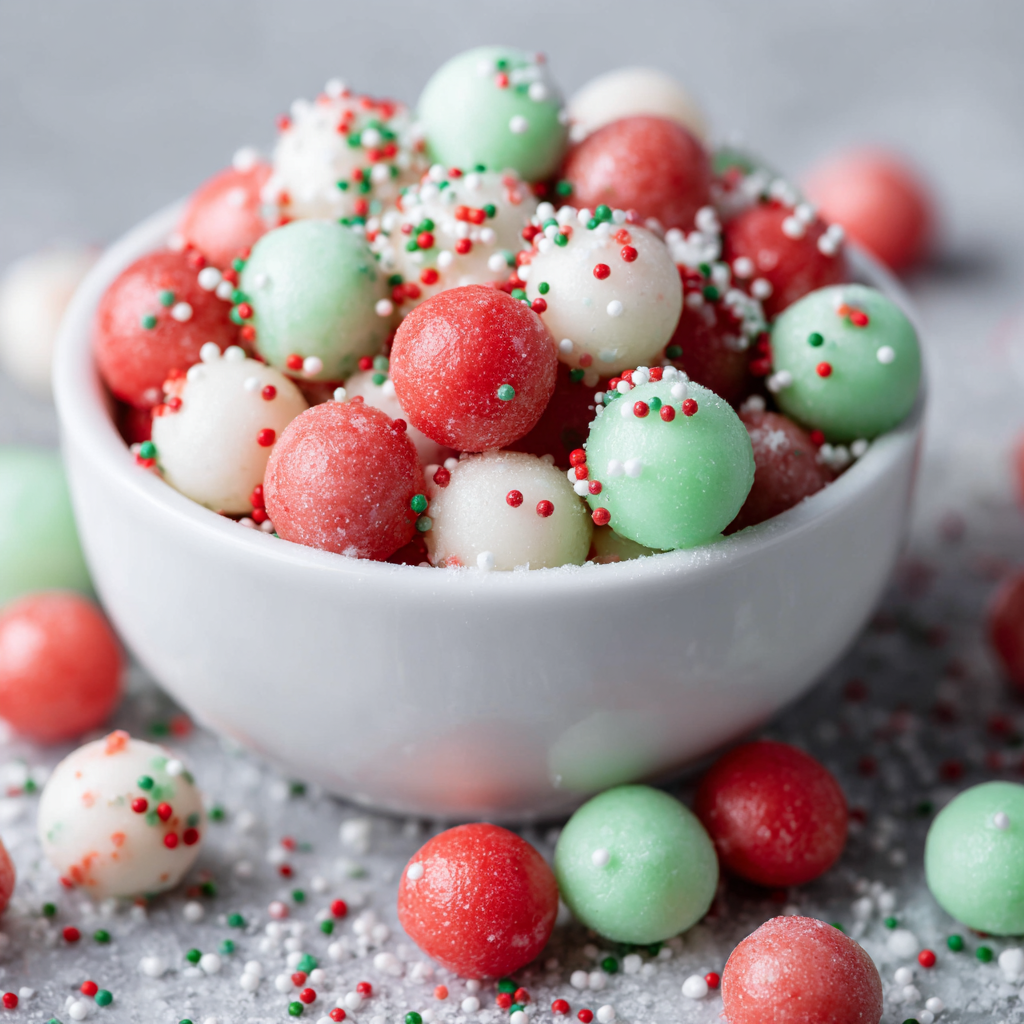
Now, I see that look. Making gum? At home? Trust me, I had the same thought the first time I stumbled upon the idea. It sounds like something out of a Willy Wonka dream, but I’m here to tell you it’s not only possible, it’s an absolute blast. This isn’t some intimidating, all-day kitchen project. We’re talking about 15 minutes of active, messy, laugh-out-loud fun that results in the coolest, most personalized holiday treat. Imagine pulling out a little jar of these chewy, festive-colored gum balls at your holiday party. Or, better yet, packaging them up as the most unique stocking stuffer or gift for friends. The “wow” factor is through the roof!
This project is all about that Food Meld energy: taking a simple concept (bubble gum) and giving it a bold, creative twist (a whole lot of Christmas cheer). It’s a perfect activity to do with the kids, a fun date night in the kitchen, or just a quirky way to get your hands dirty and make something unforgettable. So, are you ready to ditch the store-bought stuff and cook up some edible holiday magic? Let’s grab our ingredients and cook something awesome together.
A Sticky-Fingered Christmas Memory
This recipe takes me right back to my grandma’s kitchen, though not in the way you might think. She wasn’t a gum-maker—far from it. She was the queen of pecan pies and yeast rolls that could make you weep. But every Christmas, she’d always have a big bowl of those classic, multi-colored ribbon candies and, without fail, a pack of pink bubble gum tucked away in her apron pocket just for me and my cousins.
The rule was you had to finish your dinner before you got a piece. I can still see the twinkle in her eye as she’d slowly pull that familiar pink wrapper from her pocket, watching us squirm with anticipation. That simple act of getting a piece of gum felt like winning a tiny, delicious lottery. It wasn’t about the gum itself; it was about the moment, the shared secret, the pure, simple joy of it. When I started experimenting with homemade candy, I knew I had to recreate that feeling. This Christmas bubble gum is my grown-up, chef-ified version of that memory. It’s my way of bottling up that holiday anticipation and sharing it with you. It’s more than a sweet treat; it’s a little piece of festive, chewy nostalgia.
Gathering Your Gum-Making Gear
Alright, let’s talk ingredients. The list is short and sweet, but a couple of these might be new to you. Don’t worry, I’ve got the full breakdown. The key here is using the right stuff to get that perfect, chewy texture.
- ½ cup Gum Base Pellets: This is the star of the show! Gum base is what gives gum its… well, gumminess. It’s a blend of elastomers, resins, and waxes that are food-grade and safe to eat. You can find it online or at specialty candy-making stores. Chef’s Insight: Don’t try to substitute this with anything else—this non-negotiable ingredient is what makes it chewy instead of hard like a candy.
- ¼ cup Light Corn Syrup: This acts as our softener and sweetener, helping to create a pliable dough. Substitution Tip: If you prefer, you can use agave nectar or even a simple syrup, but corn syrup gives the best, most consistent texture for beginners.
- 1–2 drops Food-Grade Flavoring Oils (Peppermint, Cinnamon, or Vanilla): This is crucial! Use flavoring oils, not extracts. Oils are much more potent and won’t add extra liquid that could mess with the texture. Chef’s Insight: A little goes a long way! Start with one drop, knead it in, and taste before adding more. You can always add, but you can’t take away!
- ½ cup Powdered Sugar (plus extra for dusting): This sweetens our gum and is essential for dusting our hands and work surface to prevent a sticky mess. Substitution Tip: For a less sweet gum, you can use a powdered sugar substitute like Swerve, but the texture might be slightly different.
- Gel Food Coloring (Red and Green): Gel coloring is best because, like the flavor oils, it’s highly concentrated and won’t add unnecessary moisture. Liquid food coloring can make the gum tacky.
- Christmas Sprinkles (Optional): For that final festive touch! Nonpareils or small sugar crystals work great.
The Fun Part: Let’s Make Some Gum!
Okay, put on your favorite Christmas playlist and roll up your sleeves. This is where the magic happens. It’s a simple process, but I’ll walk you through every step with all my best tips to ensure success.
- Melt the Base: In a medium, microwave-safe bowl (glass is best), combine the gum base pellets and the corn syrup. Pop it in the microwave and heat on high for 20 seconds. Take it out and give it a stir—it will likely still be lumpy. That’s perfect! We’re going low and slow to avoid overheating. Repeat this process, microwaving in 20-second bursts and stirring thoroughly each time, until the mixture is completely smooth and melted. Chef’s Hack: Be patient here! Rushing with high heat can cause the base to become tough or grainy. Smooth and slow wins the race.
- Add Flavor and Color: Now for the personality! Carefully stir in your chosen flavor oil. Remember, start with just one drop! Then, add a tiny drop of your gel food coloring. If you want to make multiple colors (like red for cinnamon and green for peppermint), now is the time to carefully divide the melted base into separate bowls before adding your flavors and colors. Chef’s Hack: The melted gum will be very hot. Let it cool for just a minute before you start kneading so you don’t burn your fingers. A spatula is your best friend for this initial mixing.
- Mix in the Powdered Sugar: Gradually start adding the ½ cup of powdered sugar to the warm gum mixture. It will start to look a bit strange and might seize up—that’s exactly what we want! Keep stirring until it becomes too difficult, then it’s time to get your hands involved. Chef’s Insight: Don’t be alarmed if it seems sticky and unworkable at first. The powdered sugar is our key to transforming it from a gooey mess into a workable dough.
- Knead It Out: This is the most important step for texture! Liberally dust a clean countertop with powdered sugar and turn the gum mixture out onto it. Dust your hands generously, too—this stuff is sticky! Now, knead the gum like you would bread dough. Fold it over, push it down, and turn it. Do this for a good 3-5 minutes, adding more powdered sugar as needed to prevent sticking, until the gum is smooth, elastic, and no longer sticky. Chef’s Hack: If you have food-safe gloves, they can be a lifesaver here to prevent dyed hands!
- Shape Your Gum: Let your creativity run wild! You can roll small pieces into classic gum balls. For a real festive touch, roll the dough out to about ¼-inch thickness (using more powdered sugar to prevent sticking) and use mini Christmas cookie cutters like trees, stars, or stockings. If you’re using sprinkles, press them into the surface now so they stick. Chef’s Insight: The gum will be soft and pliable now but will firm up as it cools.
- Cool & Store: Place your shaped gum pieces on a parchment-lined baking sheet or plate and let them set at room temperature for about 30 minutes. This allows them to firm up to the perfect chewy consistency. Once set, store your homemade bubble gum in an airtight container at room temperature. Chef’s Hack: Placing a small piece of a paper towel in the container can help absorb any excess moisture and keep your gum fresh longer.
How to Serve Your Holiday Creation
You’ve made something incredible, so let’s show it off! Presentation is half the fun with a project like this. For a holiday party, I love filling a clear glass jar or a festive ceramic bowl with an assortment of the red and green gum balls. It becomes an instant conversation starter. For gifting, get creative! Small cellophane bags tied with a ribbon make perfect stocking stuffers. You can put a few pieces in a mini mason jar with a cute tag that says “Handmade Christmas Gum” for teachers, neighbors, or friends. It’s a gift that’s personal, fun, and absolutely delicious. This isn’t just candy; it’s a little jar of holiday spirit you made with your own two hands.
Mix It Up: Creative Twists on Christmas Gum
Once you’ve mastered the basic recipe, the “what if” fun really begins. Here are a few of my favorite ways to mix it up:
- The Christmas Tree: Use green gum dough and shape it into little trees. Use a toothpick to etch on “bark” lines, and decorate with tiny nonpareil “ornaments.”
- Spiced Eggnog Gum: Combine a drop of vanilla flavor oil with a tiny pinch of nutmeg and cinnamon (use the powder). It tastes just like the holiday classic!
- Gingerbread Man Gum: Use cinnamon flavor oil and a drop of molasses (be careful, it adds moisture, so just a tiny drop!) and shape them with a gingerbread man cookie cutter.
- Fruity Festive Gum: Who says Christmas flavors are only warm spices? Try a combination of cherry and lime flavor oils for a fun, fruity twist on the red and green theme.
- Sparkling Snow Gum: Keep the gum itself white (vanilla flavor) and after shaping, roll it in white sparkling sugar or edible glitter for a frosty, magical effect.
Jackson’s Chef’s Notes
This recipe has evolved so much since my first attempt, which was… well, let’s just call it a learning experience. The first batch was so sticky I had to pry it off my fingers! The key lesson? Don’t be shy with the powdered sugar when kneading. It’s your best defense against a sticky situation. I also love that this is a living recipe. I once made a batch for a friend’s “Ugly Sweater Party” and colored the gum in the most hideous shades of brown and mustard yellow I could find (flavored with maple and coffee, actually delicious!). The point is, make it yours. Have fun with it. The best recipes are the ones that come with a good story and a few laughs along the way.
FAQs & Troubleshooting
Q: My gum is too hard and not chewy. What happened?
A: This usually means the gum base was overheated. Next time, be extra careful with the melting step, using shorter microwave bursts and stirring well each time. Low and slow is the mantra!
Q: My gum is way too sticky to handle, even after kneading. Help!
A: Don’t panic! This is the most common issue. Just keep dusting the gum and your hands with more powdered sugar. It will eventually absorb the moisture and become workable. You can’t really add too much at this stage.
Q: Why do I need flavor oils? Can’t I use the vanilla extract I have in my cupboard?
A: This is a great question. Extracts are alcohol-based and contain water, which can make your gum soggy and prevent it from achieving the right texture. Flavor oils are oil-based and super concentrated, so they pack a punch without messing with the chemistry.
Q: How long does this homemade gum last?
A: Stored in an airtight container at room temperature, your gum should stay fresh and chewy for about 2-3 weeks. It doesn’t contain the preservatives of commercial gum, so enjoy it within a few weeks for the best experience.
A Quick Note on Nutrition
Let’s be real, this is a fun, festive treat! It’s not a health food, but it’s a wonderful homemade alternative to store-bought candy because you control the ingredients. The primary ingredients are gum base (indigestible food-grade polymers), corn syrup, and powdered sugar. A rough estimate per small piece is around 25 calories, with about 4g of sugar. It’s naturally fat-free and gluten-free. The beauty of making it yourself is that you can adjust the sweetness slightly and know exactly what’s going into your family’s treats. It’s all about enjoying a special, handmade holiday moment!
Your New Favorite Holiday Tradition
And there you have it! You’re now a certified holiday gum artisan. I hope you have as much fun making this as I do. This recipe is a perfect example of what I love about Food Meld: taking the intimidation out of cooking and replacing it with creativity, flavor, and a whole lot of fun. It’s not about perfection; it’s about the joy of creating something with your own hands and sharing it with people you love.
So, did you give it a try? I’d love to see your creations! Tag me on social @FoodMeld with your red and green gum masterpieces. Did you come up with a crazy new flavor combo? Tell me all about it in the comments below. From my kitchen to yours, have a delicious and chewy holiday season. Let’s cook something awesome together again soon!
Happy Meldin’,
Jackson


