The Secret to Fried Chicken Magic (Without the Deep Fryer Drama)
Hey friends, Jackson here from Food Meld. Let’s get real for a second. Who doesn’t dream about biting into a piece of chicken that’s shatteringly crispy on the outside, juicy on the inside, and packed with so much garlic-parmesan flavor it makes you do a little happy dance? But then you think about heating up a vat of oil, the splatter, the smell, the cleanup… and suddenly, that frozen pizza starts looking pretty good again.
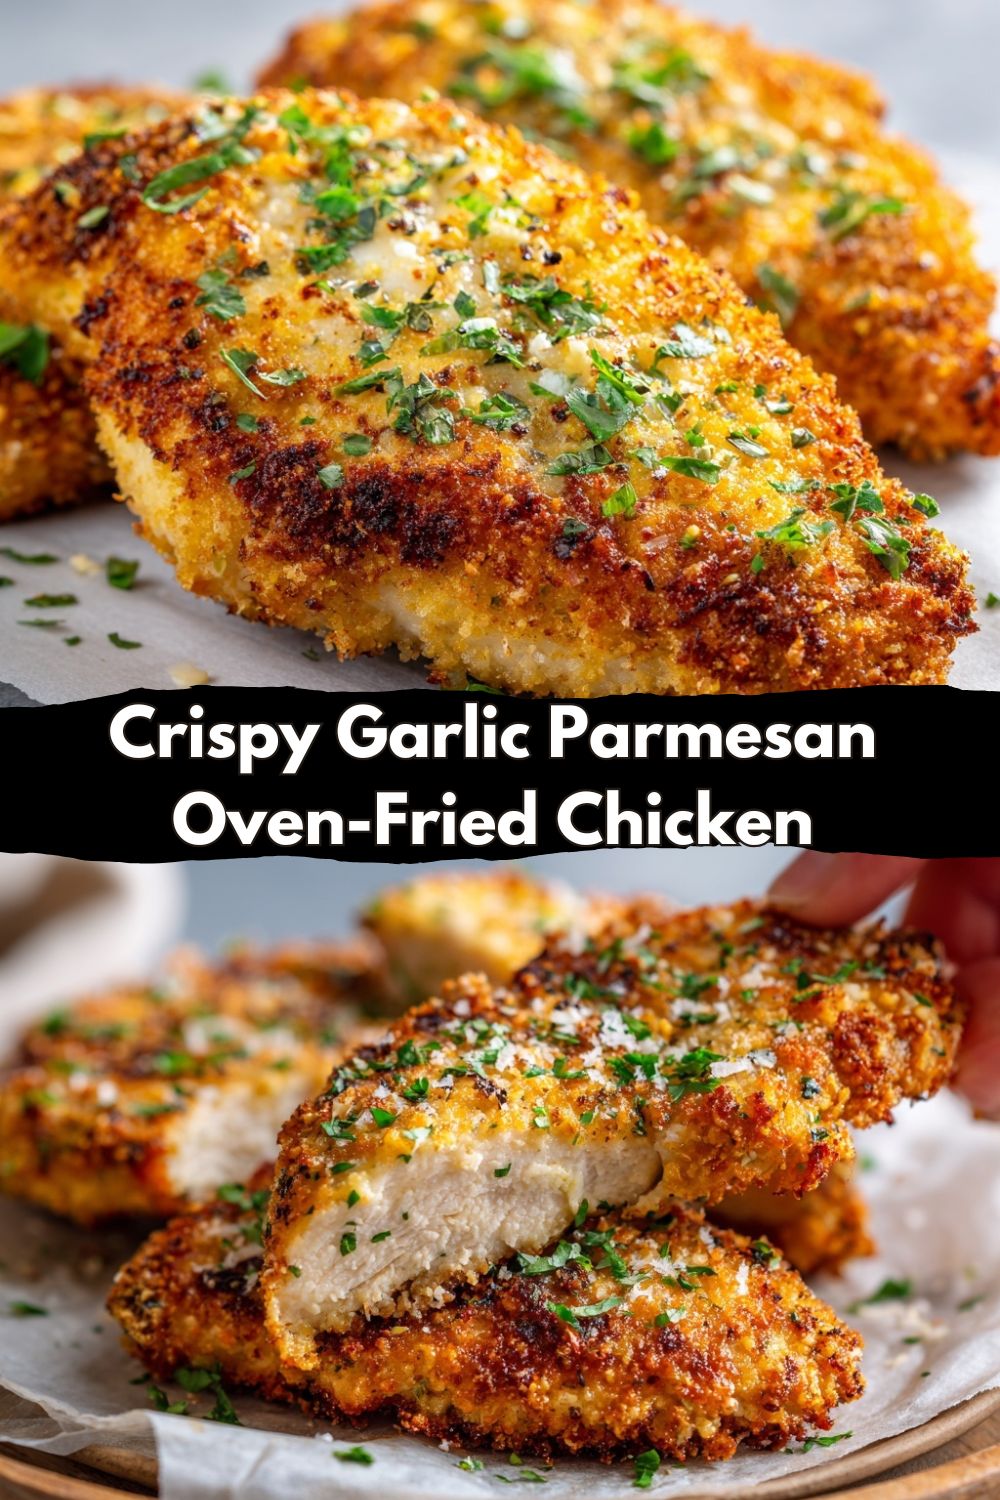
I’m here to tell you to put that pizza back. We’re about to cook something awesome together. This recipe for Crispy Garlic Parmesan Oven-Fried Chicken is my weeknight hero, my meal-prep MVP, and the dish I make when I want to impress someone without breaking a sweat. It’s got all the satisfying crunch and bold flavor of classic fried chicken, but we’re getting there with a simple oven, a handful of pantry staples, and a seriously clever coating trick. No deep fryer, no greasy mess, just pure, unadulterated crispy chicken joy. This is where flavor meets fun, and I can’t wait for you to try it. Let’s turn your oven into a magic crunch-maker.,
Why This Chicken? A Tale of Trial, Error, and a Garlicky Revelation
This recipe was born out of a serious craving and a tiny, smoke-detector-sensitive apartment. Picture it: me, fresh off a trip through Italy, obsessed with the way they used parmesan and garlic in, well, everything. I wanted that flavor on my favorite comfort food: fried chicken. But my Southern grandma’s method wasn’t exactly apartment-friendly. After a few experiments that ranged from “soggy disaster” to “burnt offering,” I had my eureka moment.
It wasn’t about the fryer; it was about the glue. I tried egg, buttermilk, even a flour paste. Then, one day, I grabbed the plain Greek yogurt I was about to eat for lunch. Bingo. It clung to the chicken like a dream, added a subtle tang, and helped the panko-parmesan crust bake up into this insane, golden armor of crunch. The first time I pulled a perfectly crispy, garlicky, cheesy breast out of my dinky oven, I knew I’d stumbled onto something special. It was a true Food Meld moment—mixing my roots with global inspiration and a big “what if?” Now, it’s my go-to. No smoke alarm required.
Gathering Your Flavor Arsenal
Here’s everything you’ll need to build this masterpiece. Don’t just think of these as ingredients; think of them as your crunch crew, your flavor team.
- 4 boneless, skinless chicken breasts: The blank canvas! Try to get them similar in size so they cook evenly. If one’s a real heavyweight, give it a gentle pound with a pan or rolling pin to even it out. This isn’t just for size—it tenderizes, too.
- 1/2 cup grated parmesan cheese: The flavor powerhouse. Chef’s Insight: Please, for the love of all things crispy, grate it fresh off the block if you can. The pre-grated stuff in bags often has anti-caking agents that can make it a little… clumpy. Fresh parm melts and toasts into the crust beautifully.
- 1 cup panko or regular breadcrumbs: The crunch architects. I’m team panko all the way—those big, flaky Japanese-style crumbs create an airier, crispier texture. But classic breadcrumbs work great for a finer, denser crunch. It’s a texture preference!
- 1 teaspoon garlic powder: The steady garlic beat. It distributes flavor evenly throughout the crust. We’re not using fresh garlic here because it can burn in the oven’s high heat.
- 1/2 teaspoon salt & 1/2 teaspoon black pepper: The essential enhancers. Season every layer! Taste your breadcrumb mixture—it should taste good on its own.
- 2 tablespoons olive oil or melted butter: The crisping agent. Drizzling this on top before baking is the secret handshake to golden perfection. Butter gives incredible flavor; olive oil is a great dairy-free option.
- 1/2 cup plain Greek yogurt or mayonnaise: The magical glue. This is the game-changer! Yogurt adds a nice tang and keeps things light. Mayo creates an unbelievably rich, almost fried-like crust because of its oil content. You truly can’t go wrong.
- Optional: chopped fresh parsley or basil for garnish: The fresh finish. A little green at the end makes it pretty and adds a pop of freshness against all that savory goodness.
Let’s Build That Crunch: Your Step-by-Step Roadmap
Okay, team. Aprons on, oven preheating. We’re doing this.
Step 1: Fire Up & Prep. Crank that oven to 400°F (200°C). This is our sweet spot—hot enough to crisp, but not so hot it burns. Line a baking sheet with parchment paper or give it a light grease. No sticking allowed! Pro-Tip: For maximum crispiness, place a wire rack on the baking sheet. Lifting the chicken up allows hot air to circulate underneath, so you get crunch on all sides. Game-changer.
Step 2: Create the Flavor Crust. In a shallow dish (a pie plate is perfect), mix together your panko, grated parmesan, garlic powder, salt, and pepper. Use your fingers to break up any clumps of cheese. Give it a sniff. Smells like victory already, right?
Step 3: The Glue Station. In another bowl, plop your Greek yogurt or mayo. Now, take your chicken breasts and pat them bone-dry with paper towels. This is crucial! Any surface moisture will make the coating slide right off. Think of the yogurt/mayo as edible glue. Dredge each piece thoroughly, making sure every nook and cranny is covered. Let any excess drip off for a second.
Step 4: The Crust Commitment. Time for the fun part. Take your saucy chicken and lay it gently into the breadcrumb mixture. Don’t just dip—press! Use your hands to pack that crunchy mixture onto the top, sides, and edges. Get a good, thick, even coating. The more contact, the better the crunch. Place it proudly on your prepared baking sheet.
Step 5: The Golden Touch. Once all your chicken is coated and on the sheet, take your olive oil or melted butter and lightly drizzle or brush it over the top of each piece. This little bit of fat will fry the coating from the outside as it bakes, giving us that gorgeous, irresistible golden-brown color.
Step 6: Bake to Perfection. Slide that sheet into your hot oven. Now, the hardest part: don’t open the door for at least 20 minutes! We need that steady heat to work its magic. Bake for 25-30 minutes total. The only way to know it’s done? Use a meat thermometer. The internal temp should read 165°F at the thickest part. The crust should be deep golden brown and sound hollow if you give it a gentle tap. If you used a wire rack, you’re already golden (literally). If not, let it rest on the sheet for 5 minutes before moving—the crust will firm up.
Plating Up for Maximum Wow Factor
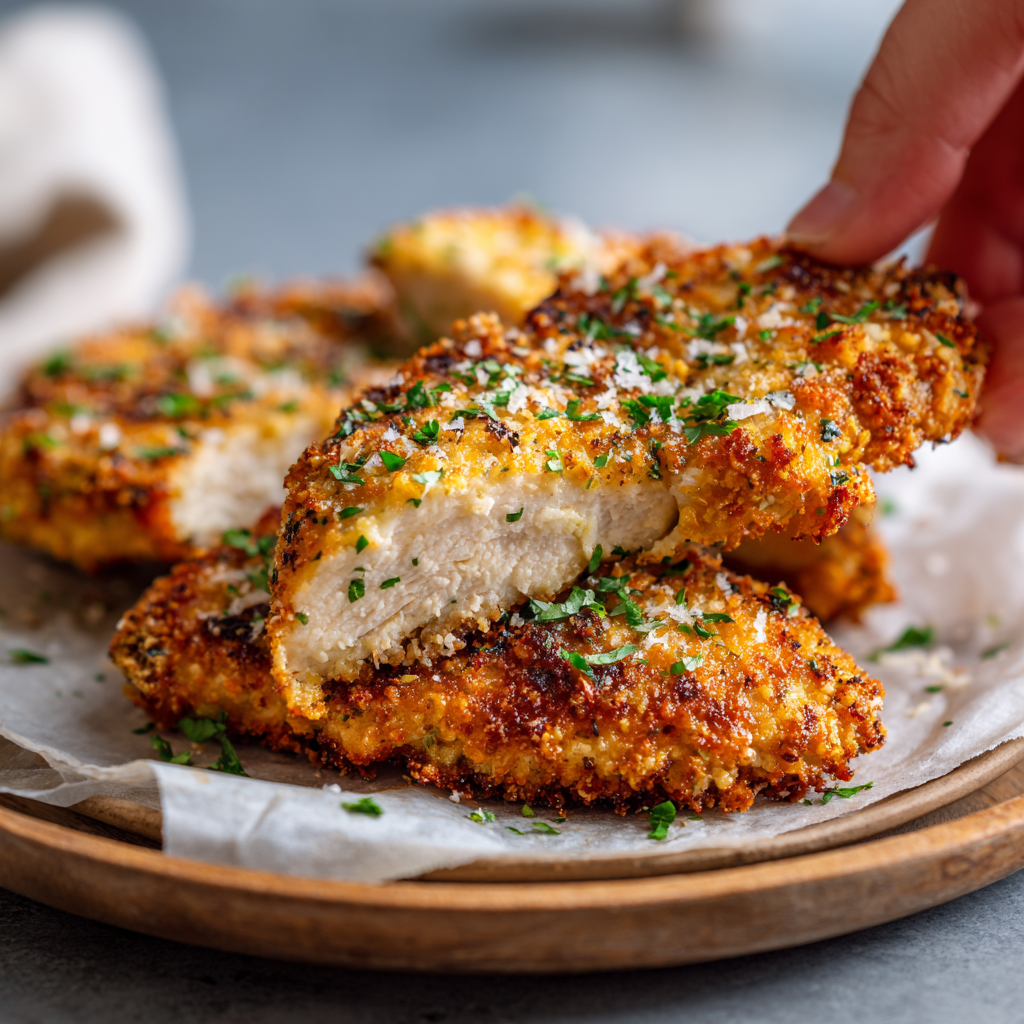
You’ve done the work, now let’s make it look as good as it tastes. I like to let the chicken be the star. Slice one breast on a bias (fancy talk for diagonally) to show off that juicy interior against the crispy crust. Fan it out on the plate.
Now, choose your supporting cast! For a classic comfort food plate, pile on some creamy mashed potatoes or buttery egg noodles—perfect for catching any falling crumbs. Roast some asparagus or broccoli right on the same baking sheet (tossed in oil, salt, and pepper) during the last 15 minutes of cook time for an easy, flavorful side. A simple, bright lemony arugula salad cuts through the richness beautifully. And don’t forget a final sprinkle of fresh herbs and maybe an extra dusting of parmesan. Serve it hot and watch the smiles appear.
Make It Yours: 5 Flavorful Twists
The beauty of this method is its flexibility. Once you master the basic yogurt→crumb→bake technique, the world is your crispy chicken oyster.
- The Italian Herb Bomb: Add 1 tsp each of dried oregano, basil, and a pinch of red pepper flakes to the breadcrumb mix. Use marinara sauce for dipping.
- Nashville Hot Style: Whisk 2 tbsp of melted butter with 1 tbsp of hot sauce (like Frank’s) and 1 tsp of cayenne pepper. As soon as the chicken comes out of the oven, brush this spicy butter all over the top.
- Everything Bagel Chicken: Swap half the breadcrumbs for Everything Bagel seasoning. Use cream cheese thinned with a little milk as your “glue” instead of yogurt. Mind. Blown.
- Dairy-Free/Delicious: Use vegan parmesan or nutritional yeast in the crust, and olive oil mayo as your binder. It’ll still be incredibly crispy and flavorful.
- Pickle-Brined & Dill-icious: Soak your chicken in pickle juice for 30 minutes before starting. Pat dry, then proceed. Add 1 tbsp of dried dill to the breadcrumb mixture. Trust me on this one.
Jackson’s Kitchen Confidential
This recipe has seen it all in my kitchen. I’ve made it for first dates (it’s a winner), for sad friends needing comfort food, and for myself on a million busy Tuesday nights. The biggest lesson? Don’t crowd the pan. If your baking sheet is too packed, the chicken steams instead of bakes, and we lose the crunch. Give each piece its personal space bubble. Also, that Greek yogurt/mayo trick? I’ve started using it on fish fillets and pork chops too. It’s my not-so-secret weapon for a perfect crust every single time. Cooking should be fun, sometimes messy, and always rewarding. This recipe is all three.
Your Questions, Answered
Q: My coating came out soggy on the bottom. What happened?
A: Ah, the classic issue! This usually means 1) the chicken wasn’t patted dry enough before coating, or 2) it was baked directly on the sheet without a rack. Next time, be militant about drying and use that wire rack trick. It’s a total game-changer for all-over crunch.
Q: Can I use chicken thighs instead?
A: Absolutely! Boneless, skinless thighs are fantastic here. They’re more forgiving and stay super juicy. Just note they might need a few extra minutes in the oven due to their higher fat content. Still cook to 165°F.
Q: How do I store and reheat leftovers without them getting soft?
A: Store in an airtight container in the fridge for up to 3 days. To reheat, do not microwave (it turns the crust rubbery). Instead, pop it back in a 375°F oven or a toaster oven on a rack for 10-15 minutes until hot and re-crisped. It works amazingly well!
Q: Can I make this gluten-free?
A> Easily! Use certified gluten-free panko breadcrumbs or even crushed gluten-free cornflakes for an awesome crunch. The rest of the recipe is naturally GF.
Let’s Talk Nourishment
I’m all about flavor first, but it’s nice to know what’s fueling the fun. This oven-fried method is inherently lighter than traditional deep-frying, cutting down significantly on excess oil and calories. Each serving (one prepared chicken breast) provides a solid 35g of protein to keep you satisfied, and using olive oil adds heart-healthy fats. The carbs come mainly from the breadcrumb coating—using whole-wheat panko can add a bit more fiber. As with any recipe, these numbers are an estimate based on the specific ingredients used. If you’re managing sodium, you can reduce the added salt slightly, as the parmesan brings its own salty punch. It’s a balanced, delicious choice that proves healthy-ish eating doesn’t have to be boring.
Your Next Kitchen Victory Awaits
So there you have it. The path to crazy-crispy, flavor-packed chicken that doesn’t involve a fryer, a fire extinguisher, or a day-long cleanup. This is the kind of recipe that builds confidence in the kitchen. It’s simple enough for a beginner but has little chef secrets (that yogurt! that wire rack!) that make you feel like a pro. I hope you make it, mess up your kitchen a little, and create one of those “you’ve gotta try this” moments for yourself or someone you love. That’s what Food Meld is all about. Now go preheat that oven. Your crispy, garlicky, parmesan-y victory is waiting. Let’s cook something awesome together!
Jackson


