Forget the Grease, Keep the Crunch: Your New Favorite Chicken Bites Are Here
Hey friends, Jackson from Food Meld here. Let’s get real for a second. Who doesn’t love a perfectly crispy, juicy piece of fried chicken? That satisfying crunch, the savory flavor, the way it just hits the spot… it’s pure comfort food magic. But man, the mess? The splattered stovetop, the lingering smell of oil, the guilt that sometimes follows? It’s enough to make me save it for a restaurant treat.
But what if I told you we could capture all that glorious crunch and flavor without ever heating up a vat of oil? What if you could get a result so good, your family might just accuse you of ordering takeout?
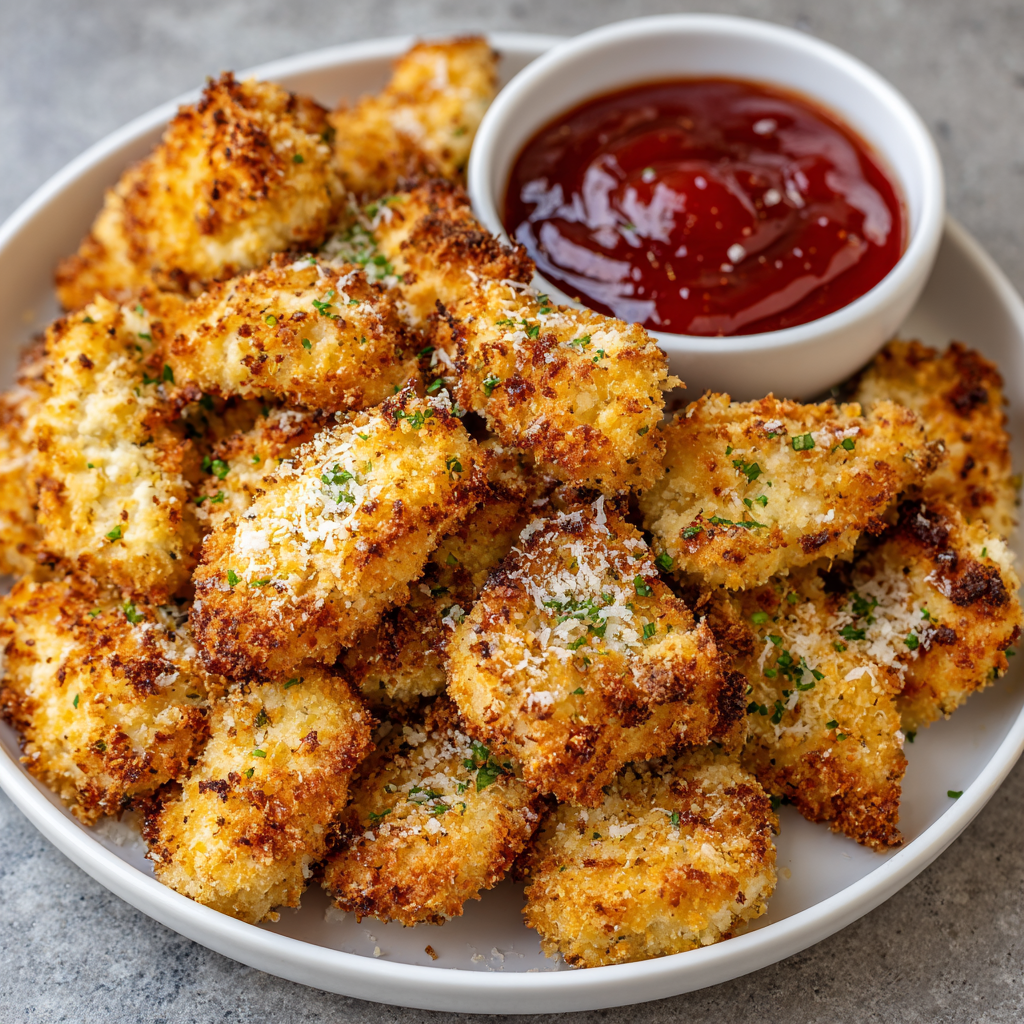
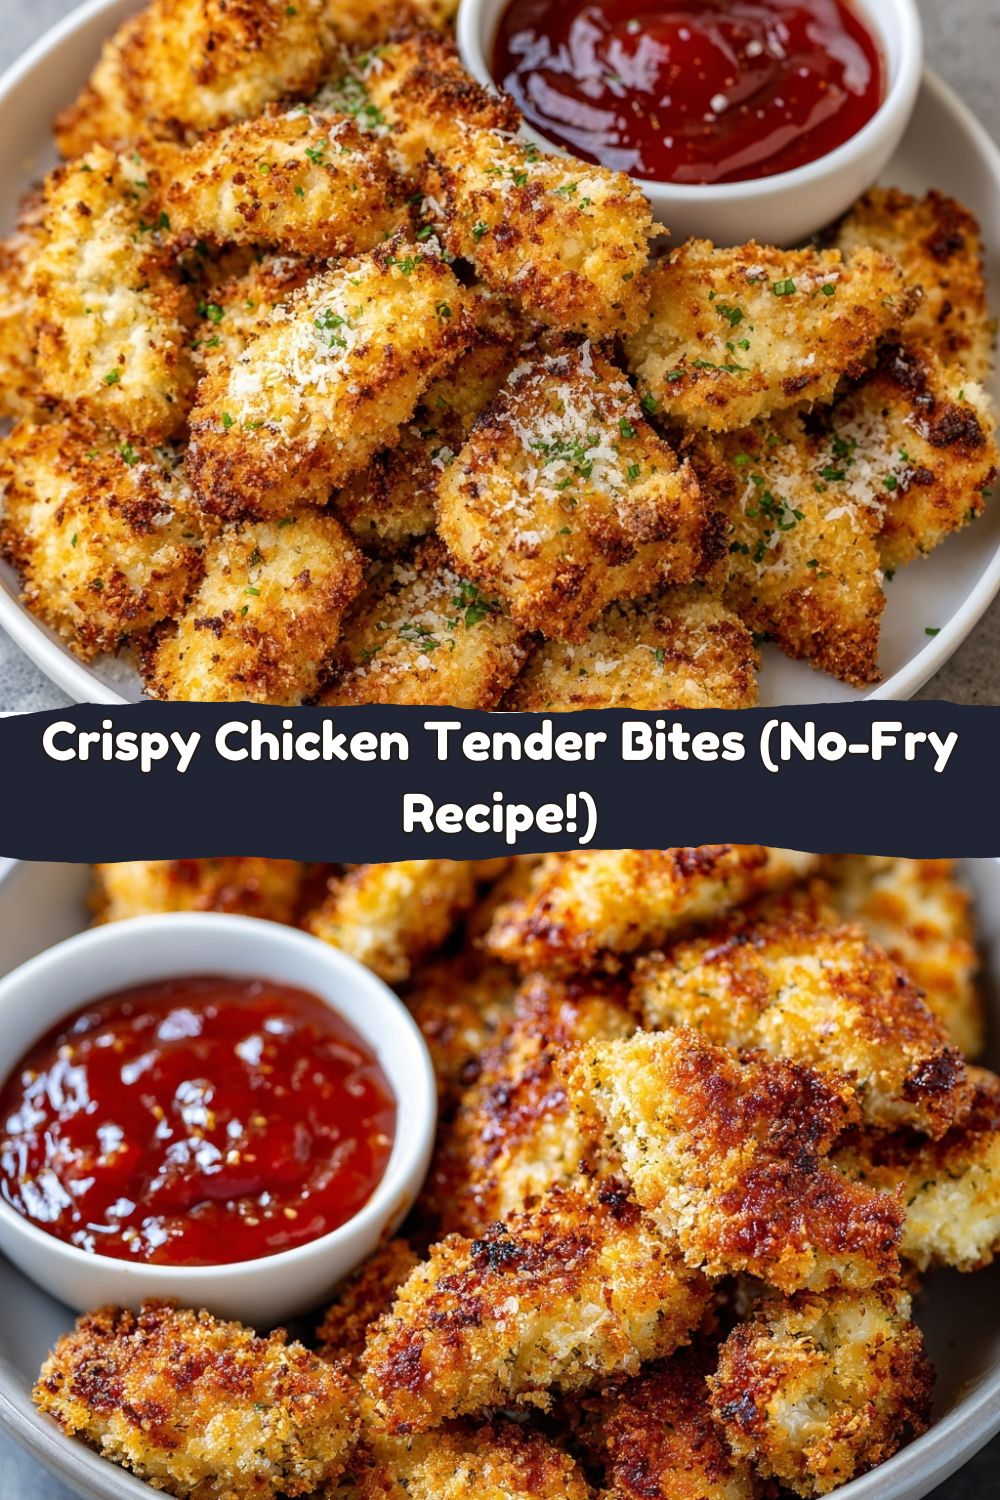
Friends, meet your new weeknight hero: my Crispy Chicken Tender Bites. We’re taking tender chunks of chicken, giving them a powerhouse coating of panko and parmesan, and then baking or air-frying them to absolute golden-brown perfection. They’re juicy on the inside, shatteringly crisp on the outside, and so versatile you’ll make them on repeat. I’m talking 35 minutes from fridge to table, one-pan wonders, and the kind of flexible recipe that begs you to play with flavors. So, tie on your apron, and let’s cook up some crunch that’s fun, easy, and totally unforgettable.
The Chicken Tender That Started It All
This recipe takes me straight back to my grandma’s kitchen in Georgia. She was the queen of fried chicken, and every Sunday, the whole house would smell like heaven. My job, as the eager (and slightly clumsy) eight-year-old sous-chef, was to man the dredging station. I’d have flour up to my elbows, a big bowl of egg wash, and I’d watch, mesmerized, as she gently lowered the chicken into that cast-iron skillet. The sizzle was the sound of love.
But one sweltering summer afternoon, the AC was fighting a losing battle, and the last thing anyone wanted was a hot kitchen. Grandma looked at me, looked at the chicken, and said, “Jackson, what if we tried this in the oven?” We used crushed-up saltines and a little paprika, spritzed them with oil, and crossed our fingers. The result wasn’t the same as her classic fry—it was its own glorious thing. Still incredibly crispy, way less fuss, and it taught me a lifelong lesson: the best recipes aren’t about rigid rules. They’re about adapting, having fun, and making a dish work for your life. These oven-baked bites are the spiritual successor to that sweaty, wonderful, experimental afternoon.
Gathering Your Flavor Arsenal
This is where the magic starts. Simple ingredients, big impact. Here’s what you’ll need to create this crispy masterpiece.
- 2 lbs boneless, skinless chicken breasts or tenders: I often use tenders because they’re already a perfect size, but breasts work great too! The key is to cut everything into uniform, 1.5-inch bite-sized pieces. This ensures they all cook at the same rate, so no piece is over or under-done.
- 1 ½ cups panko breadcrumbs: This is our crunch secret weapon! Panko is a Japanese-style breadcrumb that’s flakier and lighter than traditional crumbs, giving you a super crisp, non-greasy coating that holds up beautifully in the oven or air fryer.
- ¾ cup grated Parmesan cheese: Use the real stuff from the refrigerated section, not the shelf-stable canister. It melts better and adds a deep, savory, umami punch that takes the flavor to a whole new level.
- 2 eggs, beaten: Our culinary glue! The egg wash helps the crispy coating stick to the chicken, creating a perfect seal.
- ½ cup all-purpose flour: This is the first layer of our dredging process. It creates a dry surface for the egg to adhere to, which in turn helps the panko-parmesan mix stick. It’s the foundation of a great crust!
- 1 teaspoon garlic powder & 1 teaspoon paprika: Flavor town, population: us! The garlic powder brings that savory backbone, while the paprika adds a subtle sweetness and a gorgeous golden color to the finished bites.
- Salt and pepper to taste: Don’t be shy! Season every layer. I like to add a good pinch to the flour and another to the panko mixture.
- Cooking spray or olive oil: This is the final key to CRUNCH. A light spritz of oil helps the panko brown and crisp up perfectly, mimicking the effect of frying.
For the Optional Glaze:
- ¼ cup sweet chili sauce & 2 tablespoons honey: If you’re feeling a sweet and sticky twist, this combo is a game-changer. Just warm them together in the microwave for 30 seconds and toss with the hot chicken bites. It’s addictive.
Let’s Build Some Crunch: Your Step-by-Step Guide
Alright, team, let’s get our hands dirty! This process is simple, but I’ve got a few chef hacks to make it even easier and more foolproof.
- Preheat and Prep: First things first, get your equipment hot. Preheat your oven to 425°F (220°C) or your air fryer to 390°F (200°C). Line a baking sheet with parchment paper if you’re using the oven—this makes cleanup a dream. Chef Hack: A hot cooking surface is non-negotiable for instant crispiness. Don’t put your chicken in a cold oven!
- Set Up Your Breading Station: This is my favorite part—it feels so professional! Get three shallow bowls or plates. In the first one, mix your flour with the garlic powder, paprika, salt, and pepper. In the second, beat the two eggs until they’re smooth and uniform. In the third, combine the panko breadcrumbs and grated parmesan. Chef Hack: Use one hand for the dry ingredients (flour and panko) and the other hand for the wet (egg). This keeps you from ending up with “club hands” completely encased in breading!
- The Dredging Dance: Take a piece of chicken and toss it in the flour mixture, shaking off any excess. Then, dunk it completely in the egg wash, letting the extra drip off. Finally, press it firmly into the panko-parmesan mix, making sure every nook and cranny is coated. Don’t just roll it—really press it in there! The more panko that sticks, the crispier your bite will be.
- Arrange and Spray: Place your beautifully breaded chicken pieces on the prepared baking sheet or in your air fryer basket. Make sure they aren’t touching too much—we want hot air to circulate around each piece for even cooking and browning. Now, give them a generous but light spritz with your cooking spray or a brush of olive oil. This is what gives you that beautiful, fried-looking golden color.
- Cook to Perfection:
- For the Oven: Bake for 18-20 minutes, flipping them halfway through. You’re looking for a deep golden brown and an internal temperature of 165°F.
- For the Air Fryer: Cook for 10-12 minutes, giving the basket a good shake about halfway through. The air fryer is a powerhouse for crispiness, so keep an eye on them towards the end!
- The Glaze (Optional, but Highly Recommended): If you’re going for the sweet and sticky version, gently warm the sweet chili sauce and honey in a microwave-safe bowl or a small saucepan. Once the chicken bites are hot out of the oven or air fryer, toss them in the glaze until they’re beautifully coated. Serve immediately!
How to Serve These Superstar Bites
Okay, you’ve got a plate of gorgeous, golden, crispy chicken bites. Now what? The possibilities are endless, but here are a few of my favorite ways to make them a meal.
The Classic Platter: Pile them high on a big platter with an assortment of dipping sauces. Think honey mustard, ranch, BBQ sauce, and a zesty sriracha mayo. It’s the ultimate crowd-pleaser for game day or a casual get-together.
The Cozy Dinner: Turn these into a wholesome meal. Serve them alongside a big, crisp green salad, some creamy coleslaw, and maybe some fluffy garlic mashed potatoes or roasted sweet potato wedges. It’s comfort food at its finest.
The “Fancy” Appetizer: Skewer each bite with a toothpick and serve them over a drizzle of extra sweet chili sauce or a creamy cilantro-lime dip. Instant party food that looks like you spent hours.
In a Wrap or Salad: Let the bites cool slightly, then slice them and toss them into a wrap with lettuce, tomato, and a dollop of tzatziki. Or, use them as the protein-packed topping for a massive chef’s salad. They add incredible texture and flavor.
Mix It Up! Creative Twists on the Classic
This recipe is your canvas. Once you’ve mastered the basic method, have fun and make it yours! Here are a few of my favorite twists.
- Spicy Buffalo Style: After cooking, toss the hot bites in a mixture of ½ cup of your favorite buffalo sauce and 2 tablespoons of melted butter. Serve with blue cheese dressing and celery sticks for the full experience.
- “Everything Bagel” Crust: Replace half of the panko with Everything Bagel Seasoning. The sesame seeds, garlic, and onion create an insane flavor bomb. Perfect for dipping in a dill-yogurt sauce.
- Gluten-Free & Keto Friendly: Swap the all-purpose flour for almond flour and the panko for crushed-up pork rinds or gluten-free panko. You’ll still get an amazing, crispy crust that fits your dietary needs.
- Lemon-Herb Delight: Add the zest of one lemon and 2 tablespoons of chopped fresh herbs (like parsley, dill, and chives) to the panko-parmesan mixture. It’s bright, fresh, and feels a little more gourmet.
- Smoky BBQ: Add 1 teaspoon of smoked paprika and ½ teaspoon of onion powder to the flour. After cooking, you can toss them in BBQ sauce or just serve the sauce on the side.
Jackson’s Kitchen Notes & Stories
This recipe has been a staple on Food Meld for years, and it’s evolved thanks to all of you! The biggest game-changer was switching to a light spritz of avocado oil spray instead of drizzling with olive oil—it’s more even and gives a better crisp. I’ve also learned that letting the breaded bites sit on the rack for 5 minutes before cooking helps the coating set, so it sticks on even better.
A funny story: I once tested a batch where I accidentally used powdered sugar instead of flour in the first dredge (hey, similar containers!). Let’s just say we got a… very caramelized, interestingly sweet-and-savory result. Not my finest hour, but a great reminder to always label your jars! The beauty of this recipe is its resilience. Even when you make a little mistake, it’s usually still delicious.
Your Questions, Answered!
Q: My coating isn’t sticking to the chicken! What am I doing wrong?
A: The most common culprit is not shaking off the excess flour after the first dredge. A light, even coat of flour is all you need. If there’s too much, the egg can’t grip it, and the panko has nothing to hold onto. Also, make sure you’re pressing the chicken firmly into the panko mixture.
Q: Can I make these ahead of time?
A: You can! You can bread the chicken bites, arrange them on a baking sheet, and freeze them for 1-2 hours until solid. Then, transfer them to a freezer bag. Cook straight from frozen, adding 3-5 extra minutes to the cooking time. No need to thaw!
Q: Oven vs. Air Fryer – which is truly crispier?
A: The air fryer wins by a slight margin because of its super-concentrated, circulating hot air. It creates an incredibly crisp exterior all the way around. The oven is still fantastic and gives you a great result, especially if you use a wire rack on your baking sheet to lift the chicken up.
Q: My chicken came out dry. How can I prevent that?
A: The key is not to overcook! I highly recommend using a simple meat thermometer. Pull the chicken out as soon as it hits 165°F in the thickest piece. Also, make sure your pieces are all roughly the same size so they finish cooking at the same time.
Nutritional Breakdown (The Quick Scoop)
Hey, I’m all about balance. Enjoying food is key, but it’s also cool to know what you’re putting in your body. This info is for the basic recipe without the optional glaze, and it’s an estimate. Your exact numbers will depend on the specific brands you use.
Per Serving (approx. 1/6th of the recipe):
Calories: 290 | Protein: 28g | Fat: 10g | Carbs: 20g | Fiber: 1g | Sugar: 3g
The beauty of this “no-fry” method is that we’re significantly cutting down on the fat and calories that come from deep-frying in oil. You’re getting a lean, protein-packed meal with a satisfying crunch that feels indulgent but is made with a smarter technique. It’s a win-win!
Your New Go-To Recipe Awaits
And there you have it! Your complete guide to making the crispiest, most flavorful chicken tender bites without the fuss and mess of frying. This isn’t just a recipe; it’s a technique you can use for a lifetime of easy, delicious meals. It’s proof that you don’t need complicated methods or a ton of oil to create something truly special in your kitchen.
I hope this recipe brings as much joy and flavor to your table as it has to mine. Remember, cooking is an adventure. So play with the seasonings, try a new dip, and make this recipe your own. I’d love to see your creations! Tag me on social @FoodMeld and show me what you’ve cooked up.
Until next time, keep mixing it up and enjoying every bite. Happy cooking!
— Jackson


