The Game Day Snack That Steals the Show (Every. Single. Time.)
Hey there, friend! Jackson here from Food Meld. Let’s talk about that beautiful, chaotic moment when the game is on, friends are crammed into your living room, and a platter of something incredible hits the coffee table. You know the scene: hands darting in, eyes widening, followed by that perfect chorus of “Oh my gosh, what IS this?” I live for that moment. But what if I told you the star of that show didn’t involve any chicken at all? What if it was a humble head of cauliflower, transformed into something so crispy, so saucy, and so downright addictive that even the most devoted wing purists will be begging for the recipe?
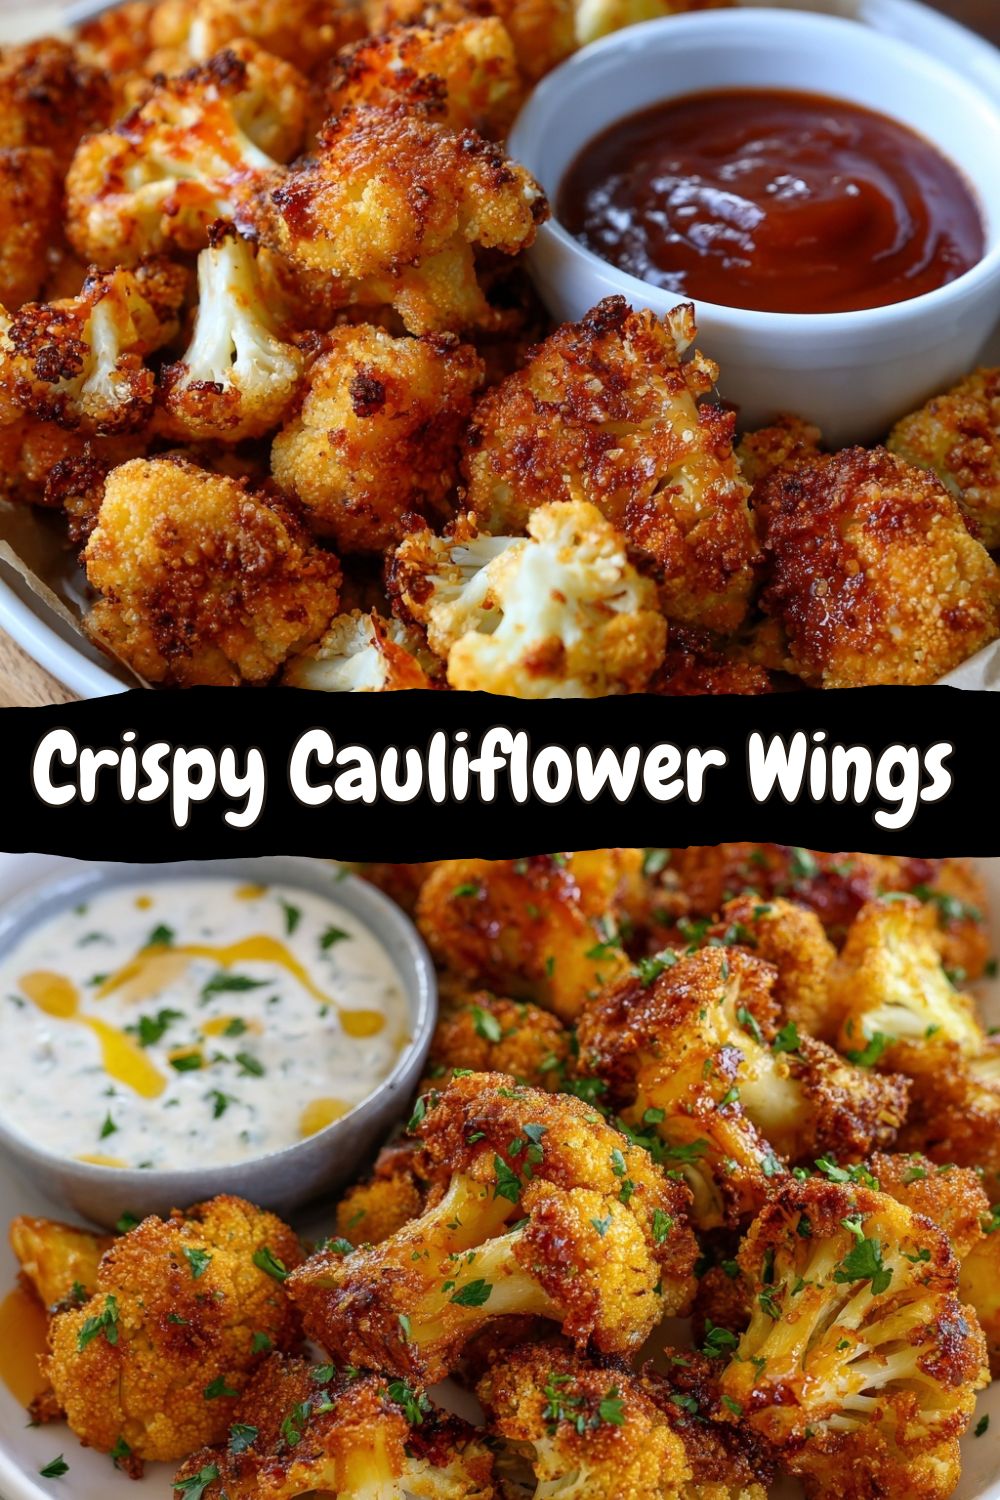
That’s the magic of Crispy Cauliflower Wings. This isn’t just a “vegetarian alternative.” Nope. This is a front-row, flavor-packed main event in its own right. We’re taking cauliflower florets, giving them a crispy, golden-brown coat, slathering them in your favorite bold sauce, and baking them until they’re sticky, slightly caramelized, and impossible to resist. They’re the perfect meld of my Southern love for big, comforting flavor and my “what if we tried this?” energy. Best part? They come together with simple ingredients, one baking sheet, and a whole lot of fun. So, whether you’re hosting the big game, need a killer Meatless Monday idea, or just crave a snack that makes you feel awesome, you’re in the right place. Let’s turn that cauliflower into the most talked-about bite of the night.
How a Super Bowl Bet Led to My Favorite Kitchen Creation
This recipe has a special place in my heart because it was born from a friendly kitchen challenge. A few years back, I was hosting a Super Bowl party. My friend Leo, a dedicated carnivore, smugly declared, “You can’t make anything from a vegetable that’ll compete with my famous wings.” Challenge accepted. I’d been tinkering with batters and baking methods, inspired by some global street food concepts, and saw my chance. I remember the kitchen being a glorious mess—flour everywhere, three different sauce experiments simmering, and the smell of roasting spices filling the air. When I pulled that first batch out of the oven, they were so crispy they sounded like a drumroll. I tossed them in a classic buffalo sauce I’d spiked with a touch of honey and garlic. The moment Leo tried one, he went silent. Then he reached for another. And another. Finally, he just shook his head and said, “Okay, Walker. You win.” That “you’ve gotta try this” moment, turning doubt into delight, is exactly why I cook. It proved that bold flavor and total satisfaction don’t have to come from tradition—they just have to come from the heart (and a really hot oven).
Gathering Your Flavor Arsenal
Here’s everything you need to build these crispy wonders. Think of this as gathering your team—each player has a specific role in creating the ultimate texture and taste.
- 1 medium head of cauliflower: Your canvas! Look for a head that feels heavy for its size with tightly packed, creamy-white florets. No brown spots, please. The size of your florets is key—aim for big, hearty bite-sized pieces. Too small, and they’ll get lost in the batter; too big, and the center won’t get tender.
- ¾ cup all-purpose flour: The backbone of our crispy batter. It creates that perfect, craggy coating that clings to the cauliflower and gets golden in the oven. Chef’s Swap: For a gluten-free version, a 1:1 gluten-free flour blend works beautifully. I’ve also had great success with chickpea flour for an extra protein boost and slightly nutty flavor.
- ¾ cup milk (dairy or plant-based): This is what binds our batter and helps it puff up a bit. I often use unsweetened almond milk or buttermilk for a subtle tang. The liquid creates steam in the oven, helping to cook the cauliflower from the inside while the outside crisps.
- ½ tsp garlic powder & ½ tsp paprika: The flavor foundation. Garlic powder gives that savory, umami depth, while paprika adds a whisper of sweetness and a gorgeous color. Chef’s Tip: If you have smoked paprika, use it! It adds a incredible, subtle smokiness that plays so well with the sauces.
- Salt & pepper, to taste: Season your batter like you mean it. This is your first layer of flavor, so don’t be shy. I start with ¾ tsp of kosher salt and a few good cranks of black pepper.
- 1 cup buffalo or BBQ sauce: The superstar! This is where personality shines. For classic heat, go with a good buffalo sauce. For sweet and smoky, use your favorite BBQ. Chef’s Insight: The sauce world is your oyster—teriyaki, sweet chili, Korean gochujang, even a lemon-herb glaze. We’ll talk variations later!
- 1 tbsp melted butter or oil (optional, for sauce): A little fat mixed into your sauce helps it cling to the cauliflower and gives it a beautiful sheen. It also mellows out the sharpness of a straight vinegar-based hot sauce. I usually do it, but it’s not a deal-breaker.
Let’s Get Crispy: Your Step-by-Step Roadmap to Success
Ready to make some magic? Follow these steps, and lean in for my favorite kitchen hacks along the way.
- Preheat & Prep: Crank that oven to 425°F (220°C). This high heat is non-negotiable—it’s what gives us the CRISP. Line a baking sheet with parchment paper. Trust me, this saves you from a sticky, frustrating clean-up later. Chef’s Hack: Give the parchment a very light spritz of oil. It guarantees nothing will stick, not even a bit.
- Make the Magic Batter: In a large mixing bowl, whisk together the flour, milk, garlic powder, paprika, salt, and pepper. You’re aiming for a smooth, thick batter that coats the back of a spoon. It should be like a heavy pancake batter. If it feels too thick (like cookie dough), add a splash more milk. Too thin (like soup)? A sprinkle more flour. Little Story: I once used a fork to whisk and ended up with more batter on my apron than in the bowl. Use a proper whisk or a fork with gusto—it’s part of the fun!
- The Great Cauliflower Dip: Time to get your hands involved! Working with one floret at a time, dunk it into the batter, swirl it around gently, and let the excess drip off for a second or two back into the bowl. This step is crucial for avoiding a puddle of batter around your wings on the sheet. Place each coated floret on your prepared baking sheet, leaving a little room between them for hot air to circulate. Don’t crowd the pan, or they’ll steam instead of crisp!
- First Bake – Building the Crunch: Slide that sheet into your hot oven and bake for 20-25 minutes. You’re looking for the batter to set, dry out, and turn a lovely, golden brown. This first bake is all about creating a stable, crispy shell. No need to flip them halfway—the hot air in the oven does the work for us.
- Sauce ‘Em Up! (The Fun Part): Pull the baking sheet out carefully. Your kitchen should smell amazing right now. In a separate large bowl, mix your chosen sauce with the melted butter or oil if using. Now, gently add the baked cauliflower florets to the bowl. Using a big spoon or—my preferred method—tossing with a confident flip of the wrist, coat every nook and cranny in that glorious sauce. Be gentle but thorough! The crisp shell can handle it.
- Second Bake – Sticky, Caramelized Perfection: Return the sauced-up wings to the same baking sheet (no need for new parchment). Pop them back in the oven for another 10-15 minutes. This second bake is where the magic deepens. The sauce thickens, the edges get even crispier, and that beautiful caramelization happens. You’ll see the sauce go from wet to sticky. That’s your cue!
Plating for Maximum “Wow”
How you serve these can turn a great snack into a legendary one. Presentation is part of the flavor experience!
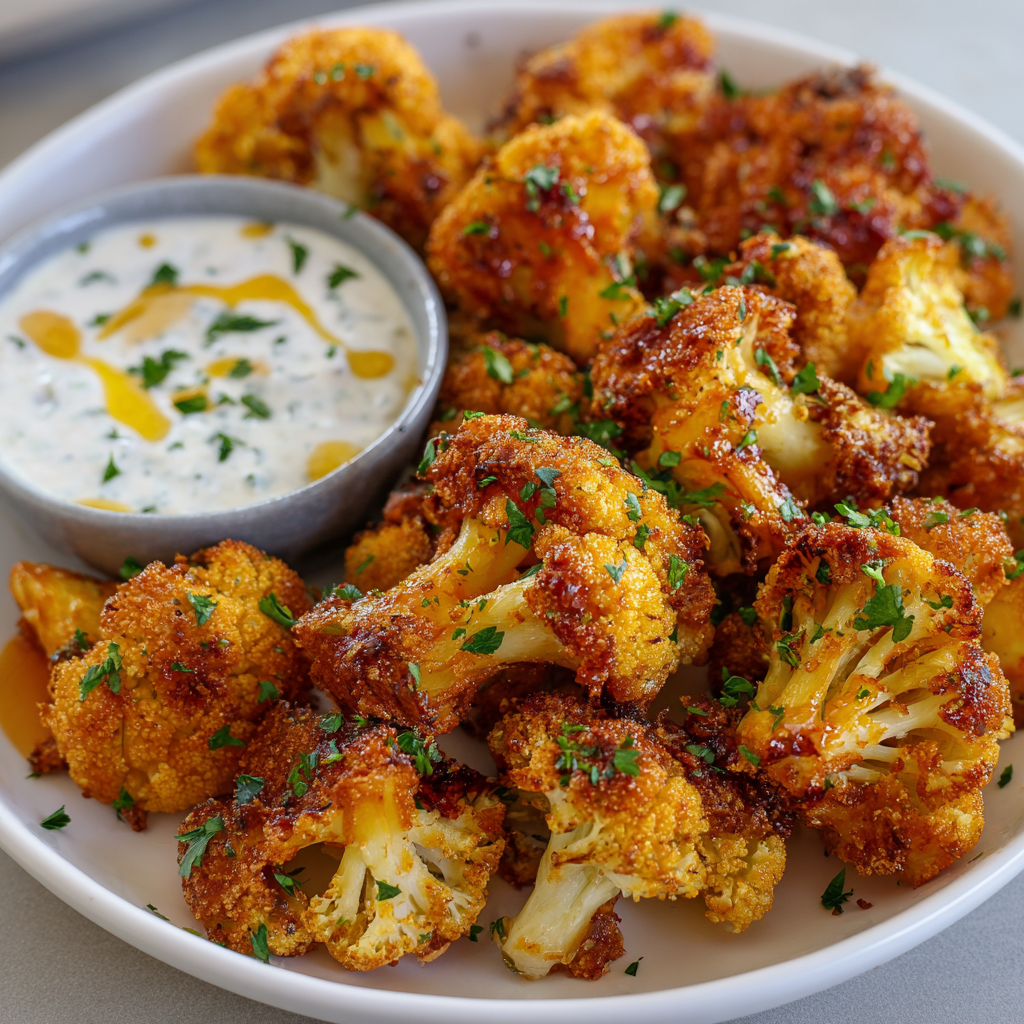
I love using a wide, rustic platter or even a small wooden board. Pile those crispy, saucy wings right in the center, letting them spill over a bit. The messiness is inviting! Now, for the supporting cast: a big, cool dollop of ranch or blue cheese dressing in a bowl on the side is essential for dipping and cutting through the heat. Add a handful of fresh, crisp celery sticks and carrot batons for that classic, refreshing crunch. For a true Food Meld twist, I sometimes add quick-pickled red onion slices or a sprinkle of chopped fresh chives or cilantro on top of the wings for a hit of color and freshness. Serve them immediately while they’re hot, crispy, and at their absolute best. Watch those hands dive in!
Make It Yours: 5 Flavor Twists to Try
The basic recipe is your launchpad. Here’s where my “what if we tried this?” energy really kicks in. Don’t be afraid to play!
- Sweet Chili Glaze: Swap the buffalo sauce for ¾ cup sweet chili sauce mixed with 1 tbsp soy sauce and 1 tsp grated fresh ginger. Garnish with sesame seeds and sliced green onion for an Asian-inspired bite.
- Nashville Hot “Chicken” Style: After the final bake, brush the wings with a mixture of 3 tbsp hot oil (heated with 1 tbsp cayenne pepper, 1 tsp brown sugar, ½ tsp paprika, and a pinch of garlic powder). Serve with dill pickle chips and white bread for the authentic experience.
- Lemon-Herb Parmesan: Skip the wet sauce. After the first bake, toss the wings in a mixture of 2 tbsp melted butter, the zest of 1 lemon, 2 tbsp chopped fresh parsley, and ½ cup grated Parmesan. Return to the oven until the cheese is melty. Bright, herby, and cheesy!
- Vegan & Oil-Free: Use plant-based milk, skip the optional butter in the sauce, and choose a vegan-friendly wing sauce. The batter crisps up beautifully without it.
- “Buffalo-Ranch” Fusion: Mix ½ cup buffalo sauce with ½ cup ranch dressing for the coating sauce. You get all the tangy heat mellowed by the creamy herbs right from the first bite.
A Few Secrets from My Kitchen
This recipe has evolved in my kitchen more than almost any other. The first time I made them, I pan-fried them. Delicious, but a greasy hassle. The baking method was a game-changer for ease and that perfect, all-over crisp. I’ve learned that letting the batter-dipped florets sit on the sheet for 5 minutes before baking helps the coating set and stick even better. And one hilarious fail: I once used a “wing sauce” that was essentially liquid smoke and fire. It was inedible. We ended up scraping the sauce off and eating them plain! It taught me to always taste your sauce first. Now, I keep it simple and let quality ingredients shine. These wings are forgiving, so have fun and make them your own.
Your Questions, Answered
Q: My cauliflower wings turned out soggy. What happened?
A: The most common culprit is overcrowding the baking sheet. If the florets are too close, they steam each other instead of roasting. Give them space! Also, ensure your oven is fully preheated and you’re using the high temp called for. Finally, make sure you’re letting the excess batter drip off thoroughly in step 3.
Q: Can I make these ahead of time?
A: You can do the first bake ahead! After the initial 25-minute bake, let the florets cool completely and store them in an airtight container in the fridge for up to 24 hours. When ready, sauce them and do the second bake. They’ll still be great, though freshly made is always peak crispiness.
Q: Can I use frozen cauliflower?
A: You can, but thaw and pat it *extremely* dry first. Frozen cauliflower holds a lot of water, which can make the batter slide off and lead to sogginess. For best results, fresh is the way to go.
Q: What’s the best way to reheat leftovers?
A> To regain crispiness, never use the microwave. Reheat them in a 400°F oven or an air fryer for 5-8 minutes until hot and crisp again.
Feeling Good About What You’re Eating
While I’m always about flavor first, it feels pretty great to know you’re enjoying something that’s also packing some nutritional punch. Cauliflower is a rockstar veggie, loaded with fiber, vitamins C and K, and antioxidants. By baking instead of deep-frying, we’re cutting way back on excess oil and fat. Using a plant-based milk keeps it dairy-friendly if needed, and the whole dish is naturally vegetarian. Compared to traditional wings, you’re saving significantly on calories and saturated fat while still getting that satisfying, hearty texture and bold flavor. It’s a win for your taste buds and your body. Remember, these are estimates and can vary based on your specific ingredients, especially the sauce you choose.
Per Serving (approx.): Calories: ~180 | Protein: 4g | Fat: 6g | Carbs: 25g | Fiber: 3g
Ready, Set, Meld!
And there you have it—your new secret weapon for game day, party snacks, or just a darn good Tuesday night. These Crispy Cauliflower Wings are proof that incredible food doesn’t have to be complicated or come from expected places. It’s about taking a simple idea, adding a bold twist (or a generous pour of sauce), and sharing the results with people you love. I hope you’ll give them a try, get a little messy in the kitchen, and experience that “you’ve gotta try this” moment for yourself. Don’t forget to tag me over at @FoodMeld if you make them—I love seeing your creations and kitchen stories. Now, go preheat that oven. Let’s cook something awesome together.


