For When You Need a Little Sweet Magic, Stat
Hey friends, Jackson from Food Meld here. Let’s get real for a second. Have you ever had one of those days where you need a sweet treat, like, right now? Maybe the kids are bouncing off the walls, maybe work was a beast, or maybe you just opened the pantry, stared into the abyss, and were hit with a powerful, undeniable craving for something rich, sweet, and peanut buttery.
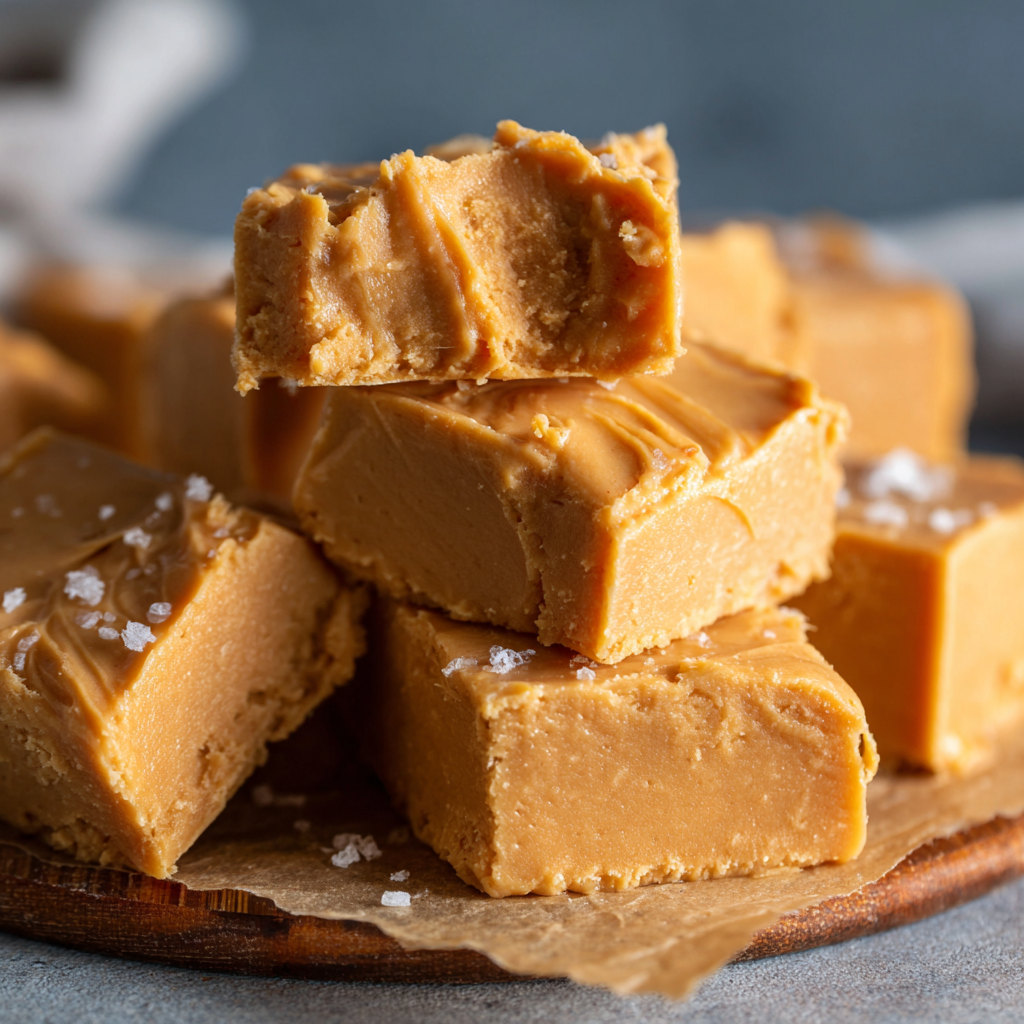
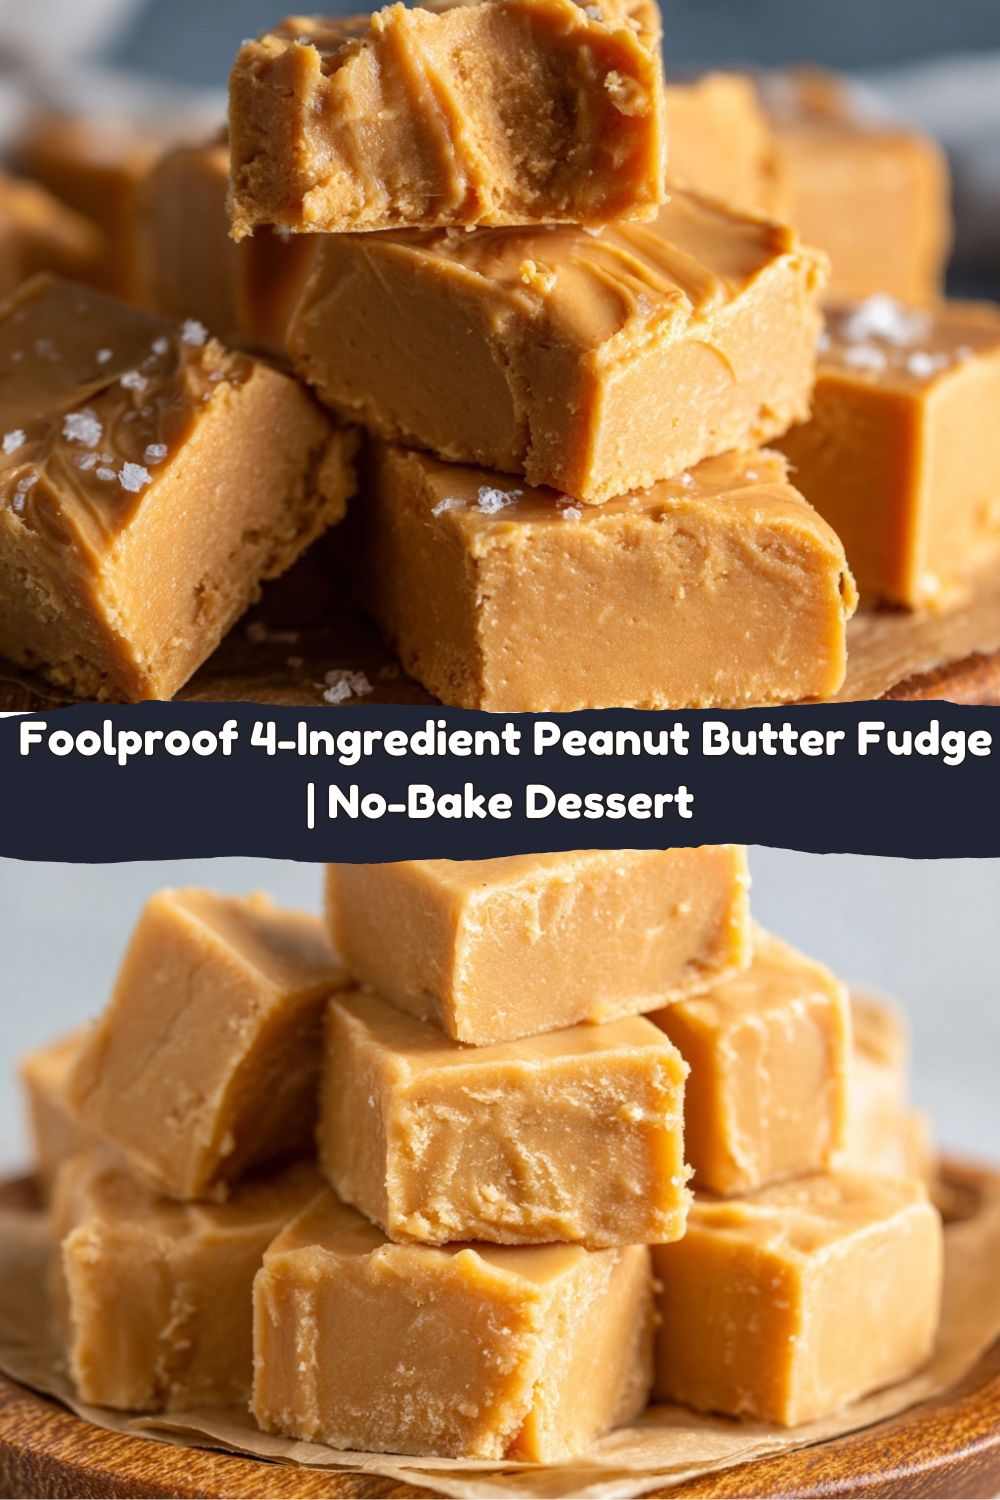
I’ve been there more times than I can count. And that’s exactly why this recipe is my go-to kitchen lifesaver. This isn’t just any peanut butter fudge. This is the superhero of desserts. We’re talking creamy, melt-in-your-mouth, soul-soothing fudge that comes together with just four simple ingredients and zero baking required. No candy thermometers, no frantic stirring, no fancy chef skills needed. Just you, a bowl, and a few minutes of your time. This is the kind of recipe that makes you feel like a kitchen wizard, and I’m so excited to share it with you. So, let’s ditch the stress and cook up some pure, unadulterated joy.
The Fudge That Built a Tradition
This recipe takes me straight back to my grandma’s kitchen in the middle of a sweltering Georgia summer. The A/C was cranked, but her oven was strictly off-limits. That’s when she’d pull out her big yellow mixing bowl and declare it was a “Fudge Day.” I’d perch on a stool, watching her scoop that creamy peanut butter with a satisfying thwump into the bowl. The best part was always being handed the beater to lick clean – a prize more valuable than any trophy. It wasn’t just about the sugar; it was about the shared moment, the simplicity, and the guaranteed delicious outcome. That’s the spirit I’ve baked (or, well, not baked) into Food Meld. It’s about creating those “you’ve gotta try this” moments without the fuss, just like my grandma did. Every time I make this fudge, it’s a little nod to her and a brand new memory in the making.
Your Fudge Dream Team: Just 4 Ingredients!
Here’s the beautiful part. You probably have everything you need sitting in your pantry right now. Let’s meet the all-star cast:
- 1 cup Creamy Peanut Butter: This is the star of the show, folks. Use a standard, no-stir kind like Jif or Skippy. The oils in natural peanut butter can separate and make your fudge greasy, so for this recipe, conventional is the way to go. Trust me on this one.
- 1 can (14 oz) Sweetened Condensed Milk: This is the magic glue that gives the fudge its signature creamy, smooth texture. It’s not the same as evaporated milk, so double-check that label! This sweet, sticky wonder is what makes our fudge so foolproof.
- 1 tsp Vanilla Extract: The supporting actor that makes the star shine even brighter. A splash of vanilla enhances all the other flavors and adds a warm, aromatic depth. If you have it, a vanilla bean paste would be incredible here, but the classic extract works perfectly.
- 2 cups Powdered Sugar: Also known as confectioner’s sugar, this sweetens the fudge and helps it set up with that perfect, sliceable texture. We’ll sift it to avoid any lumps, ensuring our fudge is velvety smooth.
Let’s Make Some Magic: Your Foolproof Fudge Steps
Ready? This is the easiest part. Put on some music, grab your bowl, and let’s do this.
- Prep Your Stage. First, line an 8×8-inch baking dish with parchment paper, letting a little hang over the sides. This isn’t just for easy cleanup (though that’s a huge bonus); it’s your golden ticket to lifting the entire block of fudge out perfectly for slicing. No flipping, no prying, no mess. If you don’t have parchment, a light coating of butter or non-stick spray will work in a pinch. Chef Hack: Crinkle the parchment paper up into a ball first, then smooth it out into the pan. It becomes much more pliable and stays in place!
- Melt & Meld the Base. In a large, microwave-safe bowl, combine the peanut butter and the entire can of sweetened condensed milk. Pop it in the microwave and heat it for 1 minute. Pull it out and give it a good, vigorous stir until the mixture is completely smooth and homogenous. You’ll see it come together into a beautiful, glossy, peanut buttery lava. Chef Insight: The goal here is just to warm everything enough to combine easily. If it’s not quite smooth after a minute, you can zap it in 15-second bursts, but be careful not to overheat it.
- Incorporate the Flavors. Now, stir in that teaspoon of vanilla extract. Next, it’s time for the powdered sugar. I highly recommend sifting it directly into the bowl to avoid any pesky lumps. Use a sturdy spatula or a wooden spoon and stir, stir, stir! At first, it might seem a bit dry, but keep going. It will transform into a thick, luscious, and slightly stiff “dough.” Your arm might get a little workout, but I promise it’s worth it! Chef Hack: To prevent a sugar dust cloud, you can also place a clean kitchen towel over the bowl as you start to stir the powdered sugar in.
- Set & Forget. Transfer your glorious fudge mixture into your prepared pan. Use your spatula or (my secret weapon) the bottom of a lightly greased measuring cup to press it into a smooth, even layer. Get it as flat and pretty as you can! Now, for the hardest part: patience. Slide the pan into the refrigerator and let it chill for at least 2 hours, or until it’s completely firm to the touch. Chef’s Promise: Walking away is the key to perfect slices. Don’t peek!
- The Grand Finale: Slice & Serve! Once the fudge is firm, use the parchment paper sling to lift the entire block out of the pan and onto a cutting board. Using a sharp knife, slice it into 1-inch squares. For super clean cuts, you can warm the knife under hot water and dry it quickly before each slice. And of course, the most important step: taste test one (or two) immediately. You’ve earned it.
How to Serve Your Masterpiece
Okay, you’ve got a tray of perfect peanut butter squares. Now what? The beauty of this fudge is its versatility.
For a simple, classic treat, just pile the squares onto a pretty plate and watch them disappear. If you’re feeling fancy, this fudge makes an incredible gift. Pack it into a cute cookie tin or a cellophane bag tied with a ribbon—it’s a homemade gift that says “I’m an amazing cook” without you having to break a sweat.
Want to take it over the top? For a next-level dessert, crumble a square or two over a bowl of vanilla ice cream. The slight saltiness of the peanut butter against the cold, sweet cream is a revelation. You could even sandwich a square between two chocolate chip cookies for the ultimate indulgence. However you serve it, do it with a smile.
Mix It Up! 5 Fun Flavor Twists
Once you’ve mastered the classic, the playground is open! Here are a few of my favorite ways to get creative with this base recipe:
- Chocolate Swirl Fudge: Melt 1/2 cup of chocolate chips with a teaspoon of coconut oil. After you press the fudge into the pan, drizzle the melted chocolate over the top and use a toothpick to swirl it into beautiful marbled patterns.
- Crunchy Peanut Butter Cup: Swap the creamy peanut butter for crunchy to add a fantastic textural element. Then, fold in 1/2 cup of chopped peanuts and 1/2 cup of chopped Reese’s Peanut Butter Cups before pressing it into the pan.
- “Elvis” Special: Channel The King himself! After mixing, fold in 1/2 cup of crumbled cooked bacon (make it crispy!) and 1/2 cup of mashed ripe banana. It’s sweet, salty, smoky, and utterly addictive.
- Sea Salt & Dark Chocolate: A sophisticated twist. Press the fudge into the pan, then sprinkle the top with flaky sea salt and press mini dark chocolate chips into the surface before chilling.
- Nut-Free “SunButter” Fudge: Have an allergy? No problem! Use SunButter (made from sunflower seeds) for a nut-free version that tastes remarkably similar and has the same perfect texture.
Jackson’s Kitchen Notes & Stories
This recipe has been my trusty sidekick for years, and it’s evolved in fun ways. The first time I made it for a potluck, I was running late and forgot to line the pan. Let’s just say I ended up serving “Peanut Butter Fudge *Chunks*” instead of squares. It was still a massive hit, but I learned my lesson about that parchment paper!
Over time, I’ve found that using a hand mixer on low speed for the final mixing step (after adding the powdered sugar) can save your arm if the mixture is particularly stiff. Just be careful not to overmix. This recipe is a living, breathing thing in my kitchen, and I encourage you to make it yours, too.
Your Fudge Questions, Answered!
Let’s tackle a few common questions so your fudge is perfect every single time.
- Q: My fudge is too soft and won’t set. What happened?
A: The most common culprit is not chilling it long enough. Give it a full 2 hours, or even pop it in the freezer for 30-45 minutes if you’re in a hurry. Also, double-check that you used the full 2 cups of powdered sugar—it’s essential for structure. - Q: Can I make this without a microwave?
A: Absolutely! You can melt the peanut butter and sweetened condensed milk together in a saucepan over low heat on the stovetop, stirring constantly until smooth. Just be sure to let it cool slightly before adding the powdered sugar so it doesn’t melt. - Q: Why is my fudge grainy?
A: This is almost always due to lumps in the powdered sugar. Sifting is your best friend here! It seems like an extra step, but it guarantees that super-smooth, professional texture we’re after. - Q: How long does this fudge keep?
A: It stores beautifully! Keep it in an airtight container in the fridge for up to 2 weeks. You can also freeze it for up to 2 months. I like to layer it between sheets of parchment paper in a freezer-safe container so I can grab a square whenever a craving strikes.
Quick Nutrition & Prep Info
Let’s be real, we’re not eating fudge for our health, but it’s always good to know what you’re enjoying! Here’s the approximate breakdown per square (based on 24 pieces):
- Calories: 160
- Protein: 3g
- Fat: 7g
- Carbohydrates: 22g
- Sugar: 19g
- Fiber: 1g
Prep Time: 5 minutes | Chill Time: 2 hours | Total Time: ~2 hours 10 minutes | Servings: 24 squares
You Did It! Now, Go Enjoy Every Bite.
And there you have it. The simplest, creamiest, most soul-satisfying peanut butter fudge you’ll ever make. You walked into your kitchen with four simple ingredients and walked out with a treat that’s pure happiness. That’s the Food Meld mission in a nutshell—taking the intimidation out of cooking and baking and replacing it with fun, flavor, and a whole lot of “wow, I made that!” pride.
I’d love to see your creations! Tag me on social @FoodMeld with your fudge photos and tell me which variation you tried. Now, go grab a cold glass of milk, sneak a square (or three) of that fudge, and savor your sweet success. You’ve earned it. Until next time, let’s keep cooking something awesome together.
Your friend in the kitchen,
Jackson Walker


