Your New Go-To Cream Cheese Frosting: Say Goodbye to Gritty & Runny Frosting Forever!
Hey friends, Jackson from Food Meld here. Let’s talk about a kitchen hero that can make or break a dessert: cream cheese frosting. We’ve all been there, right? You spend hours baking the most perfect, spiced carrot cake or a deep, dramatic red velvet layer cake. You’re so proud. Then… the frosting happens. It’s too runny and slides right off the cake. Or it’s lumpy, with little bits of un-softened cream cheese. Or it’s so achingly sweet that it completely overpowers the beautiful cake you worked so hard on. I feel your pain. I’ve been there too, and it’s a total dessert heartbreaker.
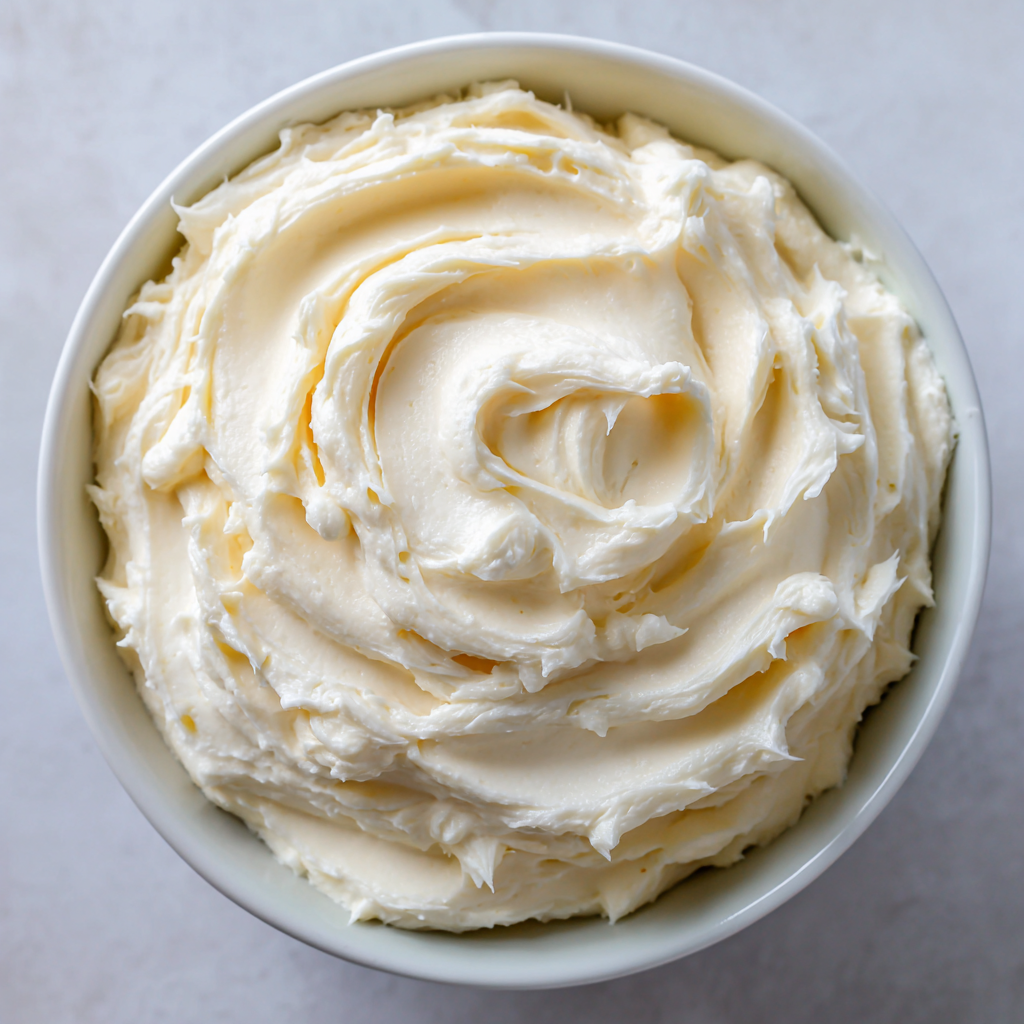
But what if I told you that the perfect cream cheese frosting—the kind that’s luxuriously smooth, perfectly spreadable, and hits that magical balance of rich tang and gentle sweetness—is just 10 minutes away? No fancy equipment, no culinary degree required. Just a few simple ingredients and a few chef-approved secrets I’m thrilled to share with you.
This isn’t just any frosting recipe. This is my ultimate, never-fail, crowd-pleasing cream cheese frosting. It’s the one I’ve tested, tweaked, and perfected over years of baking for friends, family, and you, the Food Meld family. It holds its shape on cupcakes, spreads like a dream on layer cakes, and is so good you might just catch someone eating it with a spoon straight from the bowl (no judgment here). So, let’s grab our mixers and banish frosting fails for good. We’re about to whip up something unforgettable.
The Cake That Started It All: A Southern Grandma’s Secret
My love affair with this frosting started not in a professional kitchen, but in my Grandma Lou’s humble, always-warm kitchen down in Georgia. Every Thanksgiving, without fail, she’d make her famous hummingbird cake—a dense, moist, fruit-and-nut-packed masterpiece. But the star of the show, the thing people actually fought over, was the blanket of cream cheese frosting she’d slather on top.
I remember standing on a little stool next to her, “helping” by licking the beaters (a sacred duty, I believed). Hers wasn’t overly sweet or stiff like the stuff you sometimes find. It was creamy, with a pronounced tang that cut through the sweetness of the cake. It was fluffy yet substantial. It was, in a word, perfect. She’d always wink and say, “The secret, Jack, is a little patience and a cold bowl.” It took me years to truly understand what she meant, but that wisdom is baked right into this recipe. This frosting is my homage to her—to that simple, real, and always flavor-packed approach to cooking that I built Food Meld on.
Gathering Your A-Team: The Ingredients Breakdown
This recipe is beautifully simple, which means the quality of your ingredients really shines through. Here’s exactly what you’ll need and why each component matters.
- 8 oz (one block) Full-Fat Cream Cheese, softened: This is the non-negotiable star. Use full-fat. Reduced-fat or Neufchâtel has more water and less fat, which can lead to a softer, sometimes runnier frosting. For the tang and body we crave, full-fat is the only way to go. Chef’s Insight: The brick-style cream cheese works infinitely better than the spreadable kind in a tub, which has stabilizers that can alter the texture.
- ½ cup (1 stick) Unsalted Butter, softened: Butter adds structure and a rich, creamy flavor that complements the tang of the cheese. Using unsalted butter lets you control the salt level perfectly. Substitution Tip: If you only have salted butter, that’s okay! Just omit the optional pinch of salt later on.
- 4 cups Confectioners’ Sugar (aka Powdered Sugar): This sweetens and thickens the frosting. Its fine texture dissolves instantly, preventing any grittiness. Chef’s Hack: I always sift my powdered sugar. It seems like an extra step, but it’s the #1 secret to an ultra-smooth, lump-free frosting. Trust me on this!
- 1 teaspoon Pure Vanilla Extract: Vanilla is the flavor bridge that ties everything together. It adds a warm, aromatic depth. Substitution Tip: Feel free to experiment! Almond extract (½ tsp) is fantastic, especially for spice cakes.
- Pinch of Fine Sea Salt (optional but highly recommended): Don’t skip this! Salt is a flavor enhancer. It doesn’t make the frosting salty; it makes it taste more like itself by balancing the sweetness and highlighting the tang of the cream cheese.
Let’s Get Mixing: The Foolproof Method
Okay, team. Here’s where the magic happens. Follow these steps, and you’ll have perfect frosting every single time.
Step 1: The Softening Session (This is Crucial!)
Take your cream cheese and butter out of the fridge at least 1-2 hours before you start. They need to be at a cool room temperature—soft enough to leave a slight indent when you press with your finger, but not so warm that they’re greasy or melting. If you’re in a pinch, you can cut them into small chunks to speed up the process. Chef’s Hack: NEVER try to soften cream cheese or butter in the microwave. It almost always leads to partial melting, which will give you a soft, weepy frosting. Patience is your best ingredient here.
Step 2: The Creamy Foundation
In the bowl of a stand mixer fitted with the paddle attachment (a hand mixer works great too!), beat the softened cream cheese and butter together on medium speed for a full 2-3 minutes. You’re not just combining them; you’re aerating them. Stop and scrape down the sides and bottom of the bowl once to ensure no un-mixed bits are hiding. The goal is a completely smooth, pale, and fluffy base.
Step 3: The Sweet Incorporation
With the mixer on LOW speed, gradually add the sifted confectioners’ sugar, one cup at a time. I mean it—start slow! Unless you want a sweet, white cloud all over your kitchen, keep that speed down until the sugar is incorporated. Once each cup is mixed in, turn the speed up to medium and beat for about 30 seconds before adding the next cup. This gradual process ensures a smooth texture, not a gritty one.
Step 4: The Flavor Finish
After all the sugar is in, scrape the bowl down again. Add the vanilla extract and that tiny, mighty pinch of salt. Now, turn the mixer up to medium-high and let it rip for another 2-3 minutes. This is the final whipping stage. Watch as the frosting transforms, becoming noticeably lighter, fluffier, and more voluminous. This extra time makes all the difference between a good frosting and a great one.
Spreading the Love: How to Serve & Plate
Your masterpiece is ready! For a classic layer cake, let your cake layers cool completely—I mean, completely cold. A warm cake will melt your beautiful frosting. Place one layer on a cake stand, add a generous dollop of frosting, and spread it evenly to the edges. Gently place the second layer on top and apply a thin “crumb coat”—a light layer of frosting all over the cake to seal in any crumbs. Pop it in the fridge for 15-20 minutes to set, then pile on the rest of the frosting for a smooth, clean finish.
For cupcakes, a simple swipe with an offset spatula looks wonderfully rustic and inviting. If you want to get fancy, fit a piping bag with a large star tip (like a 1M) and pipe beautiful, high swirls. This frosting pipes like a dream when it’s at the right consistency. And don’t forget the simplest dessert of all: a bowl of fresh berries with a dollop of this frosting on the side for dipping. Instant elegance!
Mix It Up: Creative Flavor Twists
Once you’ve mastered the classic, the playground is open! Here are a few of my favorite ways to mix it up.
1. Citrus Zing: Add the finely grated zest of one lemon or one orange (about 1-2 teaspoons) along with the vanilla. The bright, sunny notes are incredible on vanilla bean cupcakes or blueberry cake.
2. Cinnamon Spice: Add 1 teaspoon of ground cinnamon and a tiny pinch of nutmeg. This is a no-brainer for carrot cake, snickerdoodle cupcakes, or pumpkin bread.
3. Maple Bliss: Replace the vanilla extract with 1 ½ teaspoons of pure maple extract. It adds a warm, autumnal depth that’s out-of-this-world on sweet potato cake or waffles.
4. Berry Swirl: After frosting is made, gently swirl in 3-4 tablespoons of a thick, seedless raspberry or strawberry jam. Don’t overmix—you want beautiful ribbons of fruit running through it. Perfect for birthday cakes!
5. Chocolate Hint: For a subtle chocolate twist, sift in ½ cup of unsweetened cocoa powder along with the last cup of confectioners’ sugar. It’s a rich, decadent twist for red velvet or devil’s food cake.
Jackson’s Chef Notes & Kitchen Stories
This recipe has been a living, evolving thing in my kitchen. I once, in a frantic pre-Thanksgiving baking spree, tried to soften the cream cheese in a bowl of warm water. It worked a little too well and got slightly warm. The resulting frosting was so soft I had to basically freeze the cake to get it to set! Lesson re-learned: patience, not shortcuts. Another time, a friend asked for a less sweet version. I tried reducing the sugar, but the structure fell apart. The better solution? Adding that pinch of salt and a big splash of lemon juice to balance the existing sweetness, which worked like a charm. The moral of the story is to trust the ratios, but don’t be afraid to tweak the flavors to make it your own.
Frosting FAQs: Solving Your Icing Issues
Q: My frosting is too soft/runny. What did I do wrong and how can I fix it?
A: The most common culprits are ingredients that were too warm or using spreadable/low-fat cream cheese. Don’t panic! Pop the entire bowl of frosting into the refrigerator for 20-30 minutes to firm up, then re-whip it. If it’s still too soft, you can add a little more sifted powdered sugar, a quarter cup at a time, until it thickens up.
Q: Why is my frosting lumpy?
A: Those lumps are almost definitely bits of un-softened cream cheese. The best fix is prevention: make sure your cream cheese is truly softened. If you have lumps, you can try beating the frosting for a few more minutes. If that doesn’t work, pressing the finished frosting through a fine-mesh sieve can save it!
Q: Can I make this frosting ahead of time?
A: Absolutely! It stores beautifully. Keep it in an airtight container in the fridge for up to 5 days. When you’re ready to use it, let it sit on the counter for 15-20 minutes to soften slightly, then give it a good re-whip with your mixer to bring back its fluffy texture.
Q: Can I freeze cream cheese frosting?
A: You can! Freeze it in an airtight container for up to 2 months. Thaw it overnight in the refrigerator, then let it come to room temperature and re-whip it before using. The texture may be very slightly different, but it’ll still be delicious.
Print
Cream Cheese Frosting
- Total Time: 10 minutes
- Yield: ~3 cups
Description
This classic cream cheese frosting is luxuriously smooth with just the right balance of tang and sweetness. It pairs beautifully with everything from carrot cake and red velvet to sugar cookies and cinnamon rolls. Simple, reliable, and always a crowd-pleaser.
Ingredients
–
8 oz cream cheese, softened
½ cup unsalted butter, softened
4 cups confectioners’ sugar
1 teaspoon vanilla extract
Pinch of salt (optional, enhances flavor)
Instructions
In a large bowl, beat cream cheese and butter together until smooth and fluffy.
Gradually add confectioners’ sugar, 1 cup at a time, beating well after each addition.
Stir in vanilla extract and salt (if using).
Beat for 2–3 minutes until light, fluffy, and fully blended.
Optional Twists:
Add 1–2 teaspoons lemon zest or juice for a citrus twist
Use almond extract instead of vanilla for a nutty depth
Fold in a pinch of cinnamon or nutmeg for warmth
Whip longer for a lighter texture, or chill slightly before piping
- Prep Time: 10 minutes
Nutrition
- Calories: 140 per 2 tbsp
- Sugar: 18g per 2 tbsp
- Sodium: 55mg / per 2 tbsp
- Fat: 7g per 2 tbsp
- Carbohydrates: 19g per 2 tbsp
- Protein: 1g per 2 tbsp
Nutritional Information*
*Please remember, this is a dessert frosting meant for enjoyment in moderation! This info is provided as a courtesy and is an estimate based on the ingredients used.
Per Serving (2 tbsp):
Calories: 140 | Total Fat: 7g | Saturated Fat: 4.5g | Cholesterol: 20mg | Sodium: 55mg | Total Carbohydrates: 19g | Sugars: 18g | Protein: 1g
The primary sources of calories are the fats from the cream cheese and butter and the carbohydrates from the confectioners’ sugar. For a lighter version, using reduced-fat cream cheese is an option, but be aware it will impact the texture and stability, as noted above.
Your Turn to Create Something Awesome
And there you have it! Everything I know about making the most incredibly smooth, tangy, and perfectly spreadable cream cheese frosting. This isn’t just a recipe; it’s a trusty tool for your baking toolbox. It’s the finishing touch that turns a good homemade dessert into a legendary one—the kind that has people asking, “Can I get the recipe for this frosting?”
I hope this guide gives you the confidence to whip up a batch (and maybe even lick the beaters, in honor of Grandma Lou). Remember, cooking and baking are all about having fun, embracing the messy moments, and creating those “you’ve gotta try this” memories around the table.
I’d love to hear how it goes! Tag me @FoodMeld on Instagram or Pinterest with your frosted creations. What did you put it on? Did you try one of the fun twists? Let me know! Now, go forth and frost something incredible.
Happy cooking,
Jackson


