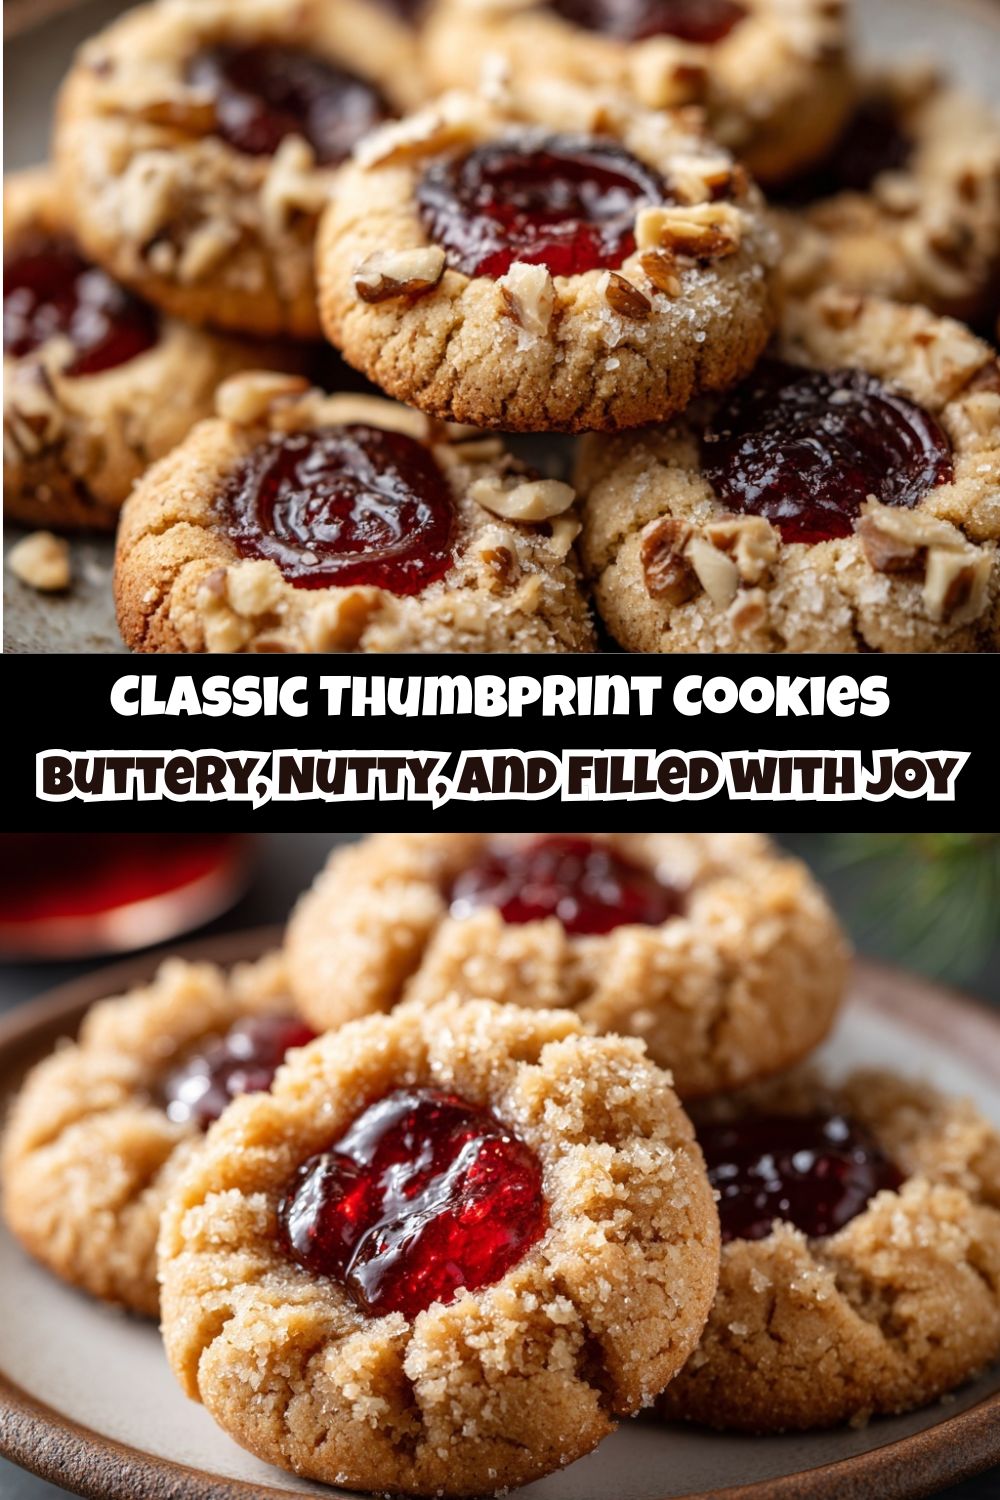
Classic Thumbprint Cookies: Your New Favorite Little Bite of Joy
Hey friends, Jackson here from Food Meld! Let’s get one thing straight right out of the gate: I believe the best recipes are the ones that feel like a warm hug. They’re the ones passed down on handwritten cards, stained with vanilla and butter, and baked with more love than precision. And let me tell you, these Classic Thumbprint Cookies? They are a hug in cookie form.
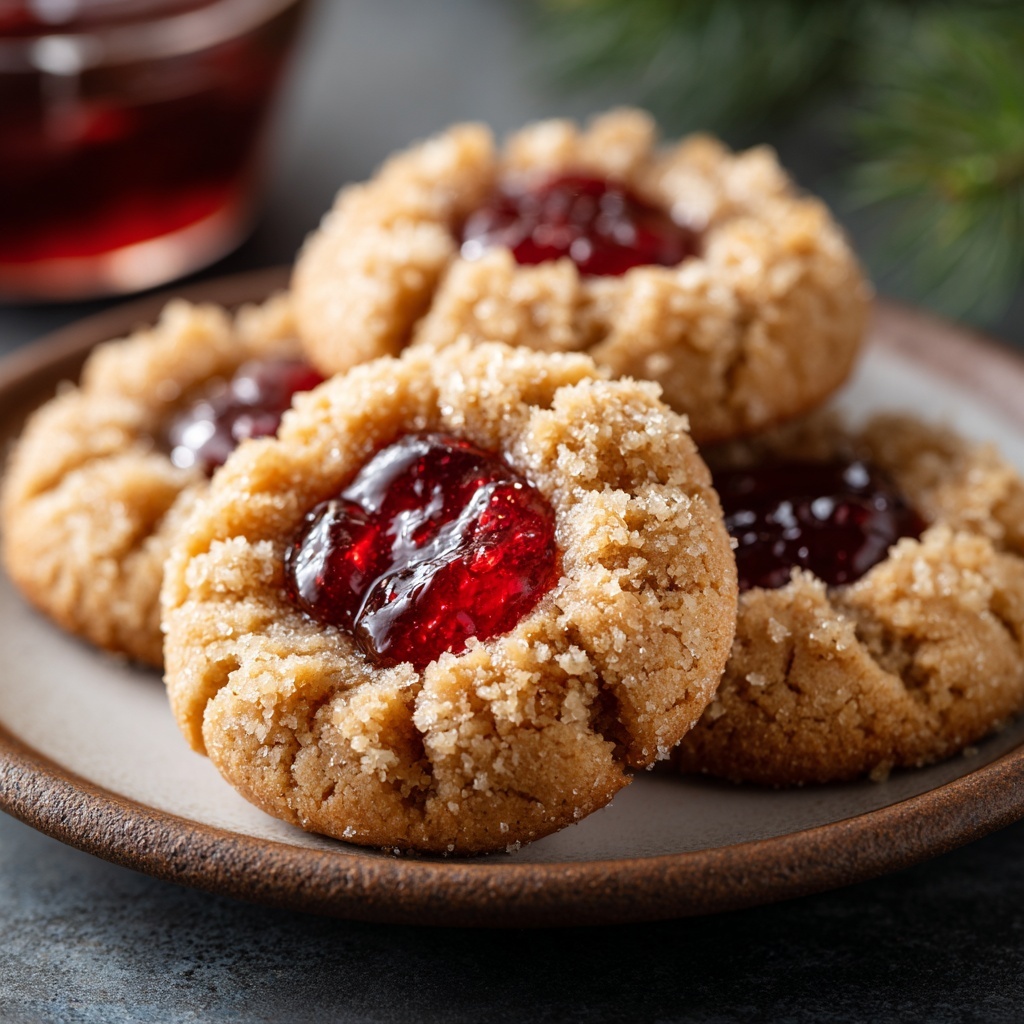
We’re talking about a buttery, brown sugar base that just melts in your mouth. A delightful, toasty crunch from a coat of chopped nuts. And that perfect little well in the center, just begging to be filled with a dollop of vibrant jam, a swirl of frosting, or a shiny cherry half. They’re elegant enough for a holiday cookie swap but simple enough for a lazy Sunday baking session when you just need a little project.
I know some of you might be thinking, “But Jackson, my thumbprints always spread!” or “Mine never hold their shape!” Don’t you worry. We’re going to walk through this together, step-by-step, and I’m sharing all my little chef hacks to guarantee your cookie game is strong. We’re taking this vintage recipe and giving it that Food Meld energy—keeping it simple, real, and absolutely packed with flavor. So, preheat those ovens in your mind, and let’s cook something awesome together.
A Stained Recipe Card and a Whole Lotta Love
This recipe takes me right back to my grandma’s kitchen. It wasn’t a fancy, magazine-worthy space. It was a *lived-in* kitchen, with a well-worn linoleum floor and the constant, comforting smell of something baking. Every Christmas, the counter would be overtaken by tins of cookies, but the thumbprints were always my favorite to “help” with. My job, from the time I could stand on a stool, was the all-important “thumb press.”
Grandma would hand me the little dough balls, and I’d carefully give each one a firm poke with my tiny thumb. She’d watch me, never worried about perfection, and say, “That’s the spirit, Jack. They need a good, deep home for all that sweetness.” My prints were always a little lopsided, but she’d just smile and say they had character. That’s the heart of this recipe, right there. It’s not about cookie-cutter precision; it’s about the joy of getting your hands a little messy and creating something deliciously imperfect with the people you love.
Gathering Your Flavor Arsenal
One of the things I love most about this recipe is its beautiful simplicity. You probably have most of this in your pantry right now. Here’s the lineup for these buttery, nutty wonders (yields about 2.5 to 3 dozen little bites of heaven):
- ½ cup (1 stick) Land O’ Lakes Butter, softened: I’m a stickler for good butter in cookies. Land O’ Lakes has a consistent fat-to-water ratio that creates an unbeatable, tender crumb. Chef Insight: “Softened” is key! It should give slightly when you press it, but not be oily or melted. This is non-negotiable for creaming it properly with the sugar.
- ⅓ cup brown sugar, firmly packed: Brown sugar is our secret weapon here. The molasses in it gives the cookies a deeper, almost caramel-like flavor compared to white sugar, and it helps keep them soft and chewy.
- ¼ tsp salt: Don’t you dare skip the salt! It’s the flavor enhancer that makes the buttery, sweet notes really *pop*. It balances everything out perfectly.
- 2 egg yolks: We’re using just the yolks for maximum richness and a beautiful, tender texture. Pro-Tip: Save those whites! You’ll need one for the nut coating, and you can use the other for a scramble or a meringue.
- ½ tsp vanilla extract: The classic flavor backbone. Use the good stuff if you have it—it makes a difference.
- 1¼ cups sifted all-purpose flour: Sifting is important here, friends. It aerates the flour, preventing you from over-measuring and ending up with dense, tough cookies. We want them light and delicate!
- 1 egg white, slightly beaten: This is our edible glue. A quick dip in the egg white helps that nut coating stick like a dream.
- 1¼ cups chopped nuts (pecans or walnuts work great): This is where you can get creative. I’m partial to pecans for their buttery, Southern vibe, but walnuts add a fantastic earthy crunch. Substitution Tip: Not a nut fan? Roll the dough balls in crushed pretzels, shredded coconut, or even colorful sprinkles!
- Center sweets: frosting, jam, cherry halves, or candy: This is the “make it yours” moment! I love a good raspberry or apricot jam, but a simple vanilla buttercream or a dark chocolate ganache is pure magic. The world is your oyster!
Let’s Make Some Magic: The Step-by-Step
Alright, team, let’s dive in. Put on some good music, clear off your counter, and let’s get baking. Follow these steps, and you’ll have a batch of perfect thumbprint cookies before you know it.
- Cream the Butter & Sugar: In a mixing bowl, beat that softened butter until it’s smooth and creamy. Now, gradually add in your packed brown sugar and beat the living daylights out of it. I’m not kidding. Beat it on medium-high speed for a good 2-3 minutes until it’s light, fluffy, and pale in color. Chef Hack: This creaming step is crucial for creating tiny air pockets that give the cookie its structure. Don’t rush it!
- Incorporate the Wet Ingredients: Scrape down the sides of the bowl (another pro-move!) and add in the salt, egg yolks, and vanilla extract. Beat it all together until it’s perfectly combined and looks silky smooth.
- Bring in the Flour: Now, gradually add your sifted flour to the mix. I like to do this on a lower speed to avoid a white cloud taking over my kitchen. Mix just until the flour disappears and a soft dough forms. Watch Out: Overmixing at this stage can develop the gluten in the flour and make your cookies tough. Stop as soon as you don’t see any dry spots.
- The All-Important Chill Time: This is the step that separates the amateurs from the pros. Wrap your dough in plastic wrap and pop it in the fridge for at least 30 minutes. Why? Chilling the dough solidifies the butter, which prevents the cookies from spreading into sad, flat puddles in the oven. It also makes the dough much easier to handle. Patience is a virtue, especially in baking!
- Preheat & Prep: While the dough is chilling, preheat your oven to 375°F (190°C). Line your baking sheets with parchment paper. Trust me, this is a game-changer for easy cleanup and preventing any sticking.
- Shape, Dip, and Roll: Take your chilled dough and roll it into 1-inch balls. Give each ball a quick dip in the slightly beaten egg white, then roll it generously in your chopped nuts, making sure they’re fully coated. Place them about an inch apart on your prepared baking sheet.
- The Signature Press: Here comes the fun part! Using your thumb, the end of a wooden spoon, or even the back of a small measuring spoon, press a deep, clear indent into the center of each cookie. Chef Insight: Don’t be shy! Make that indent a little deeper than you think you need to, as it will puff up a bit during baking.
- Bake to Perfection: Slide those beauties into your preheated oven and bake for 10-12 minutes. You’re looking for the edges to be just lightly golden. The centers might still look a little soft, and that’s perfect—they’ll firm up as they cool.
- The “Refresh” Move: As soon as the cookies come out of the oven, take that same spoon or thumb and gently re-press the indentations. This is my number one tip for ensuring you have a perfect, deep well for your fillings later. Let them cool on the baking sheet for a few minutes before transferring them to a wire rack to cool completely.
- Fill with Joy: Once the cookies are completely cool, it’s time for the grand finale! Spoon your chosen jam, frosting, or other filling into the centers. If using jam, you can warm it slightly for easier spooning. Now, try not to eat them all at once.
Sharing the Love: How to Serve These Gems
Okay, you’ve got a beautiful batch of cookies. Now what? These little guys are incredibly versatile. For a classic cookie platter, arrange them on a simple wooden board or a vintage cake stand. I love mixing and matching the fillings—a row of ruby-red raspberry jam next to a row of sunny apricot and a few with creamy chocolate. It creates a stunning visual effect that says, “I’m a baking rockstar.”
They’re also the perfect companion to your afternoon coffee or a cup of tea. The buttery, nutty cookie is just made for dipping. For a next-level dessert, crumble a few over a scoop of high-quality vanilla ice cream and drizzle with caramel sauce. Seriously, it’s a game-changer. However you serve them, just make sure you’re sharing them with good company.
Mix It Up: Creative Twists on a Classic
This recipe is a fantastic canvas for your creativity. Here are a few of my favorite Food Meld twists to get your gears turning:
- Citrus Zest: Add the zest of one lemon or orange to the dough along with the vanilla. It brightens up the whole cookie and pairs wonderfully with fruit jams.
- Chocolate Thumbprints: Replace ¼ cup of the flour with ¼ cup of unsweetened cocoa powder for a chocolatey base. Fill the centers with a peppermint frosting for a holiday treat, or a simple white chocolate ganache.
- Savory-Sweet & Salty: This is a fun one! Roll the dough balls in crushed, salty pretzels instead of nuts. Fill the baked and cooled centers with a dollop of peanut butter and a mini chocolate chip. It’s like a inside-out peanut butter cup cookie!
- Gluten-Free & Fabulous: You can easily make this recipe gluten-free by using a 1:1 gluten-free all-purpose flour blend. I’ve had great success with Bob’s Red Mill. The texture is virtually identical.
- Nut-Free Fun: As mentioned, skip the nuts and roll the dough in colorful sprinkles, shredded coconut, or even finely crushed cereal for a kid-friendly version.
Jackson’s Kitchen Notes & Stories
This recipe has been a part of my life for so long, it feels like an old friend. I’ve definitely had my share of kitchen fails with it, too. One memorable year, I was in a huge rush and skipped the chill time. Let’s just say I ended up with one giant, cookie-sheet-sized “thumbprint” that we had to break apart with a knife. We called it “Thumbprint Brittle,” and we still ate it, but it was a valuable lesson learned!
Over time, I’ve found that letting the dough chill for a full hour sometimes gives me an even better shape, especially on a hot day. And I’m a firm believer in using a small melon baller or the end of a thick-handled wooden spoon for the indent—it gives you a perfect, uniform well every time. Remember, baking is a journey, not a destination. Have fun with it!
Your Questions, Answered!
I’ve gotten a lot of questions about this recipe over the years. Here are the most common ones to help you bake with confidence.
Q: My cookies spread too much! What did I do wrong?
A: This is almost always one of two things: 1) Your butter was too soft or melted. Make sure it’s just softened, not greasy. Or 2) You skipped or short-changed the chilling time. The fridge is your best friend here—don’t fight it!
Q: Can I make the dough ahead of time?
A: Absolutely! You can wrap the dough tightly in plastic wrap and keep it in the fridge for up to 3 days. You can also freeze the shaped, unbaked dough balls on a tray, then transfer them to a freezer bag. Bake straight from frozen, adding a minute or two to the baking time.
Q: My jam sank/bubbled over in the oven. How can I prevent that?
A> Aha! This is a classic issue. The trick is to *fill the cookies after they are baked and cooled*. The recipe instructions have you re-press the warm indent to create a perfect, stable well. Then, once the cookie is cool, you add your jam or filling. No sinking, no bubbling, just perfect presentation.
Q: I don’t have brown sugar. Can I use white sugar?
A> You can, but the cookie will be crisper, paler, and lack that deep, caramel-like flavor. If you’re in a pinch, you can make a DIY brown sugar by mixing 1 cup of white sugar with 1 tablespoon of molasses. It works in a pinch!
Nutritional Info (For Your Info!)
Hey, I’m all about balance. Life’s too short not to enjoy a good cookie, but I also like to know what I’m eating. Here’s a general breakdown per cookie (assuming 30 cookies and using raspberry jam, without frosting). Remember, this is just an estimate!
These little guys come in at roughly 90-110 calories each. The majority comes from the healthy fats in the butter and nuts, and the carbohydrates from the flour and sugar. They have a small amount of protein from the egg yolks and nuts. While they’re definitely a treat, using a high-quality jam without added corn syrup can add a touch of fruit-based antioxidants. The bottom line? Enjoy one (or three!) mindfully as part of a fun baking experience and a balanced lifestyle.
Final Thoughts from My Kitchen to Yours
And there you have it, friends. My go-to, never-fail (as long as you chill the dough!), soul-warming recipe for Classic Thumbprint Cookies. This is more than just a list of ingredients and steps; it’s an invitation to create your own kitchen memories. It’s about the fun of pressing your thumb into that soft dough, the aroma of toasting nuts filling your home, and the pride of presenting a plate of beautiful, homemade cookies.