
Let’s Make Some Magic: Chocolate Sprinkles Fudge
Hey friends, Jackson from Food Meld here. Let’s talk about one of life’s simple, glorious pleasures: fudge. Not the kind you have to fuss over with candy thermometers and a prayer, but the kind that comes together in one pan, with a few simple ingredients, and makes you feel like a kitchen wizard. The kind that’s unapologetically rich, impossibly smooth, and just begging for a little confetti.
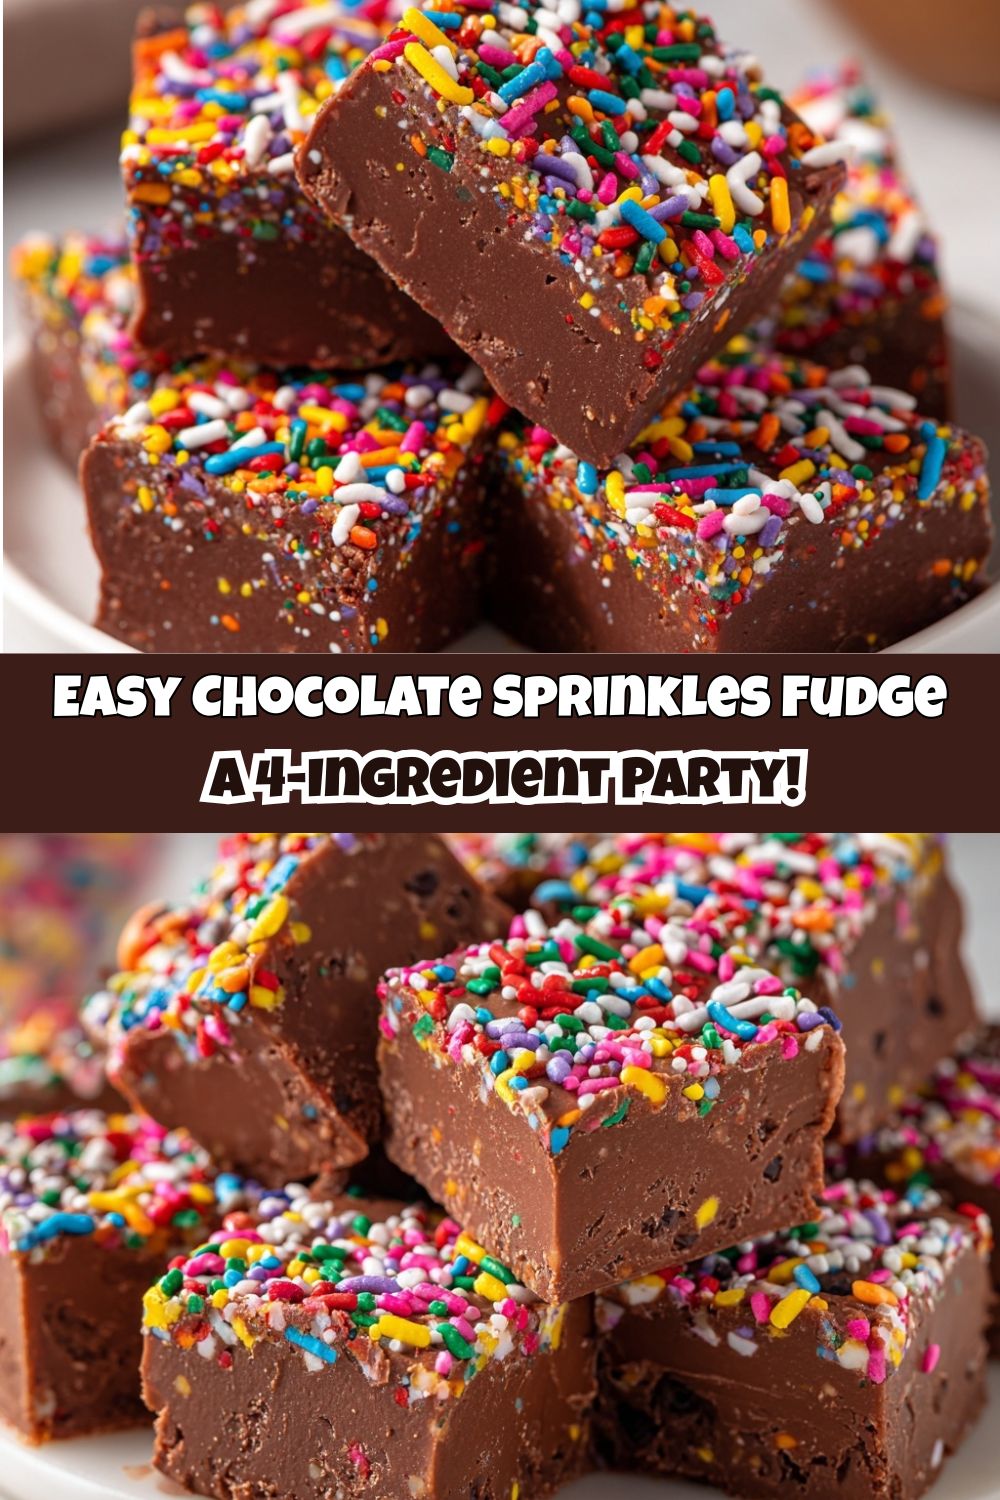
That’s exactly what this Chocolate Sprinkles Fudge is all about. This isn’t just a recipe; it’s a little edible happiness. It’s the treat you whip up for a last-minute bake sale, the sweet surprise you tuck into a lunchbox, or the vibrant centerpiece on your holiday dessert table that makes everyone’s eyes light up. It’s the ultimate “wow, you made this?!” recipe, and I’m letting you in on the secret: it’s laughably easy.
I’m a firm believer that cooking—and especially baking and candy-making—should be fun, not intimidating. There should be more “oohs” and “aahs” than stress and sweat. This fudge is my proof. We’re talking about 10 minutes of active time, friends. Ten minutes between you and a pan of the creamiest, most decadent chocolate fudge, studded with cheerful sprinkles that add a delightful little crunch. So, tie on your apron, grab your favorite saucepan, and let’s cook something awesome together. Welcome to the party.
A Sprinkle of Nostalgia: Why This Fudge Hits Different
This recipe always takes me right back to my grandma’s linoleum-floored kitchen. She wasn’t a fancy baker, but she was a powerhouse of pure, comforting joy. Her signature move was what she called “Icebox Cake,” a glorious mess of graham crackers and pudding. But my favorite days were when she’d pull out the big, heavy saucepan for fudge.
I’d sit at the counter, my legs swinging, watching her stir with a focus I usually only saw during her daytime soaps. The air would thicken with the scent of melting chocolate, a smell that felt like love and anticipation all rolled into one. Her version was classic, maybe with a few walnuts if she was feeling wild. But for me, the magic was always in the jar of rainbow sprinkles she’d let me shake over the top. It was our thing. That final shower of color was my contribution, my artist’s signature on a family masterpiece.
This Chocolate Sprinkles Fudge is my grown-up, Food Meld-ified homage to those afternoons. It’s that same soul-soothing, simple treat, but I’ve cranked up the fun by mixing the sprinkles right into the fudge. You get that colorful confetti in every single bite, a little crunch and joy mixed right into the silky chocolate. It’s a memory, a celebration, and a darn good piece of fudge, all in one.
Gathering Your Fudge-Making Squad: The Ingredients
See? I told you it was simple. This is the A-team right here. No weird chemicals, no complicated steps. Just a handful of powerhouse ingredients that work together to create pure magic.
- 3 cups Semi-Sweet Chocolate Chips: This is the star of the show, so use a brand you love to snack on! I like semi-sweet for its perfect balance—rich but not overly sweet, which lets the chocolate flavor really shine. Chef’s Insight: You can totally swap this for dark chocolate chips for a more intense, grown-up vibe, or milk chocolate if you have a serious sweet tooth.
- 1 (14 oz) can Sweetened Condensed Milk: This is the secret weapon, the magic glue that gives our fudge its legendary creamy, smooth texture without any fuss. Do not substitute with evaporated milk—they are not the same thing! This sweet, thick milk is non-negotiable for no-fail fudge.
- ¼ cup Unsalted Butter: A little fat goes a long way in creating that melt-in-your-mouth quality and a beautiful, glossy sheen. Using unsalted lets you control the salt level. Substitution Tip: If you only have salted butter, that’s totally fine! Just omit the optional sea salt later on.
- 1½ tsp Vanilla Extract: The wingman that makes the chocolate taste even more like chocolate. It adds a warm, complex depth of flavor. Don’t skip it!
- ½ cup Rainbow Sprinkles (plus more for topping): The fun factor! These little rods of joy add color and a wonderful textural contrast. Chef’s Insight: For best results, use the longer “jimmies” style sprinkles, not nonpareils (the tiny balls). The jimmies hold their shape and color better when stirred into the warm fudge.
- Optional Twist: A Pinch of Sea Salt or a Splash of Almond Extract: This is where you can make it yours. A flaky sea salt sprinkled on top creates an incredible sweet-and-salty situation. Or, swap the vanilla for almond extract for a subtle, nostalgic flavor that pairs beautifully with chocolate.
The Fun Part: Let’s Make the Fudge!
Alright, team. This is where the magic happens. It’s so straightforward, but I’ve got a few little chef hacks for you along the way to ensure fudge perfection.
- Line an 8×8-inch pan with parchment paper. This is your first pro-move. Take a sheet of parchment paper and press it into your pan, letting the edges hang over the sides. This creates “handles” that will let you lift the entire block of fudge out later for super clean, easy slicing. No wrestling with the pan! A little spritz of cooking spray on the pan first helps the parchment stick in place.
- In a medium saucepan over LOW heat, combine the chocolate chips, sweetened condensed milk, and butter. I’m putting “LOW” in all caps because this is the most important step for smooth, perfect fudge. We’re gently melting these ingredients together, not cooking them. High heat is the enemy here—it can cause the chocolate to seize up and become grainy. Patience is your best friend.
- Stir constantly until the mixture is completely smooth and glossy. Grab a spatula and keep it moving. You’ll watch the chocolate chips slowly surrender, the butter melt in, and everything become one beautiful, velvety chocolate river. This should only take about 5-7 minutes. Once there’s not a single lump in sight, you’re golden. Immediately remove the pan from the heat.
- Remove from heat and vigorously stir in the vanilla extract and the ½ cup of sprinkles. The off-heat stir is crucial! We’re cooling the mixture down just a tad before adding the sprinkles. If it’s too hot, the sprinkles can bleed their color. A vigorous stir also helps incorporate a little air, keeping the fudge light. You’ll see the colorful confetti streaking through the dark chocolate—it’s a beautiful thing.
- Pour and scrape the fudge into your prepared pan. Use your spatula to get every last bit of that goodness out of the pan. Then, smooth the top into an even layer. Don’t worry if it’s not picture-perfect; the topping will hide any imperfections!
- Immediately top with more sprinkles and gently press them in. Don’t wait! While the fudge is still soft and tacky, shower it with another generous handful of sprinkles. Then, take the back of a spoon or your clean fingers and gently press them down so they adhere. This is the Jackson Walker signature move, inspired by my grandma.
- Chill for 2-3 hours, or until firm. Pop the pan into the refrigerator and walk away. Let the cold work its magic, transforming that liquid velvet into a firm, sliceable block. I know it’s tempting to peek, but give it a solid two hours minimum.
- Lift the fudge out using the parchment paper handles and slice into squares. The grand finale! Use a large, sharp knife to cut the fudge into 36 one-inch squares (or bigger if you’re feeling bold). For super clean cuts, you can warm the knife under hot water and wipe it dry between slices.
Sharing the Joy: How to Serve This Fudge
You’ve made a masterpiece, now let’s show it off! This fudge is a crowd-pleaser no matter how you serve it, but a little presentation flair never hurt.
For a casual get-together, I love piling the squares high on a rustic wooden board or a colorful ceramic plate. It feels homey and inviting. If you’re gifting it, stack a few pieces in a clear cellophane bag tied with a ribbon, or arrange them in a festive tin box layered with wax paper. It makes for a heartfelt, handmade gift that people truly appreciate.
This fudge is the ultimate potluck hero. It travels like a dream and holds its shape perfectly. Serve it alongside a pot of strong coffee or a cold glass of milk for the ultimate classic combo. For a next-level dessert moment, crumble a square over a scoop of high-quality vanilla bean ice cream. The contrast of cold, creamy ice cream with the rich, firm fudge is a game-changer.
Make It Yours: Fun Fudge Flavor Twists
Once you’ve mastered the classic, the playground is open! This base recipe is incredibly versatile. Here are a few of my favorite ways to mix it up:
- Cookies & Cream: Replace the sprinkles with 1 cup of crushed Oreo cookies. Fold them in at the same step, and maybe even press a few larger chunks on top. It’s a chocolate-on-chocolate dream.
- Rocky Road: Hello, texture! Fold in ½ cup of mini marshmallows and ½ cup of chopped walnuts or peanuts along with the sprinkles. You get gooey, crunchy, and chocolatey all in one bite.
- Peanut Butter Swirl: Take ½ cup of warm peanut butter and drop it in dollops over the smoothed fudge in the pan. Use a knife or a toothpick to swirl it dramatically through the chocolate. It’s a beautiful marbled effect and an epic flavor combo.
- Mint Chocolate Chip: Swap the vanilla extract for ½ teaspoon of peppermint extract and use green jimmies sprinkles instead of rainbow. It’s refreshing, cool, and perfect for the holidays.
- Dairy-Free Delight: You can absolutely make this vegan! Use dairy-free chocolate chips, a can of coconut sweetened condensed milk (it exists and it’s amazing!), and vegan butter. The process is exactly the same.
Jackson’s Chef Notes & Kitchen Stories
This recipe has been my go-to for years, and it’s evolved in the best ways. I used to be a strict “sprinkles on top” guy, until one day I was a little overzealous with my shaking and a whole bunch fell right into the pan. I stirred them in out of panic, and a star was born. The mixed-in sprinkle method is now non-negotiable for me.
A funny story: I once tried to rush the chilling process by putting the pan in the freezer. It worked, a little too well. I ended up with a fudge block so hard I needed a chisel to get it out! We ended up just eating it like a chocolate bark, breaking it into shards. It was a happy accident that taught me to respect the fridge’s gentle chill. Lesson learned: patience makes for prettier squares, but even the “mistakes” are still delicious.
Your Fudge Questions, Answered!
I’ve gotten a lot of questions about this fudge over the years. Here are the big ones to help you out.
Q: My fudge is grainy. What happened?
A: This almost always means the heat was too high, causing the chocolate to “seize” or the sugar to crystallize. Remember, low and slow is the way to go! Once it’s grainy, it’s hard to fix, but it will still taste great—it just won’t have that signature silky texture.
Q: Can I freeze this fudge?
A: Absolutely! This fudge freezes like a champ. Wrap the whole block or individual squares tightly in plastic wrap and then in a freezer bag. It will keep for up to 3 months. Thaw it in the fridge overnight before serving.
Q: Why did my sprinkles bleed their color?
A: This happens if the fudge mixture is too hot when you stir them in. Make sure you take the pan completely off the heat before adding them. Using higher-quality “jimmies” instead of nonpareils also helps prevent color bleeding.
Q: How long does it last in the fridge?
A> Stored in an airtight container, this fudge will stay fresh and delicious for up to 2 weeks. Honestly, it never lasts that long in my house!
Let’s Talk Nutrition (The Real Talk)
Look, we’re all friends here. This is a dessert, through and through. It’s a treat meant to be enjoyed in moments of celebration, comfort, and connection. I’m not going to pretend it’s a health food, but I am a big believer in enjoying the real, good stuff mindfully.
This is a rich, indulgent fudge. Per square (about 1-inch), you’re looking at approximately 150 calories, 8g of fat, 19g of carbohydrates, 16g of sugar, and 2g of protein. Because it’s so decadent, a small square is often enough to satisfy that sweet tooth. I always recommend using the best-quality ingredients you can—it makes a difference in flavor, and you’ll feel more satisfied with a smaller portion of something truly delicious. So, savor it, share it, and enjoy every single bite without any guilt.
Your New Go-To Treat
And there you have it! Your new secret weapon for effortless, impressive, and downright delicious desserts. This Chocolate Sprinkles Fudge is more than just a recipe; it’s a reminder that the best things in life (and the kitchen) are often the simplest.
It’s about the joy of creating, the fun of sharing, and the pure happiness of a perfect bite. I hope this recipe becomes a staple in your home, just like it is in mine. I hope you make it for birthdays, for holidays, for tough days, and for Tuesdays, because why not?
I’d love to see your creations! Tag me on social @FoodMeld and show me your fudge masterpieces. Did you try a fun variation? I want to see it all. Now go forth, melt some chocolate, and make your kitchen a little more fun. Until next time, keep cooking boldly and enjoying every bite!
Yours in flavor,
Jackson


