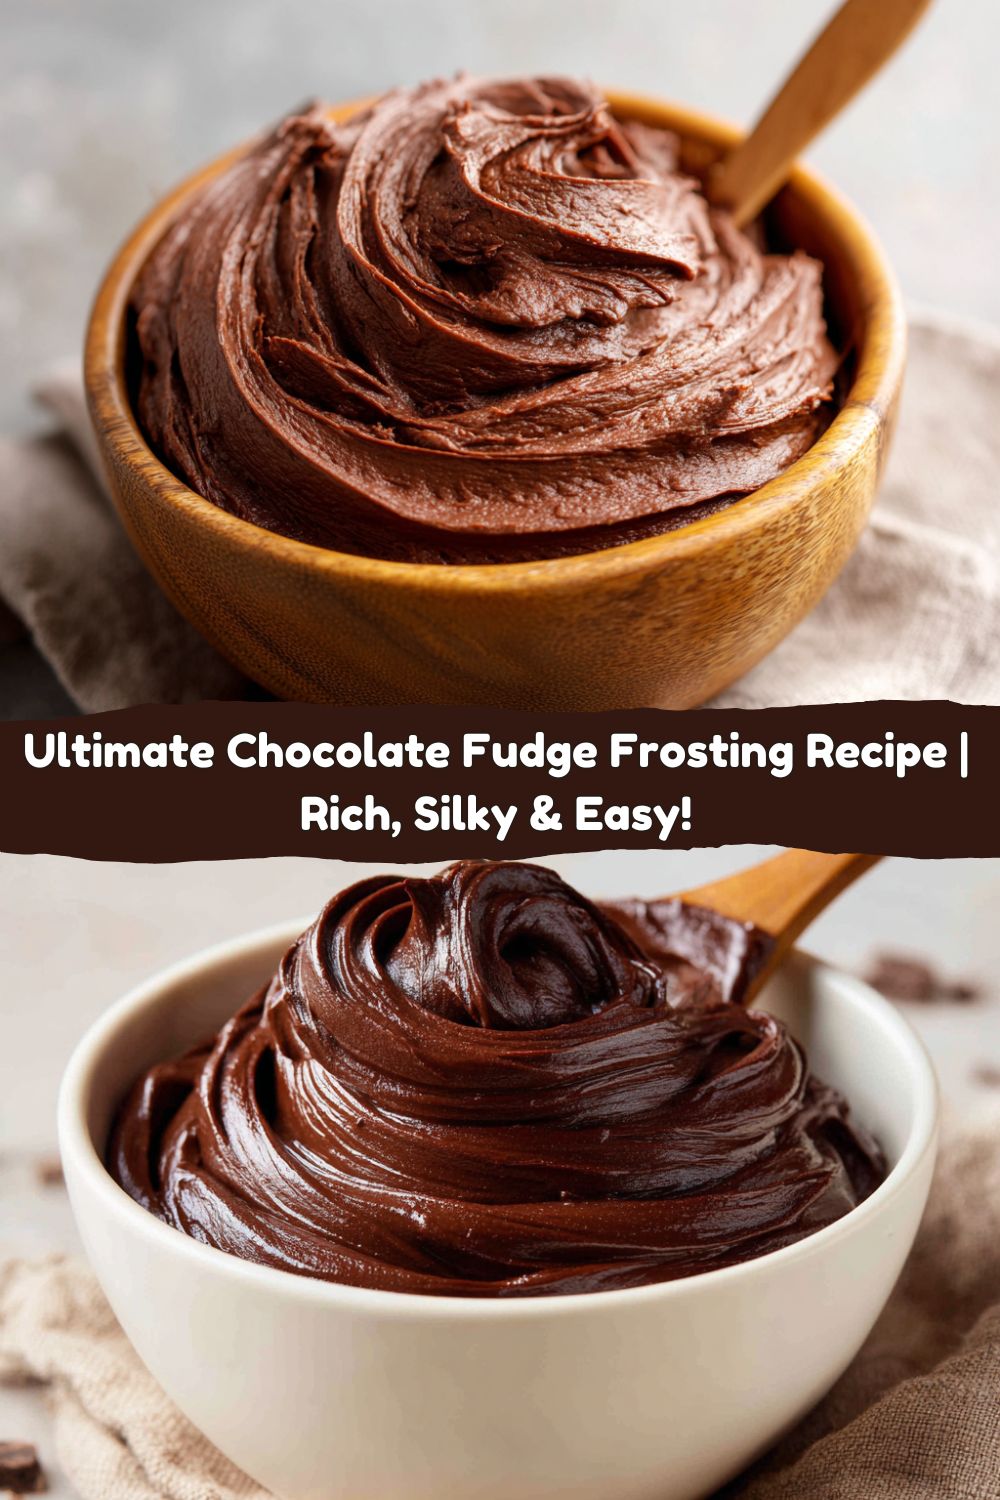
The Only Chocolate Fudge Frosting Recipe You’ll Ever Need
Hey friends, Jackson here from Food Meld. Let’s get real for a second. What’s the best part of the cake? Come on, you can admit it. It’s not the fluffy crumb or the delicate flavor—it’s that thick, decadent, swoopable layer of pure chocolate magic on top. The frosting. And not just any frosting. I’m talking about a rich, deeply chocolaty, silky-smooth fudge frosting that holds its shape, doesn’t crack, and makes you close your eyes for a second after the first bite.
I see you out there, maybe eyeing a can of store-bought stuff. No judgment! We’ve all been there. But I’m telling you, this homemade chocolate fudge frosting is a total game-changer. It’s shockingly simple to make, comes together in one bowl with no fancy techniques, and tastes a million times better than anything you can buy. We’re talking five-star bakery quality, right in your own kitchen. This is the kind of frosting that turns a simple box-mix cake into a masterpiece and makes your from-scratch cupcakes the talk of the party. It’s bold, comforting, and packed with that “what if we tried this?” energy I love so much. So grab your mixer, and let’s whip up something unforgettable together.
Nana’s Kitchen and the Spoon Lick Heard ‘Round the World
This recipe takes me right back to my Nana’s kitchen in Georgia. The air would be thick with the smell of a devil’s food cake cooling on the wire rack, and my job, the most important job for a six-year-old, was to “test” the frosting. She’d hand me the beater, still glistening with warm, dark chocolate fudge, and I’d go to town. It was a mess of epic proportions—chocolate from ear to ear and probably on the ceiling, too.
But it was in that messy, joyful chaos that I learned what frosting should be. It wasn’t just a topping; it was the main event. It was the reward for patience, the sweet, buttery glue that held celebrations together. Nana’s version was a little less refined than this one (hers involved melting chocolate on the stove), but the spirit is the same: unapologetically rich, deeply chocolaty, and made to be shared with a whole lot of love. Every time I make this, I think of her, and I hope you’ll make some memories of your own with it.
Gathering Your Flavor Arsenal
Simple ingredients, massive flavor. That’s the Food Meld motto. Here’s what you’ll need to create this chocolate masterpiece. Don’t just toss them in—get to know them! Each one plays a crucial role.
- 1 cup (2 sticks) unsalted butter, softened: This is the base of our frosting, providing that lush, creamy texture and rich flavor. Using unsalted lets us control the salt level. Chef’s Insight: “Softened” is key! It should be cool to the touch but leave a slight indent when you press it. If it’s melty or oily, your frosting will be greasy. If it’s too cold, it won’t cream properly and you’ll have lumps.
- 2/3 cup unsweetened cocoa powder: This is where our deep, dark chocolate flavor comes from. I use a natural unsweetened cocoa powder for a classic, robust chocolate taste. Sub Tip: You can use Dutch-process cocoa for a slightly milder, less acidic flavor. It will be darker and a bit fudgier!
- 3 cups powdered sugar (confectioners’ sugar): This sweetens the deal and gives the frosting its structure. The cornstarch in it helps thicken everything up. Pro Hack: Sift it if you have time! This is the #1 way to avoid a lumpy frosting and ensure it’s perfectly smooth.
- 1/3 cup whole milk: The liquid that brings it all together. Whole milk gives us the best richness and creaminess. Sub Tip: Heavy cream will make it even richer and help it whip up fluffier. For a dairy-free version, full-fat canned coconut milk or a rich oat milk works great.
- 1 ½ teaspoons vanilla extract: The flavor enhancer! Vanilla doesn’t make it taste like vanilla; it amplifies the chocolate flavor and adds a warm, complex note. Don’t skip it!
- Pinch of salt: This is the secret weapon. Salt cuts through the sweetness and makes the chocolate flavor pop intensely. Trust me on this.
Let’s Build Some Chocolate Dreams: Step-by-Step
Ready to make magic? This is the fun part. I’ll walk you through each step with all my best hacks so you end up with perfect frosting every single time.
Step 1: The Butter Foundation. Place your beautifully softened butter in a large mixing bowl. Using either a hand mixer or a stand mixer fitted with the paddle attachment, beat the butter on medium speed for about 1-2 minutes until it’s completely smooth, pale, and creamy. You’re not just mixing it; you’re aerating it. This initial creaming is what will give our frosting its light, fluffy body later on. Scrape down the sides of the bowl to make sure every bit gets incorporated.
Step 2: Cocoa Time. Add all of that gorgeous unsweetened cocoa powder right into the creamed butter. Start your mixer on LOW unless you want a cocoa powder cloud all over your kitchen (learned that lesson the hard way!). Once it’s mostly incorporated, bump the speed up to medium and mix for a full minute. You want it to be completely combined into a thick, dark paste. It might look a little grainy at first, but keep going—it’ll come together.
Step 3: The Sugar & Milk Tango. Here’s where patience pays off. Add about one cup of your sifted powdered sugar and mix on low until it’s just combined. Now, drizzle in about half of your milk. Let that mix in. Repeat: another cup of sugar, then the rest of the milk, finishing with the final cup of sugar. Mixing in increments like this prevents the sugar from flying everywhere and ensures everything emulsifies perfectly into a smooth, lump-free frosting. After all the sugar and milk are in, scrape the bowl again and mix for another 30 seconds on medium.
Step 4: Flavor Boom. Now, add your vanilla extract and that all-important pinch of salt. This is where you taste and make adjustments. Want it a tad richer? A pinch more salt. Need more vanilla? Go for it! This is your masterpiece.
Step 5: Fluff It Up! This is the final, transformative step. Turn your mixer up to medium-high or high speed and let it rip for a good 1-2 minutes. Watch as the frosting magically becomes lighter in color, fluffier in texture, and incredibly spreadable. This whipping incorporates air, making it smooth and dreamy. If it seems too thick for your liking, add a teaspoon of milk at a time until it’s perfect. Too thin? A tablespoon more of powdered sugar will fix it right up.
How to Serve & Swoon
You’ve done it! You’ve created a bowl of chocolate heaven. Now, let’s put it to work. For a classic layer cake, let your cakes cool completely. Use an offset spatula or a butter knife to spread a generous amount between the layers, on top, and around the sides. Don’t be shy! For cupcakes, a piping bag fitted with a large star tip will give you those beautiful bakery-style swirls. Or, for a rustic, homey look, just slather it on with a knife—it’s all delicious. This frosting is also killer on brownies, as a dip for strawberries, or hey, right off a spoon. I won’t tell.
Mix It Up: Your Frosting, Your Rules
This recipe is a perfect canvas for your creativity. Here are a few of my favorite twists:
- Orange Zest Dream: Add the zest of one large orange to the butter while creaming it. The citrusy aroma with the dark chocolate is absolutely incredible.
- Mocha Madness: Dissolve 1-2 tablespoons of instant espresso powder into the milk before adding it. It won’t taste like coffee; it’ll just make the chocolate flavor deeper and more complex.
- Peanut Butter Cup: Replace ¼ cup of the butter with ½ cup of creamy peanut butter. You’re welcome.
- Mint Chocolate Chip: Swap the vanilla for ½ teaspoon of peppermint extract. Fold in ½ cup of mini chocolate chips at the end for that classic chip vibe.
- Dairy-Free Delight: Use vegan butter sticks, your favorite non-dairy milk, and ensure your powdered sugar is vegan-friendly (some brands use bone char). It works like a charm!
Jackson’s Chef Notes & Kitchen Stories
This recipe has been my ride-or-die for years, but it’s evolved. I used to melt the butter and cocoa together on the stove like Nana, but I found the creaming method is just easier and less messy for most folks. The biggest lesson? TEMPERATURE IS EVERYTHING. I once tried to rush it and used butter that was still cold in the middle. I ended up with butter chunks in my frosting and had to start over. Now, I take my butter out a few hours before I need it. If you forget, you can quickly soften it by cutting it into tablespoons and letting it sit on the counter for 20-30 minutes.
Also, taste as you go! Your cocoa powder might be slightly more bitter than mine, or your sweet tooth might be stronger. Adjust the sugar or salt to make it yours. That’s the whole point of cooking—making it your own unforgettable creation.
Frosting FAQs: Solving Your Chocolate Dilemmas
Q: My frosting is too runny! What did I do wrong?
A: Don’t panic! This usually happens if the butter was too soft or warm. Pop the whole bowl of frosting into the refrigerator for 20-30 minutes to let it firm up, then re-whip it. If it’s still too soft, you can add a little more powdered sugar, a tablespoon at a time, until it thickens up.
Q: Why is my frosting grainy?
A: The graininess almost always comes from the powdered sugar not being fully dissolved. Next time, make sure to sift your sugar. For now, just keep beating! The friction from the mixer can often dissolve those tiny sugar lumps. Adding a tiny bit more liquid (a teaspoon of milk) can sometimes help smooth it out.
Q: Can I make this frosting ahead of time?
A: Absolutely! This frosting stores beautifully. Keep it in an airtight container in the fridge for up to a week. When you’re ready to use it, let it come to room temperature and then give it a good re-whip with the mixer to bring back its fluffy texture.
Q: It tastes too buttery. How can I fix that?
A: This is a common issue if your butter was on the warmer side when you started. The best fix is to add more flavor! Whip in a bit more cocoa powder (a tablespoon at a time) and a pinch more salt. This will balance the butter flavor and boost the chocolate intensity.

Chocolate Fudge Frosting
- Total Time: 10 minutes
- Yield: 12 Cupcakes 1x
Description
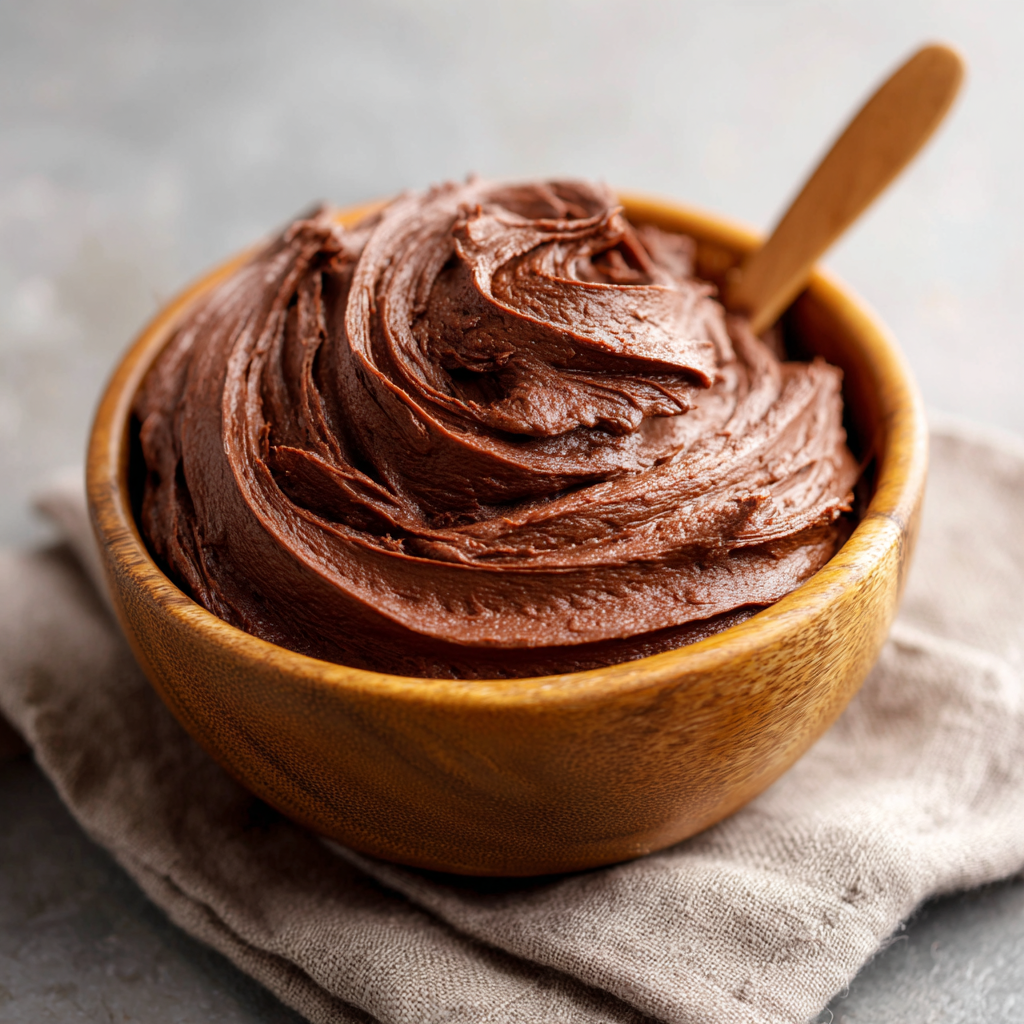
Rich, silky, and dangerously delicious—this chocolate fudge frosting is the ultimate finishing touch for cakes, cupcakes, or even brownies. It’s simple to whip up, packed with deep cocoa flavor, and spreads like a dream. Whether you’re baking for a celebration or just because, this frosting brings homemade desserts to life.
Ingredients
1 cup (2 sticks) unsalted butter, softened
2/3 cup unsweetened cocoa powder
3 cups powdered sugar
1/3 cup whole milk (plus more as needed)
1 ½ teaspoons vanilla extract
Pinch of salt
Instructions
Beat the softened butter in a large bowl until smooth and creamy.
Add cocoa powder and blend until fully combined.
Gradually mix in the powdered sugar, alternating with the milk. Beat well after each addition.
Stir in vanilla extract and a pinch of salt.
Whip the frosting on high speed for 1–2 minutes until fluffy and spreadable.
Adjust consistency with a little more milk if needed.
- Prep Time: 10 minutes
Nutrition
- Calories: 210 / Cupcake
- Sugar: 25g / Cupcake
- Sodium: 45mg / Cupcake
- Fat: 13g/ Cupcake
- Saturated Fat: 8g / Cupcake
- Carbohydrates: 26g / Cupcake
- Protein: 1g / Cupcake
The Delicious Details (Nutritional Info)
Alright, let’s be real—this is a dessert frosting, a treat meant to be enjoyed in all its glorious indulgence. But for those who like to know, here’s a rough estimate per 2-tablespoon serving. Remember, values can vary based on specific ingredients used.
Prep Time: 10 minutes
Yields: Enough for 12 cupcakes or a 9-inch cake
Serving Size: 2 tablespoons
Calories: 210
Fat: 13g
Saturated Fat: 8g
Carbohydrates: 26g
Sugar: 25g
Protein: 1g
Sodium: 45mg
Final Thoughts
At the end of the day, frosting is more than just a finishing touch—it’s the crown jewel. This chocolate fudge frosting has everything you want: silky texture, bold chocolate flavor, and just the right balance of sweetness. It’s the recipe you’ll come back to again and again, whether you’re rescuing a box-mix cake, putting the perfect swirl on a batch of cupcakes, or sneaking a spoonful straight from the bowl (no shame, I’ve done it too).
What I love most about this recipe is how approachable it is. No stovetop, no candy thermometers, no stress—just real ingredients and a few minutes of mixing. It’s bakery-level magic that anyone can make at home.
So next time you’ve got a celebration on the horizon—or just a Tuesday night chocolate craving—whip this up. Spread it, swirl it, lick the spoon, and share the joy. Because the best desserts aren’t just eaten; they’re remembered. And trust me, this frosting is unforgettable.


