
Carrot Cake Whoopie Pies: Your New Favorite Bite of Happy
Hey friends, Jackson from Food Meld here! Let’s talk about a little magic trick I like to keep up my sleeve. You take all the warm, spiced, soul-soothing goodness of a classic carrot cake… and you make it portable. That’s right, we’re shrinking it down, pumping up the fun factor, and loading it with even more of that tangy cream cheese frosting we all secretly want to eat by the spoonful. We’re making Carrot Cake Whoopie Pies, and trust me, your kitchen is about to become the happiest place on earth.
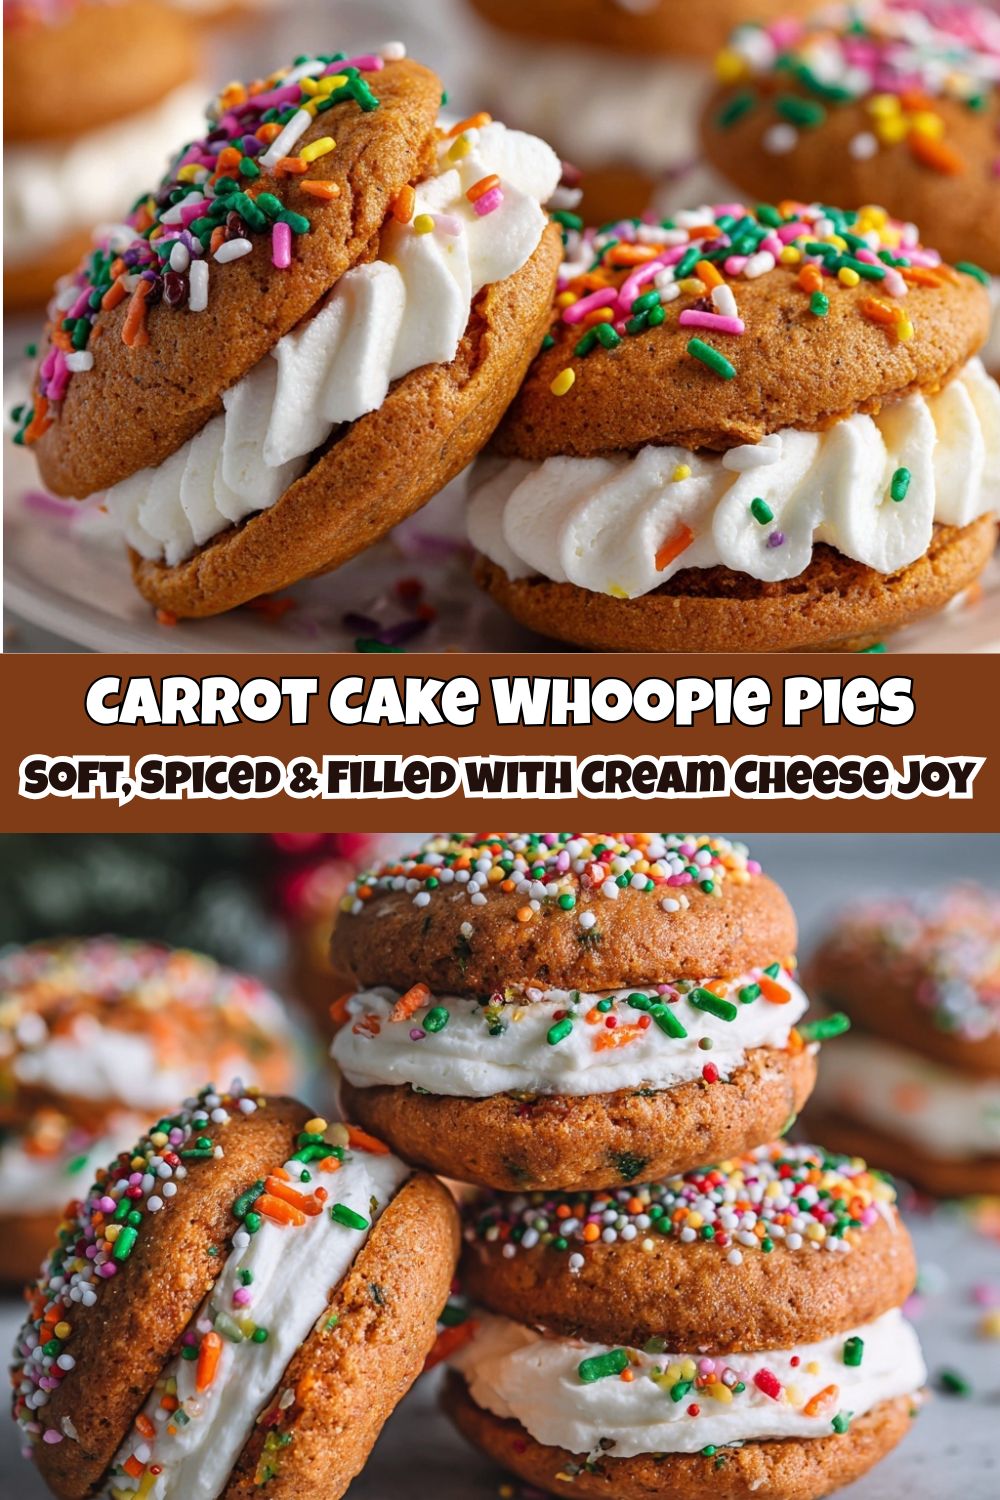
Now, I know what you might be thinking. “Whoopie pies? Aren’t those a little… fussy?” I’m here to tell you, absolutely not. If you can mix a bowl of batter, you can make these. They’re simpler than a layer cake but feel a thousand times more special. We’re talking soft, cakey, spiced cookies that bake in just about 10 minutes. Then, we sandwich them with a cloud of creamy, dreamy filling and roll the edges in cheerful sprinkles for that extra “you’ve gotta try this” moment.
This is the kind of recipe that turns a regular Tuesday into a celebration. It’s the perfect project for baking with kids, the ultimate show-stopper for your holiday cookie tray, or just a delicious way to treat yourself after a long day. So, tie on your apron, grab your favorite mixing bowl, and let’s cook something awesome together. We’re about to prove that unforgettable flavor doesn’t have to be complicated—it just has to be made with a whole lot of heart (and a solid dose of cream cheese). Welcome to the party!
A Slice of Memory: Why Carrot Cake Feels Like Home
This recipe takes me right back to my Grandma Dot’s kitchen. She wasn’t a fancy baker, but her carrot cake was the stuff of legend. It was a towering, rustic masterpiece, always slightly lopsided, with a thick layer of frosting and a shower of walnuts on top. The whole house would smell like cinnamon and love whenever she pulled it out of the oven. My job was always to grate the carrots, and I’d always sneak a few shreds, convinced they tasted better when eaten straight from the grater.
I wanted to capture that exact feeling in a dessert you could hold in your hand. The first time I tested these whoopie pies, that first bite was like a time machine. The warm spice, the moist crumb, the tangy frosting—it was all there, just in a fun, shareable, two-bite package. It’s my little way of honoring those classic flavors while adding my own “what if we tried this?” energy. It’s comfort food, reinvented, and I think Grandma Dot would absolutely approve.
Gathering Your Flavor Arsenal
Here’s everything you need to make these little pockets of joy. Don’t stress if you’re missing an item or two—I’ve included my favorite swaps and chef insights to make this recipe your own.
For the Carrot Cake Cookies:
- 1/2 cup unsalted butter, softened: This is the base of our rich, tender cookie. Chef’s Tip: “Softened” means it should give slightly when you press it, not melted and oily. If you forget to take it out of the fridge, you can cube it and let it sit on the counter for 20-30 minutes.
- 1/2 cup brown sugar & 1/4 cup granulated sugar: The dynamic duo! Brown sugar brings that deep molasses moisture, while white sugar helps the cookies spread and get that perfect slight crisp on the edges.
- 2 large eggs: Our binding agents, giving the cookies structure and lift.
- 1 tsp vanilla extract: The flavor enhancer. It makes all the other ingredients sing in harmony.
- 1 1/2 cups all-purpose flour: The foundation. Spoon and level it into your measuring cup to avoid dense cookies.
- 1/2 tsp baking soda & 1/2 tsp baking powder: Our leavening dream team. They work together to make the cookies puff up beautifully.
- 1 tsp ground cinnamon & 1/4 tsp ground nutmeg: The soul of the recipe! This warm spice blend is what makes it taste like carrot cake. Feel free to add a pinch of ginger or allspice for extra warmth.
- 1/4 tsp salt: Crucial for balancing the sweetness and making all the flavors pop. Don’t skip it!
- 1 cup finely grated carrots: The star of the show! Chef’s Tip: Use the small holes on your box grater. Finer shreds incorporate better and give the cookies a more uniform, tender texture.
- 1/2 cup chopped walnuts or pecans (optional): For a little crunch and nutty depth. If you’re not a nut person or have an allergy, just leave ’em out! The pies will still be amazing.
For the Cream Cheese Filling:
- 1/2 cup cream cheese, softened: Full-fat is best here for the ultimate creamy, stable frosting.
- 1/4 cup unsalted butter, softened: Combined with the cream cheese, it creates a fluffy, pipeable filling that holds its shape.
- 1 cup powdered sugar: Sweetens and thickens the filling. Sift it if it’s lumpy for a super smooth texture.
- 1/2 tsp vanilla extract: The perfect finishing touch for the frosting.
For Decorating:
- Holiday sprinkles or colored sugar: This is where the fun comes in! Go for classic rainbow sprinkles, festive red and green, or even some cute little carrot-shaped sprinkles if you can find them.
Let’s Build Some Whoopie Pies: A Step-by-Step Guide
Ready to see the magic happen? Follow these steps, and you’ll be a whoopie pie pro in no time. I’ve sprinkled in my favorite kitchen hacks to make the process smooth and fun.
- Preheat and Prep: Fire up your oven to 350°F (175°C). Line your baking sheets with parchment paper. Chef’s Hack: A little dab of batter under each corner of the parchment will hold it in place and make your life easier. This simple step is a game-changer for preventing sliding.
- Cream the Good Stuff: In a large bowl, beat the softened butter, brown sugar, and granulated sugar together until the mixture is light, fluffy, and pale in color. This should take 2-3 minutes with an electric mixer. Why we do this: Creaming incorporates air, which is key for a soft, cake-like texture. Don’t rush it!
- Add the Wet Team: Beat in the eggs, one at a time, making sure each is fully incorporated before adding the next. Then, mix in the vanilla extract. Your mixture should look smooth and cohesive.
- Whisk the Dry Team: In a separate bowl, whisk together the flour, baking soda, baking powder, cinnamon, nutmeg, and salt. This ensures our leavening agents and spices are evenly distributed throughout the flour, so every bite is perfectly spiced.
- Combine with Care: Gradually add the dry ingredients to the wet ingredients, mixing on low speed just until the flour disappears. Pro Tip: Overmixing at this stage can lead to tough cookies. A few streaks of flour are okay—we’re not done yet!
- Fold in the Stars: Now, use a spatula to gently fold in the finely grated carrots and the chopped nuts (if using). This is the final step, so mix just until everything is evenly combined.
- Scoop and Slightly Smush: Using a tablespoon or a small cookie scoop, drop rounded tablespoonfuls of dough onto your prepared baking sheets, leaving about 2 inches between them. They will spread! Gently flatten each mound slightly with your fingers or the back of a spoon. Chef’s Insight: This helps them bake into the perfect, uniform “pie” shape instead of staying too domed.
- Bake to Perfection: Bake for 10-12 minutes. You’ll know they’re done when the tops are set and the edges are just starting to turn a light golden brown. They might look a little soft in the center—that’s perfect! They’ll firm up as they cool. Let them cool on the baking sheet for 5 minutes before transferring them to a wire rack to cool completely. This is non-negotiable! If you try to fill warm cookies, the frosting will melt into a puddle.
- Whip Up the Frosting: While the cookies cool, make the filling. In a clean bowl, beat the softened cream cheese and butter together until completely smooth and lump-free. Gradually beat in the powdered sugar and vanilla until the filling is light, fluffy, and holds its shape.
- The Grand Finale: Assembly! Once the cookies are completely cool, it’s time to assemble. Pipe or spoon a generous dollop of the cream cheese filling onto the flat side of half the cookies. Top with the remaining cookies, flat-side down, and press gently to push the filling to the edges. Finally, roll the exposed filling in your holiday sprinkles for that festive, professional touch.
How to Serve These Little Masterpieces
You’ve done it! You’ve created edible happiness. Now, how do you present these beauties?
For a simple, rustic look, just pile them high on a beautiful cake stand or a wooden board. They look incredible all on their own. If you’re gifting them (lucky friends!), place them in a single layer in a cardboard bakery box or a cellophane bag tied with a cute ribbon. They make the most thoughtful homemade gift.
And let’s talk about the eating experience. These whoopie pies are fantastic at room temperature, but I firmly believe they enter a new dimension of delicious when they’re slightly chilled. Pop them in the fridge for an hour before serving. The cookies stay soft, but the filling becomes a little firmer, creating this amazing textural contrast. Serve them with a cold glass of milk, a hot cup of coffee, or even a scoop of vanilla ice cream on the side if you’re feeling extra indulgent.
Mix It Up! Creative Twists on the Classic
Once you’ve mastered the base recipe, the playground is open! Here are a few of my favorite ways to mix it up and make these whoopie pies truly yours.
- Raisin Revival: Fold in 1/4 cup of plump raisins or golden raisins along with the carrots for little bursts of chewy sweetness.
- Pineapple Power-Up: For an ultra-moist, tropical twist, add 1/4 cup of well-drained crushed pineapple to the batter. It’s a classic carrot cake move that works beautifully here.
- Cosmic Carrot Cake: Make them out-of-this-world by adding 1/4 cup of shredded coconut to the cookie dough. It adds a wonderful texture and flavor.
- Maple Bliss: Replace the vanilla extract in the frosting with 1/2 teaspoon of maple extract. It pairs so well with the warm spices and carrots.
- Gluten-Free & Vegan Friendly: Use a 1:1 gluten-free flour blend and ensure your baking powder is GF. For a vegan version, use plant-based butter and cream cheese, a flax egg, and your favorite egg replacer. The structure is forgiving enough to handle it!
Jackson’s Kitchen Chronicles
This recipe has seen a few… interesting… iterations in my test kitchen. The first batch, I was so excited I totally forgot the baking soda and powder. Let’s just say we ended up with carrot cake *pancakes* instead of pies. They tasted great but were definitely not sandwich-able! Another time, I got a little overzealous with the grating and used the large holes. The cookies were still delicious, but they had a more “rustic” (read: chunky) texture. Learning from my mistakes so you don’t have to is all part of the Food Meld promise!
The recipe you see here is the gold standard—the one I’ve tweaked and perfected to be foolproof and packed with flavor. It’s a living recipe, though. I encourage you to make it, love it, and then make it again with your own personal twist. That’s where the real magic happens.
Your Questions, Answered!
Got a baking quandary? I’ve got your back. Here are answers to the most common questions I get about these whoopie pies.
- Q: My cookies spread too much and came out flat. What happened?
A: This is usually a temperature issue! If your butter was too soft or melted, it causes excess spreading. Make sure your butter is just softened, not greasy. Also, double-check that your oven is properly preheated. An oven that’s too cool can cause the butter to melt before the structure sets.
- Q: Can I make these whoopie pies ahead of time?
A: Absolutely! They are actually fantastic make-ahead treats. You can store the unfilled, baked cookies in an airtight container at room temperature for 2 days, or freeze them for up to 3 months. The filling can be made ahead and stored in the fridge for up to 5 days; just let it come to room temperature and re-whip it before using. Assembled whoopie pies keep beautifully in the fridge for 3-4 days.
- Q: My cream cheese filling is too runny. How can I fix it?
A: No worries! This usually happens if the cream cheese or butter was too warm. The easiest fix is to pop the whole bowl of filling into the refrigerator for 20-30 minutes to firm up, then re-whip it. If it’s still too soft, you can add a little more sifted powdered sugar, a tablespoon at a time, until it reaches a pipeable consistency.
- Q: Do I have to use a piping bag for the filling?
A: Not at all! While a piping bag with a large round tip gives you that beautiful, professional swirl, a simple Ziploc bag with the corner snipped off works just as well. Or, if you’re going for a more homemade, rustic vibe, just use a spoon and a small spatula to spread it on. Taste is what matters most!
Nutritional Information (Because Knowledge is Power!)
Alright, let’s keep it real. We’re not eating whoopie pies for their vitamin content, but I believe in transparency! This info is per whoopie pie (assuming you get 16 from the batch). Remember, these are estimates and can vary based on specific ingredients and substitutions you use.
Calories: ~220 | Fat: 12g | Carbs: 25g | Sugar: 14g | Protein: 3g


