Your Sushi Bar Awaits… In Your Kitchen!
Hey friends, Jackson from Food Meld here! Let me ask you a question: have you ever found yourself staring longingly at a beautifully arranged platter of sushi at a restaurant, thinking, “I could never make that at home”? I get it. Sushi can feel a little intimidating, with its precise cuts and seemingly mystical rolling techniques. But what if I told you that one of the most beloved rolls out there is also one of the easiest to master right on your own counter?
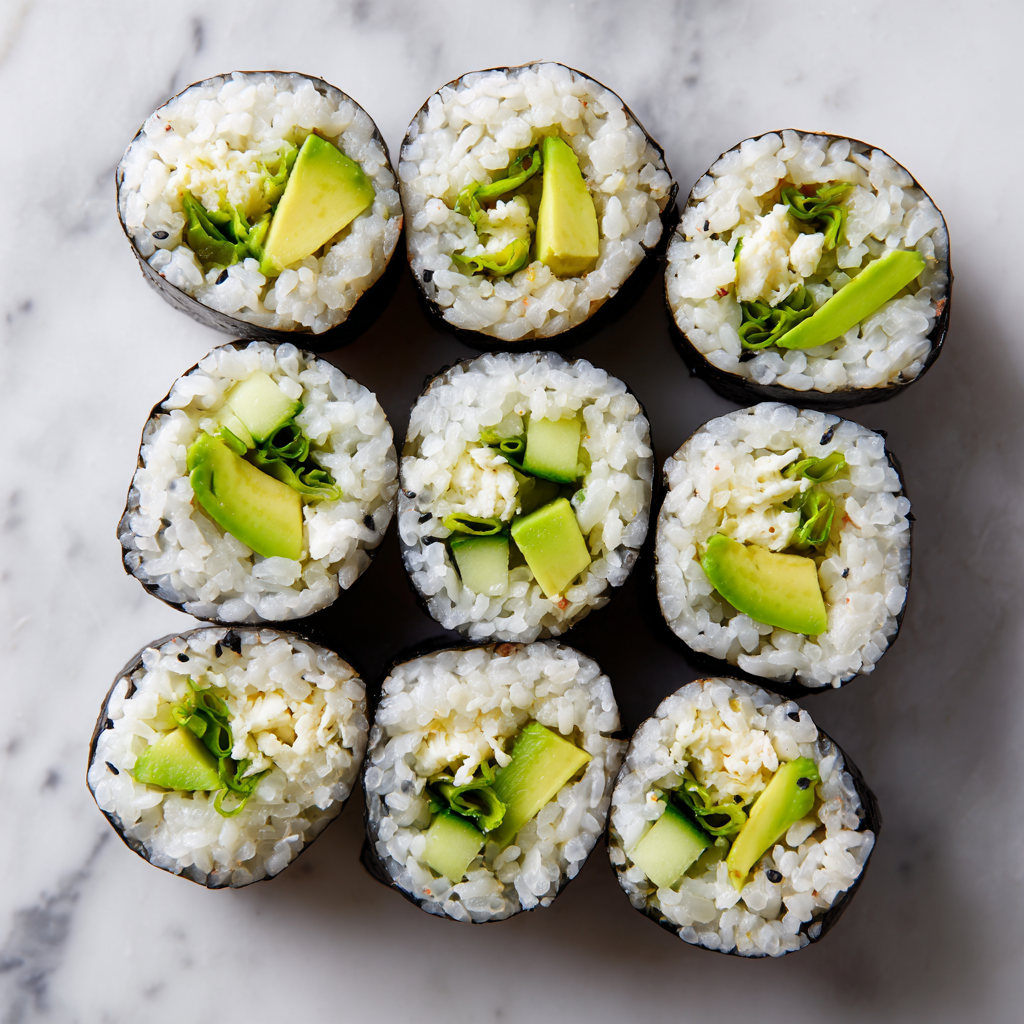
That’s right, we’re talking about the iconic California Roll. It’s the perfect gateway into the world of homemade sushi. We’re talking creamy, cool avocado, crisp and refreshing cucumber, and that sweet, flaky imitation crab, all wrapped up in a blanket of perfectly seasoned sushi rice and nutty roasted sesame seeds. It’s a flavor and texture party in every single bite.
Today, we’re throwing open the doors to your personal sushi bar. I’m going to walk you through every single step, share all my favorite chef hacks, and show you just how fun, messy, and incredibly rewarding it is to make your own California Rolls. Forget intimidation—we’re embracing the “you’ve gotta try this” energy. So, grab your bamboo mat (or a clean kitchen towel in a pinch!), and let’s cook something awesome together.
The Roll That Started It All
My love affair with the California Roll started in a way that’s probably familiar to a lot of us. It wasn’t in a fancy restaurant; it was at a grocery store. I know, I know, not exactly the most glamorous food origin story! But hear me out. I was a teenager, and my mom brought home a plastic tray of pre-made California Rolls for a quick weeknight dinner. I was skeptical, but one bite completely changed my perspective.
It was the first time I realized that food didn’t have to be complicated to feel special. The combination of flavors and textures was a revelation. I remember so clearly sitting at our kitchen table, dissecting the roll with my fork, trying to figure out how they got the rice to taste so good and how it all held together so perfectly. That simple, store-bought roll sparked a curiosity in me—a “what if we tried this?” moment that led me to the kitchen to try and recreate it. My first few attempts were… let’s call them “rustic.” The rolls were a bit loose, the cuts were messy, but the taste? Unforgettable. It proved that with a few good ingredients and a little courage, you can create something truly magical.
Gathering Your Sushi Squad: The Ingredients
Great food starts with great ingredients, and the beauty of the California Roll is its simplicity. Here’s your shopping list, along with a few insider tips to make each component shine.
- 2 cups uncooked sushi rice (short-grain): This isn’t the place for long-grain or jasmine rice. Short-grain rice is starchy and sticky, which is exactly what we need to hold our rolls together. It’s the foundation of the whole operation!
- 1 whole English cucumber: I prefer English cucumbers because they have thinner skins and fewer seeds. We’ll julienne them into little matchsticks for a crisp, clean crunch in every bite.
- 2 ripe but firm avocados: The key word here is *firm*. You want them to be just ripe enough to slice beautifully without turning to mush. A little squeeze should yield slightly to pressure.
- 2 packages imitation crab sticks (20–24 sticks): Also known as surimi, this is the classic, affordable filling that gives the California Roll its signature sweet and savory flavor. It’s ready to go right out of the package—easy peasy.
- 12 sheets nori (dried seaweed): Look for the full-sized, roasted sheets. You’ll see one side is shiny and the other is rough. We’ll be using that texture to our advantage.
- 1/2 cup roasted white sesame seeds: These aren’t just for looks! They add a wonderful nutty flavor and a delightful little crunch to the outside of the roll.
- For Serving: Wasabi, Pickled sushi ginger, Low-sodium soy sauce: The holy trinity of sushi accompaniments! The ginger cleanses your palate, the wasabi adds a sinus-clearing kick, and the soy sauce brings the salty, umami depth.
Let’s Get Rolling: Your Step-by-Step Guide
Okay, team. This is where the fun begins. Don’t stress about perfection. Your first roll might not be a masterpiece, but I promise it will be delicious. We learn by doing!
- Prep Your Rice and Fillings: Before you even touch your mat, get your mise en place ready. That’s just a fancy chef term for having all your ingredients prepped and within arm’s reach. Cook and season your sushi rice according to package directions (this is key!) and let it cool slightly. Julienne your cucumber, slice your avocados, and have your crab sticks ready to go. Chef’s Hack: Keep a small bowl of water with a splash of rice vinegar nearby to keep your hands from sticking to the rice.
- Set Up Your Sushi Station: Lay your bamboo mat on the counter. Place a full sheet of plastic wrap over the mat—this keeps everything clean and prevents the rice from sticking to the mat. Now, lay one sheet of nori on the plastic wrap, with the shiny side facing down. The rough side will grip the rice better.
- Spread the Rice: Dip your hands in your vinegar water to prevent sticking. Take about 1 cup of the seasoned sushi rice and gently spread it evenly over the nori sheet, leaving about a 1-inch strip bare at the top farthest from you. You’re not packing it down like a snowball, just gently pressing it into an even layer. Chef’s Hack: Use your fingertips to spread the rice. It gives you more control than the flat of your hand.
- The Sesame Seed Shower: Now, generously sprinkle those gorgeous roasted white sesame seeds all over the layer of rice. This is what gives our California Roll its classic look and extra flavor.
- The Big Flip: Here’s the magic trick! Carefully lift the entire nori sheet and flip it over so the rice is now facing down on the plastic wrap. The bare nori should now be facing you. This creates the classic “inside-out” roll (uramaki) with the rice on the outside.
- Line Up the Fillings: Time for the payload! Arrange a couple of crab sticks, a few strips of cucumber, and 2-3 slices of avocado horizontally across the center of the bare nori strip. Don’t overstuff it! This is the most common mistake. A moderate amount of filling makes for a tight, clean roll.
- Roll It Up, Tight and Firm: Using the mat as your guide, lift the edge of the mat and plastic wrap closest to you. Fold it over the fillings, tucking the nori edge underneath them. Squeeze firmly along the length of the roll to create a tight log. Now, continue rolling forward, using the mat to apply gentle, even pressure until you reach the end. That bare strip of nori at the top will seal the roll. If it doesn’t stick, dab it with a tiny bit of water. Chef’s Hack: Think “hug, don’t crush.” You want a firm, compact roll, but you don’t want to squeeze the fillings out the ends.
- The Final Cut: Transfer your roll to a cutting board. Get a sharp knife—I’m not kidding, a dull knife will massacre your beautiful roll. Wet the blade with your vinegar water (this prevents sticking) and use a gentle sawing motion to cut the roll in half. Then, cut each half into thirds or quarters, wiping and re-wetting the knife between cuts for clean, pristine pieces.
- Repeat and Celebrate! That’s it! You just made a California Roll. Do a little dance, then repeat the process with the remaining ingredients.
Plating Like a Pro (No Culinary Degree Required)
You’ve done the hard work, now let’s make it look as good as it tastes. Presentation is part of the fun!
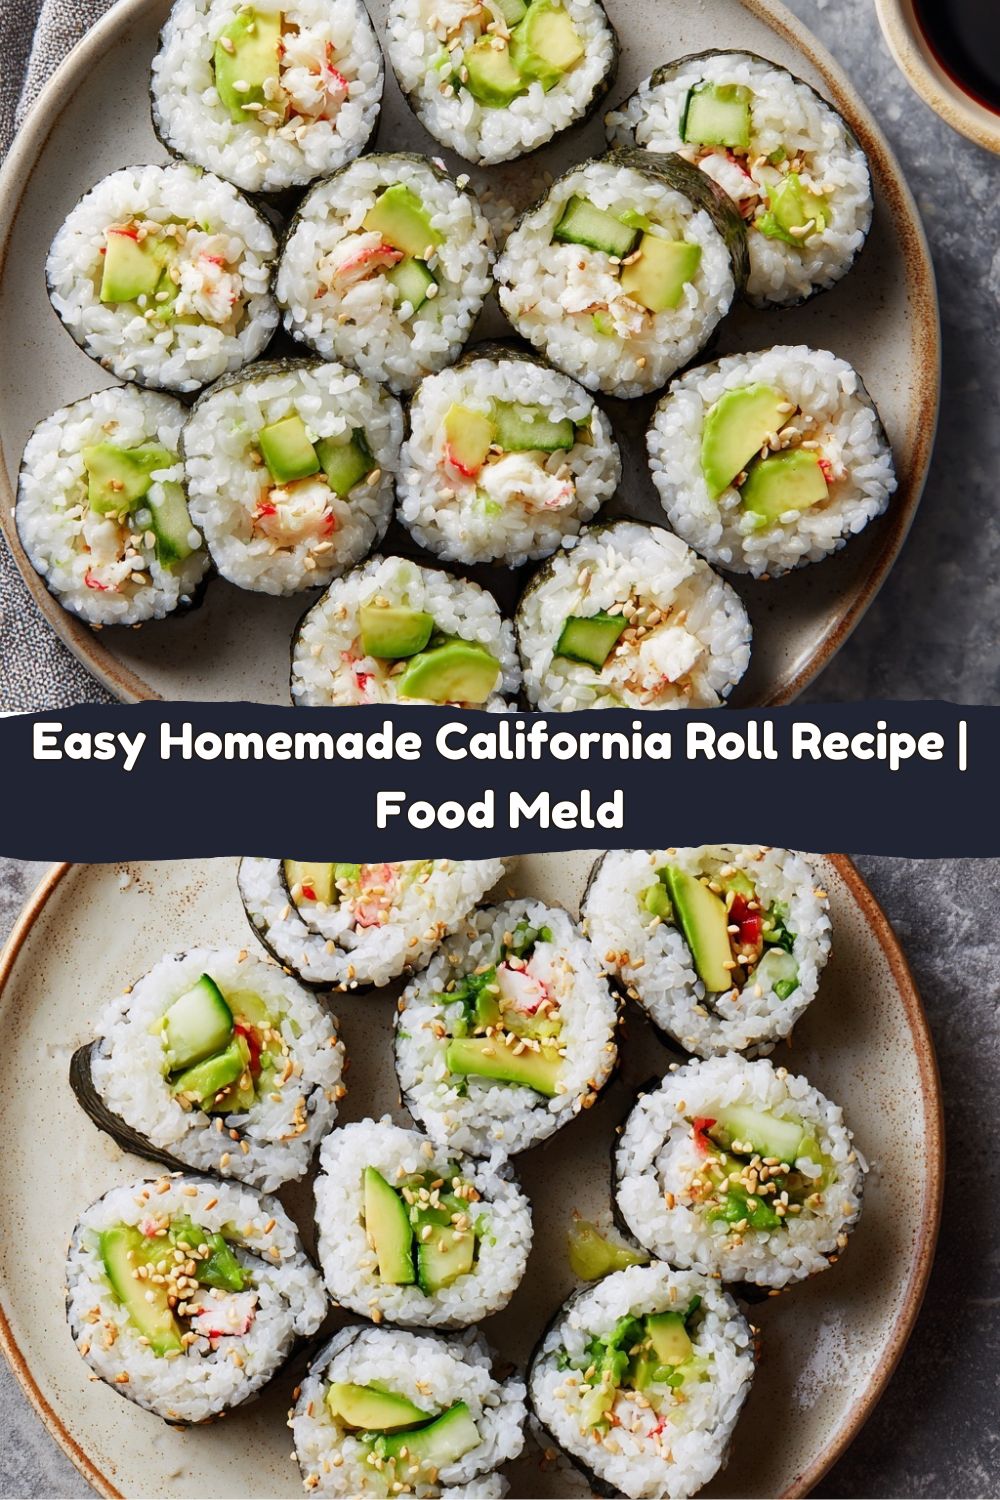
I love arranging the roll pieces on a beautiful wooden board or a large, clean platter. Fan them out in a circle or line them up in neat rows. Place a small mound of the vibrant pink pickled ginger in the center, add a generous dollop of wasabi on the side, and pour some low-sodium soy sauce into a few small dipping bowls.
This isn’t just dinner; it’s an experience. Pour yourself a green tea or a crisp glass of sake, invite your friends or family to gather around, and watch their faces light up when you tell them you made it all from scratch. That’s the Food Meld magic right there.
Mix It Up: Creative California Roll Twists
The classic is a masterpiece, but you know I love a good “what if we tried this?” moment. Here are a few ways to make this recipe your own.
- The Spicy Dragon: Swap the plain imitation crab for a spicy crab mix. Just shred the crab sticks and mix with a tablespoon or two of sriracha and a spoonful of Japanese Kewpie mayo (or regular mayo). Instant upgrade!
- Creamy Crunch: Add a strip of cold cream cheese alongside the cucumber and avocado. The cool creaminess is a fantastic contrast. For extra crunch, sprinkle in some tempura flakes or even crushed-up potato sticks before you roll.
- Seafood Swap: Not a fan of imitation crab? No problem! Use cooked, flaked real crab meat, small cooked shrimp, or even smoked salmon for a lox-style roll.
- The Rainbow Roll: Feeling fancy? After you make your roll but before you cut it, press thin slices of avocado, tuna, or salmon onto the outside of the rice for a stunning “rainbow” effect.
- Brown Rice Boost: Want a whole-grain option? You can use short-grain brown rice. Just note it might be a little less sticky, so you’ll need to be extra firm when rolling.
Jackson’s Chef Notes & Kitchen Confessions
This recipe has been a staple in my kitchen for years, and it’s evolved with every roll I’ve made. I’ve learned that the rice is the true star—if your rice is well-seasoned and has the right texture, you’re 90% of the way there. I also used to be so timid with my rolling, scared I’d break the nori. Then one day I just went for it—a confident, firm roll—and it was a total game-changer. The roll was tighter, held together better, and looked a million times more professional.
My funniest kitchen story? The first time I hosted a “sushi night” for friends, I was so focused on teaching them how to roll that I completely forgot to cook the rice. We had all the fillings prepped and ready to go with a pot of uncooked rice on the stove. We ended up ordering pizza and laughing about it for hours. It was a mess, but it’s one of my favorite memories. A good reminder that cooking is about the joy and the company, not just the perfect result.
FAQs & Sushi Rescue
Q: My roll is falling apart! What did I do wrong?
A: This usually comes down to one of three things: 1) Too much filling – less is more! 2) The rice was spread too thick, making it hard to seal. 3) The roll wasn’t pressed firmly enough during the initial tuck. Don’t be shy with that pressure!
Q: My nori is soggy and chewy. How can I prevent that?
A: Soggy nori happens when the rice is too hot when you assemble the rolls, or if the finished rolls sit for too long before eating. Make sure your rice has cooled to just warm or room temperature, and aim to serve your sushi within an hour or two of making it.
Q: Can I make these ahead of time?
A: You can prep the components ahead of time (cook the rice, chop the veggies), but I highly recommend assembling the rolls right before you plan to eat them for the best texture. If you must, you can store them in an airtight container in the fridge for a few hours, but the nori will lose some of its crispness.
Q: I don’t have a bamboo mat. Can I still make this?
A> Absolutely! A clean kitchen towel covered tightly with plastic wrap can work in a pinch. It takes a little more finesse, but the “roll and tuck” principle is the same. You can even try rolling it by hand, using the plastic wrap to help you shape it.
Nutritional Info (For Your Inner Food Scientist)
Okay, let’s talk numbers! Remember, this is homemade, so you’re in control of the ingredients. Using low-sodium soy sauce and being mindful of the sugar in your sushi rice seasoning can make a big difference.
Here’s a general estimate per roll (assuming you get 6 pieces from one full roll):
- Calories: ~220
- Carbohydrates: 36g (Primarily from the energy-giving rice)
- Fat: 5g (Mostly the heart-healthy fats from the avocado and sesame seeds)
- Protein: 6g (Thanks to the imitation crab!)
- Sodium: ~300mg (Can be lowered by using low-sodium soy sauce)
This is a well-balanced bite with a good mix of carbs, protein, and fat. It’s a light yet satisfying meal, especially when paired with a side salad or miso soup.
You’re Officially a Sushi Chef!
Look at you! You started with a pile of ingredients and transformed them into a stunning platter of homemade California Rolls. You conquered the flip, you mastered the roll, and you created something truly unforgettable. I hope this experience showed you that the best sushi bar is the one in your own kitchen, where you’re the chef and the rules are yours to make (and break!).
This recipe is a starting point, a foundation for you to build on. Add a little heat, try a new filling, or make it a weekly tradition. The most important ingredient will always be the fun and love you stir into it. Thanks for rolling with me today. Until next time, keep mixing it up, making it yours, and enjoying every single bite.
Jackson


