When the Chocolate Craving Strikes, This is Your Answer
Hey friends, Jackson here from Food Meld. Let’s get real for a second. We’ve all been there. It’s 9:47 PM. The kitchen is clean, the day is winding down, and then it hits—a deep, undeniable, soul-level craving for something warm, chocolatey, and now. The idea of dragging out the mixer, the bowls, the pans, the timer… it’s enough to make you just close the cabinet and sigh.
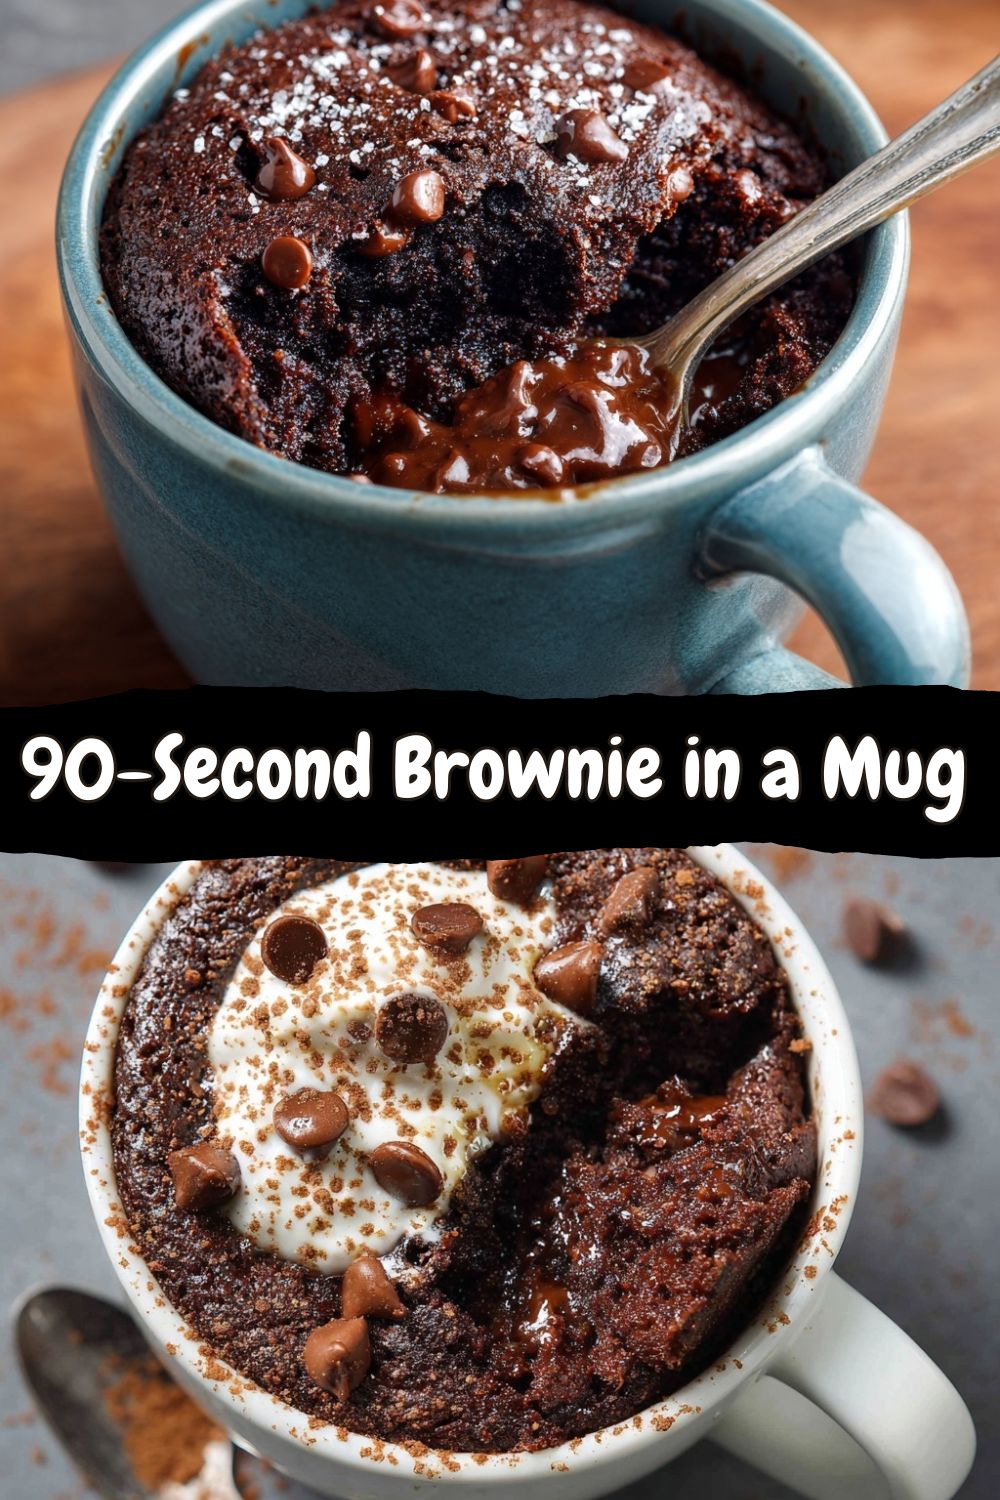
But what if I told you that the solution is already in your cupboard, and it’s ready in under 5 minutes? That’s the magic of the Brownie in a Mug. This isn’t just a “hack”; it’s a tiny revolution in a ceramic cup. It’s a warm, gooey, fudgy, single-serving hug that proves amazing flavor doesn’t have to be complicated. No planning, no mountain of dishes, no leftovers to tempt you all week (though, let’s be honest, that’s sometimes a perk). This is for the weeknight win, the study break, the “I deserve a treat” moment, or when you need to bribe a kid (or yourself) with the promise of something spectacular, fast.
I’m all about bold, comforting flavors that don’t ask for a huge commitment, and this recipe is the poster child for that philosophy. We’re taking simple pantry staples and melding them into something unforgettable. So grab your favorite mug—the one with the funny quote or the chipped handle you love—and let’s turn a craving into a celebration. Let’s cook something awesome, together, right this minute.
The Midnight Experiment That Started It All
This recipe takes me back to my college apartment, where my “kitchen” was a microwave, a mini-fridge, and a whole lot of ambition. My roommate, Leo, was a night owl programmer, and I’d often find myself in the kitchen at midnight, brainstorming recipes while he coded. One particularly brutal week of finals, we were both running on caffeine and desperation. The vending machine chocolate bar just wasn’t cutting it.
“What if we could make a brownie… in a cup?” Leo mumbled, not looking up from his screen. Challenge accepted. What followed was a hilarious, messy, and surprisingly delicious series of experiments. Our first attempt was a floury, gritty disaster. The second was a volcanic eruption of chocolate goo (cleanup was not fun). But the third? The third was a eureka moment. We pulled this steaming, perfect little cake from the microwave, split it with two spoons, and just grinned. It was rich, it was warm, and it felt like a tiny victory in the middle of chaos. That moment of shared, simple joy is the heart of Food Meld. It’s not about perfection; it’s about the fun of the attempt and the delicious reward. This mug brownie is that same little victory, refined and ready for you to claim anytime.
Gathering Your Flavor Arsenal
Here’s the beautiful part: you likely have everything you need already. Let’s build our flavor base.
- 1/4 cup all-purpose flour: The structure-builder. No fancy flour needed here! Just spoon it into your measuring cup and level it off—no packing it down. Chef’s Insight: For a slightly denser, nuttier flavor, you can swap half for whole wheat flour. It works surprisingly well!
- 1/4 cup granulated sugar: Our sweet foundation. This gives us that classic brownie sweetness and helps create a tender crumb.
- 2 tablespoons unsweetened cocoa powder: The star of the show. Use the best you have! I love a dark cocoa powder for an intense flavor, but regular works perfectly. Pro Tip: This is not hot chocolate mix. Make sure your cocoa is unsweetened for the right balance.
- A pinch of salt: Don’t you dare skip this! Salt is the flavor enhancer that makes the chocolate sing louder. It’s the difference between “sweet” and “wow.”
- 2 tablespoons vegetable oil (or melted butter): The fat that brings the fudgy, moist texture. Oil keeps it super moist, while melted butter adds a rich, decadent flavor. I usually go with oil for ultimate gooeyness. Substitution Tip: Coconut oil works great too for a hint of tropical flavor.
- 3 tablespoons water: The magic hydrator. It seems simple, but it’s what binds our quick batter together. You can use milk for a slightly richer result, but water keeps it pantry-friendly and still delicious.
- 1/4 teaspoon vanilla extract (optional but encouraged): The flavor rounder-offer. It deepens all the other flavors. If you have it, use it. A tiny drop of almond extract is also a fun, secret twist!
- 1 tablespoon chocolate chips or chunks (highly recommended): The molten pockets of joy. They melt into little rivers of chocolate inside your brownie. Use dark, milk, or semi-sweet—your call. Chopped-up chocolate bar pieces are even better for a gourmet touch.
Let’s Build Our Masterpiece: Step-by-Step
This is where the fun happens. Get your mug and a spoon—that’s it for tools! I’m talking right beside you with tips to make sure your first try is a success.
- Choose Your Mug Wisely. Grab a standard-sized microwave-safe mug (think 10-12 oz capacity). Chef’s Hack: Give it a very light spray with cooking oil or wipe with a dab of butter on a paper towel. This isn’t totally necessary, but it makes the brownie slide out a bit easier if you want to plate it.
- The Dry Team Huddle. Add your flour, sugar, cocoa powder, and that all-important pinch of salt directly into the mug. Use your spoon to give them a good stir. You want to break up any little clumps of cocoa and get everything evenly distributed. This ensures every bite is perfectly balanced.
- Bring in the Wet Crew. Pour in the oil (or melted butter), water, and vanilla extract. Now, stir with purpose! Go around the edges and scrape the bottom. Mix until you have a smooth, thick, glossy batter. Watchpoint: Make sure there are no dry pockets of flour hiding at the bottom. A few tiny lumps are okay, but strive for smooth.
- The Bonus Chocolate. Stir in those chocolate chips or chunks. Fold them through the batter so they’re evenly dispersed, ready to become melty surprises.
- Microwave Magic. This is the only tricky part, because microwave power varies. Pop your mug into the microwave and cook on HIGH for 60 seconds. Set a timer! After 60 seconds, take a peek. The top should look set and maybe slightly glossy, but still a bit soft in the very center when you gently touch it. If it looks super wet or liquidy, add 15-second intervals. I rarely go over 90 seconds total. Biggest Tip: It will continue to cook as it rests. Better slightly under than over—a gooey center is the goal! An over-microwaved brownie becomes tough and cakey.
- The Torturous Wait. Carefully remove the mug (it will be hot!). Let it sit on the counter for 1-2 minutes. This lets it finish setting and saves you from a molten chocolate lava burn on your tongue. Trust me, the wait makes it better.
How to Serve Your Instant Celebration
You’ve done the hard work (which wasn’t hard at all). Now, let’s make it an experience. The classic way is to just grab a spoon and dive right into the mug—zero shame in that game. But if you want to fancy it up for a solo date night or impress someone, here are my favorite ways to serve it:
The Classic Sundae: Use a spoon to gently loosen the edges and slide the warm brownie onto a small plate. Top with a scoop of vanilla ice cream. The hot/cold, cakey/creamy contrast is everything. A drizzle of caramel or hot fudge sauce? Chef’s kiss.
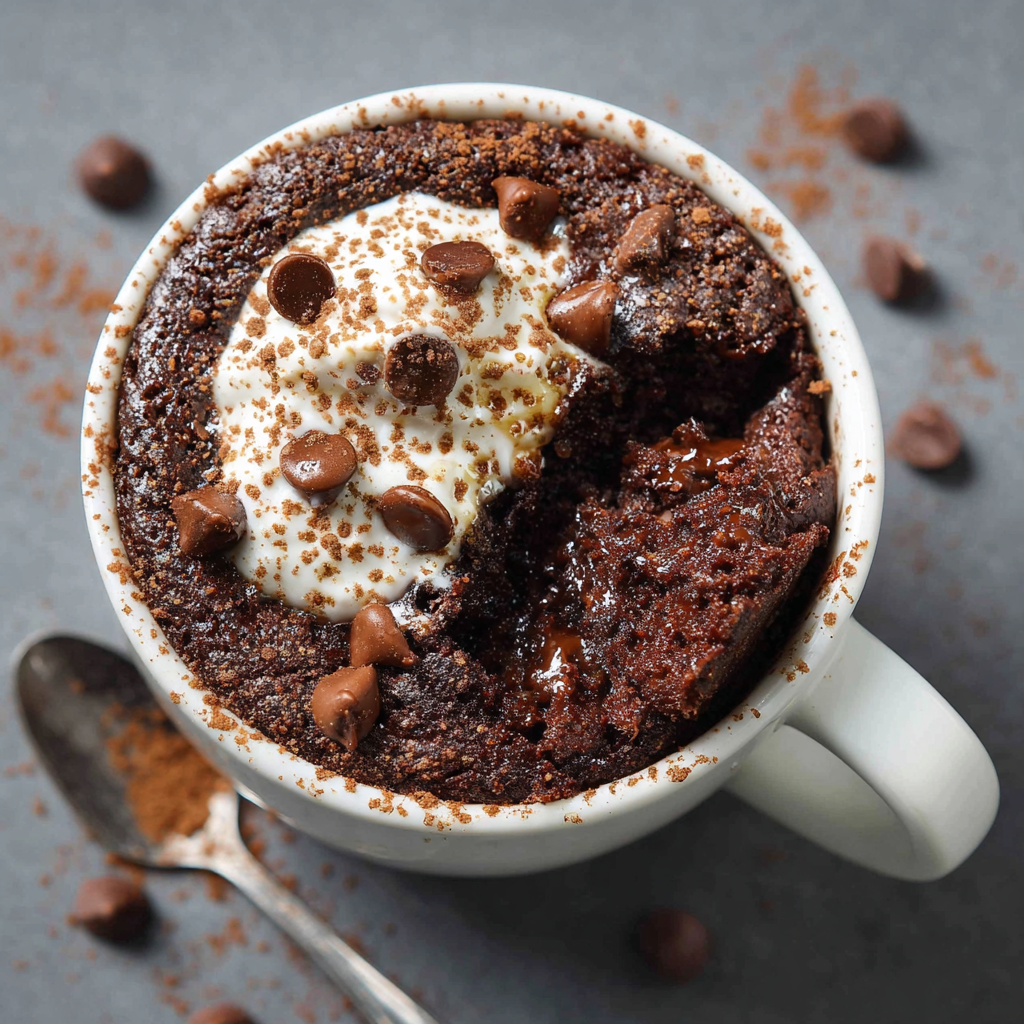
Whipped Cream Cloud: A giant dollop of fresh whipped cream and a sprinkle of flaky sea salt or more chocolate chips. Elegant and easy.
Straight-Up, No Apologies: Eat it directly from the mug with a spoon, maybe with a cold glass of milk nearby. This is the purest form of comfort.
The beauty is, it’s your brownie, your rules. Dress it up or keep it cozy.
Make It Your Own: Fun Flavor Twists
Once you’ve mastered the basic blueprint, the world is your chocolate oyster. Here are a few of my favorite ways to mix it up:
- S’mores Explosion: After cooking, immediately top with a handful of mini marshmallows and a few pieces of graham cracker broken over the top. Microwave for an additional 10-15 seconds to get the marshmallows perfectly gooey.
- Peanut Butter Cup: Add 1 tablespoon of peanut butter to the batter along with the wet ingredients. Swirl it in gently—don’t fully mix. Top with peanut butter chips before microwaving.
- Mexican Hot Chocolate: Add a pinch of cinnamon and a tiny, tiny pinch of cayenne pepper to the dry ingredients. It adds a warm, mysterious depth that’s absolutely incredible.
- Double Chocolate Mint: Use mint chocolate chips instead of regular. After cooking, top with a drop of peppermint extract whipped into your whipped cream.
- Gluten-Free/Dairy-Free: Swap the all-purpose flour for a 1:1 gluten-free baking blend. Use oil instead of butter, and ensure your chocolate chips are dairy-free. It works like a charm!
Jackson’s Kitchen Notes & Stories
This recipe has been my secret weapon for years, and it’s evolved from that messy college experiment. I’ve made it in break rooms, hotel rooms, and even once in a borrowed mug at a friend’s house when the dessert craving hit post-dinner. The funniest fail was when I accidentally used self-rising flour once (in my defense, the containers looked identical!). It turned into a fluffy, cakey mound that rose right out of the mug. Not a brownie, but still oddly tasty—a happy accident that taught me to always label my flour jars!
The biggest lesson? Don’t stress. Cooking, especially something this simple, should be fun. If it’s a little undercooked, you have chocolate pudding. If it’s a little over, you have a dense chocolate cake. You literally cannot lose. The goal is a moment of joy, not perfection.
Your Questions, Answered
Q: My brownie turned out really dry or rubbery. What happened?
A: The most common culprit is over-microwaving. Microwaves vary wildly in power. Always start with 60 seconds and add in small increments. Also, double-check your measurements—too much flour can dry it out. Remember, it will set more as it cools!
Q: Can I make this in the oven instead?
A: Absolutely! Bake it in a 350°F (175°C) oven in an oven-safe ramekin for about 15-20 minutes. You’ll get slightly more crispy edges, which is a delight. The center should still be soft when you take it out.
Q: Can I double the recipe?
A: I wouldn’t recommend doubling it in one mug—it won’t cook evenly. If you need two, mix the batter for each in separate mugs and microwave them one at a time for the best results.
Q: It stuck to the mug! How do I prevent that?
A> Next time, give your mug that quick spray of oil or butter before adding ingredients. If it happens this time, just dig in with a spoon—it’ll still taste amazing. A non-stick cooking spray is your friend here.
Nutritional Info (For Your Curiosity)
Look, this is a treat. It’s a celebratory, single-serving indulgence. I’m not a nutritionist, but I believe in being informed. This approximate breakdown is for the basic recipe made with oil and including chocolate chips. Using butter will change the saturated fat slightly, and toppings like ice cream will, of course, add to it. The beauty of making it yourself is you control the ingredients. Want to use a sugar substitute that measures 1:1 like erythritol? Go for it! The point is to enjoy a mindful, satisfying treat that hits the spot without derailing your whole day. One perfect brownie beats a whole bag of mediocre cookies any day.
Per Serving (approx.): Calories: 380 kcal | Carbohydrates: 50g | Sugars: 28g | Fat: 18g | Saturated Fat: 4g | Protein: 3g | Fiber: 3g | Sodium: 60mg
Go Forth and Satisfy That Craving!
So there you have it, friends—your new kitchen superpower. The next time that chocolate craving whispers (or shouts), you know exactly what to do. In less than five minutes, you can transform a few simple ingredients into a moment of pure, warm, chocolatey bliss. That’s what Food Meld is all about: taking the intimidation out of cooking and injecting a whole lot of fun and flavor into your routine.
I’d love to hear how your mug brownie adventure goes! Did you add a crazy twist? Did it save your sanity on a tough day? Tag me on social @FoodMeld or drop a comment on the blog. Now, go grab that mug. Your perfect, personal, unforgettable dessert is waiting. Let’s cook something awesome, anytime.
– Jackson


