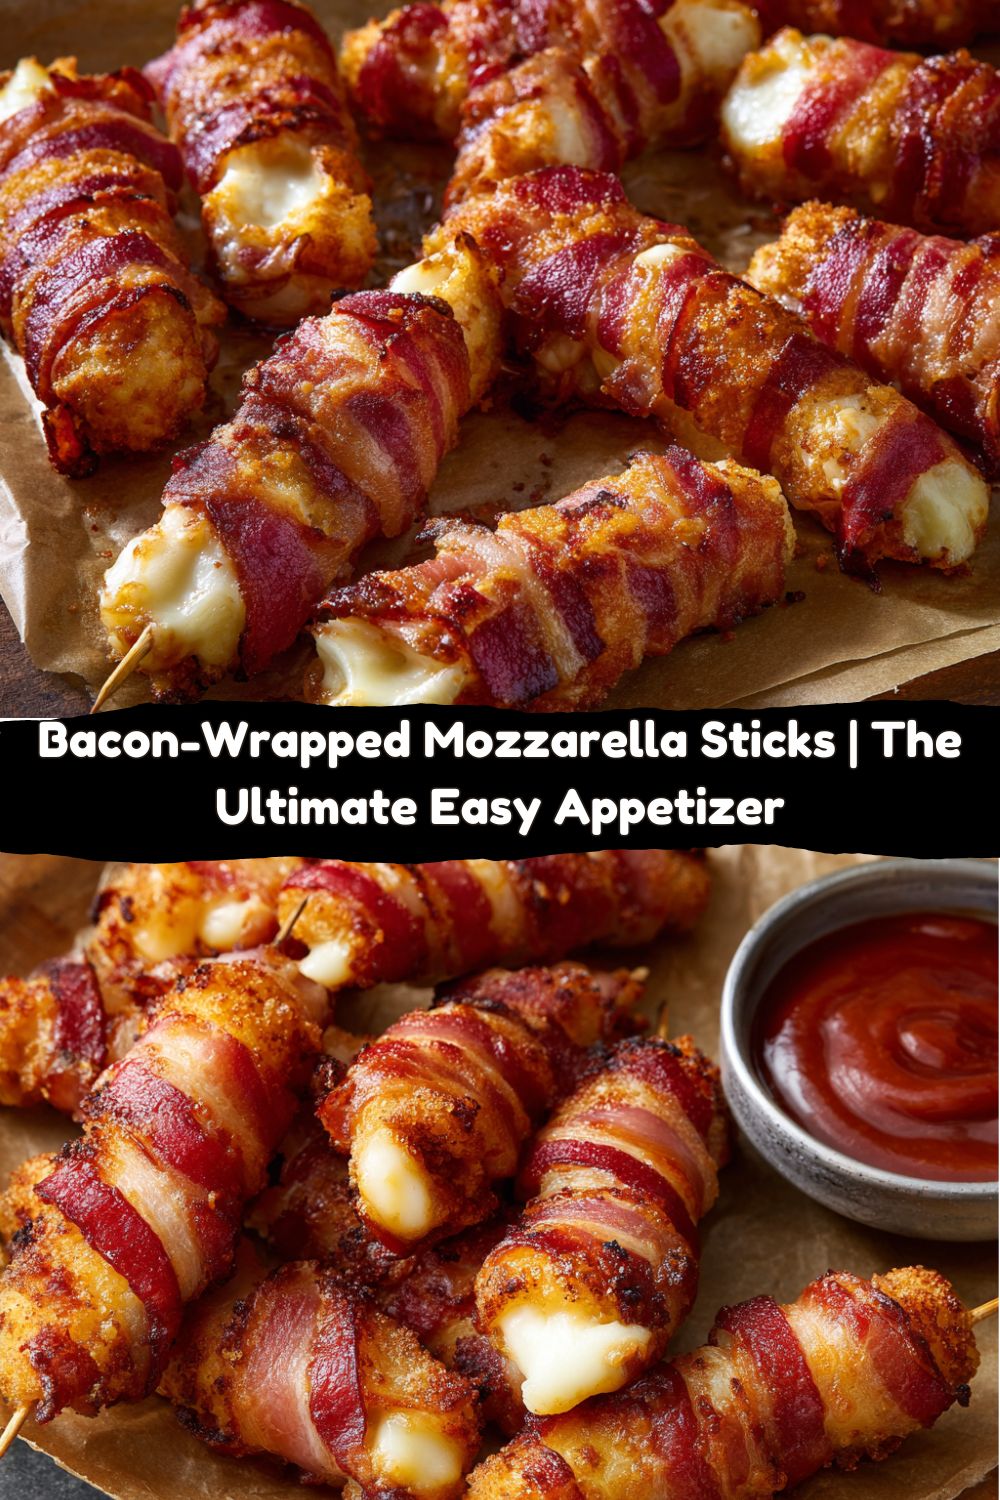
Bacon-Wrapped Mozzarella Sticks: The Game-Day Appetizer That Wins Every Time
Hey friends, Jackson from Food Meld here! Let’s get real for a second. We’ve all been there: staring into the fridge, hoping something magical and delicious will appear for game day, a last-minute get-together, or let’s be honest, a serious late-night snack attack. You want something that feels a little fancy but is secretly a breeze to make. Something that will make everyone’s eyes light up and have them asking, “Okay, how did you *do* that?”
Well, my friends, I’m about to let you in on one of my all-time favorite secret weapons: Bacon-Wrapped Mozzarella Sticks. This is the kind of recipe that embodies everything I stand for at Food Meld. It’s bold (hello, bacon!), comforting (hello, melty cheese!), and has that creative twist that turns the ordinary into the extraordinary. We’re taking a classic snack and giving it a smoky, crispy, irresistible upgrade.
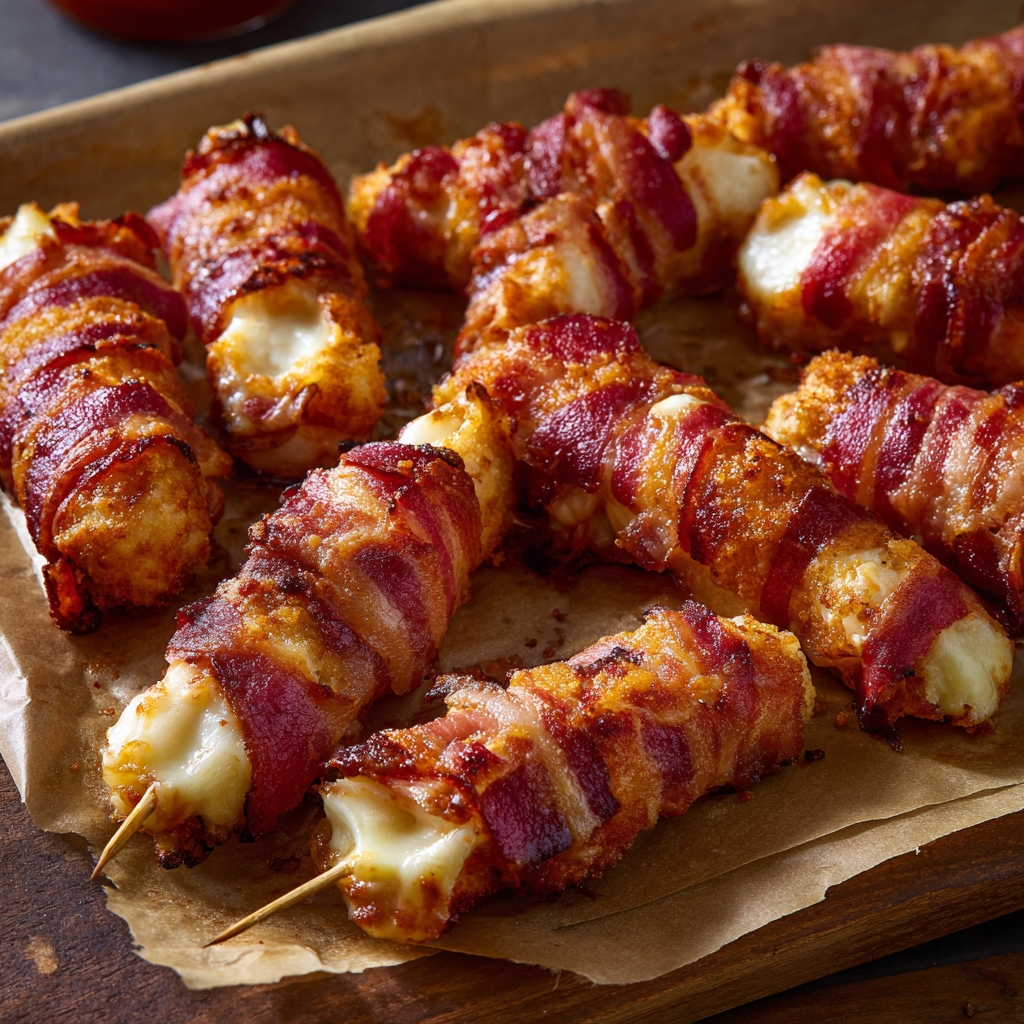
Imagine this: a golden-brown, perfectly crisp slice of bacon wrapped tightly around a core of hot, stretchy, gooey mozzarella. You pick one up, dip it into a tangy marinara sauce, and take a bite. You get that initial crunch, followed by that glorious, cheesy pull. It’s a textural dream and a flavor explosion all in one. The best part? You only need three main ingredients and about half an hour. No deep fryer, no complicated techniques—just simple, real, flavor-packed fun. So, are you ready to cook something awesome? Let’s dive in.
A Football Sunday & A Happy Little Kitchen Accident
This recipe always takes me back to a particularly chaotic (and hilarious) football Sunday a few years ago. My team was playing, friends were coming over, and I was determined to create a spread of epic proportions. I had all the classics: wings, nachos, you name it. But I felt like something was missing. I wanted a show-stopper.
I had a pack of mozzarella sticks and some bacon on the counter, and in a moment of pure “what if we tried this?” energy (you know I live for those moments), I decided to experiment. The first batch was… a learning experience. Let’s just say I learned the hard way that you NEED to secure the bacon with a toothpick unless you want cheesy, bacony puddles instead of sticks. But that second batch? Pure magic. The moment I pulled them out of the oven, golden and sizzling, I knew I had stumbled onto something special. They were the first thing to disappear from the platter that day, and they’ve been a Food Meld staple ever since. It just goes to show that the best recipes often come from a little bit of fun and a willingness to get messy in the kitchen.
Gathering Your Flavor Arsenal
See? I told you it was simple. The beauty of this recipe is in its simplicity, but let’s talk about each component because choosing the right stuff makes all the difference.
- 12 Mozzarella String Cheeses or Mozzarella Sticks: This is our cheesy heart! I highly recommend using the low-moisture, part-skim mozzarella string cheese you find in the dairy aisle. They’re the perfect shape and their lower moisture content means they hold their form better and get wonderfully stretchy without turning into a total puddle. Chef’s Insight: If you can’t find string cheese, you can cut a block of low-moisture mozzarella into 3-inch long, ½-inch thick sticks.
- 12 Slices of Bacon: The crispy, smoky blanket! I find that regular-cut bacon works best. Thick-cut bacon can take too long to crisp up, leaving the cheese too molten, while thin-cut might cook too quickly. Substitution Tip: Feel free to use your favorite flavor—applewood smoked for a classic taste, hickory for a stronger smoke, or even a peppered bacon for an extra kick!
- Toothpicks: Our trusty kitchen tool! These are non-negotiable for securing the bacon. Soak them in water for 10 minutes before using to prevent them from burning in the oven. It’s a simple hack that makes a big difference.
Let’s Build Some Magic: Step-by-Step
Okay, team, it’s go time. This is where the fun happens. I’ll walk you through each step with all my favorite tips and hacks to ensure your bacon-wrapped mozzarella sticks come out perfectly every single time.
- Preheat and Prep: First things first, crank that oven to 400°F (200°C). This hot temperature is key for getting the bacon crispy without overcooking the cheese. While it’s heating up, line a standard baking sheet with parchment paper. Trust me on this—it prevents sticking and makes cleanup an absolute dream. No one wants to scrub bacon grease off a pan later. Chef’s Hack: If you have a wire rack that fits inside your baking sheet, place it on top of the parchment. This allows hot air to circulate all around the bacon, making it extra crispy on all sides!
- The Art of the Wrap: Take one slice of bacon and one mozzarella stick. Place the bacon at one end of the cheese and start wrapping it in a tight spiral, slightly overlapping the bacon with each turn. You want a nice, snug fit. The goal is to cover as much of the cheese as possible. When you get to the end, press the final bit of bacon firmly against the stick to secure it.
- Secure the Deal: Now for the most important step! Take a pre-soaked toothpick and skewer it through the end of the bacon flap, anchoring it to the cheese stick. I like to angle it so the pointy end is facing down when I place it on the baking sheet. This acts like a little anchor, keeping everything sealed tight during the baking process. Place each completed stick on your prepared baking sheet, toothpick-side down. Give them a little space so the hot air can work its magic evenly.
- Bake to Perfection: Slide that beautiful tray into your preheated oven and bake for 15-20 minutes. Now, here’s where you need to be a watchful chef. All ovens are a little different, and bacon thickness varies. You’re looking for the bacon to be fully cooked, crispy, and a deep golden brown. You might see a little cheese starting to peek out—that’s a good sign! It means things are getting melty and wonderful inside. Pro Tip: For extra crispiness, you can carefully flip them halfway through the baking time.
- The Cool Down (The Hardest Part!): Once they’re perfectly crisp, pull the baking sheet out of the oven. I know, I know, you want to eat one immediately. But resist! Let them cool on the sheet for about 5 minutes. This allows the cheese to set just enough so that it doesn’t completely erupt when you take that first bite. It’s the difference between a deliciously cheesy pull and a lava-hot cheese burn. Safety and flavor first, always!
Plating Up & Dipping In
Presentation is part of the fun! You’ve made something incredible, so let’s show it off. After their brief rest, gently remove the toothpicks. I like to arrange them standing up in a tall glass or mason jar for a cool, rustic look, or fan them out on a wooden board or a simple white platter to let that beautiful, crispy bacon shine.
Now, for the dipping sauce. This is non-negotiable in my book. A small bowl of warm marinara sauce is the classic, perfect pairing—the acidity and herbs cut through the richness of the bacon and cheese beautifully. But don’t stop there! Get creative. Here are some of my other favorites:
- Ranch Dressing: A cool, creamy contrast that’s always a crowd-pleaser.
- BBQ Sauce: Amplifies the smoky notes from the bacon.
- Spicy Sriracha Mayo: Mix a tablespoon of Sriracha with ¼ cup of mayo for a kick.
- Balsamic Glaze: A drizzle of this sweet and tangy reduction takes it to a gourmet level.
Mix It Up: Your Recipe, Your Rules
Once you’ve mastered the basic formula, the world is your oyster! Or, well, your mozzarella stick. Here are a few of my favorite twists to keep things exciting.
- The “Jalapeño Popper” Twist: Before you wrap the cheese in bacon, take a thin slice of fresh jalapeño (or a spoonful of canned diced jalapeños, patted dry) and press it against the cheese. Wrap the bacon around both. You get that amazing spicy, creamy, crispy combo.
- Sweet & Smoky: Right when the sticks come out of the oven, give them a very light drizzle of maple syrup or a sprinkle of brown sugar. The sweet and salty combination is unbelievable.
- Everything Bagel Seasoning: Before baking, roll the bacon-wrapped stick in “Everything But The Bagel” seasoning. It adds incredible flavor and a fantastic crunchy texture.
- Pepperoni Pizza Bites: Add a small slice of pepperoni between the cheese and the bacon before wrapping. Serve with marinara for the ultimate pizza-inspired bite.
- Gluten-Free/Keto Breadcrumb Version: For an extra crunch, lightly brush the wrapped sticks with a little mayo or mustard and roll them in crushed pork rinds or almond flour before baking. It creates a fantastic crust!
Jackson’s Chef Notes & Kitchen Confessions
This recipe has evolved so much since that first football Sunday experiment. I’ve learned that the quality of bacon really matters—a good, smoky bacon will infuse the whole stick with flavor. I’ve also found that letting the wrapped sticks chill in the freezer for 10-15 minutes before baking can help the cheese hold its shape even better, but honestly, they’re fantastic without that step, too.
My biggest kitchen confession? I once tried to make a giant version using a full block of mozzarella. It was… ambitious. Let’s just say the cheese-to-bacon ratio was off and it became a delicious, cheesy lake in my oven. Stick to the string cheese, folks. Learn from my messy, cheesy mistakes! The beauty of cooking is that even the “failures” are usually still pretty tasty.
FAQs: Your Questions, Answered
Q: My cheese exploded everywhere! What did I do wrong?
A: Ah, the classic cheese blowout! This usually happens for one of three reasons: 1) The bacon wasn’t wrapped tightly enough, 2) The toothpick wasn’t securing the end properly, or 3) They were baked for too long. Make sure that wrap is snug as a bug and keep a close eye on them, especially in the last few minutes of baking.
Q: Can I make these ahead of time?
A> You can absolutely assemble them ahead of time! Wrap them up, place them on the baking sheet, cover tightly with plastic wrap, and refrigerate for up to 24 hours. Then, just pop them straight from the fridge into the preheated oven. You might need to add a minute or two to the baking time since they’ll be cold.
Q: Can I air fry these?
A> YES! The air fryer is a fantastic tool for this recipe. Preheat your air fryer to 375°F (190°C). Cook for 8-10 minutes, shaking the basket halfway through, until the bacon is crispy. They cook faster, so keep a close watch!
Q: Are these really keto-friendly?
A> They sure are! As long as you use standard, sugar-free bacon (check the label) and full-fat mozzarella cheese sticks, this recipe is perfectly keto-friendly and low-carb. Enjoy!
Quick Nutritional Breakdown
Okay, let’s be clear: this is a treat, an appetizer, a fun indulgence. But it’s always good to know what you’re eating! The following is an approximate nutritional estimate per bacon-wrapped mozzarella stick, based on using standard part-skim mozzarella and regular-cut bacon. Remember, these values can change based on the specific brands you use.
- Calories: ~210
- Fat: 17g
- Saturated Fat: 8g
- Carbohydrates: 1g
- Protein: 13g
As you can see, they are high in protein and, thanks to the bacon, fat. They are naturally very low in carbohydrates, making them a great option for low-carb or keto lifestyles when enjoyed in moderation.
Your New Go-To Appetizer Awaits
And there you have it! Your complete guide to making the most incredible, crowd-pleasing, conversation-starting Bacon-Wrapped Mozzarella Sticks. This recipe is a perfect example of what I love about cooking: it doesn’t have to be complicated to be unforgettable. It’s about taking simple ingredients, having a little fun, and creating something that brings people together.
I hope you feel inspired to give these a try for your next game day, party, or even just a Tuesday night. Remember, cooking should be fun, a little messy, and always, always full of flavor. I’d love to hear how yours turn out! Tag me on social @FoodMeld with your creations.
Until next time, let’s keep cooking something awesome together!
– Jackson


