Baby Dutch Pancakes: Puffy, Golden, and Ready in Minutes (Seriously!)
Hey friends, Jackson here from Food Meld! Let’s have a real talk for a second. How many times have you stood in front of the fridge on a weekend morning, dreaming of a breakfast that feels special but doesn’t require the effort of a part-time job? You want something impressive, maybe even a little magical, but you also want to be back on the couch with a coffee in hand before the second episode of your favorite show starts.
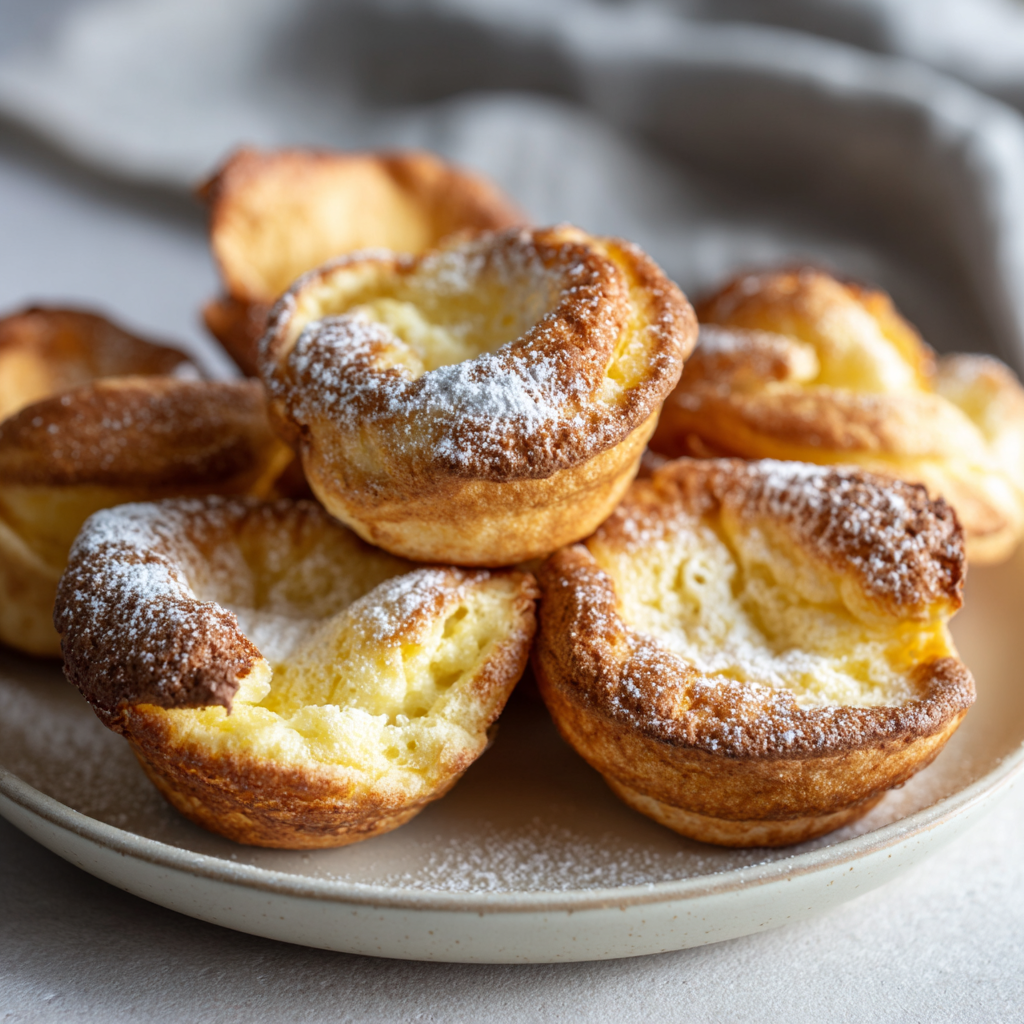
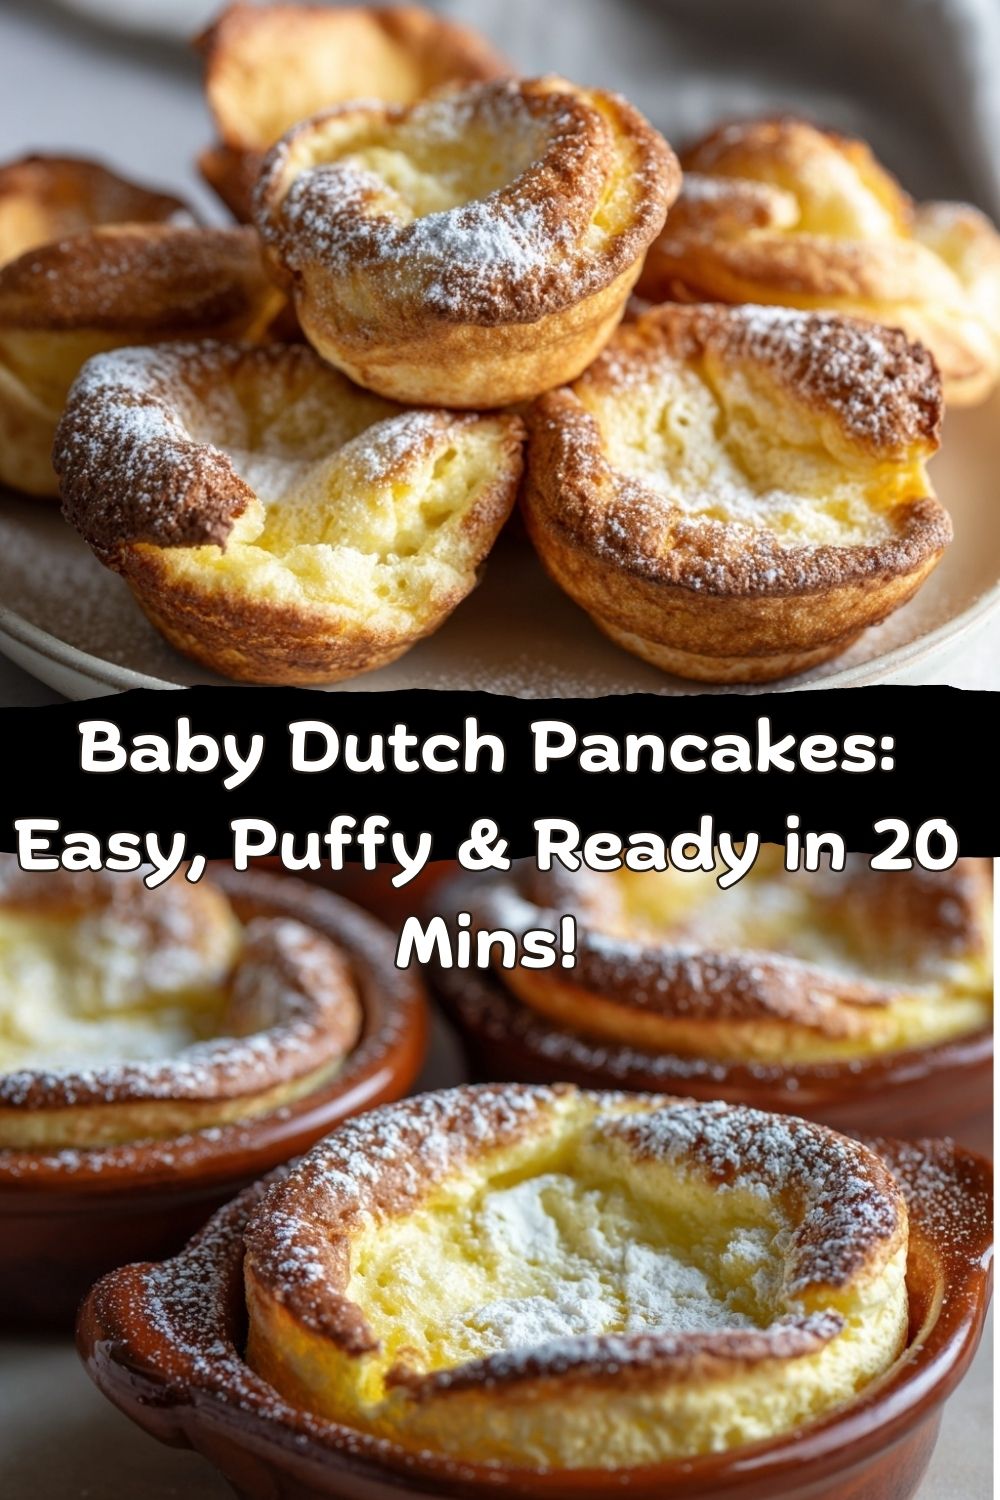
I hear you. And that’s exactly why I’m completely, utterly obsessed with Baby Dutch Pancakes. Forget everything you know about standing over a griddle, flipping batch after batch. These little guys are a different beast entirely. We’re talking about mini, oven-baked clouds of joy that puff up like edible golden crowns. They’re crisp around the edges, tender and custardy in the center, and they have this fantastic habit of making everyone at the table go, “Wait, YOU made these?!”
The best part? The “wow” factor is 100% real, but the work is practically zero. With just a handful of pantry staples—eggs, flour, milk—and a hot oven, you’re about 20 minutes away from brunch hero status. They’re the perfect blank canvas, too. Drench them in syrup and berries for a sweet start, or get creative with savory toppings for a meal that blurs the line between breakfast and dinner. So, tie on an apron (or don’t, I’m not judging), preheat that oven, and let’s cook something awesome together. This is the kind of fun, foolproof recipe Food Meld was made for.
The First Time I Saw Magic in a Pan
My love affair with Dutch babies started not in some fancy restaurant, but in my grandma’s wonderfully cluttered kitchen. She called them “German Pancakes,” and to my seven-year-old eyes, they were pure sorcery. I remember pressing my nose against the oven door’s glass, watching a puddle of simple batter slowly climb the sides of her big, black cast iron skillet. It transformed into a towering, golden-brown fortress right before my eyes. It felt less like cooking and more like a science experiment that ended with powdered sugar.
That sense of kitchen magic never left me. When I started Food Meld, I knew I needed my own spin—a way to share that “wow” moment but make it even more approachable. Enter the Baby Dutch Pancake. By scaling it down to a muffin tin, we get all the drama of the giant puff, but in adorable, individual servings. No fighting over the crispiest edge piece! Every person gets their own perfectly puffed masterpiece. It’s that childhood wonder, updated for how we really live and eat—sharing the fun, one delicious, personal-sized bite at a time.
Gathering Your Flavor Allies
Here’s the beautiful part: the ingredient list is short and sweet. This is where quality and technique shine, so let’s break it down.
- 3 large eggs, at room temperature: These are the superheroes of the recipe. Their proteins create the structure for that famous puff. Room temp is key—they incorporate more air, leading to a better rise. Chef’s Hack: No time to warm them? Place them in a bowl of warm (not hot) water for 5 minutes.
- ½ cup all-purpose flour: The trusty backbone. It gives the pancakes body without making them heavy. For a slightly nuttier flavor, you can swap in ¼ cup of whole wheat pastry flour with the all-purpose.
- ½ cup whole milk, at room temperature: Whole milk adds richness and helps with browning. 2% works in a pinch, but avoid skim—we need that fat for flavor and texture.
- 1 tablespoon granulated sugar: Just a touch for a hint of sweetness and to aid in browning. For a savory version, you can omit this entirely.
- ½ teaspoon pure vanilla extract: The flavor booster. It adds a warm, comforting depth. Feel free to experiment with almond or even a dash of cinnamon extract!
- A generous pinch of kosher salt: Never underestimate the power of salt to make all the other flavors pop.
- 2 tablespoons unsalted butter, divided: This is our non-negotiable secret weapon. The hot butter in the pan creates a crisp, flavorful crust and prevents sticking. I use unsalted so I can control the seasoning.
Topping Playground: This is where you get creative! Powdered sugar, fresh lemon juice, maple syrup, a pile of mixed berries, whipped cream, Nutella, apple slices sautéed with cinnamon… the world is your brunch oyster.
Let’s Make Some Magic: Step-by-Step
Ready? This is the fun part. I’ll walk you through each step with the little hacks I’ve learned from making approximately ten million of these.
- Heat Things Up: Preheat your oven to a solid 425°F (220°C). This is crucial—we need that blast of heat. While it’s warming, place a standard 12-cup muffin tin or 6 mini cast-iron skillets (my favorite for drama) right inside the oven. We’re heating the pan too, which helps the batter start cooking and rising the second it hits the surface.
- Blend it Smooth: In a blender (the easiest method), or a bowl with a whisk, combine the eggs, flour, milk, sugar, vanilla, and that pinch of salt. Blend or whisk for a good 30-45 seconds until it’s completely smooth, with no lumps. You want it to look like thin crepe batter. Let it rest for a minute while the oven finishes heating. Chef’s Tip: A blender incorporates tons of air into the batter, which translates directly into PUFF. It’s my #1 recommended tool for this job.
- The Butter Sizzle:Carefully, using oven mitts, pull the hot muffin tin out of the oven. Immediately add about ½ teaspoon of butter to each of 6-8 muffin cups (you don’t need to fill all 12). It should sizzle and melt almost instantly. Tilt the tin to coat the bottom and sides of each cup. This buttery layer is what creates that irresistible, crispy, lacy edge.
- Pour & Bake:Working quickly, pour or ladle the batter into the buttery cups, filling each one about halfway. Don’t overfill! They need room to climb. Immediately return the tin to the oven and shut the door. Resist the urge to peek for at least the first 10 minutes! The rush of cold air can deflate your puff-in-progress. Trust the process.
- Witness the Rise:Bake for 12-15 minutes. They’re done when they’re gloriously puffed, deep golden brown around the edges, and set in the center. You’ll see them start to pull away from the sides slightly.
- Serve with Flair:Pull them out of the oven. They’ll be majestic! They’ll also start to deflate slightly after a minute or two—that’s totally normal and part of their charm. Use a small offset spatula or butter knife to gently pop them out. Serve IMMEDIATELY. Top them while they’re hot and crisp for the full experience.
How to Serve These Golden Gems
Presentation is half the fun! I love serving these right on a big wooden board or a colorful platter. Let everyone build their own. For a classic look, dust a blizzard of powdered sugar over the whole batch and serve with lemon wedges for squeezing. Want to go full rustic? Pile a mountain of macerated berries (just berries + a spoonful of sugar, let sit for 15 mins) in the center of the plate and arrange the pancakes around them. Drizzle everything with syrup or honey. If you’re using the mini cast iron pans, serve them right in the skillet for that “straight-from-the-oven” vibe—just remember the handles are HOT. A dollop of freshly whipped cream or a scoop of vanilla ice cream turns this breakfast instantly into a decadent dessert.
Make It Yours: Creative Twists
The basic recipe is your launchpad. Here are a few of my favorite ways to “Meld” it up:
- Lemon-Blueberry Bliss: Add the zest of one lemon to the batter. After pouring the batter into the hot cups, drop 4-5 fresh blueberries into each one before baking.
- Savory Cheddar & Herb: Omit the sugar and vanilla. Add ½ cup of shredded sharp cheddar cheese, 1 tablespoon of chopped fresh chives, and a crack of black pepper to the batter. Top after baking with a dollop of sour cream and more chives.
- Apple Cinnamon Skillet: For one large Dutch baby, melt butter in your hot skillet, add a sliced apple and a tablespoon of brown sugar, and sauté for 2 minutes. Pour the batter right over the apples and bake.
- Chocolate Chip Hug: Stir ¼ cup of mini chocolate chips into the batter. After baking, dust with powdered sugar. Kid (and adult) heaven.
- Dairy-Free/GI Friendly: Swap the whole milk for an unsweetened, creamy plant milk like oat milk (it adds great richness), and use a good-quality dairy-free butter alternative.
Jackson’s Chef Notes & Kitchen Stories
This recipe has been a staple in my kitchen for years, and it’s evolved through many happy (and a few hilarious) experiments. I once tried to make a “giant one” in a pan that was too big—it puffed up beautifully, then promptly collapsed in the center like a floury volcano. Lesson learned: the right pan size matters! I also learned that the resting step for the batter isn’t just folklore; it gives the flour particles time to fully hydrate, which leads to a more tender pancake. And don’t be afraid of the dark golden brown color on the edges—that’s where the best, nuttiest flavor lives. It’s not burnt, it’s caramelized and delicious.
Your Questions, Answered
Q: My pancakes didn’t puff up much. What went wrong?
A: The most common culprits are: 1) The oven/pan wasn’t hot enough. Make sure it’s fully preheated and you heat the empty pan. 2) You opened the oven door too early. Be patient! 3) The batter was overmixed after adding the flour, which can develop too much gluten and weigh it down. Blend just until smooth.
Q: Can I make the batter ahead of time?
A: You can blend it up, cover it, and refrigerate it for up to 24 hours. Let it come to room temperature for about 30 minutes and give it a quick whisk or blend again before using for the best rise.
Q: What can I use instead of a muffin tin?
A: A popover pan is perfect! You can also use oven-safe ramekins or, as I love, mini cast iron skillets. For one large pancake, use a 10-inch cast iron or oven-safe skillet.
Q: Why did they deflate so quickly?
A> This is totally natural! The structure is delicate and, like a soufflé, it settles once it hits the cooler air. It doesn’t affect the fantastic texture inside. Serve them right away for the full dramatic effect.
Nutritional Information (A Quick Note)
Alright, let’s keep it real. This is a treat, a celebration breakfast, a weekend joy. Each plain Baby Dutch Pancake (without toppings) has roughly 100 calories, 5g of fat, 10g of carbs, and 3g of protein. They’re a good source of energy from the eggs and carbs. The beauty is you control the toppings—loading up with fresh fruit and a light drizzle of honey is a fantastic option. If you’re looking to boost protein, serve them with a side of Greek yogurt or scramble some eggs. As always, this is an estimate. For precise dietary needs, use your preferred nutritional calculator with your specific brands and ingredients.
Final Thoughts: Let’s Keep Cooking Together
And that’s it, friends! You’re now armed with the secrets to the easiest, most impressive little breakfast (or dessert!) around. I love this recipe because it proves that you don’t need complicated techniques or a million ingredients to create something truly memorable in the kitchen. It’s about the fun, the slight unpredictability of the puff, and the pure joy of sharing something delicious.
I hope you give these Baby Dutch Pancakes a try this weekend. Tag me over at @FoodMeld when you do—I LIVE for seeing your creations and your kitchen wins. Got a twist you invented? I wanna hear about it! Now go forth, preheat that oven, and let’s make a morning (or evening) a little more magical, one puffy pancake at a time. Until next time, keep mixing it up and enjoying every bite.
– Jackson


