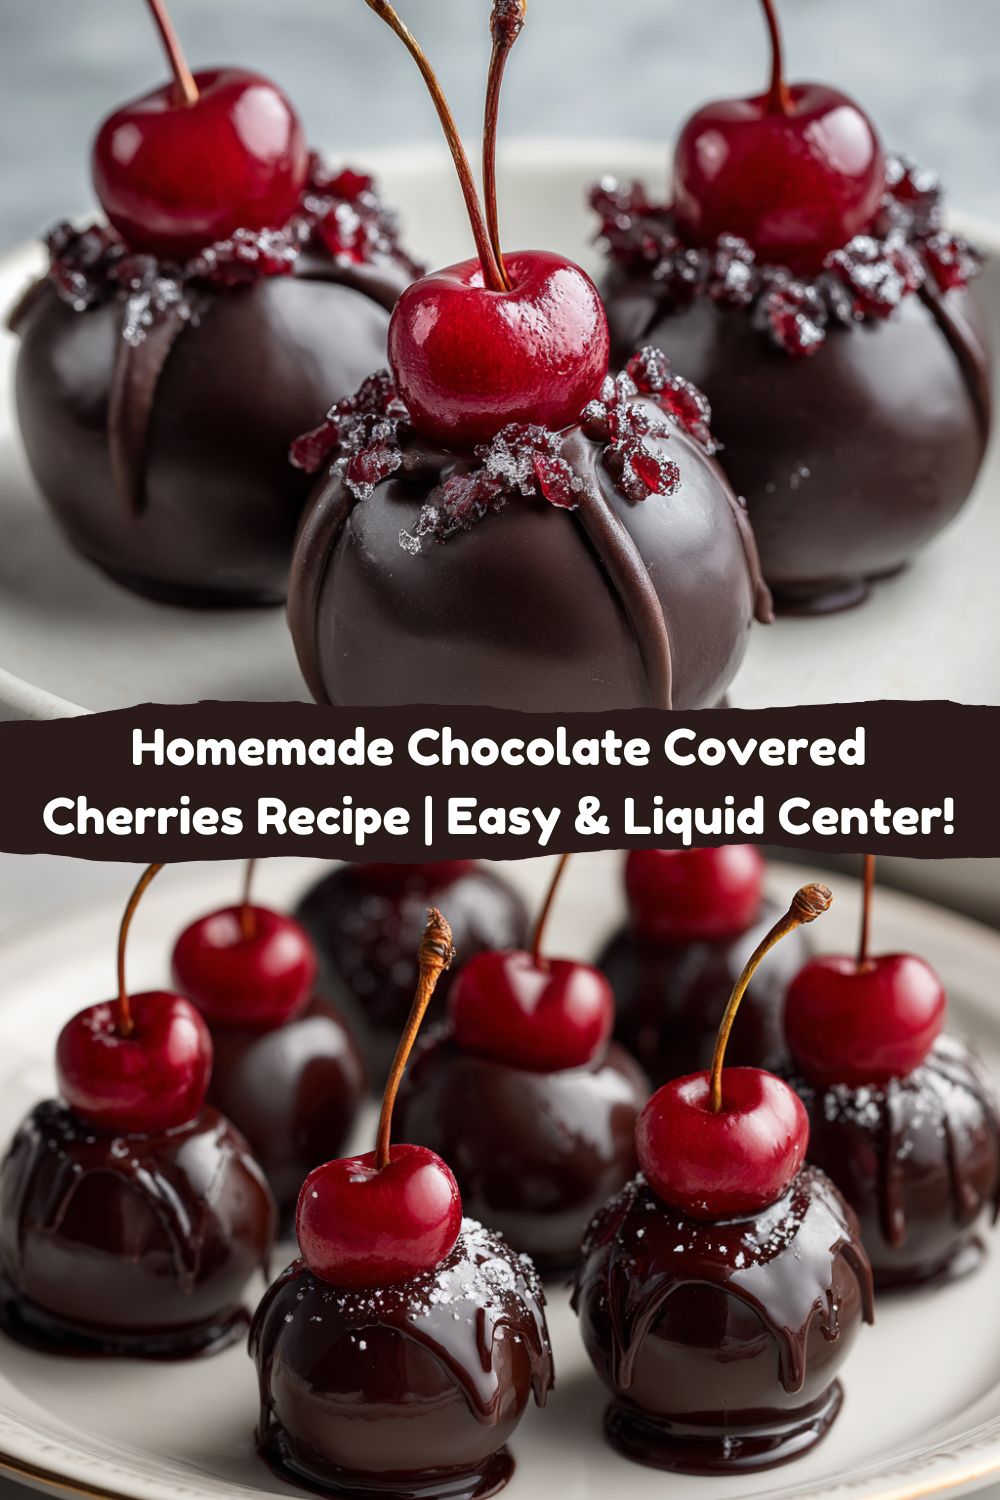
Forget Store-Bought: Let’s Make Legendary Chocolate Covered Cherries
Hey there, Food Meld family! Jackson here. Let’s talk about one of life’s little luxuries: that moment you bite into a chocolate-covered cherry and get hit with that magical, juicy, syrupy center. You know the one I’m talking about. It’s the kind of treat that feels fancy, romantic, and downright special. But here’s the secret I’m absolutely bursting to share with you today: making these decadent little gems at home is not just possible; it’s incredibly fun and surprisingly simple.
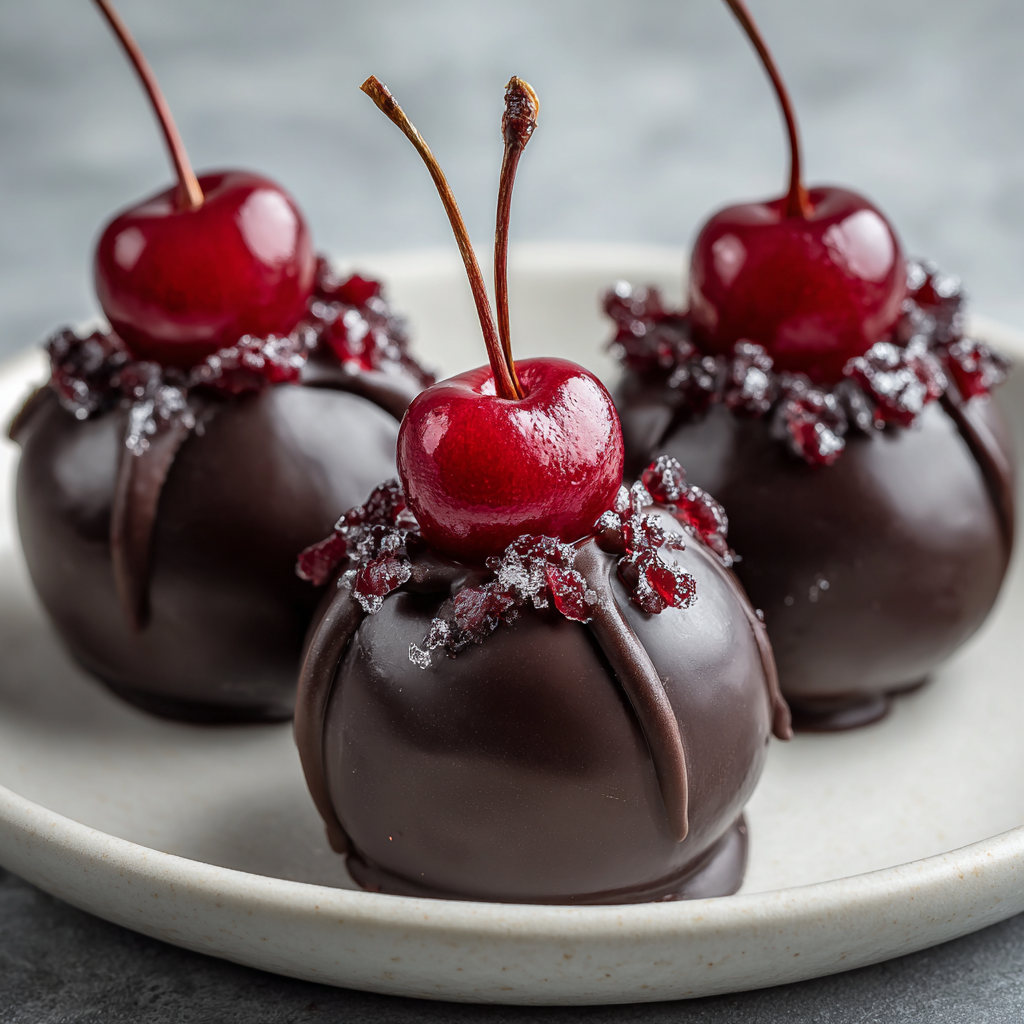
I’m a firm believer that the best cooking (and candy-making!) happens when we’re not afraid to get our hands a little messy, to experiment, and to infuse everything we make with a whole lot of heart. This recipe is a perfect example. We’re taking plump, juicy cherries, wrapping them in a sweet, creamy fondant, and giving them a luxurious bath in rich, dark chocolate. The real magic? As they rest, that firm fondant filling slowly transforms into the iconic liquid center we all dream about. This isn’t just a recipe; it’s a delicious science project of love. So, whether you’re looking to impress a date, create heartfelt homemade gifts, or just treat yourself to something spectacular, you’re in the right place. Let’s ditch the waxy, overly-sweet store-bought versions and cook something awesome, from our kitchen to yours.
A Box of Cherries & A Whole Lot of Heart
This recipe takes me right back to my grandma’s kitchen, a place that always smelled like vanilla and unconditional love. Every year, without fail, a certain red rectangular box would appear on her coffee table around the holidays. It was a gift from a neighbor, and to my young eyes, it was the height of sophistication. My brother and I would try to be so careful, nibbling around the chocolate to get to the good stuff inside, but we’d almost always end up with sticky red syrup all over our fingers and big, goofy grins on our faces.
Years later, when I first started Food Meld, I wanted to recreate that feeling—not just the taste, but the joy and the slight mess of it all. My first batch was… a learning experience. Let’s just say the fondant was too soft, the chocolate was too thick, and my kitchen looked like a cherry bomb had gone off. But that’s the beauty of it! Cooking is a journey. I tweaked, I tested, and I finally landed on this method. It’s my homage to those childhood memories, but made with a Jackson twist: bolder chocolate, a hint of almond to make the cherry flavor *pop*, and the satisfaction of knowing you made something unforgettable with your own two hands. That’s what Food Meld is all about.
Gathering Your Flavor Arsenal
Don’t let the short ingredient list fool you—each component here is a star player. Using quality stuff is the difference between “good” and “where have you been all my life?”. Here’s what you’ll need to make about 30 little bites of heaven.
- 30 maraschino cherries with stems: The stems aren’t just for looks; they’re your built-in dipping handle! Look for a brand that uses natural coloring and isn’t cloyingly sweet. Chef’s Insight: Pat. Them. DRY. I mean, really get in there with a paper towel. Any extra moisture will make your fondant slide right off. It’s the #1 tip for success!
- 2 tbsp unsalted butter, softened: This gives our fondant its rich, creamy base and helps it soften into that perfect syrup later. Softened to room temperature is key for a smooth blend.
- 3 tbsp light corn syrup: This is the magic agent that gives the fondant its smooth, pliable texture and is essential for creating that liquid center during the curing process. If you need a sub, agave nectar can work in a pinch.
- 2 cups powdered sugar: We’re building the body of our fondant here. Sift it if you have time to avoid any pesky lumps for the silkiest texture.
- ½ tsp almond extract (optional): I highly recommend not skipping this! Almond is cherry’s best friend in the flavor world. It deepens and enhances the fruitiness in a way that’s just incredible. Pure vanilla extract is a fine substitute if you’re not an almond fan.
- 12 oz semi-sweet or dark chocolate chips: This is your shell! I’m a dark chocolate guy—it balances the sweetness of the filling perfectly. Use a baking bar chopped up for even smoother melting, but good-quality chips work great, too.
- 1 tbsp shortening: Now, I know. But trust me, this tiny bit of shortening is a chef hack for achieving a super sleek, professional-looking chocolate shell. It thins the chocolate just enough for a perfect drip-free coating. Cocoa butter is a fantastic professional alternative if you have it.
Let’s Get Our Hands Dirty: The Fun Part!
Alright, team, aprons on! This is where the magic happens. Read through these steps once before you start—it’s a process, but it’s a relaxing and rewarding one. Put on some music and enjoy it!
Step 1: Make the Fondant Filling
Grab a medium-sized bowl and toss in that softened butter, corn syrup, and almond extract. Give it a good stir with a spatula until it’s smooth and combined. Now, gradually add your powdered sugar. I like to do it in three parts, stirring well after each addition. It’ll start to look crumbly, then suddenly, it’ll come together into a soft, pliable dough. If it feels too sticky to handle, pop it in the fridge for about 15-20 minutes. You want it to be like Play-Doh—easy to shape but not sticking to your fingers.
Step 2: Wrap Those Cherries!
This is the most hands-on part. Pinch off a small piece of fondant, about a teaspoon-sized amount. Roll it into a ball, then flatten it into a small disc in the palm of your hand. Place a well-dried cherry right in the center and gently wrap the fondant up and around it, sealing it completely. The goal is a smooth, even layer with no cherry peeking through. Leave that beautiful stem exposed—it’s your lifeline! Place each wrapped cherry on a parchment-lined baking sheet. Pro Tip: If your hands are getting too sticky, dust them with a tiny bit of powdered sugar.
Step 3: The Big Chill
Once all your cherries are snug in their fondant blankets, slide that baking sheet into the fridge for at least an hour, or until the fondant is firm. This step is non-negotiable! A cold center is what prevents the cherry from melting the chocolate when we dip them. It ensures a crisp, clean shell.
Step 4: Melt the Chocolate Like a Pro
Time for the chocolate bath! Combine your chocolate chips and shortening in a microwave-safe bowl. Microwave in 20-second bursts, stirring vigorously after each interval. Stop when there are just a few small lumps left—the residual heat will melt them as you stir. This gentle method prevents the chocolate from seizing and keeps it smooth and glossy. You want it warm, not hot.
Step 5: The Grand Dip
Remove your cherries from the fridge. Holding onto the stem, dip one cherry completely into the melted chocolate. Swirl it around gently to ensure it’s fully coated. Lift it out, let the excess chocolate drip off for a few seconds, and then place it back on the parchment paper. Repeat with all cherries. Don’t worry if they’re not perfect—homemade charm is what we’re going for! If the chocolate starts to thicken, just pop it back in the microwave for 10 seconds.
Step 6: Final Set & The Patient Wait
Once all cherries are dipped, chill the tray again until the chocolate is completely set and firm, about 30 minutes. Now, you can eat them right away—they’ll be delicious with a firm, creamy center. But for that classic liquid center, the real magic is in the wait. Transfer them to an airtight container and let them “cure” in a cool, dry place (not the fridge) for 1-2 weeks. The enzymes from the cherry and the syrup slowly liquefy the fondant from the inside out. It’s worth the wait, I promise!
How to Serve These Shiny Little Jewels
Presentation is part of the fun! These chocolates are a showstopper all on their own. For a simple, elegant touch, place them in small paper candy cups. You can find these in gold, silver, or colorful designs at any craft store. Arrange them on a beautiful platter for a dessert table centerpiece.
They are the ultimate homemade gift. Grab a cute cellophane bag, tie it with a ribbon, and you’ve got a present that says “I really like you” more than any store-bought card ever could. For Valentine’s Day, package them in a heart-shaped box for the ultimate nostalgic touch. And my favorite way? Simply keeping a container of them in the fridge for when that sweet tooth hits. There’s nothing better than sneaking one (or three) straight from the container after a long day. They’re best served slightly cool.
Mix It Up: Your Chocolate Cherry Canvas
Once you’ve mastered the classic, it’s time to get creative! This recipe is a fantastic base for all kinds of delicious experiments. Here are a few of my favorite twists:
- Boozy Cherries: This is my go-party trick. Before you start, drain the cherries and let them soak in a tablespoon or two of amaretto, brandy, or even bourbon for a few hours (or overnight in the fridge). Pat them EXTRA dry before wrapping. The adult version is always a hit.
- White Chocolate Shell: Swap the dark chocolate for high-quality white chocolate. The sweet, creamy shell creates a beautiful contrast with the dark red cherry inside and makes them look incredibly festive.
- Double Dipped Decadence: For a professional bakery look, dip the cherries in dark chocolate first and let them set completely. Then, melt a little white chocolate, put it in a zip-top bag, snip a tiny corner, and drizzle it over the top in elegant lines.
- The Nutty Professor: Love texture? Before you wrap the cherry, press a single, whole almond into the fondant alongside it. Or, mix a teaspoon of very finely chopped toasted almonds right into the fondant mixture itself.
- Dairy-Free Delight: Easily make this vegan! Use vegan butter, ensure your chocolate is dairy-free, and use a plant-based shortening. The process is exactly the same.
Jackson’s Notebook: Lessons from My Kitchen
This recipe has seen some things, let me tell you. My first batch, I was impatient and didn’t chill the fondant-wrapped cherries long enough. I dipped them, and the chocolate immediately slid right off, creating a hilarious (and delicious) chocolate-cherry puddle. Lesson learned: patience is a ingredient. I’ve also found that using a deep, narrow mug for melting chocolate is sometimes easier than a bowl for dipping—it gives you more depth without needing a ton of chocolate. This recipe has evolved from a messy experiment to my most-requested holiday treat. The best part? No matter how they look, they always, always taste amazing. So don’t stress about perfection. Embrace the mess and the delicious results!
Your Questions, Answered!
Q: My fondant is too sticky to handle! What did I do wrong?
A: This is super common. It usually means your butter was too soft or your cherries weren’t dry enough. No worries! Just chill the fondant mixture for 20-30 minutes, and dust your hands with powdered sugar before shaping.
Q: Why is my chocolate clumpy and thick?
A: Ah, seized chocolate! This happens if even a tiny drop of water gets into the melting chocolate, or if it gets too hot. Sadly, it’s hard to come back from. Your best bet is to start over. Always ensure your bowls and tools are completely dry, and melt low and slow.
Q: It’s been two weeks, and my centers aren’t liquid! Help!
A: Don’t panic. The curing time can vary based on temperature and humidity. Give them another few days. If they’re still firm, the fondant might have been a bit too thick. They’ll still be delicious—like a creamy cherry cordial!
Q: How long do these actually last?
A: Stored in an airtight container in the fridge, they’ll keep beautifully for up to 2-3 weeks… if they last that long! The sugar and chocolate act as preservatives.
Nutritional Info (Because Knowledge is Power!)
Okay, let’s be real: we’re not eating chocolate-covered cherries for their health benefits. We’re eating them for joy! But it’s always good to know what you’re enjoying. This is an estimate per cherry (assuming a yield of 30).
Estimated per cherry: ~90 kcal | 4g fat | 13g carbs | 1g protein
Remember, these are a treat, a celebration, a special occasion bite. Savor them mindfully and enjoy every single delicious moment of it! The happiness they bring is worth every calorie.
You’ve Got This!
And there you have it! Your complete guide to creating unbelievably good, melt-in-your-mouth chocolate-covered cherries right in your own kitchen. This recipe is a testament to the fact that the most impressive treats often come from simple ingredients and a little bit of patience. I hope you feel empowered to give it a try, to make it your own with one of the fun variations, and to share the delicious results with people you love.
That’s the heart of Food Meld—taking those seemingly intimidating recipes and breaking them down into something fun, approachable, and packed with flavor. I’d love to hear how your cherry adventure goes! Tag me on social @FoodMeld with your creations. Now, go forth and melt some chocolate! Until next time, happy cooking.
Jackson


