
Let’s Make Some Holiday Magic: Marshmallow Christmas Cornflake Wreaths!
Hey friends, Jackson from Food Meld here! Is there anything that screams “holiday fun” more than getting your hands a little sticky with a classic, no-bake treat? I’m talking about those adorable, chewy, and downright festive Marshmallow Christmas Cornflake Wreaths. You know the ones—they show up at every cookie swap, school party, and family gathering, and they’re always the first to disappear. This isn’t just a recipe; it’s a ticket to creating those warm, fuzzy, “remember when we made those?” moments. I’m a huge believer that the best recipes are the ones that bring people together, and this one is a champion. It’s incredibly simple, wildly customizable, and an absolute blast to make with helpers of all ages. So, grab your biggest pot, round up your favorite little chefs (or just treat your inner child), and let’s whip up a batch of these edible holiday wreaths that are as fun to make as they are to eat. Welcome to your new favorite holiday tradition!
A Sticky-Fingered Walk Down Memory Lane
I can’t think about these wreaths without being instantly transported back to my grandma’s linoleum kitchen floor, standing on a step-stool so I could see into her giant yellow mixing bowl. She’d let me pour in the cornflakes, and my job was the “gentle folder.” Of course, my seven-year-old version of “gentle” was more of an enthusiastic smash-and-stir, sending a few golden flakes flying onto the counter. She never minded. She’d just laugh, her eyes crinkling at the corners, and say, “Jackson, the best cookies are made with a little bit of a mess.” We’d shape the wreaths together, our fingers coated in a thin sheen of butter to prevent sticking, and I’d get the supremely important job of placing the single red-hot candy on each one, pretending it was the most precious ruby. It was never about perfection; it was about the laughter, the shared focus, and the proud moment of presenting our wonky, beautiful creations to the family. That’s the spirit I want to bring to your kitchen today.
Gathering Your Flavor Arsenal
This is a beautifully simple ingredient list, but each component plays a key role. Here’s the breakdown of what you’ll need and why it works:
- 1 cup unsalted butter: This is our rich, creamy base. Using unsalted lets you control the final flavor perfectly. Chef’s Insight: If you only have salted butter, that’s totally fine! Just know it will add a very subtle salty note that can actually be a nice contrast to the sweet marshmallows.
- 60 large marshmallows (about 6 cups): The glue of the operation! They melt down into that iconic sweet, gooey, chewy texture we all love. Substitution Tip: You can use a 10-ounce bag of mini marshmallows—they melt even faster! For a firmer set, seek out marshmallow fluff or creme; you’ll need about 1 ½ jars (21 oz total).
- 2 tablespoons green food coloring: This gives our wreaths their iconic, festive holiday hue. Chef’s Hack: For a more natural color, you can experiment with a teaspoon of matcha powder (though it will add flavor) or spinach juice (strained extremely well), but for that classic, vibrant green, food coloring is king. Gel food coloring will give you a more intense color without thinning the mixture.
- 2 teaspoons vanilla extract: The flavor enhancer! Vanilla rounds out the sweetness and adds a warm, comforting depth. Never skip it!
- 8 cups cornflakes: The structure and the crunch! Their light, airy texture is perfect for holding onto the marshmallow mixture without becoming a dense brick. Pro Tip: Make sure your cornflakes are fresh and crisp. Stale flakes will result in a soggy, sad wreath.
- Cinnamon red-hot candies, for garnish: Our classic “berries.” Their spicy cinnamon kick is a fantastic contrast to the sweet, buttery base.
- Cooking spray: Your best friend for non-stick shaping. Absolutely essential unless you want to be part of the wreath yourself!
Crafting Your Edible Masterpieces: Step-by-Step
Alright, team, let’s get mixing! The key here is speed and a well-prepped workstation. Read through these steps first so you’re ready to roll (or shape!).
- Melt the Butter & Marshmallows: In your largest pot or Dutch oven, melt the butter over LOW heat. I can’t stress “low” enough. We’re melting, not frying. Once the butter is melted, add all the marshmallows and stir constantly with a sturdy silicone spatula until they are completely smooth and melted. This should take about 5-7 minutes. Chef’s Warning: Do not walk away! Burnt marshmallow is a tragedy we can easily avoid.
- Create the Green “Glue”: As soon as the marshmallow mixture is smooth, pull the pot off the heat. Immediately stir in the green food coloring and the vanilla extract (and peppermint extract now if you’re using it). Stir vigorously until the color is completely uniform. You should have a gloriously shiny, green, lava-like substance.
- The Big Fold: Now, dump all 8 cups of cornflakes into the pot. Here’s the crucial part: use your spatula to gently fold and toss the cornflakes into the marshmallow mixture. You’re not stirring like cake batter; you’re cutting through the center, lifting, and turning, ensuring every single flake gets a gorgeous coat of green goo without being crushed. Work quickly before the mixture starts to set.
- Shape Those Wreaths! Immediately lay out a few large sheets of wax or parchment paper on your counter. Give your hands a very light spritz of cooking spray. Scoop up a small handful (about ¼ cup) of the mixture. Gently press and shape it into a circle, then use your thumb to poke a hole in the center and widen it to form a wreath shape. If it’s too sticky, spray your hands again! Place each wreath on the wax paper. Chef’s Hack: If you have a round cookie cutter, you can press the mixture into it on the wax paper, then lift the cutter away for a perfect shape every time!
- Garnish While Warm: This is the fun part for kids (and kids-at-heart!). While the wreaths are still warm and sticky, press your red-hot candies (or other decorations) into them to look like holly berries. If you wait too long, the decorations won’t stick.
- The Patience Game: Let the wreaths sit at room temperature for at least 20-30 minutes to fully set and firm up. Don’t refrigerate them, as this can cause them to weep and become soggy.
How to Serve Your Holiday Works of Art
Presentation is part of the fun! These wreaths are sturdy but best handled with a light touch. I love to stack them on a festive platter in a wreath-like circle of their own, maybe with a few real pine sprigs or cinnamon sticks tucked around the edge for aroma and effect. For individual servings at a party, place each one in a colorful cupcake liner—it makes them easy to grab and keeps any potential stickiness contained. They pair perfectly with a cold glass of milk, a warm mug of hot chocolate, or a spicy holiday cocktail for the adults. They’re the ultimate shareable treat, so make that double batch and watch them bring a smile to everyone’s face.
Mix It Up! Creative Twists on the Classic
Once you’ve mastered the classic, it’s time to play! Here are a few of my favorite ways to mix up the flavor profile:
- The Peppermint Swirl: Swap the vanilla for ½ tsp peppermint extract and use crushed candy canes or peppermint bits instead of red-hots. Drizzle with white chocolate for a Candy Cane Lane effect.
- Chocolate Dipped Delight: After the wreaths have set, dip the bottom half or drizzle the top with melted semi-sweet or dark chocolate. The combination of chocolate and the sweet crunch is unbelievable.
- Fruity Berry Blast: Not a cinnamon fan? Use dried cranberries or even mini M&M’s in red and green for your “berries.” This adds a different kind of chewy or crunchy fruit flavor.
- Cinnamon Toast Crunch: For a next-level flavor, replace half of the cornflakes with Cinnamon Toast Crunch cereal. Your kitchen will smell like heaven, and the flavor will be even more warming and spiced.
- Gluten-Free & Vegan Friendly: Use gluten-free cornflakes and vegan marshmallows (like Dandies brand). Swap the butter for a plant-based alternative like Miyoko’s or Earth Balance. You’ve now got a treat everyone can enjoy!
Jackson’s Chef Notes & Kitchen Stories
This recipe has been through it all with me. I once tried to speed up the melting process by cranking the heat to high. Let’s just say I ended up with a pot of blackened, smoky marshmallow cement and a very sad kitchen. Low and slow is the only way! Another time, my nephew decided three tablespoons of green coloring was better than two. We ended up with wreaths so vibrantly green they practically glowed in the dark. They were a huge hit. The moral of the story? Embrace the happy accidents. This recipe is incredibly forgiving and meant to be fun. Don’t stress about making every wreath perfectly symmetrical. Their charming, homemade look is what makes them so special.
Your Questions, Answered!
Q: My mixture got too hard before I could finish shaping! What do I do?
A: This happens to the best of us! Simply place the pot back on the burner over the lowest possible heat for just 15-20 seconds. Gently stir to re-loosen the mixture. Work in smaller batches next time so it doesn’t set up on you.
Q: Why are my wreaths really hard and not chewy?
A: You likely overcooked the marshmallow mixture. Remember, low heat is key. The second the marshmallows are melted and smooth, take it off the heat. Also, make sure you’re measuring your cornflakes correctly—too many flakes will absorb all the moisture and leave you with a dry result.
Q: Can I make these ahead of time?
A> Absolutely! They keep beautifully. Once set, store them in a single layer in an airtight container at room temperature for up to 3 days. You can stack them with layers of wax paper between them. I don’t recommend refrigerating.
Q: Help! My hands are a sticky disaster.
A> Welcome to the club! The cooking spray is your first defense. If you find yourself in a sticky situation, the best way to clean up is to wash your hands with really warm, soapy water. The heat will melt the marshmallow right off.

Marshmallow Christmas Cornflake Wreaths
- Total Time: 30 minutes
- Yield: 40 Wreaths 1x
Description
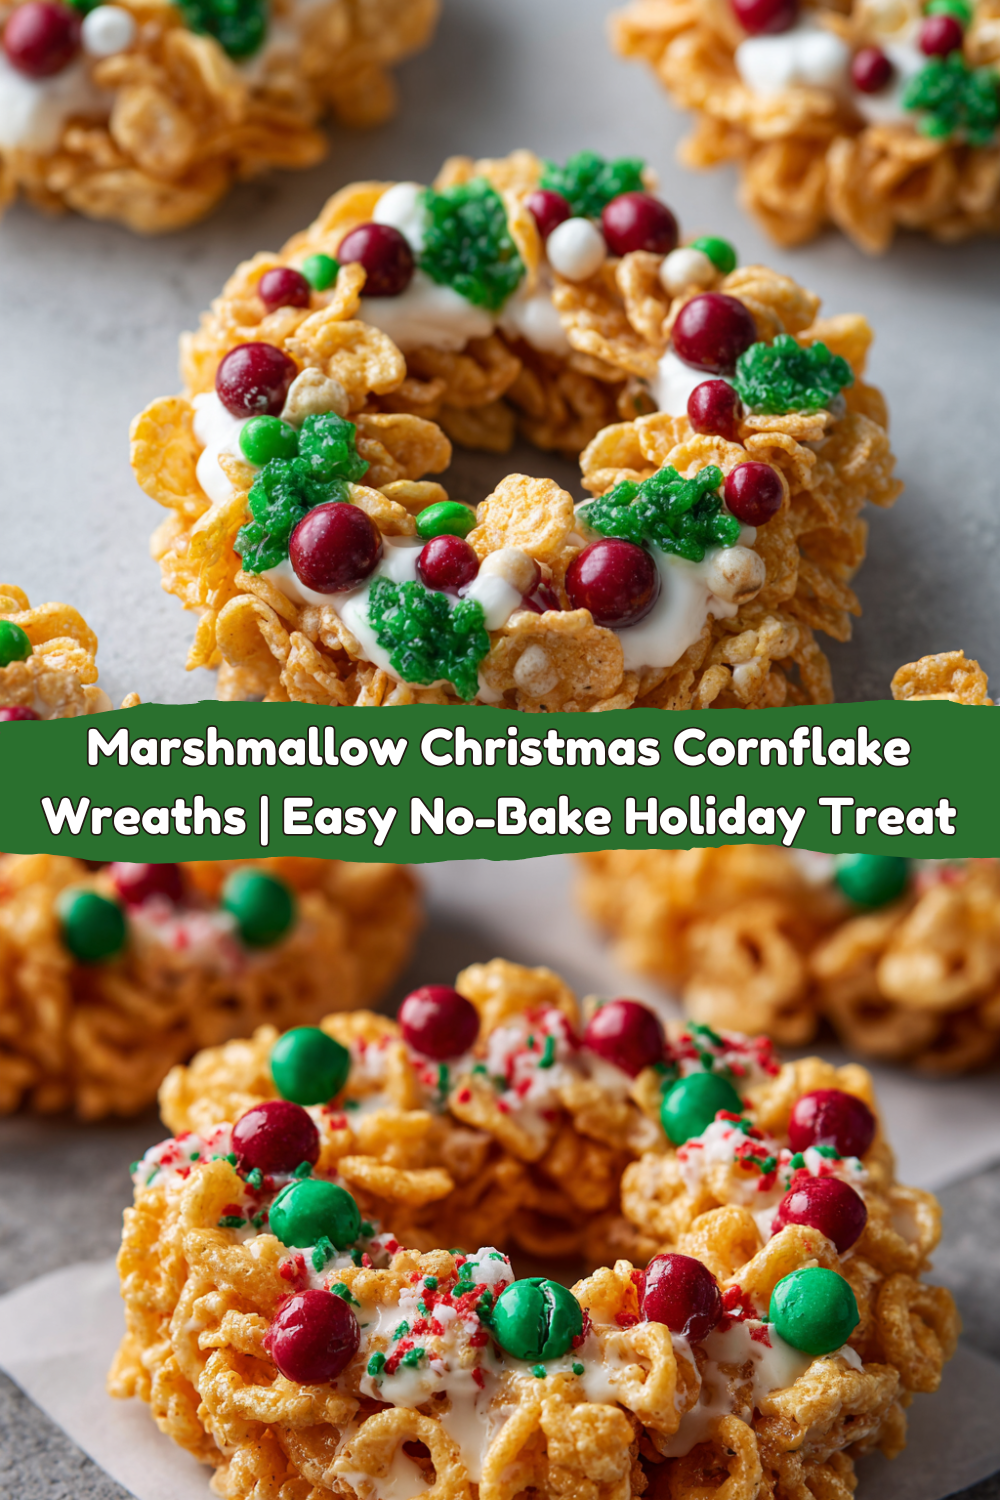
Classic, festive, and delightfully chewy, these Christmas cornflake wreaths are a no-bake holiday treat that kids and adults love. Doubling the recipe makes plenty to share, and with a few fun twists, you can add extra flavor and flair to these adorable edible wreaths.
Ingredients
1 cup unsalted butter
60 large marshmallows (about 6 cups)
2 tablespoons green food coloring
2 teaspoons vanilla extract
8 cups cornflakes
Cinnamon red-hot candies, for garnish
Cooking spray
Optional Twists
½ teaspoon peppermint extract (for a minty holiday touch)
White chocolate drizzle over finished wreaths
Mini M&M’s or sprinkles instead of (or in addition to) red-hots
Instructions
In a large pot, melt butter over low heat. Add marshmallows and stir until smooth.
Remove from heat. Stir in food coloring, vanilla, and optional peppermint extract.
Gently fold in cornflakes until evenly coated.
Working quickly, spray your hands or a spoon with cooking spray. Scoop small portions (about ¼ cup each) onto wax paper. Shape into wreaths with a hole in the center.
Decorate with red-hots, M&M’s, or sprinkles while still sticky.
Let set for 20–30 minutes before serving.
- Prep Time: 10 minutes
- Set Time: 20 min
Nutrition
- Calories: 120 / Wreath
- Sugar: 12g / Wreath
- Fat: 4g / Wreath
- Carbohydrates: 21g / Wreath
Quick Nutritional Breakdown
Okay, let’s be real: these are a holiday treat, through and through. But it’s always good to know what you’re enjoying! This nutritional info is per wreath (assuming a batch of 40). Remember, these are estimates and can vary based on specific ingredients and brands used.
- Calories: ~120
- Protein: 1g
- Fat: 4g (primarily from the butter)
- Carbohydrates: 21g (from the marshmallows and cornflakes)
- Fiber: <1g
- Sugar: ~12g
They’re a fun, occasional indulgence. The joy and memories you get from making them are 100% calorie-free!
Your Holiday Kitchen Awaits
And there you have it! Your complete guide to creating the most delightful, memory-filled Marshmallow Christmas Cornflake Wreaths. This is more than just a recipe—it’s an experience. It’s about the laughter that comes with sticky fingers, the pride of creating something beautiful with your own hands, and the simple joy of sharing a delicious treat made with love. So don’t just save this for the kids. Call over your friends, put on some holiday tunes, and make an afternoon of it. I guarantee it’ll become a highlight of your season. From my kitchen to yours, happy holidays and happy cooking! Let me know in the comments what creative twists you try—I love hearing your Food Meld stories.


